Adding a Routing Guide
Complete the following steps to add a routing guide:
Click Menu/Favs > Contract Mgmt > Routing Guides.
In the NEO UI, users can click on the Menu/Favs icon on the left sidebar and type in the name of the screen in the menu search bar. For more information, see "Using the Menu Search Bar."
The Routing Guides screen displays.
Click the Add Routing Guide button.
The Add Routing Guide screen appears.
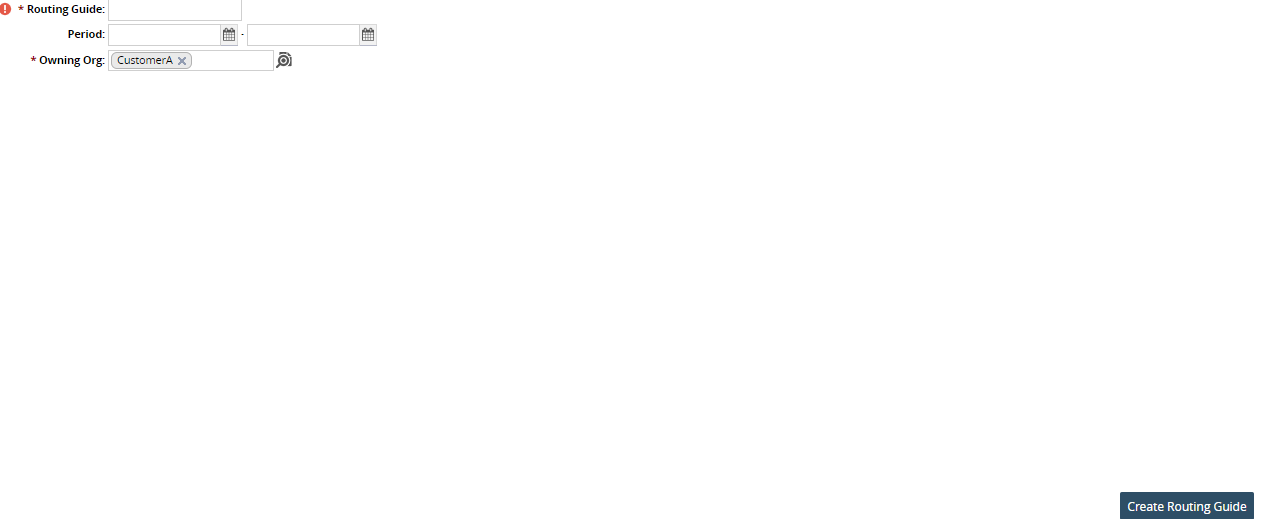
In the Routing Guide field, type the name of the new routing guide.
Using the calendar tool, select a date range for the Period that the routing guide will be in effect.
Use the picker tool to select an owning organization for the Owning Org field.
Click the Save button.
The new routing guide screen appears with a green success bar.