Adding and Removing Carriers From Routes
Complete the following steps to add a carrier to a route.
Log in to the ONE system.
Click Menu/Favs > Contract Mgmt > Routing Guides.
In the NEO UI, users can click on the Menu/Favs icon on the left sidebar and type in the name of the screen in the menu search bar. For more information, see "Using the Menu Search Bar."
The Routing Guides page displays.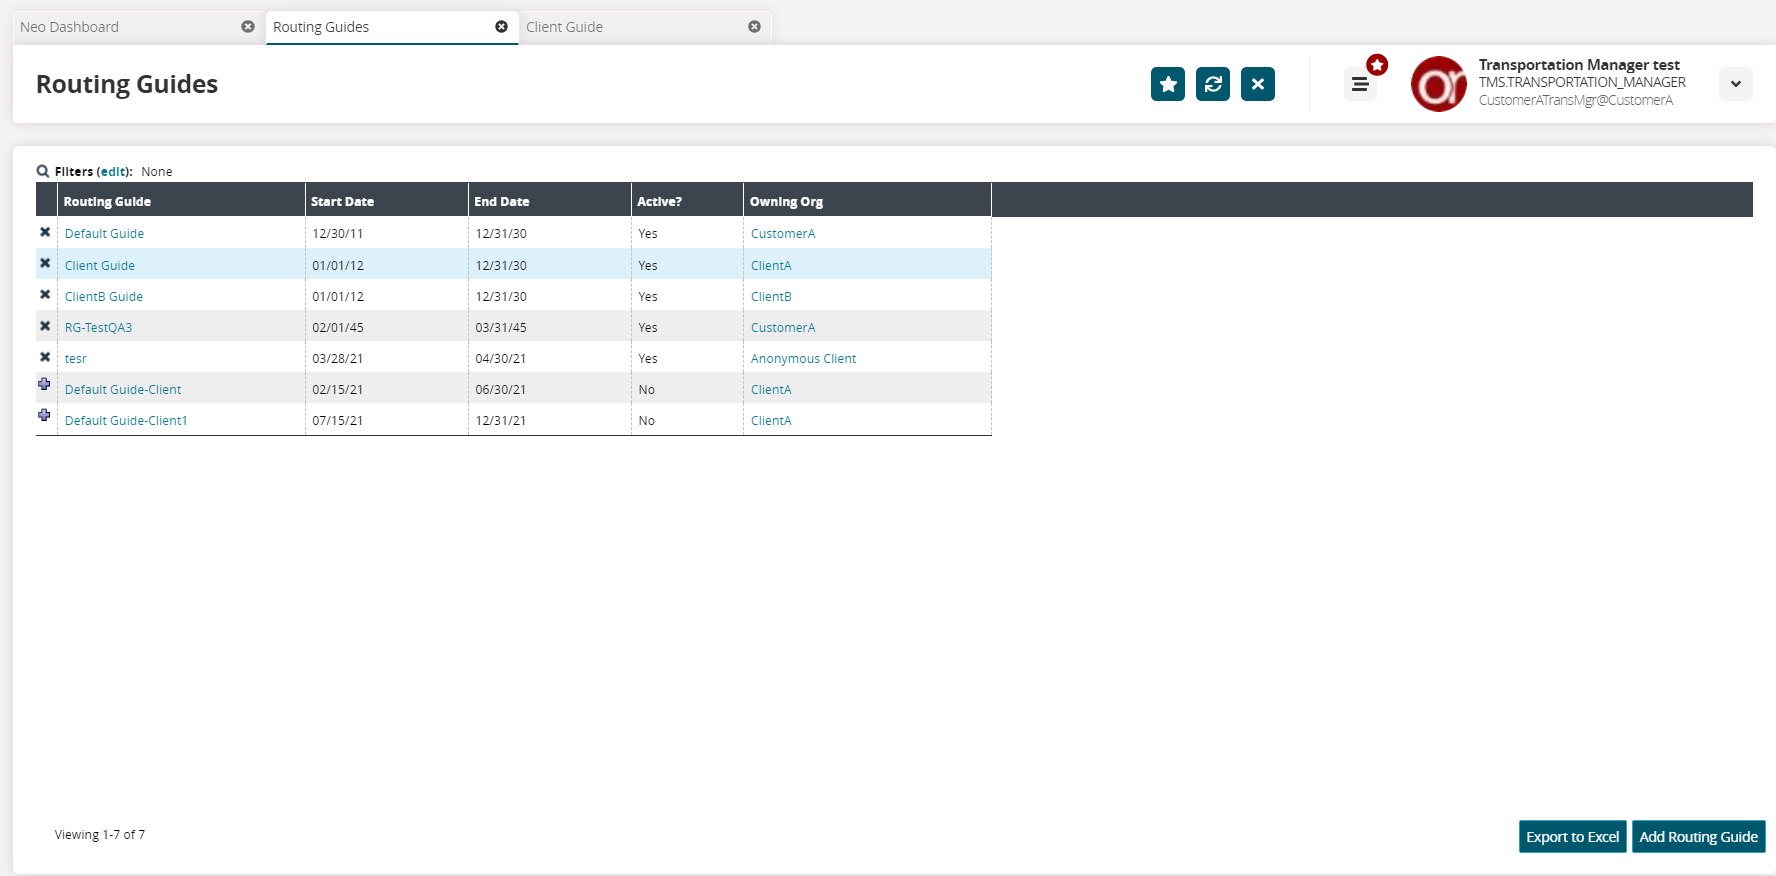
Click a link in the Routing Guide column.
The routing guide details screen displays.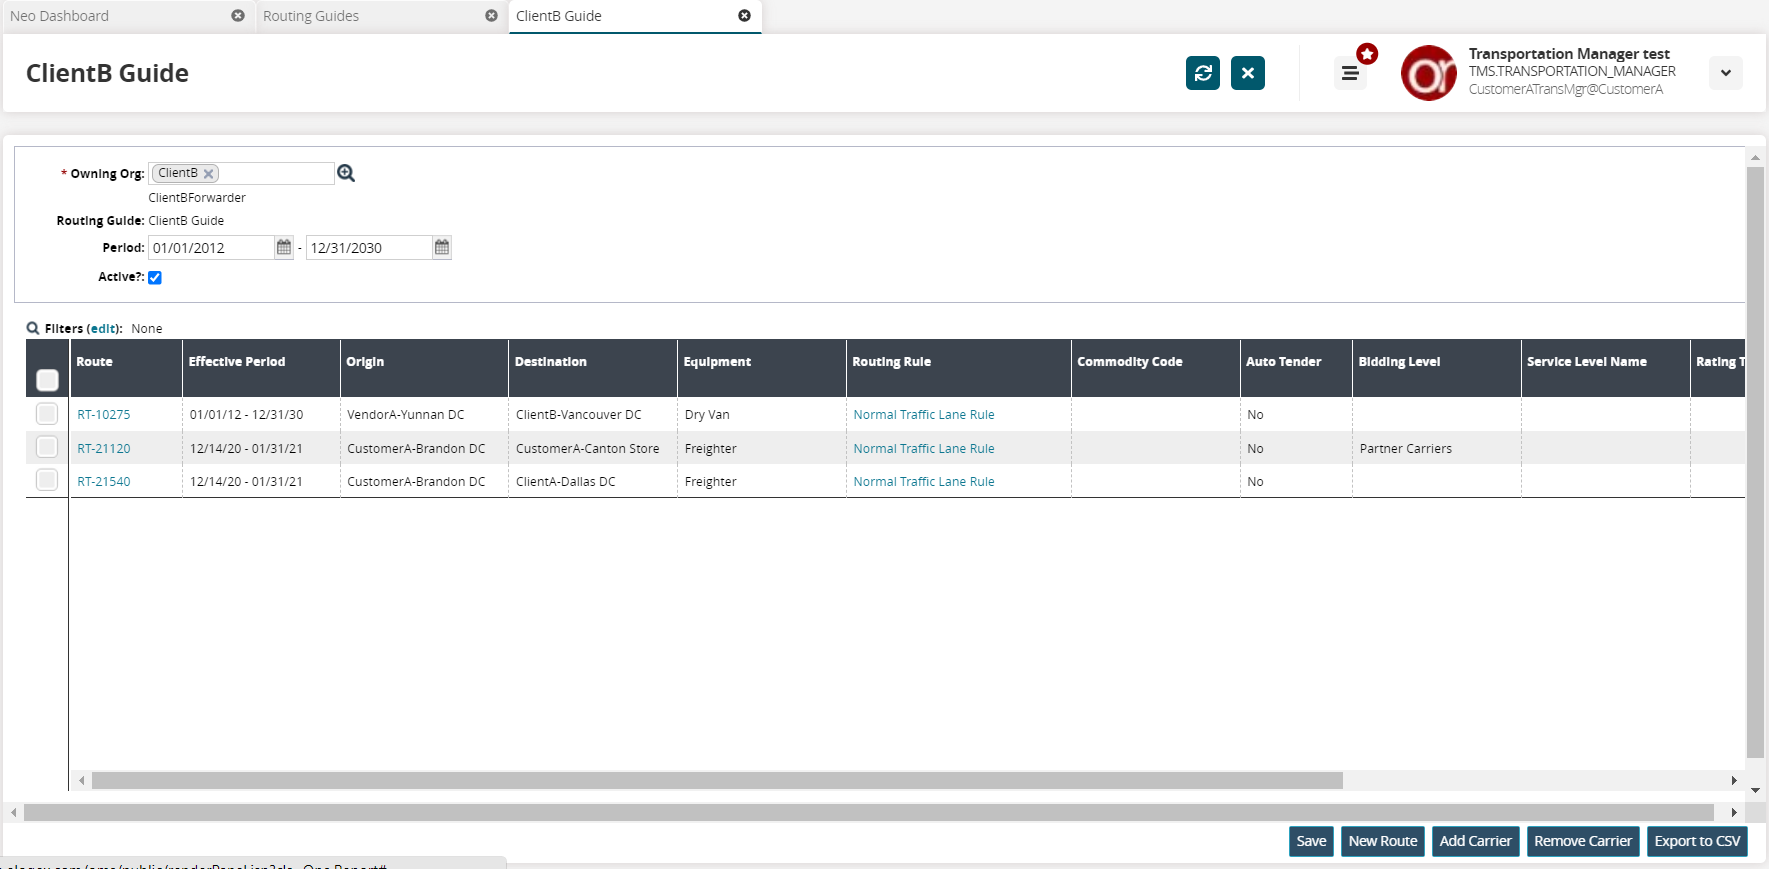
Select a route by checking the box on the left.
Click the Add Carrier button.
The Add Carrier popup appears.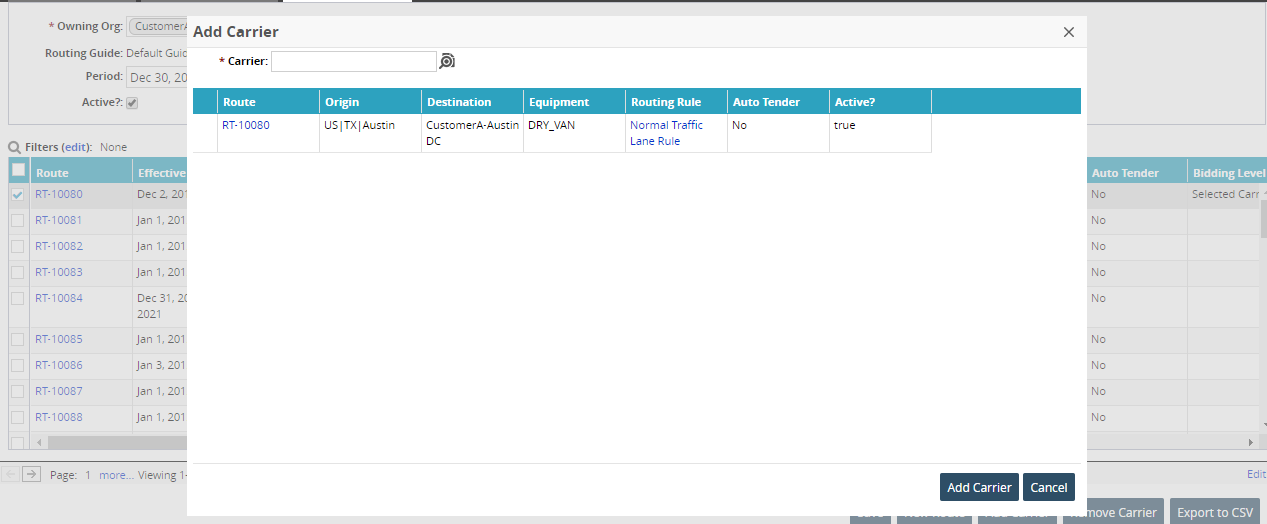
Use the picker tool to select a * Carrier. Fields with an asterisk ( * ) are required.
The option for OTHER as a carrier selection is meant to act as a substitute carrier if the user does not have any web-service-enabled carrier partners. This enables users to create a route if there is no web-service-enabled carrier partner available.
Click the Add Carrier button.
The carrier is added to the route.
Complete the following steps to remove carriers from a route:
Select the checkboxes for one or more routes on the Routing Guides screen.
Click the Remove Carrier button.
The Remove Carrier dialog box appears.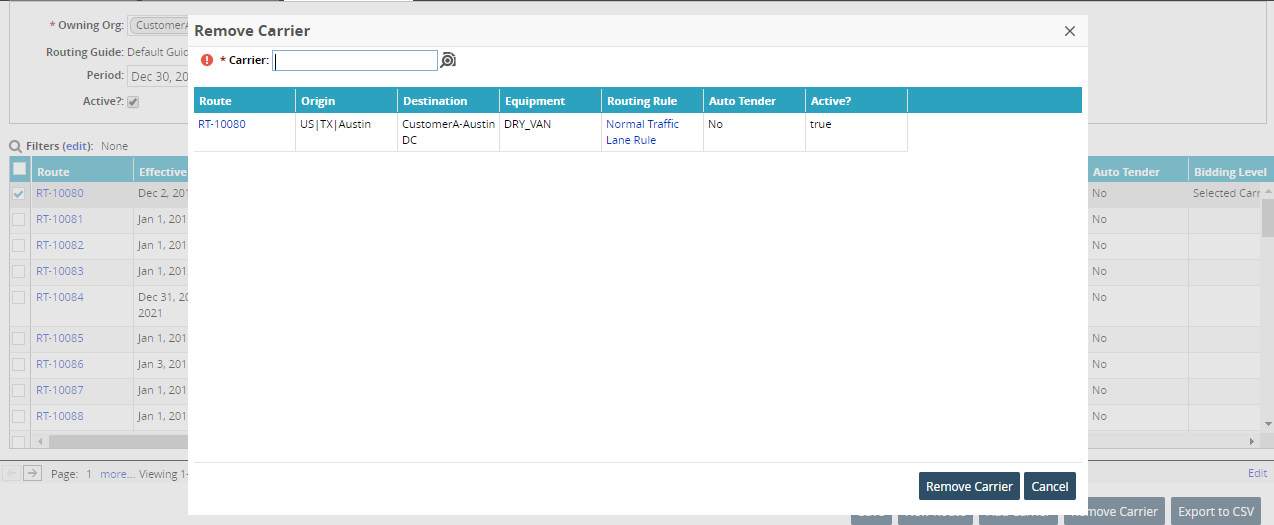
Use the picker tool to select a carrier in the * Carrier field.
Click the Remove Carrier button.
A confirmation message appears.Click Yes to permanently remove the carrier from the selected routes.