Creating Containers
Complete the following steps to creating a container:
L og in to the ONE system.
Click Menus/Favs > Transportation > Container View.
In the NEO UI, users can click on the Menu/Favs icon on the left sidebar and type in the name of the screen in the menu search bar. For more information, see "Using the Menu Search Bar."
The Container View screen appears.
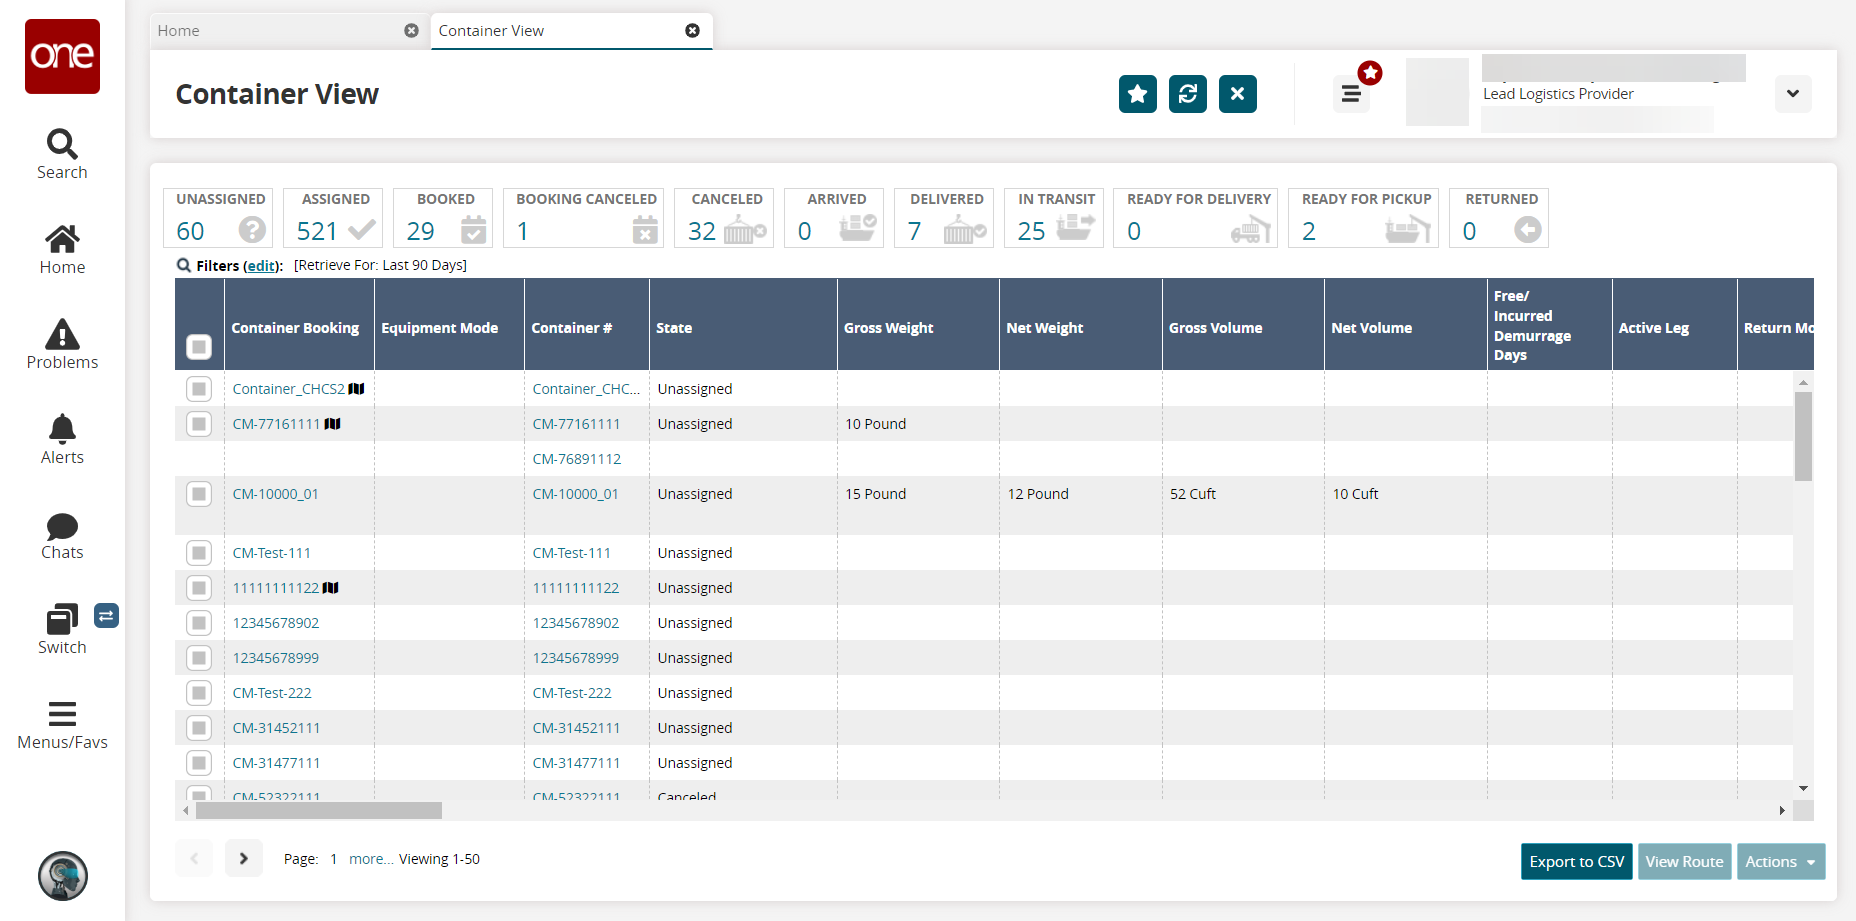
Click the Export to CSV button to export the container view report into a spreadsheet.
Click the Map icon beside the container booking number under the Container Booking column.
The Show on Map screen appears.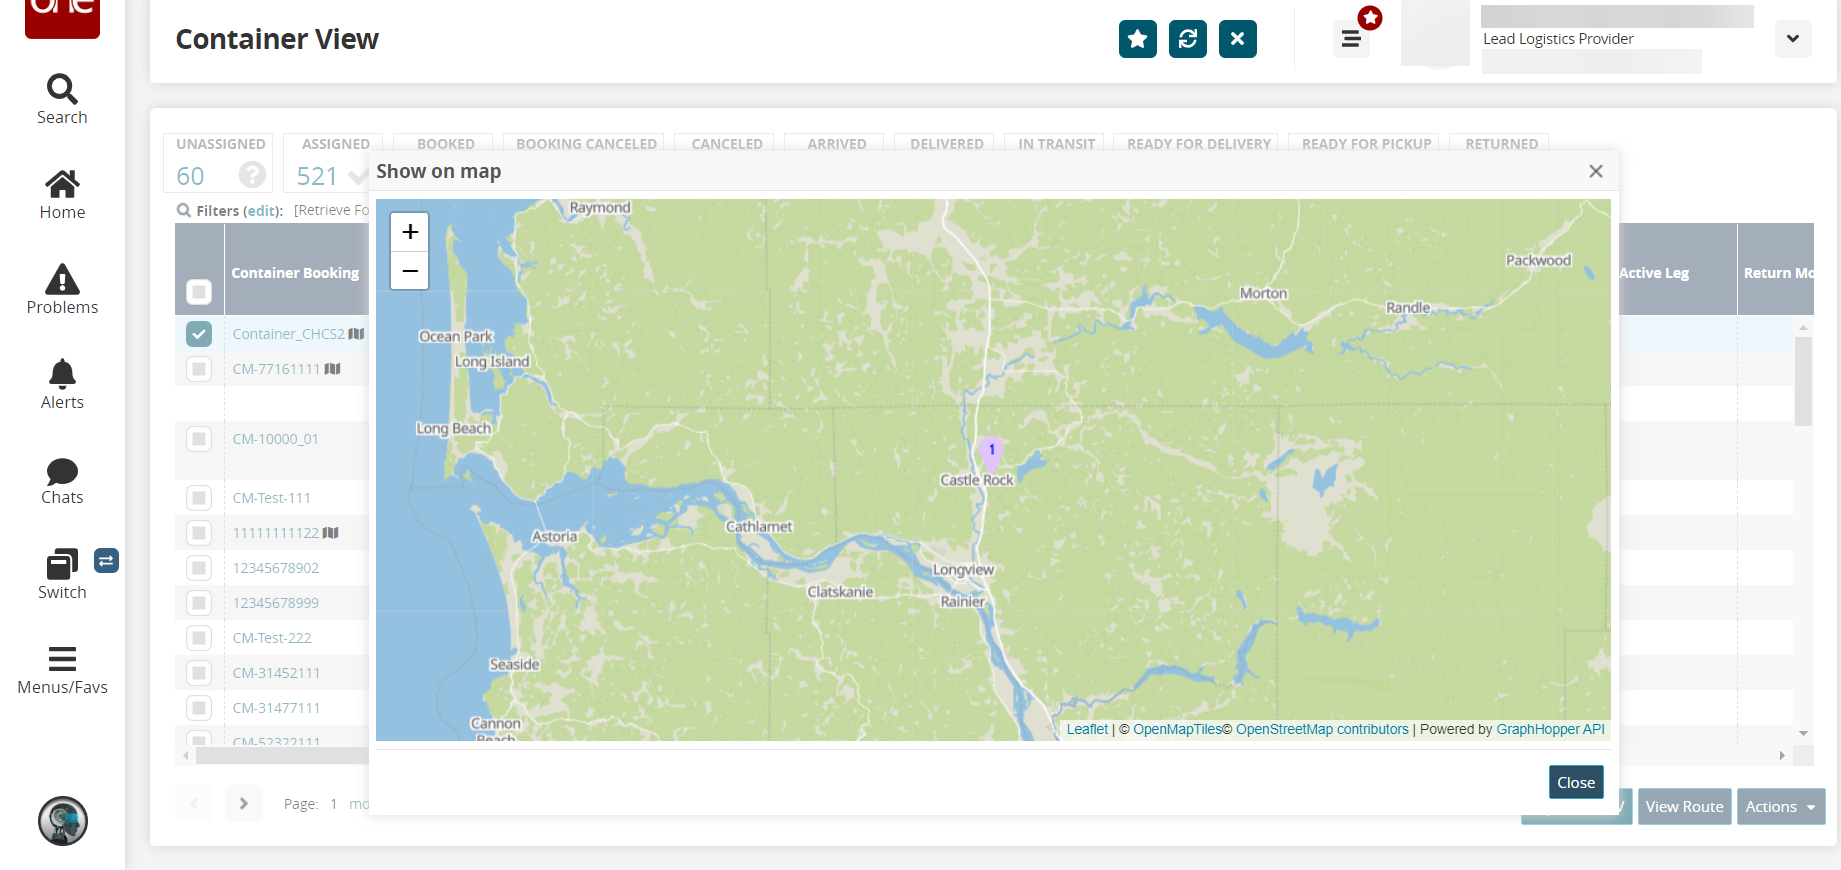
On the Container View screen, click the checkbox before the Container Booking column> View Route.
The Route Map screen appears.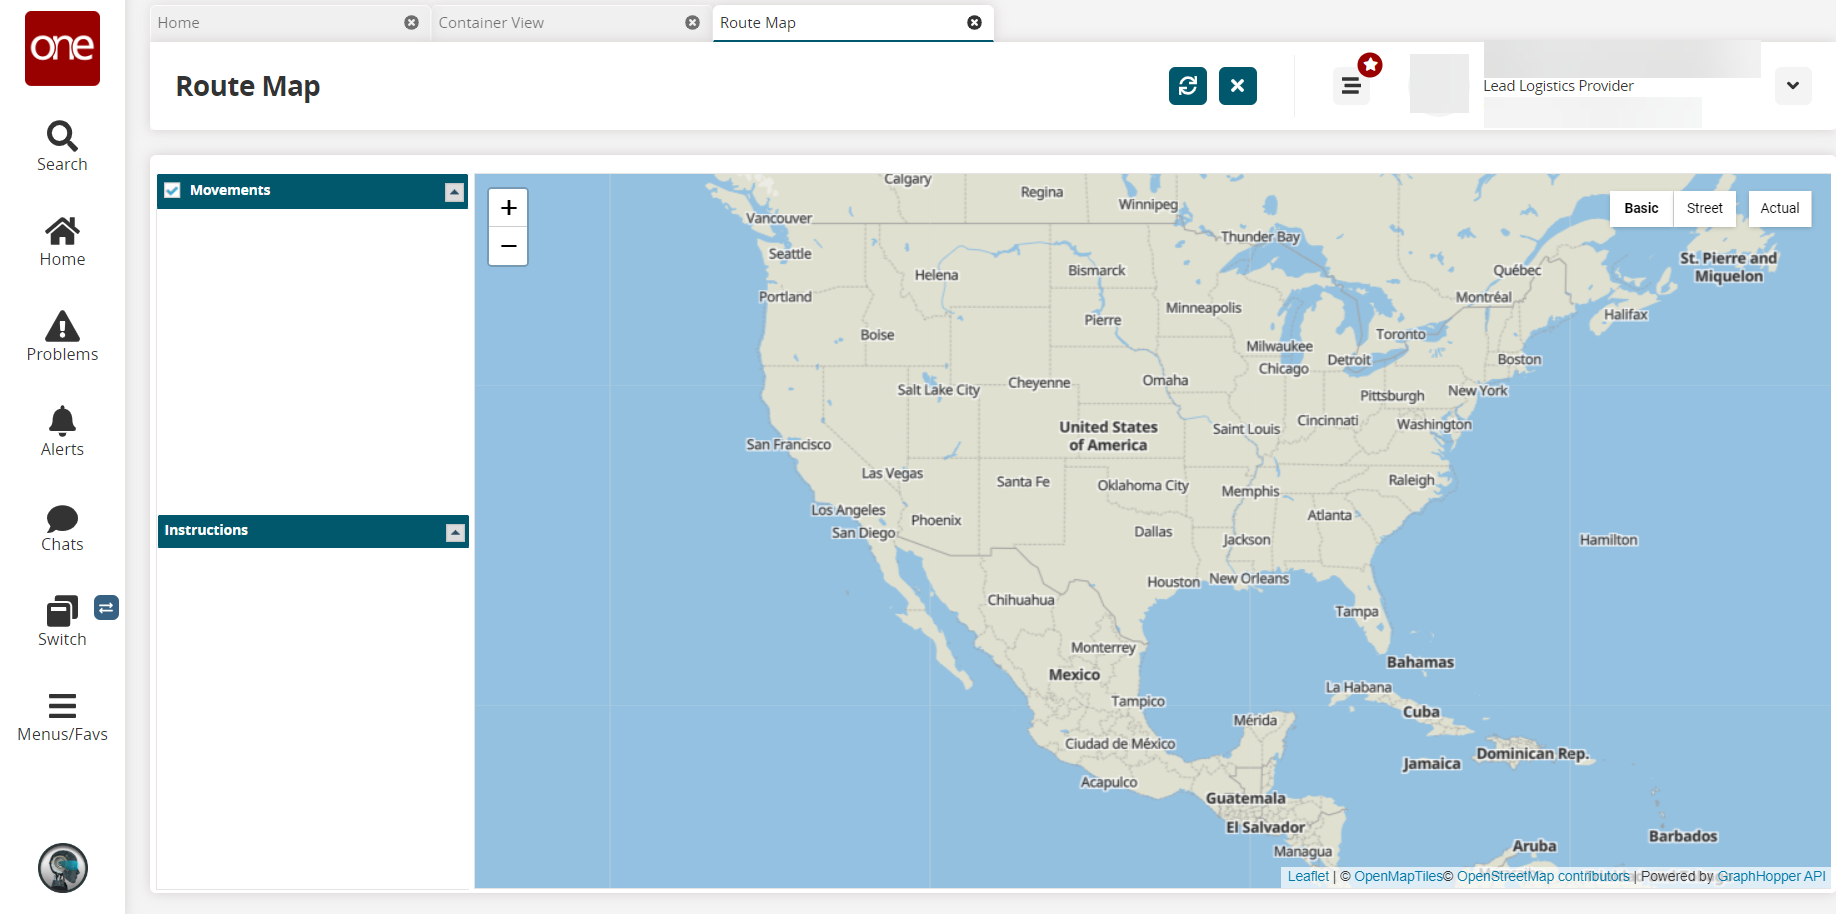
On the Container View screen, click the checkbox before the Container Booking column >Actions >Update Container Details.
The Update Container Details screen appears.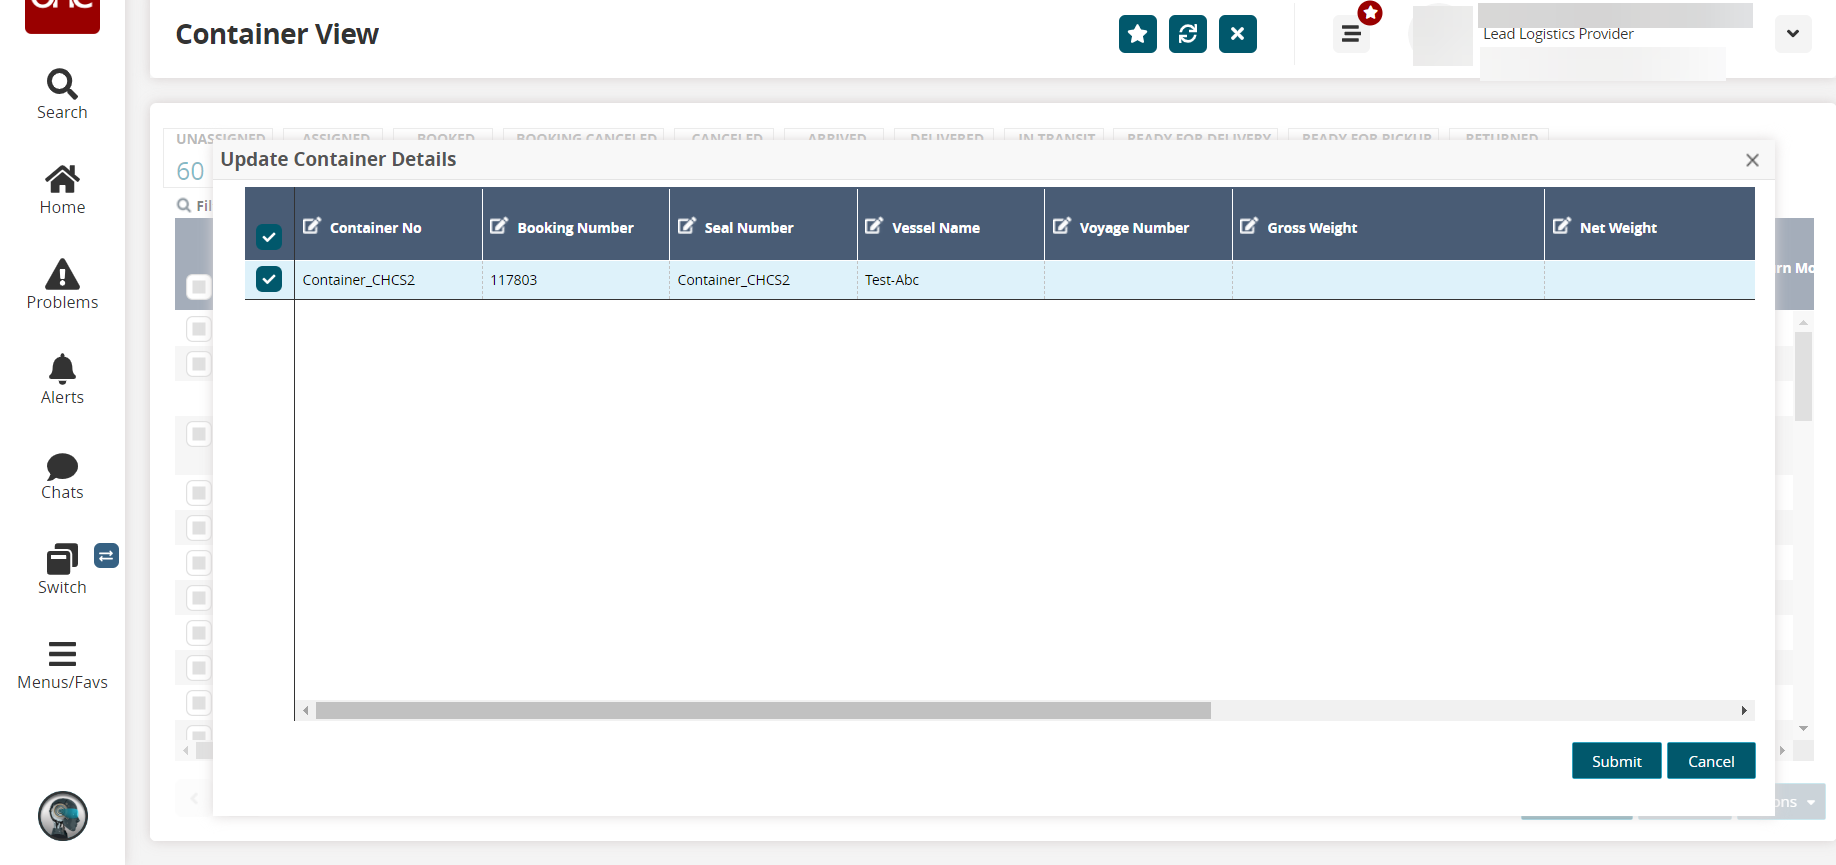
Edit the fields with the pencil icon and click Submit.
A success message appears, and the container details are updated.On the Container View screen, click the checkbox before the Container Booking column > Actions > Create Manual Problems.
The Add Manual Problems screen appears.Complete the following fields. Fields with an asterisk ( * ) are required.
Field
Description
* Summary
Enter a summary of the manual problem.
* Problem Type
Select the problem type from the dropdown list.
* Details
Enter details of the manual problems.
Assignee
Enter a assignee or use the picker tool to select a assignee
* Priority
Select the priority from the dropdown list.
Due Date
Use the date and calendar icon to select the due date.
Expiry Date
Use the date and calendar icon to select the expiry date.
Reference Numbers
Select the option from the drop down list and use picker to fill the corresponding field to fill the Reference Numbers.
Click Save.
The manual problem is added and saved.On the Container View screen, click the checkbox before the Container Booking column > Actions > Submit VGM.
The VGM details for the container screen appears.See the procedure for "Submitting VGM (Verified Gross Mass) Information for Containers" in the Online Help to submit VGM for the container.