Creating Work Orders
Work order management allows users to create and search for new work orders.
Complete the following steps to create a work order:
L og in to the ONE system.
Click Menus/Favs > Work Order Management > New Work Order.
In the NEO UI, users can click on the Menu/Favs icon on the left sidebar and type in the name of the screen in the menu search bar. For more information, see "Using the Menu Search Bar."
The New Work Order screen appears.
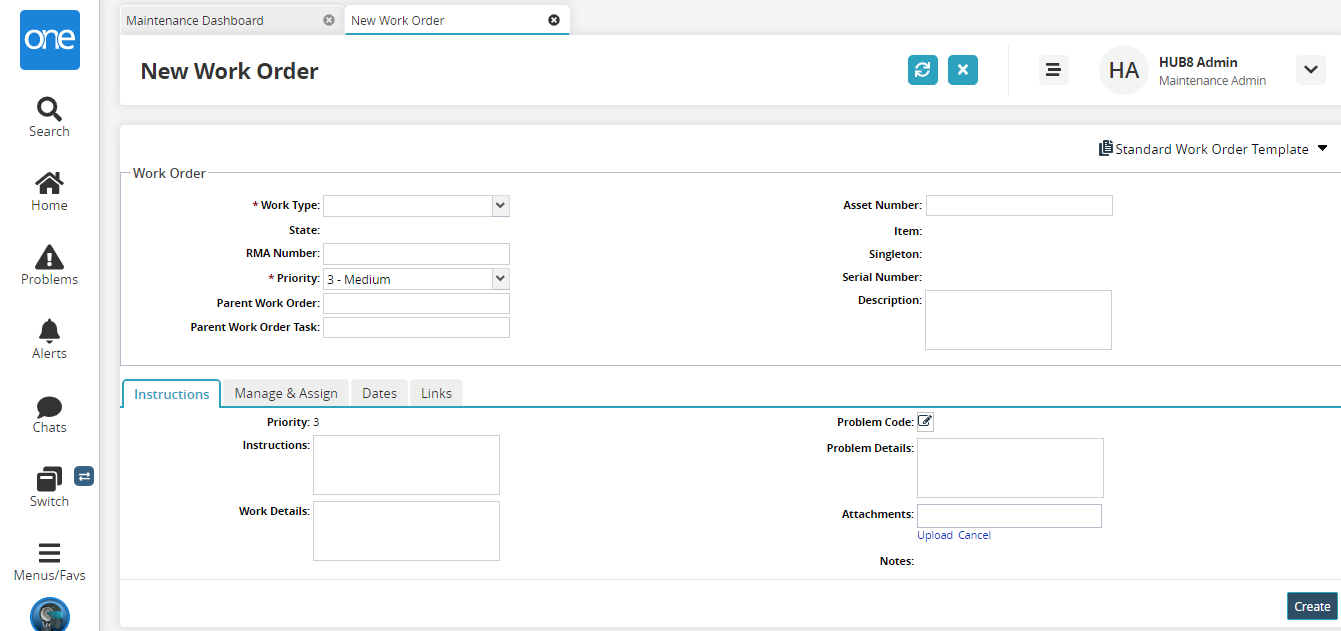
Fill out the following fields. Fields with an asterisk ( * ) are required.
Field Name
Description
* Work Type
From the dropdown menu, select the type of work order.
RMA Number
Enter the Return Material Authorization number.
* Priority
From the dropdown menu, select the priority level.
Parent Work Order
Established parent-child association between the different work orders
Parent Work Order Task
Established task-based order parent-child association between the different work orders
Asset Number
A unique number that identifies your product.
Description
Description of the work order.
Tabs
The following tabs are common tabs present on the screen irrespective of the Work Type.
The tabs vary according to the selected Work Type. For more information on Tabs present on the screen depending upon the Work Type selected, see below.
Instructions Tab:
By default, the Instructions tab is selected.
See the table below to find descriptions of the UI elements present under the Instructions tab.
Field Name
Description
Priority
Non-editable field. The Priority is automatically set according to the Priority (drop-down menu) selected under the Work Order screen
Instructions
Enter any instructions for the work order
Work Details
Enter any work details for the work order
Problem Code
Click the pencil icon. The Problem Code window pops up. Select the ProblemCode(drop-down menu) and enter the ProblemCode Description.
The different problem codes can be selected on ProblemCode 1 to ProblemCode 10 fields and descriptions can be added in ProblemCode Description1 to ProblemCode Description 10 fields
Problem Details
Enter any problem details
Attachments
Upload any attachments like files or documents here related to the work order from your local computer
Manage & Assign Tab:
Select the Manage & Assign tab.
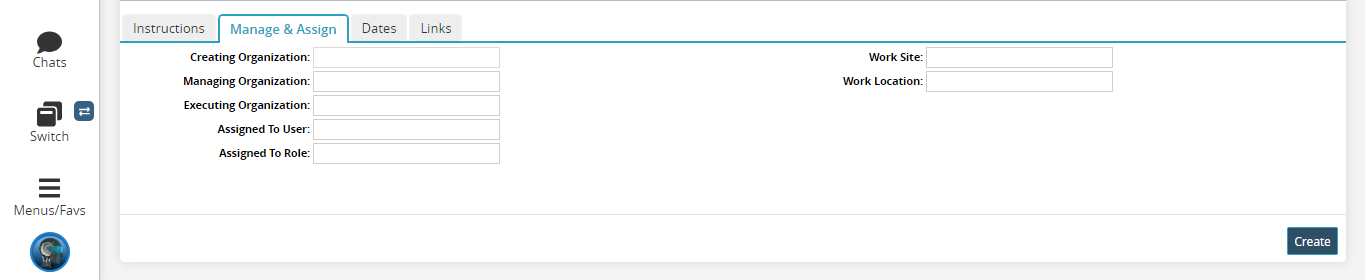
Fill out the following fields. Fields with an asterisk ( * ) are required.
Field Name
Description
Creating Organization
Type or start typing the name of the organization creating the work order.
Managing Organization
Type or start typing the name of the organization managing the work order.
Executing Organization
Type or start typing the name of the organization executing the work order.
Assigned To User
Type or start typing the user name to whom the work order is assigned in the organization.
Assigned To Role
Type or start typing the role of the user, like Asset Admin, Asset Manager, and so on, to whom the work order is assigned in the organization.
Work Site
Type or start typing the worksite at which the work order is performed.
Work Location
Type or start typing the work location at which the work order is performed.
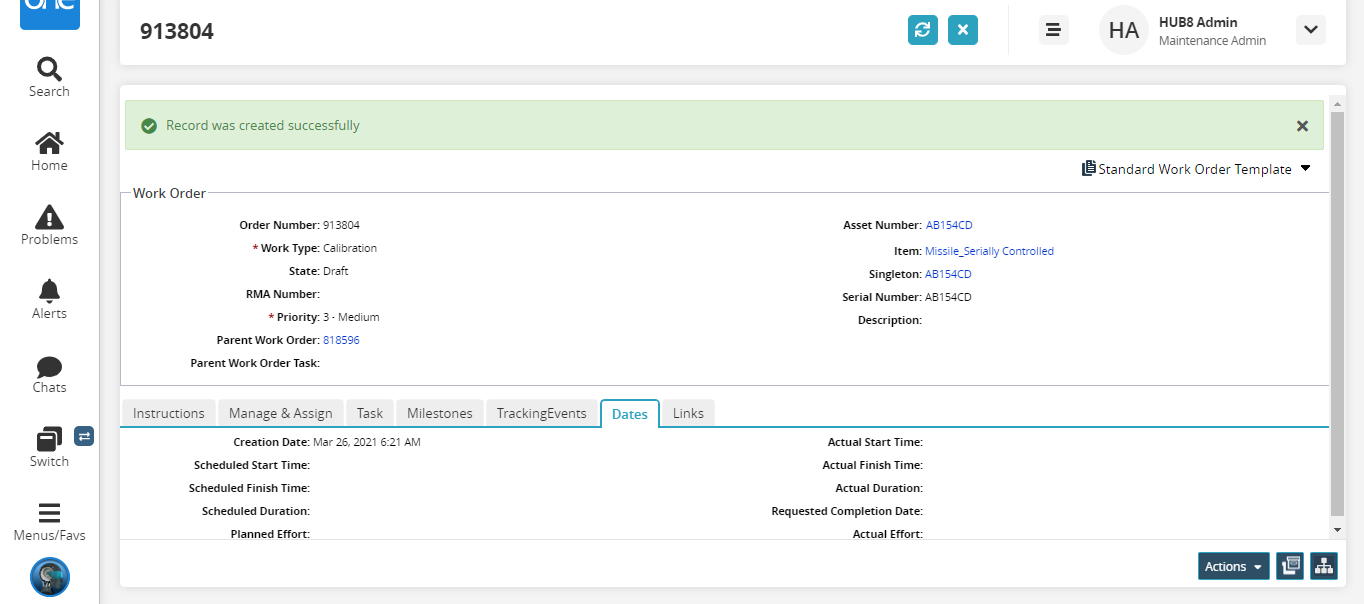
Dates Tab
Select the Dates tab.
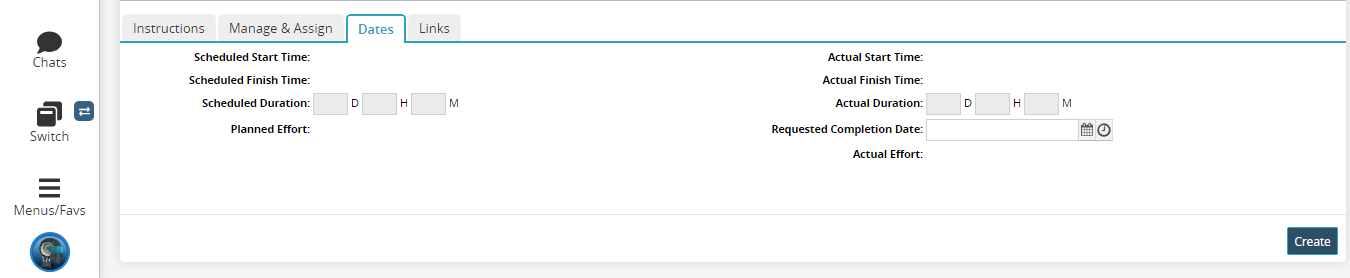
Select the date and time with the Date and Time icon in the Requested Completion Date field.
Links Tab
Select the Links tab.
Click the Filters(edit) to filter the links associated with the work order.
The Task, Milestones, and Tracking Events tabs are added along with the common tabs when the Work Types are selected as Assemble, Calibration, Decommission, Inspection, Kitting, Modification, Production, Reconfigure, Recovery
Tasks Tab
Select the Task tab.
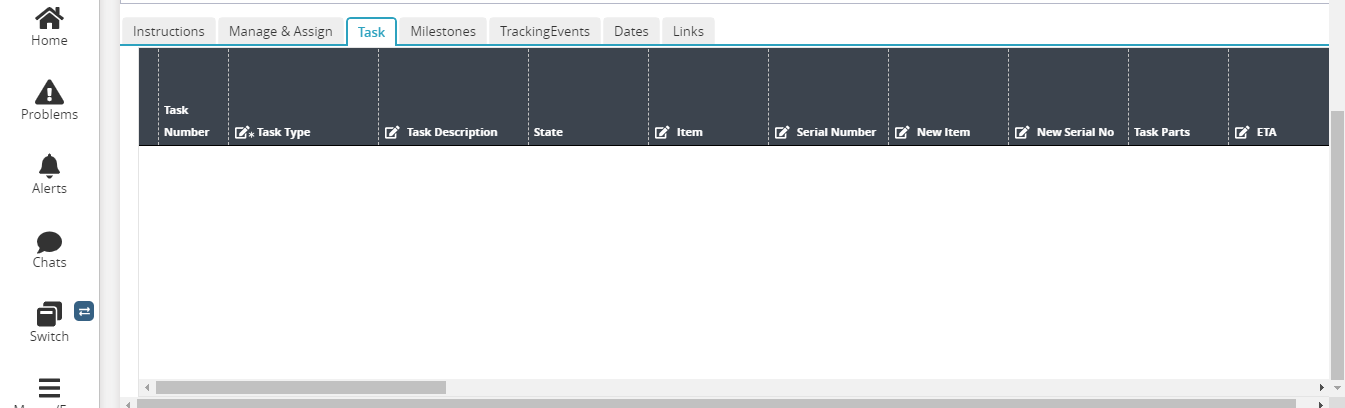
The task part of the work order appears here after the work order is created. Details like Task Number, Task Type, Task Description, State, Serial Number, Item, Task Parts, and so on appear here.
Milestones Tab
Select the Milestones tab.

Click the Filters(edit) link to view the milestones related to the work orders in different states like Completed, In Progress, Pending, and All. The details like Milestone Type, Milestone State, Tracking Event, and so on related to the work order appear here.
TrackingEvents Tab
Select the TrackingEvents tab.
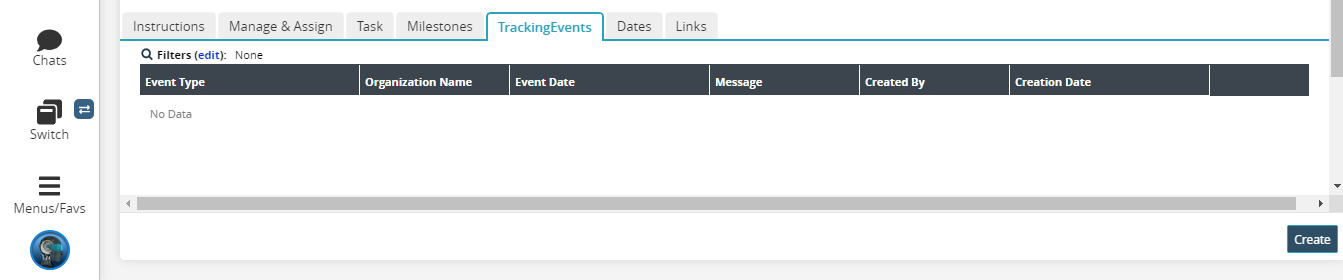
Click the Filters(edit) link to view the tracking events related to the work orders. The details like Event Type, Organization Name, Event Date, and so on related to the work order appear here.
The Inspect CheckList and Review tabs are added along with Task, Milestones, and Tracking Events and the common tabs when the Work Types are selected as Disassemble or Repair
Inspect Checklist Tab
Select the Inspect CheckList tab.
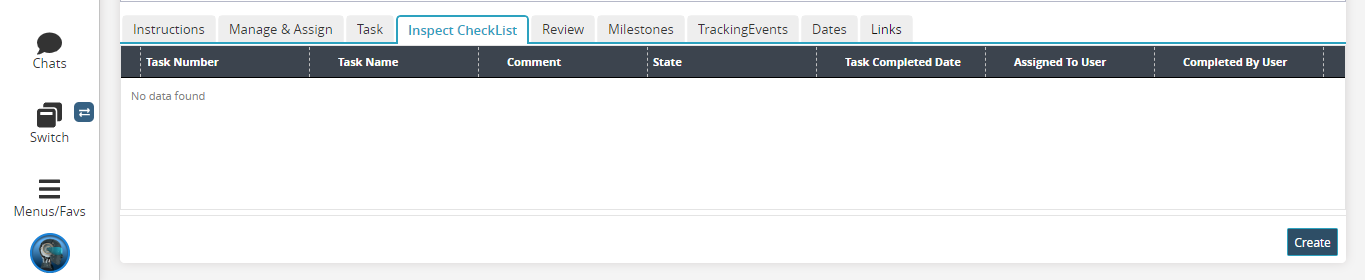
The inspect checklist tab enables users to inspect the work order details like Task Number, Task Name, and so on and Complete Inspection of the disassemble or repair work order types.
Review Tab
Select the Review tab.
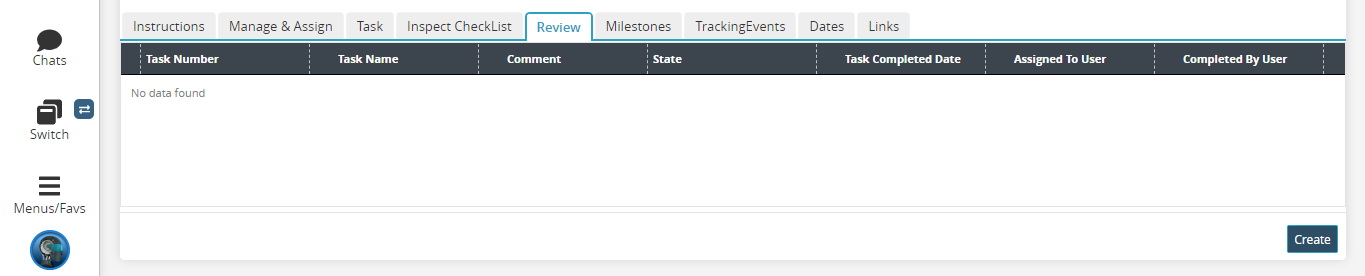
The Review tab enables users to review the work order details like Task Number, Task Name, and so on of the disassemble or repair work order.
The Schedule tab is added with Inspect CheckList, Review, Task, Milestones, and Tracking Events tabs and the common tabs when the Work Type is selected as Preventive
Schedule Tab
Select the Schedule tab.

Enter the maintenance schedule in the Maintenance Schedule field.
Select the Recurring Period from the drop-down list.
States of the Work Order:
Click the Create button at the bottom of the New Work Order screen. The screen refreshes with the success message. The work order is created in the Draft state.
Click Actions > Update
The Work Order screen appears with the Dates tab selected.Select the Scheduled Start Time and Scheduled Finish Time with the date and time tool.
Click the Submit button.
The state of the work order changes to New.
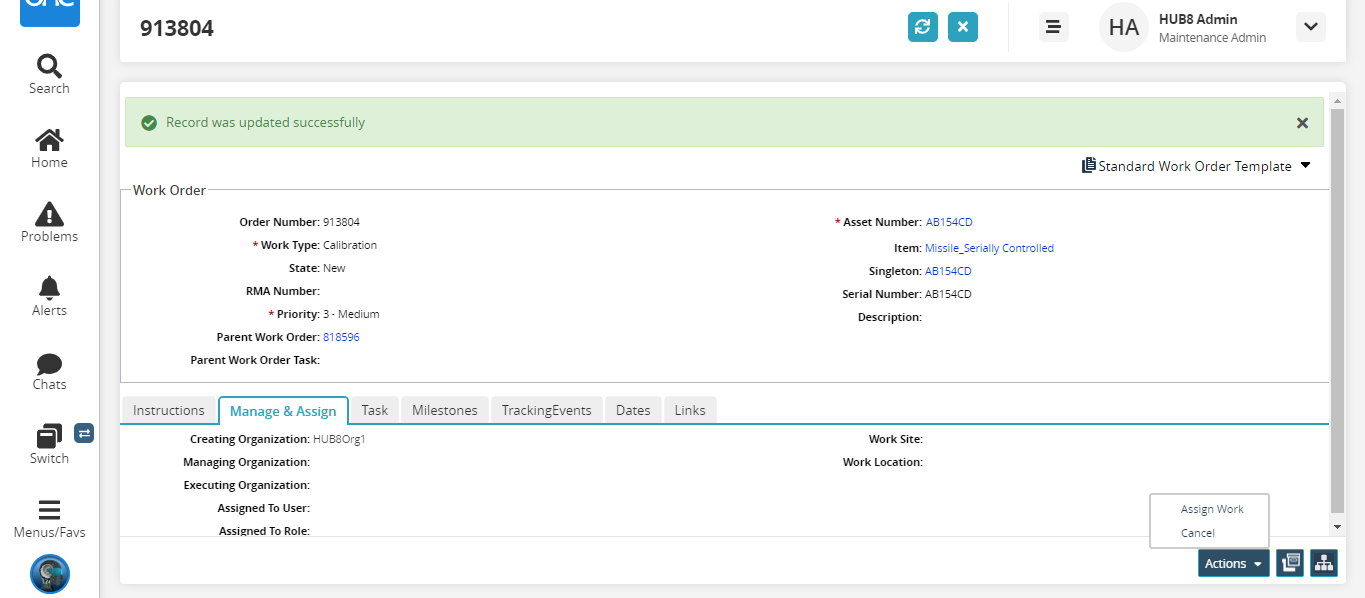
Click the Actions button. The following options are available:
Actions Option
Description
Assign Work
The work order is updated, and the Manage & Assign tab opens.
Enter the required information and click Submit.
The state of the work order changes to Assigned.
Receive Asset
The state of the work order changes t o Open.
Initiate Work
The state of the work order changes to Awaiting Inspection.
Start Inspection
The state of the work order changes to In Inspection.
Complete Inspection
The state of the order changes to Completed Insp ection.
Accept Work
The state of the order cha nges to Accepted.
Start Diagnosis
The state of the order changes to In Diagnosis.
Complete Diagnosis
The state of the order changes to Completed Diagnosis.
Start Planning
The state of the order changes to In Planning.
Complete Plan
The state of the order changes to Planned.
Approve
The state of the order changes to Approved.
Schedule Work
The state of the order changes to Scheduled.
Start Work
The state of the order changes to Completed.