Organizational Resource Administration
At the organization level, you can view, edit, and add resource templates, vehicle types, skill types, and tool types.
Complete the following steps to administer organizational resources:
L og in to the ONE system.
Click Menu/Favs > Fleet Mgmt > Resource Administration.
In the NEO UI, users can click on the Menu/Favs icon on the left sidebar and type in the name of the screen in the menu search bar. For more information, see "Using the Menu Search Bar."
The Resource Administration screen appears.
Resource Templates
To view resource templates, click Resource Templates in the Explorer pane.
The Resource Templates pane appears.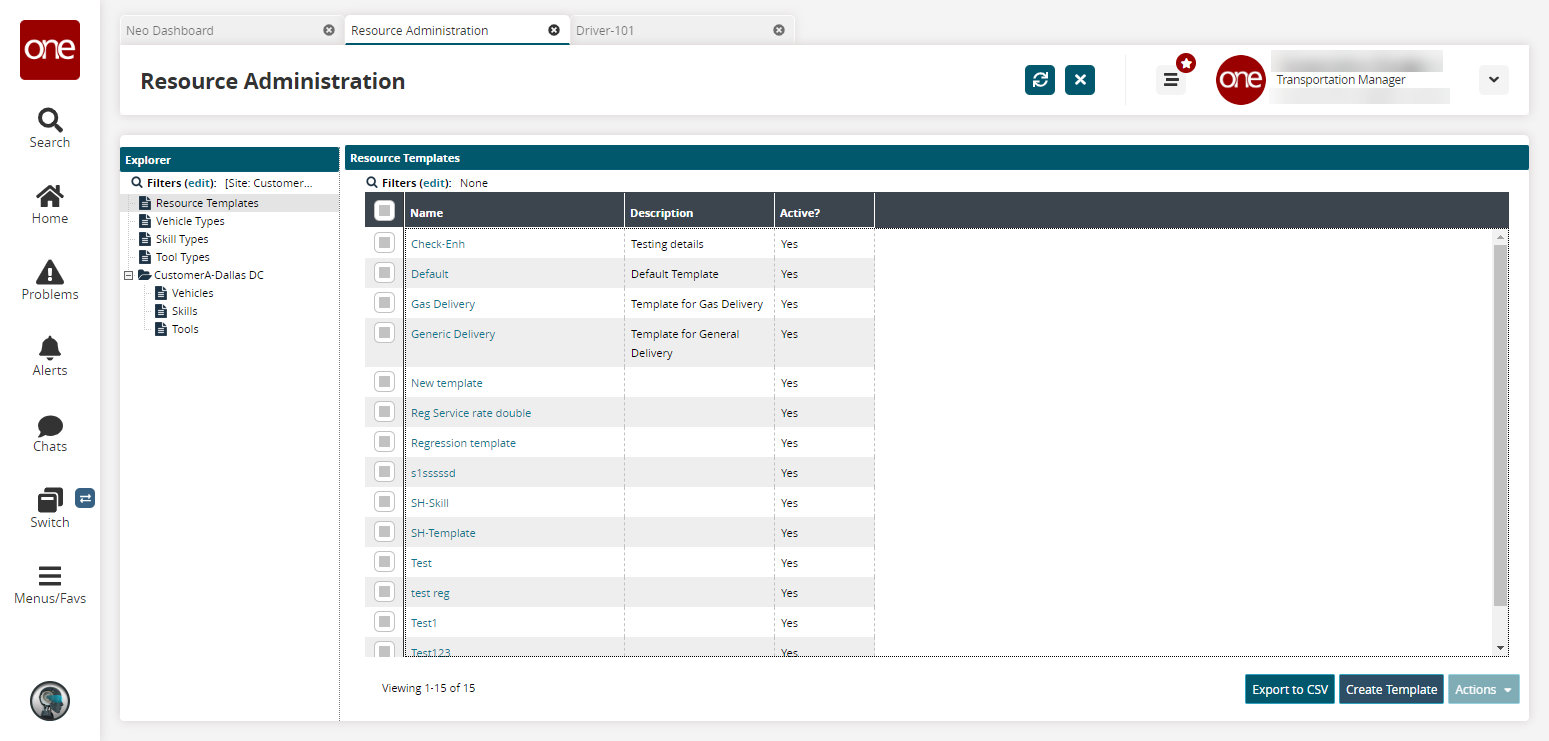
To view details of a resource template, click a Name link.
The resource template screen appears.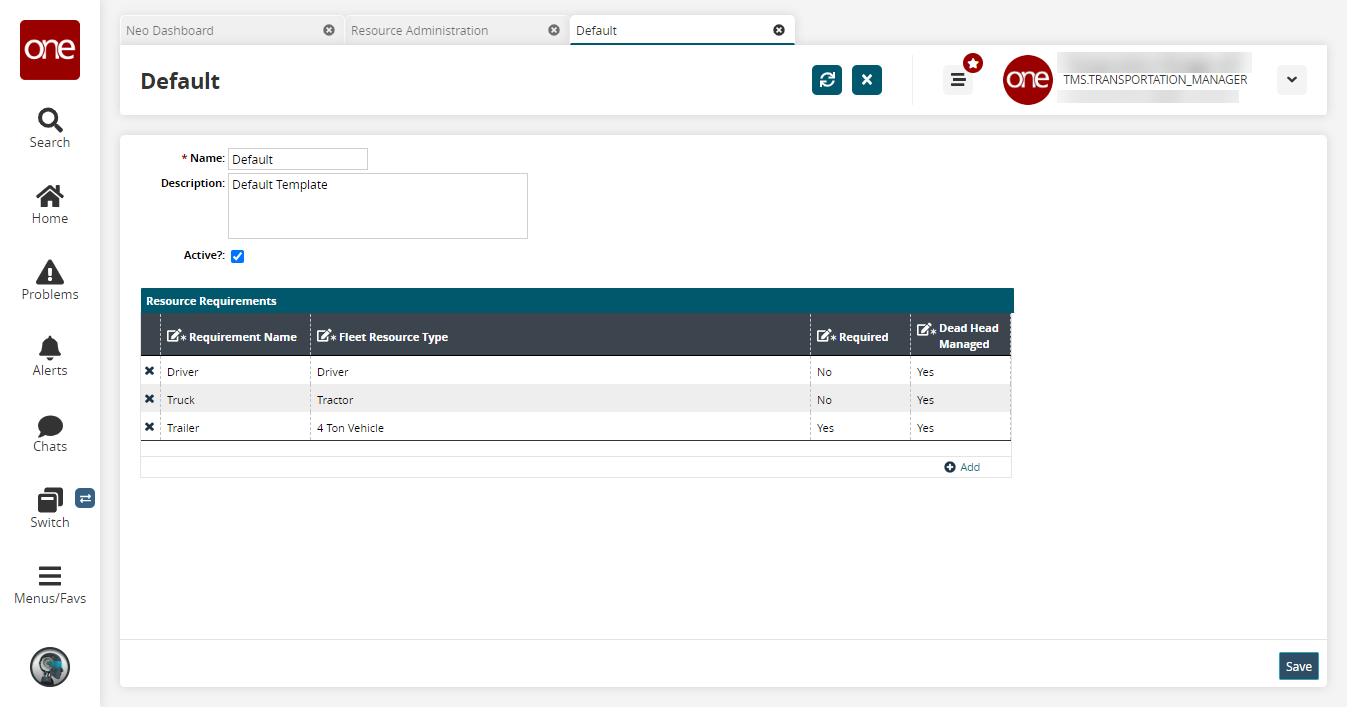
As required, edit the Name or Description.
To change the Active status of the resource template, clear or select the Active? check box.
In the Resource Requirements table, click inside any cell to make it editable, type any changes, and then click outside the cell.
To add a resource requirement, click Add.
A new row appears with editable cells.
As required, type information for Requirement Name, Fleet Resource Type, Required, and Dead Head Managed.For each additional resource requirement, repeat the previous steps.
To save your edits, click Save.
Creating Templates
To add a resource template, click Create Template on the Resource Templates pane.
The Create Template screen appears.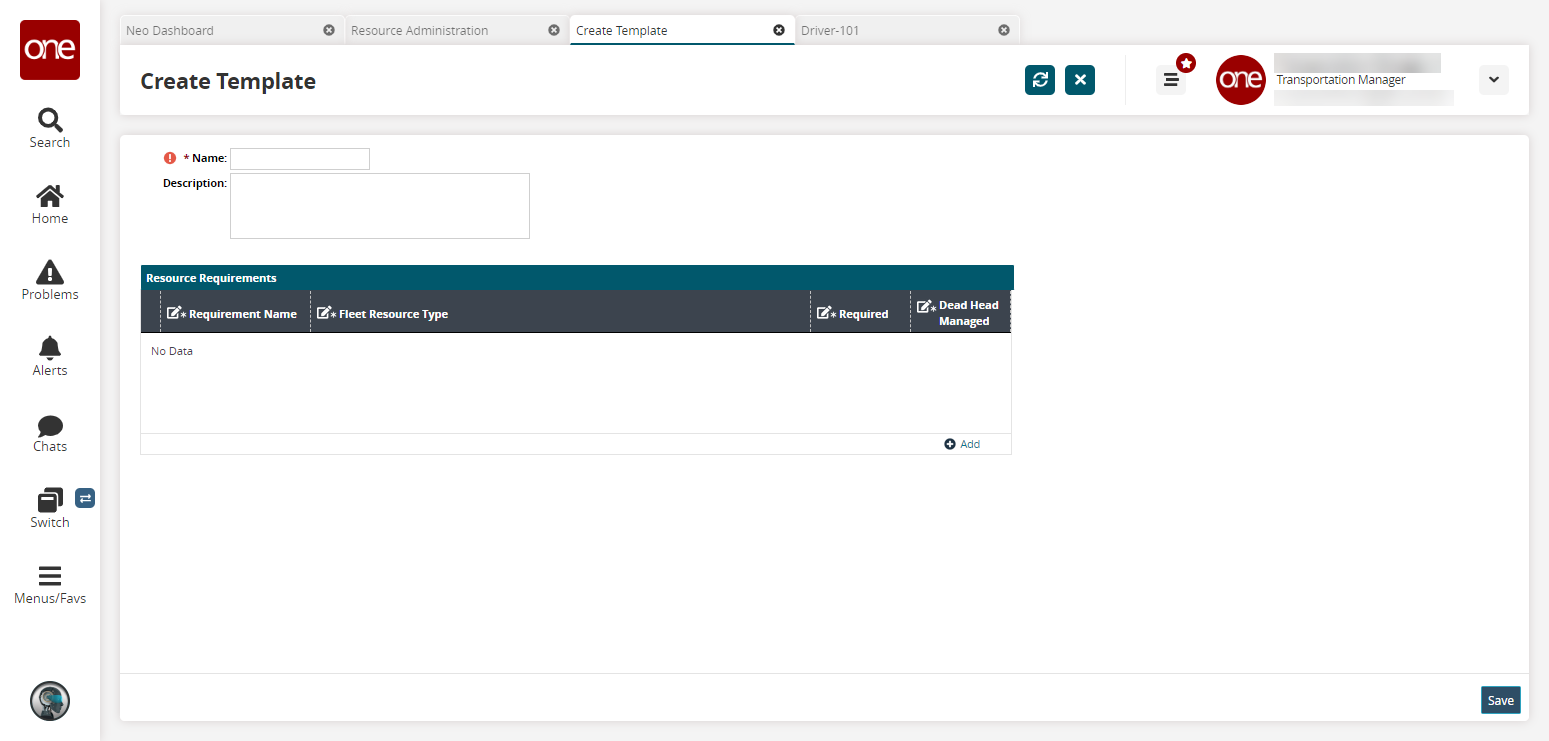
Input a Name and Description.
To add a Resource Requirement, click the Add link.
A new row appears.
Enter information in the Requirement Name, Fleet Resource Type, Required, and Dead Head Managed fields.Click Save when complete.
A success message appears.To change the active status of a resource template, select the relevant check box on the Resource Templates pane, click the Actions button, and then click one of the following options.
Select Activate if the template is not active.
Select Inactivate if the template is active.
Vehicle Types
To view vehicle types, click Vehicle Types in the Explorer pane.
The Vehicle Types pane appears. From here, you can create new vehicle types and modify existing vehicle types.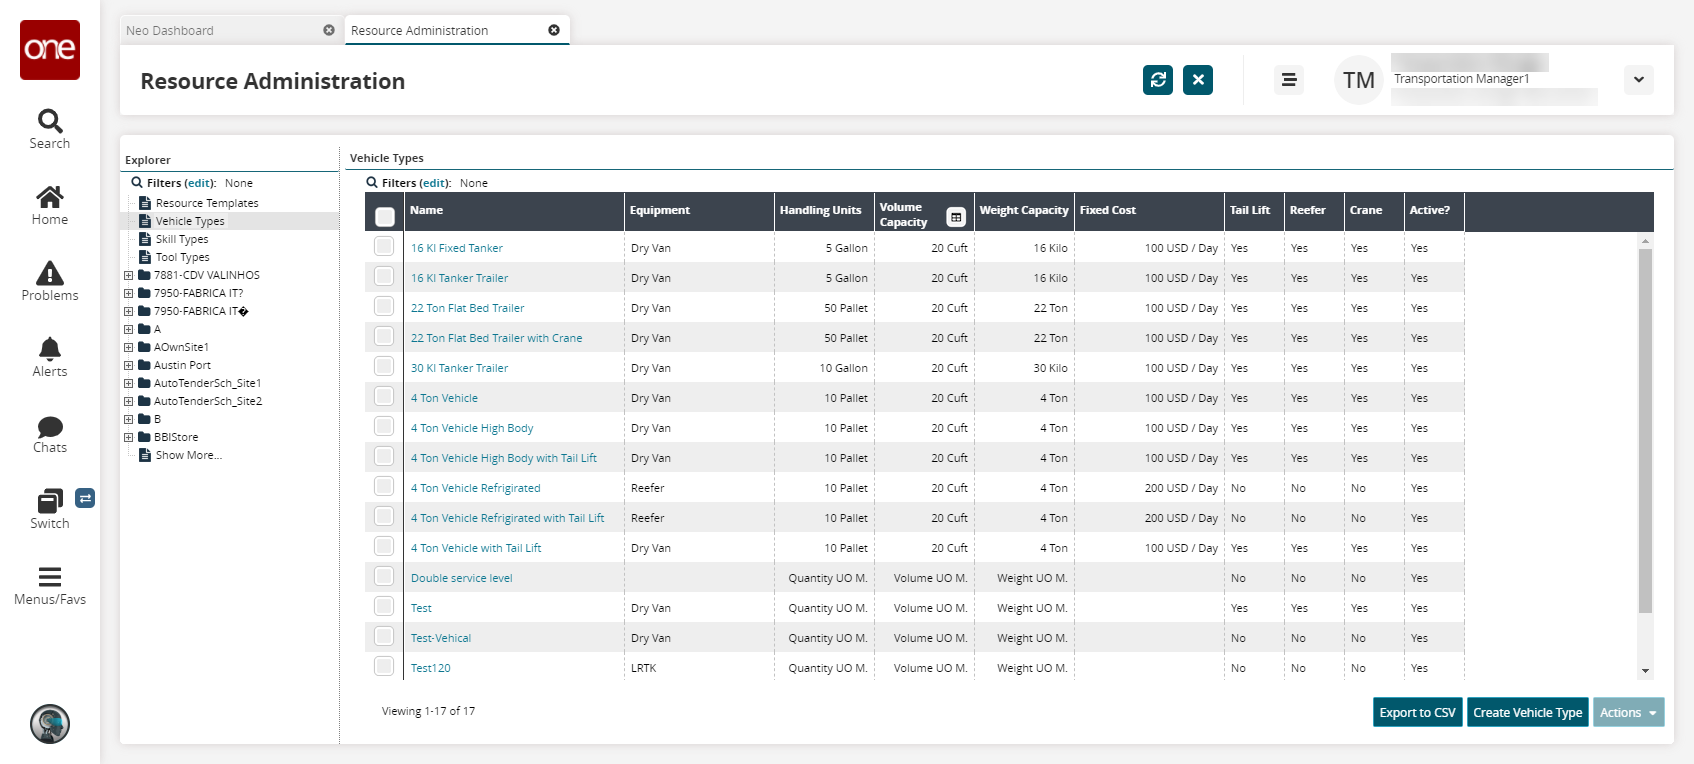
Click the Export to CSV button to export the report to a CSV file.
Click a Name link to view details of a vehicle type.
The vehicle type details screen appears.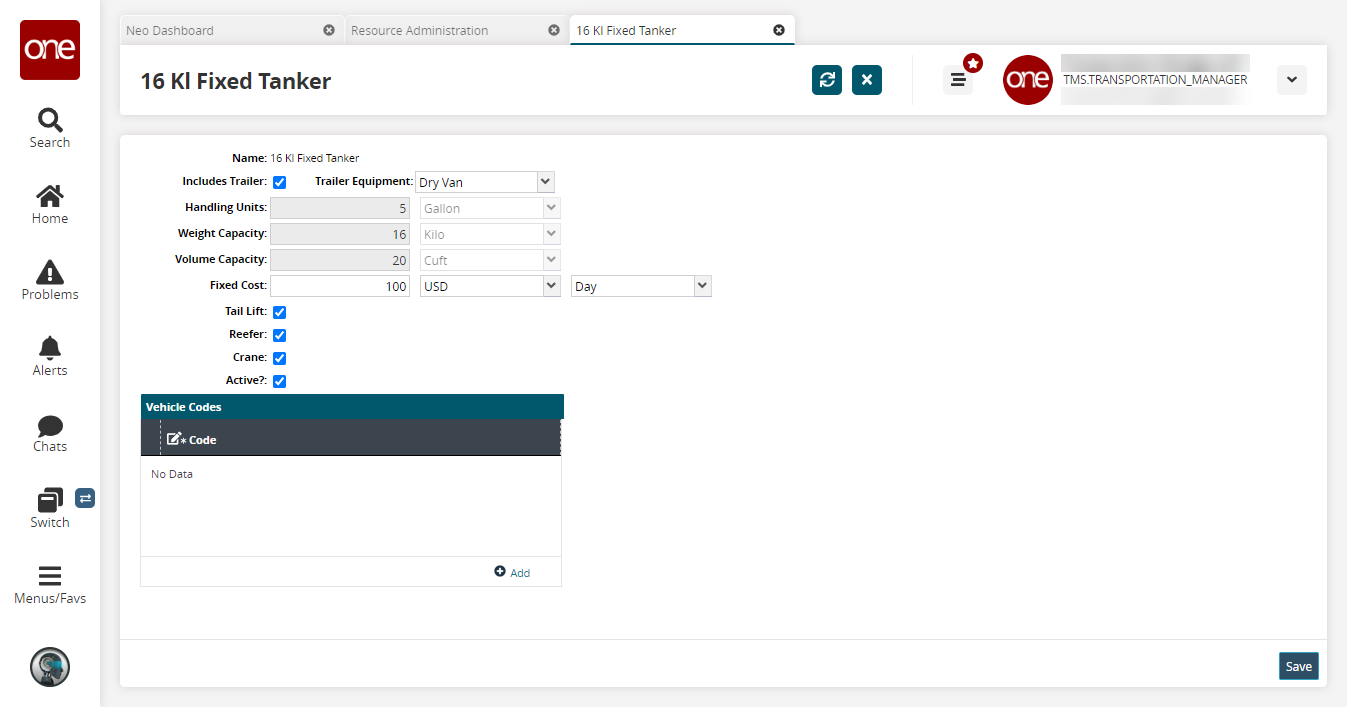
To add a vehicle type, click Create Vehicle Type.
The Create Vehicle Type screen appears.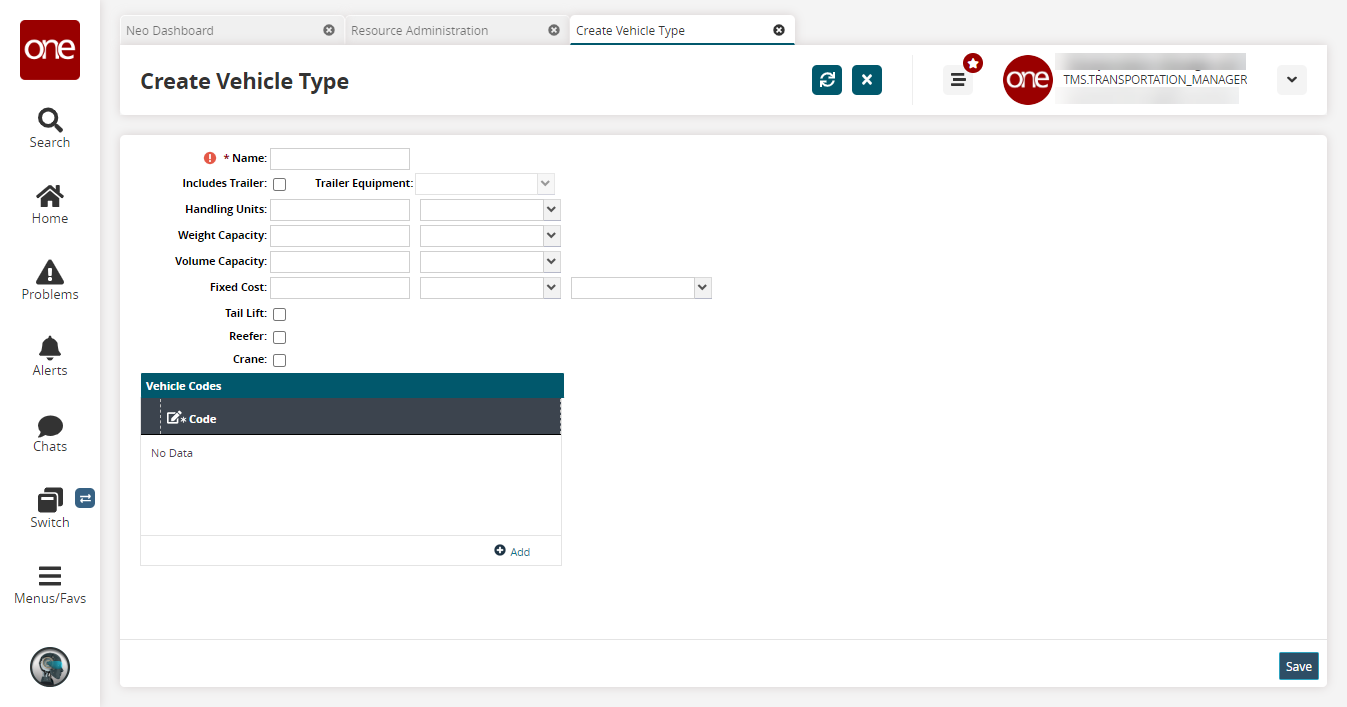
Fill out the following fields. Fields with an asterisk ( * ) are required.
Field
Description
* Name
Input a vehicle name.
Includes Trailer
Select this checkbox if the vehicle has a trailer.
Trailer Equipment
If the Include Trailer checkbox is selected, use the dropdown menu to select the trailer equipment type.
Handling Units
If the Include Trailer checkbox is selected, this field is not selectable.
If the Include Trailer checkbox is not selected, input a value and select a UOM.
Weight Capacity
If the Include Trailer checkbox is selected, this field is not selectable.
If the Include Trailer checkbox is not selected, input a value and select a UOM.
Volume Capacity
If the Include Trailer checkbox is selected, this field is not selectable.
If the Include Trailer checkbox is not selected, input a value and select a UOM.
Fixed Cost
Input a value, select a currency, and select a frequency (day, week, month, and so on).
Tail Lift
If applicable, select the checkbox.
Reefer
If applicable, select the checkbox.
Crane
If applicable, select the checkbox.
Vehicle Codes
Click the Add link.
A new row appears with editable cells.As required, select a code option: Product Group Level or Compliancy Code.
When complete, click Save.
A success message appears.To change the active status of a vehicle type, select its check box on the Vehicle Types pane, click the Actions button, and then select one of the following options:
Select Activate if the vehicle is not active.
Select Inactivate if the vehicle is active.
Skill Types
To view vehicle types, click Skill Types in the Explorer pane.
The Skill Types pane appears.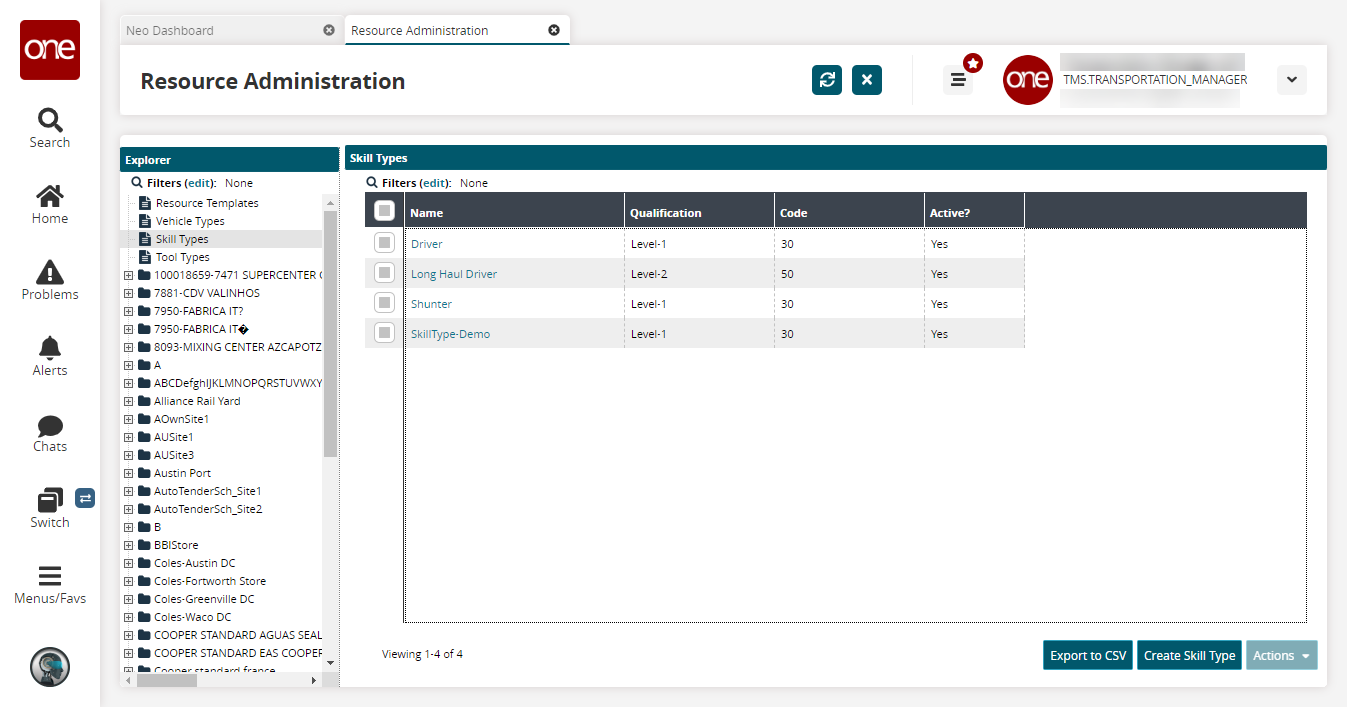
Click the Export to CSV button to export the report to a CSV file.
Click a Name link to view details of a skill type.
The skill type details screen appears.To add a skill type, click Create Skill Type.
The Create Skill Type screen appears.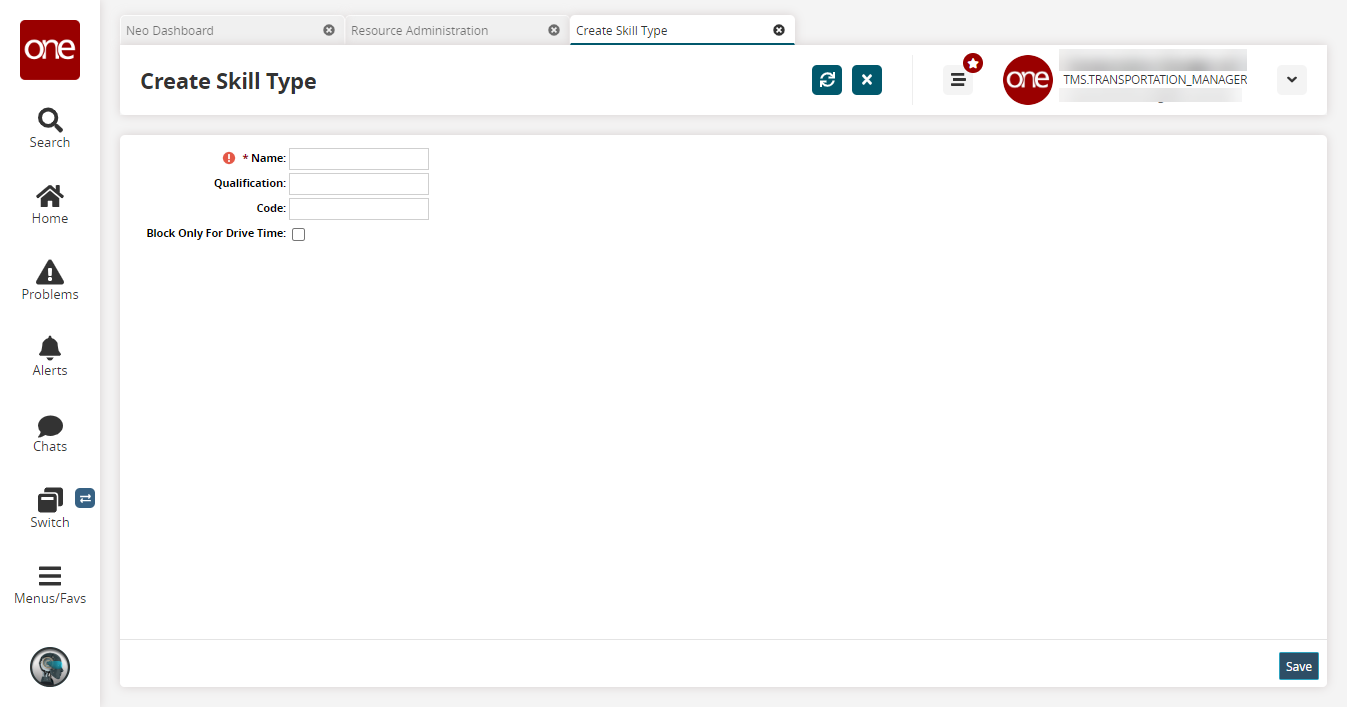
Fill out the following fields. Fields with an asterisk ( * ) are required.
Field
Description
* Name
Enter a name.
Qualification
Enter a qualification.
Code
Enter a code.
Block Only For Drive Time
Select this checkbox to prevent drivers from being booked for the entire load duration and instead book them only for the period of the load which is drive time.
Click Save.
A success message appears.To change the active status of a skill type, select its check box on the Skill Types pane, click the Actions button, and then select one of the following options:
Select Activate if the skill type is not active.
Select Inactivate if the skill type is active.
Tool Types
To view tool types, click Tool Types in the Explorer pane.
The Tool Types pane appears.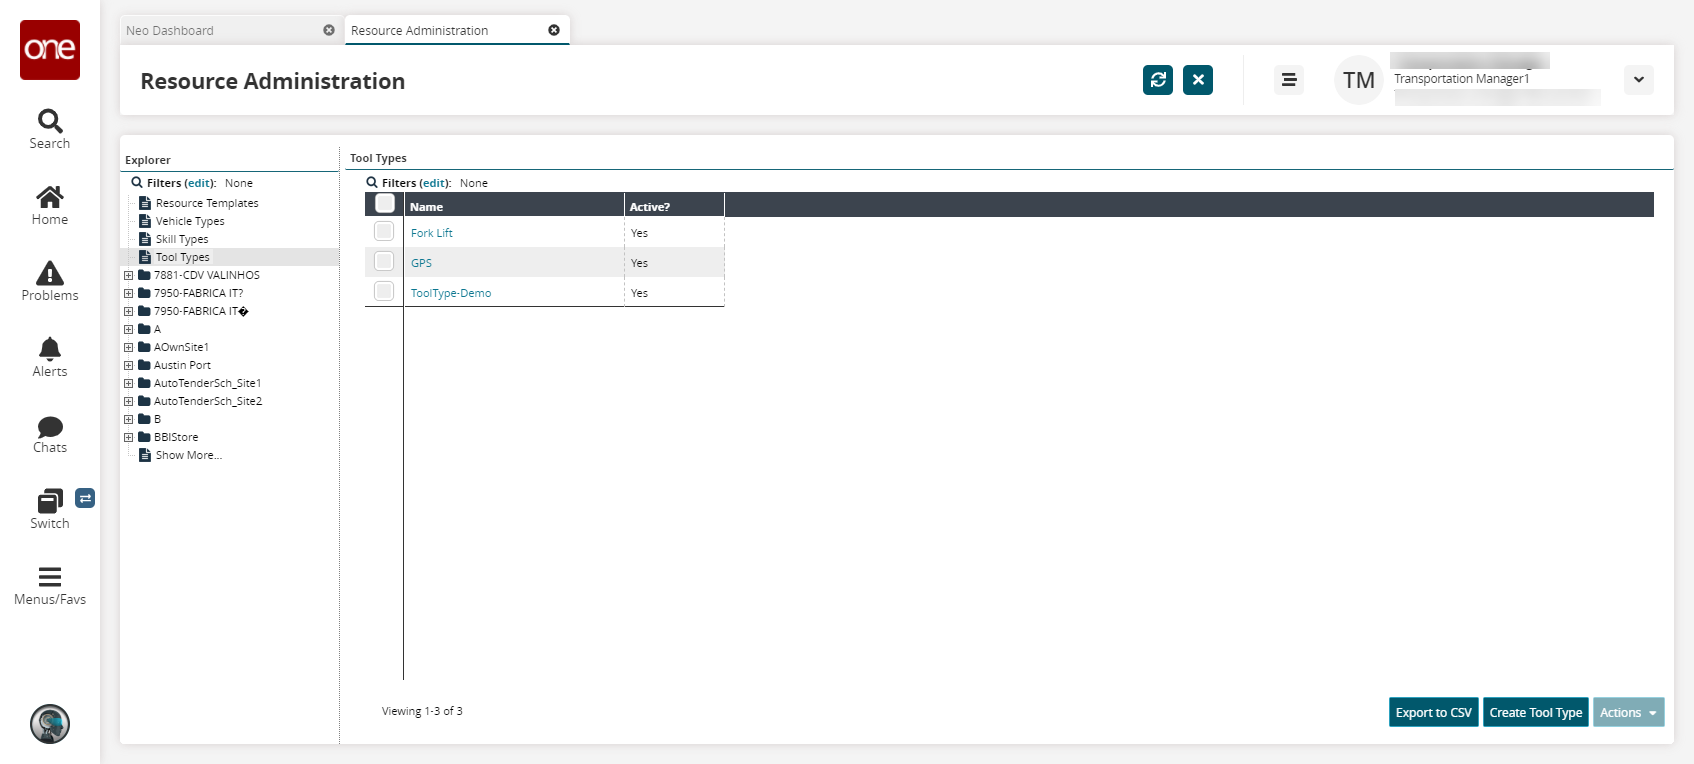
Click the Export to CSV button to export the report to a CSV file.
To view details of a tool type, click a Name link.
A new screen appears.To add a tool type, click Create Tool Type.
The Create Tool Type screen appears.Input a Name.
Click Save.
A success message appears.To change the active status of a tool type, select its check box on the Tool Types pane, click the Actions button, and then select one of the following options:
Select Activate if the tool type is not active.
Select Inactivate if the tool type is active.