Putting Assets in Transit
This topic covers how to put assets in transit via asset details UI.
Prerequisite:
Users must set the Auto Create Shipment In Transit policy to put assets in transit via the asset details UI.
The Put In Transit action is visible for assets in Available state or In Stock state.
Users must set the Current Site, Current Location, Next Site, and Next Location fields under Location tab to perform the Put In Transit action on an asset.
Follow the procedure in the "Searching Policies" section in the Online Help to set the Auto Create Shipment In Transit policy.
Complete the following steps to put the assets in transit via the asset detail screen:
L og in to the ONE system.
Click Menus/Favs > Asset Management > Search Asset.
In the NEO UI, users can click on the Menu/Favs icon on the left sidebar and type in the name of the screen in the menu search bar. For more information, see "Using the Menu Search Bar."
The Search Asset screen appears.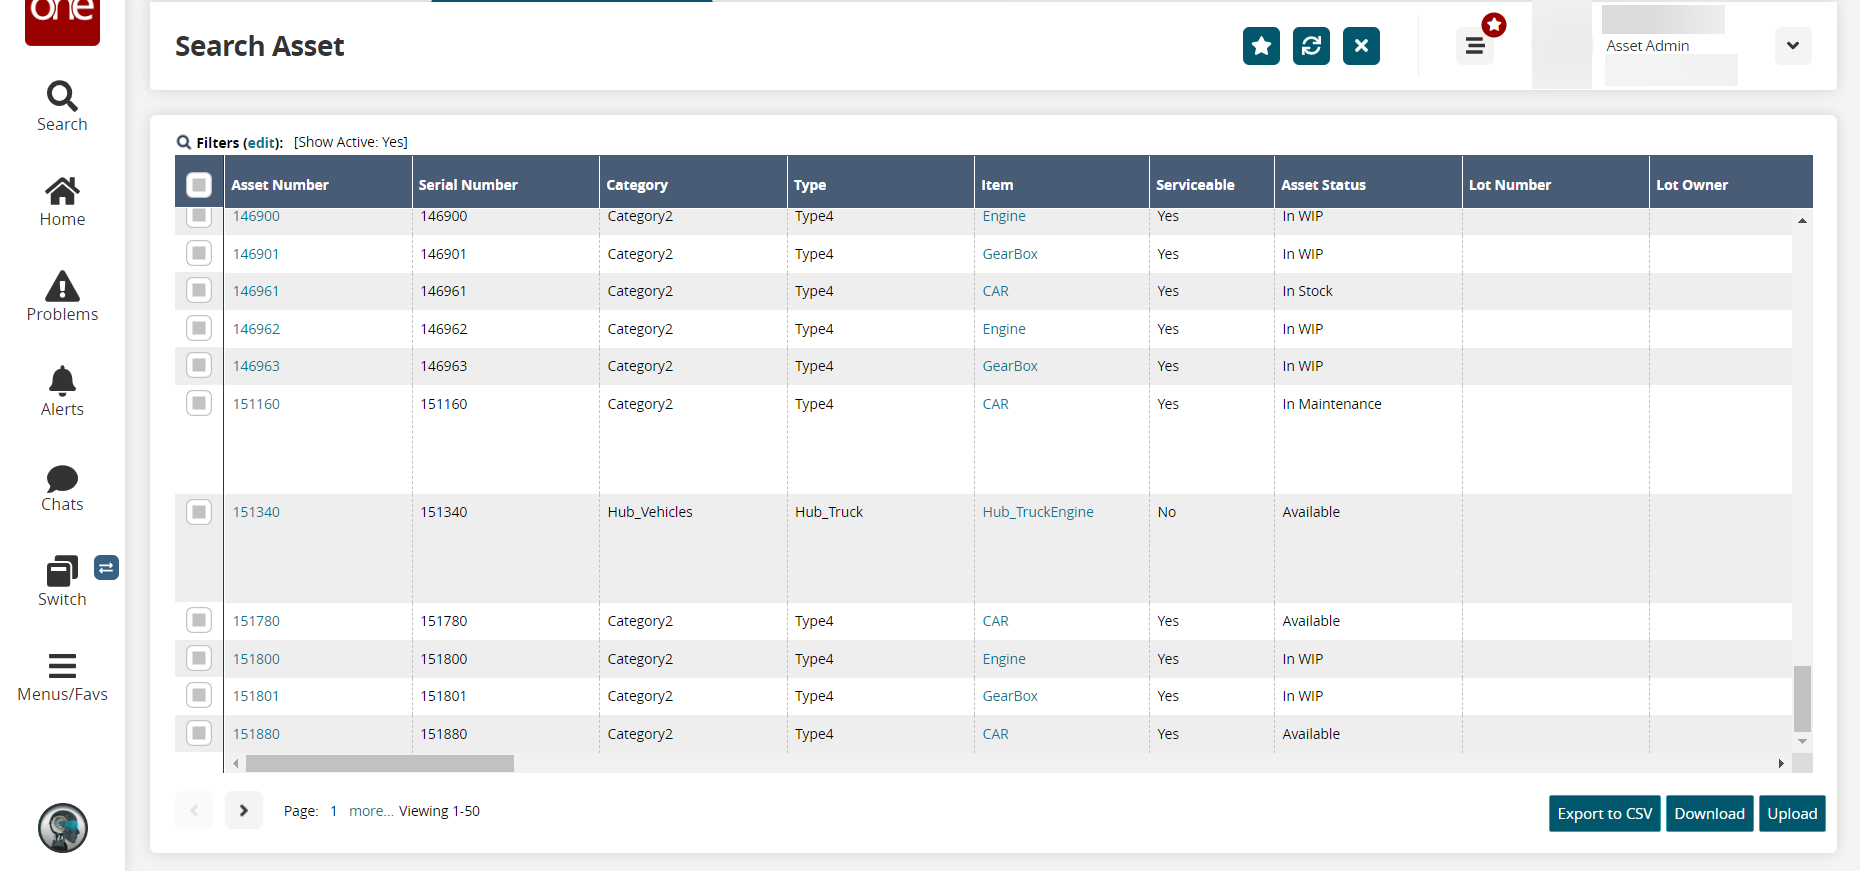
In the Asset Number column, click the number link for the desired asset. For information on searching for assets, see the "Creating and Searching Assets" section in the current release of Online Help.
The asset details screen appears.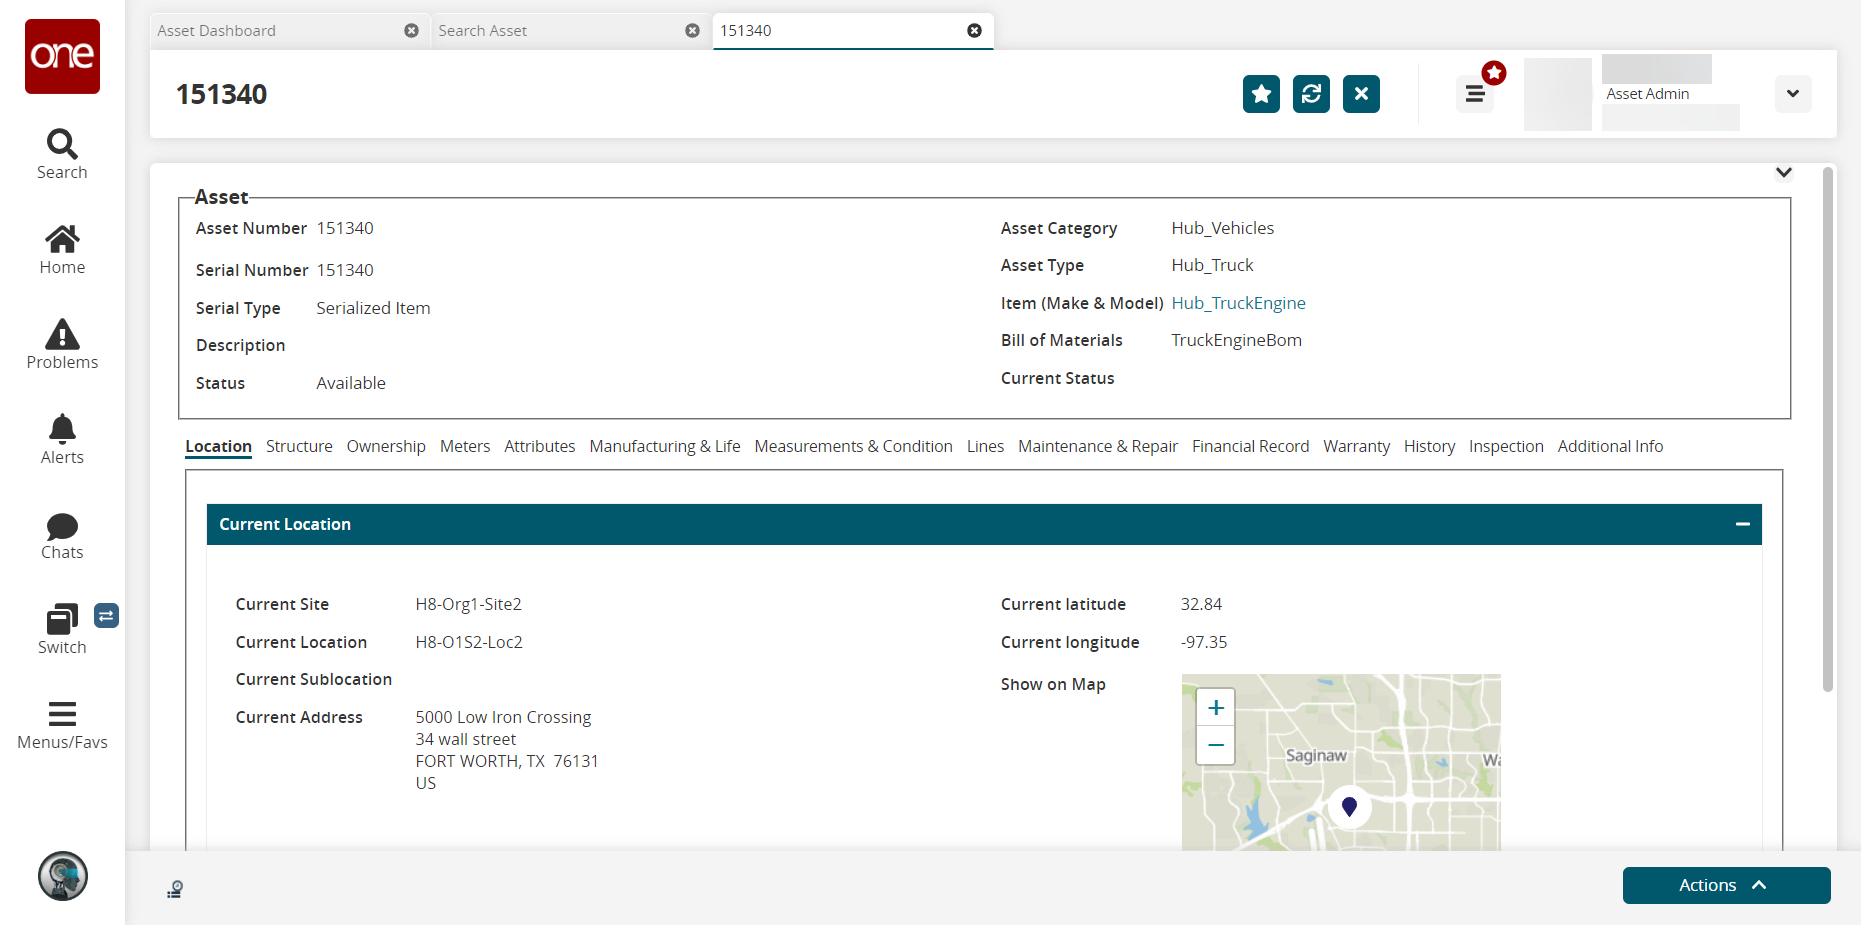
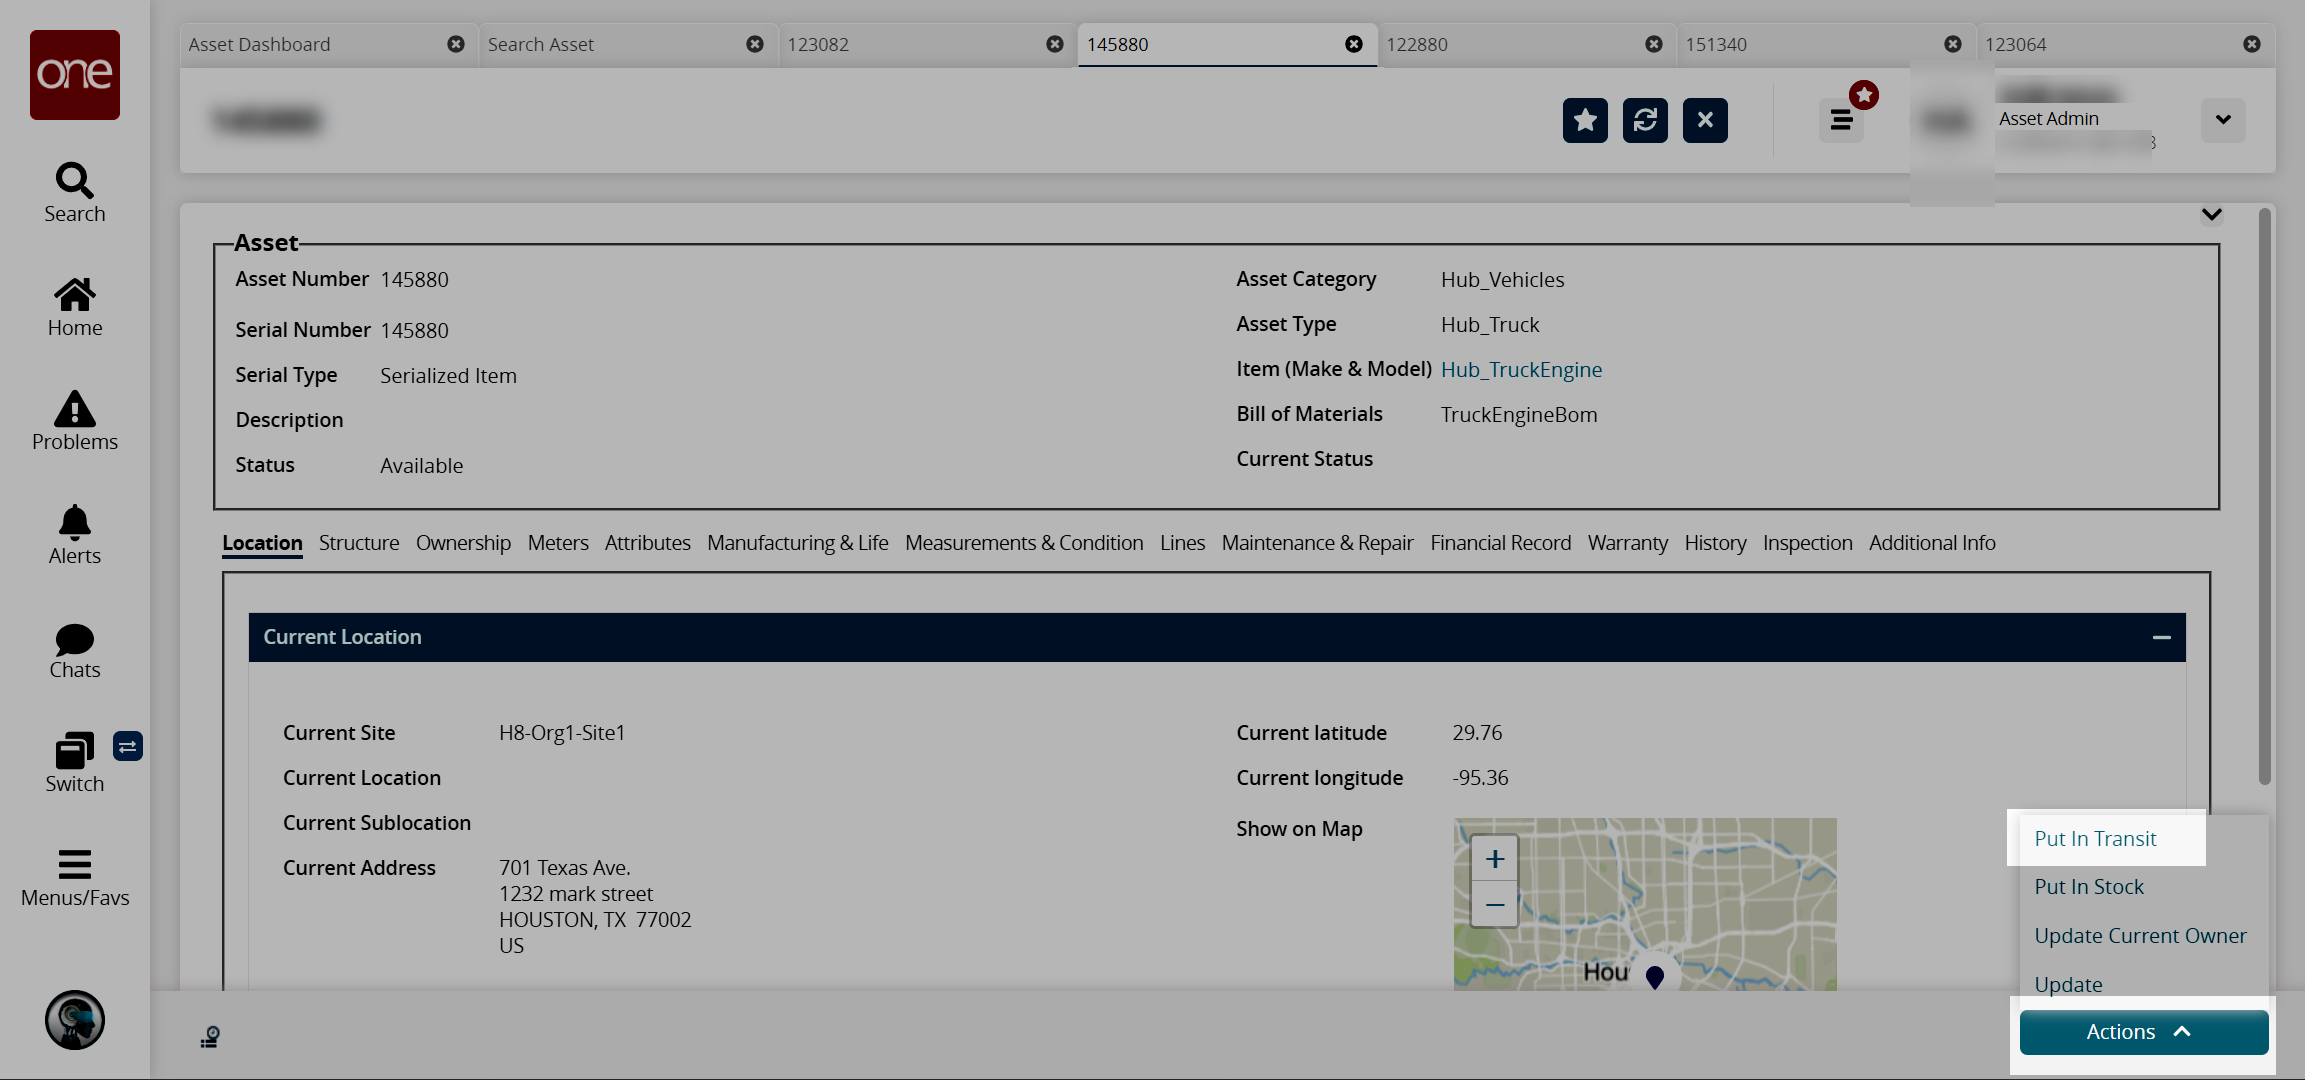
Click Actions > Put In Transit.
A Confirm Shipment popup window appears.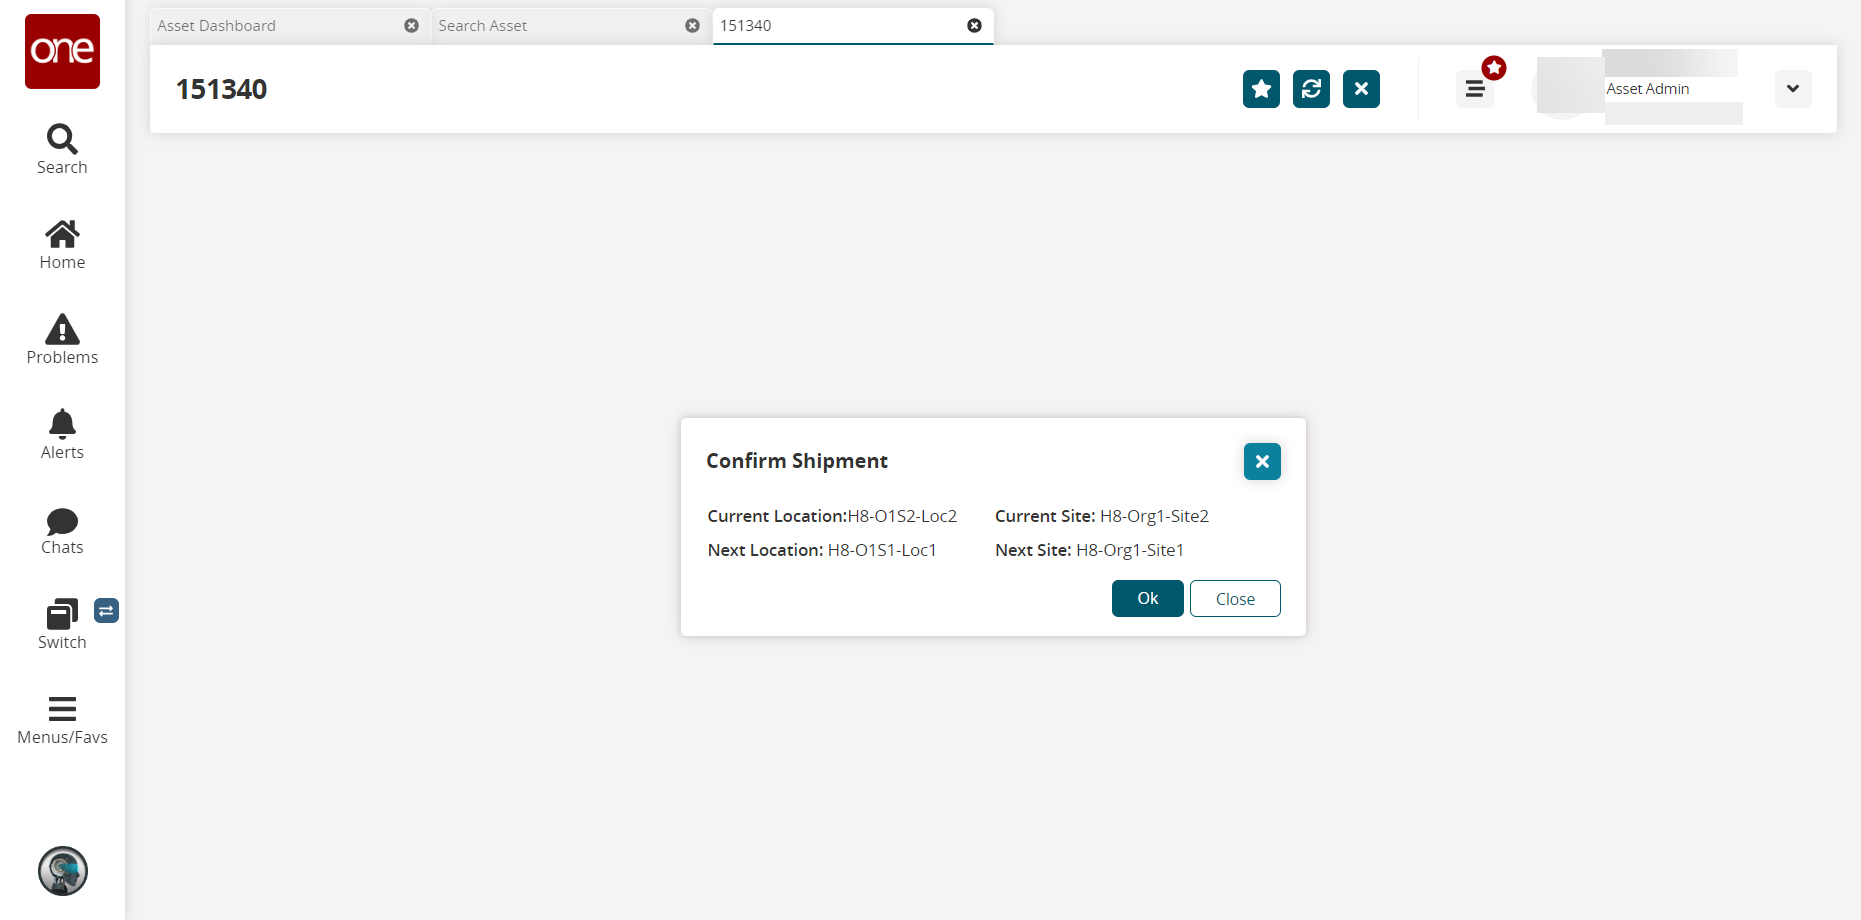
Click OK or Close.
A success message appears, and the asset detail screen appears. The Status of the asset under Structure tab changes to In Transit.Select Actions > Put In Available.
The next location is assigned to the current location under Location tab.