Transit Time Policies
Users can set policies to calculate the transit time for a shipment. The Transit Time By Distance method uses Google and Graphhopper to compute the distance between the sites.
Complete the following steps to set transit time policies:
L og in to the ONE system.
Select Menu/Favs > Transportation > Policies > Transit Time Policies.
In the NEO UI, users can click on the Menu/Favs icon on the left sidebar and type in the name of the screen in the menu search bar. For more information, see "Using the Menu Search Bar."
The Transit Time Policies screen appears.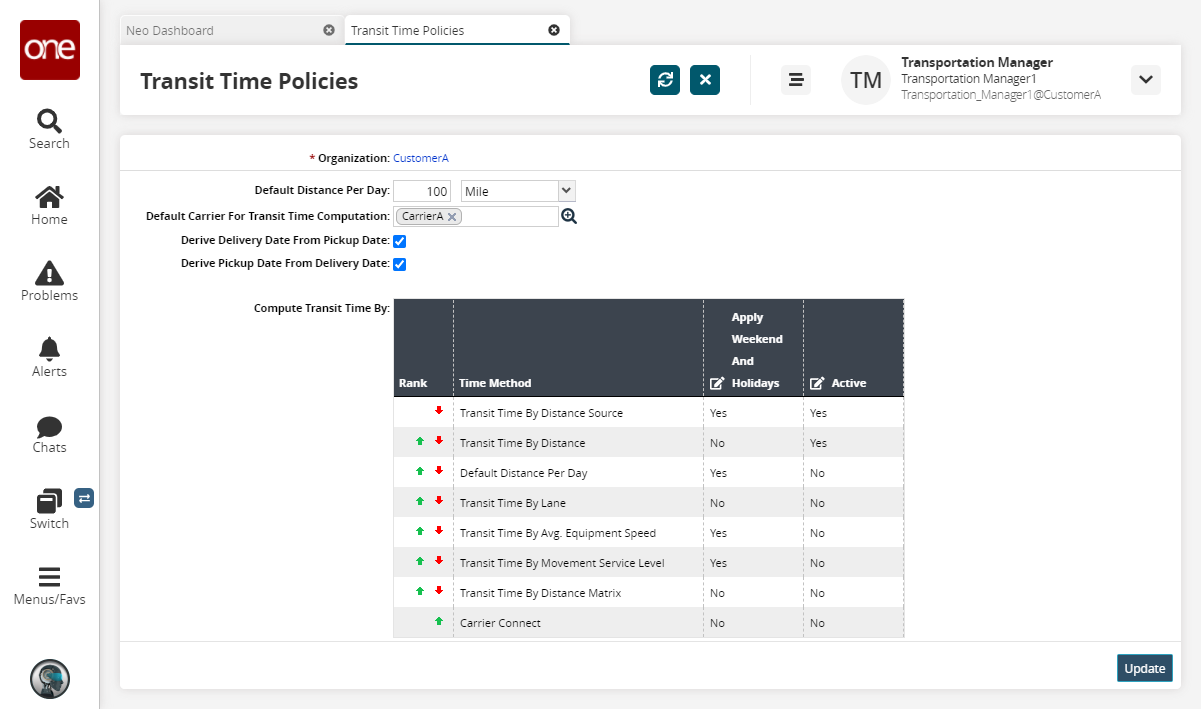
Fill out the following fields. Fields with an asterisk ( * ) are required.
Field
Description
Default Distance Per Day
Enter the default distance value, and then select either Kilometer or Mile as the unit of measure from the drop-down menu.
Default Carrier For Transit Time Computation
Select the default carrier for transit time computation using the picker tool.
Derive Delivery Date From Pickup Date
Select this option to derive the delivery date from the pickup date entered on the Shipment Header tab.
If both Derive Delivery Date From Pickup Date and Derive Pickup Date From Delivery Date are enabled, pick up or delivery dates can be derived if either of the dates is entered on the Shipments Header tab.
Derive Pickup Date From Delivery Date
Select this option to derive the pickup date from the delivery date entered on the Shipment Header tab.
If both Derive Delivery Date From Pickup Date and Derive Pickup Date From Delivery Date are enabled, Pick up or delivery dates can be derived if either of the dates is entered on the Shipments Header tab.
In the Compute Transit Time By table, under the Rank column, set the priority for methods to compute the transit time by ordering the available methods in ascending order.
Info
Use the up and down arrow icons to set the order of the methods.
Set the desired value for the Apply Weekend And Holidays field. The available options are Yes and No.
Set the desired value for the Active field. The available options are Yes and No.
Click Update to save the changes.
A success message appears.