Uploading Fiscal Calendars
As the Buyer Planner, you can upload fiscal calendar files through a UI upload using a One Network standard CSV format. Afterward, you can view the status of uploaded files or export the status report to a spreadsheet.
To upload fiscal calendar files:
On the Administration menu, select Search Fiscal Calendar.
The Search Fiscal Calendar screen appears.
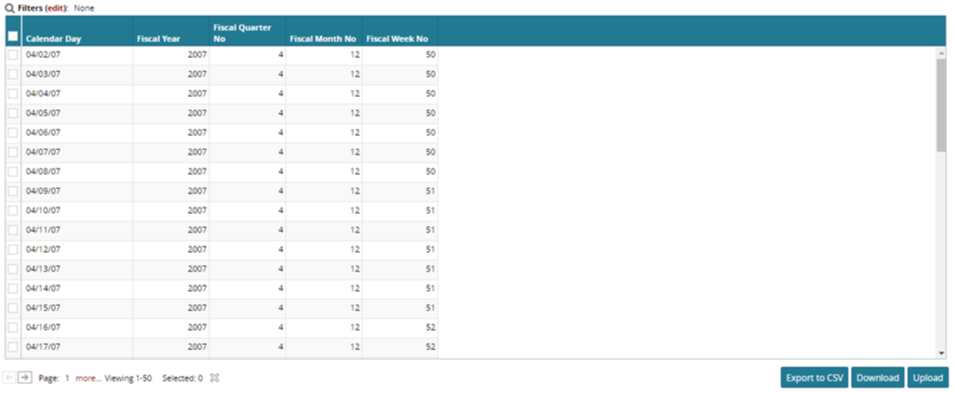
Click the Upload button at the bottom of the page.
The Fiscal Calendar Upload screen appears.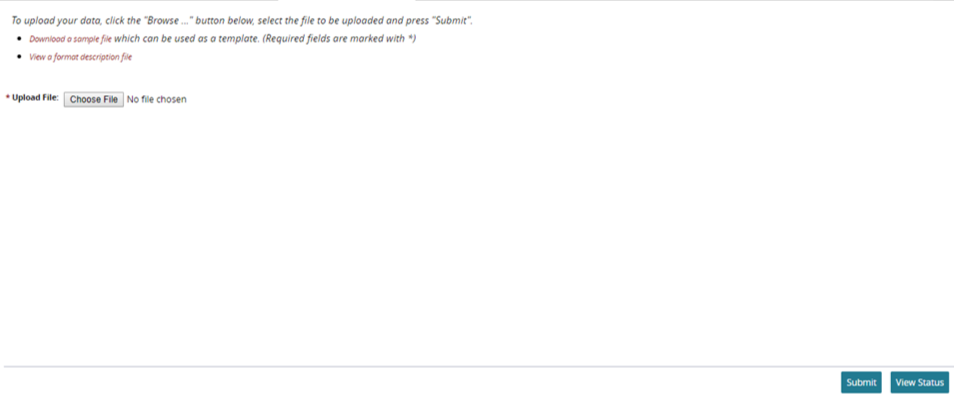
In Upload File, browse for the .csv file that you want to upload.
Tip
To view a sample file that can be used as a template, click the Download a sample file link. Use the template to format your upload data.
Click Submit.
The Upload Fiscal Calendar tab shows the status of uploaded files.To refresh the status of the list, click the Click here link in the information box.
If errors occurred, the Errors column shows a file link consisting of the original file name with "Errors" appended before .csv.To download the uploaded file, click the File Name link.
Choose an option for this file:
Click Open to view the file in Microsoft Excel.
Optionally, you can print the file using the print option in Microsoft Excel.
Click Save to save the file in Microsoft Excel format.
The Save As dialog appears. You can accept the default file name, or you can rename the file or change its folder location. You can print the saved .csv file later by opening it in Microsoft Excel and using the print option.
Click Cancel to close the dialog box without taking any action.
To save or view the failure reason for the uploaded file, click the Errors link, and follow the procedures described in steps 5 and 6.