Yard Explorer
You can create, edit, and inactivate yard locations at a site.
Complete the following steps to manage yard locations:
L og in to the ONE system.
Select Menu/Favs > Yard Management > Yard Explorer.
In the NEO UI, users can click on the Menu/Favs icon on the left sidebar and type in the name of the screen in the menu search bar. For more information, see "Using the Menu Search Bar."
The Yard Explorer screen appears, showing all sites in the organization in the Explorer pane.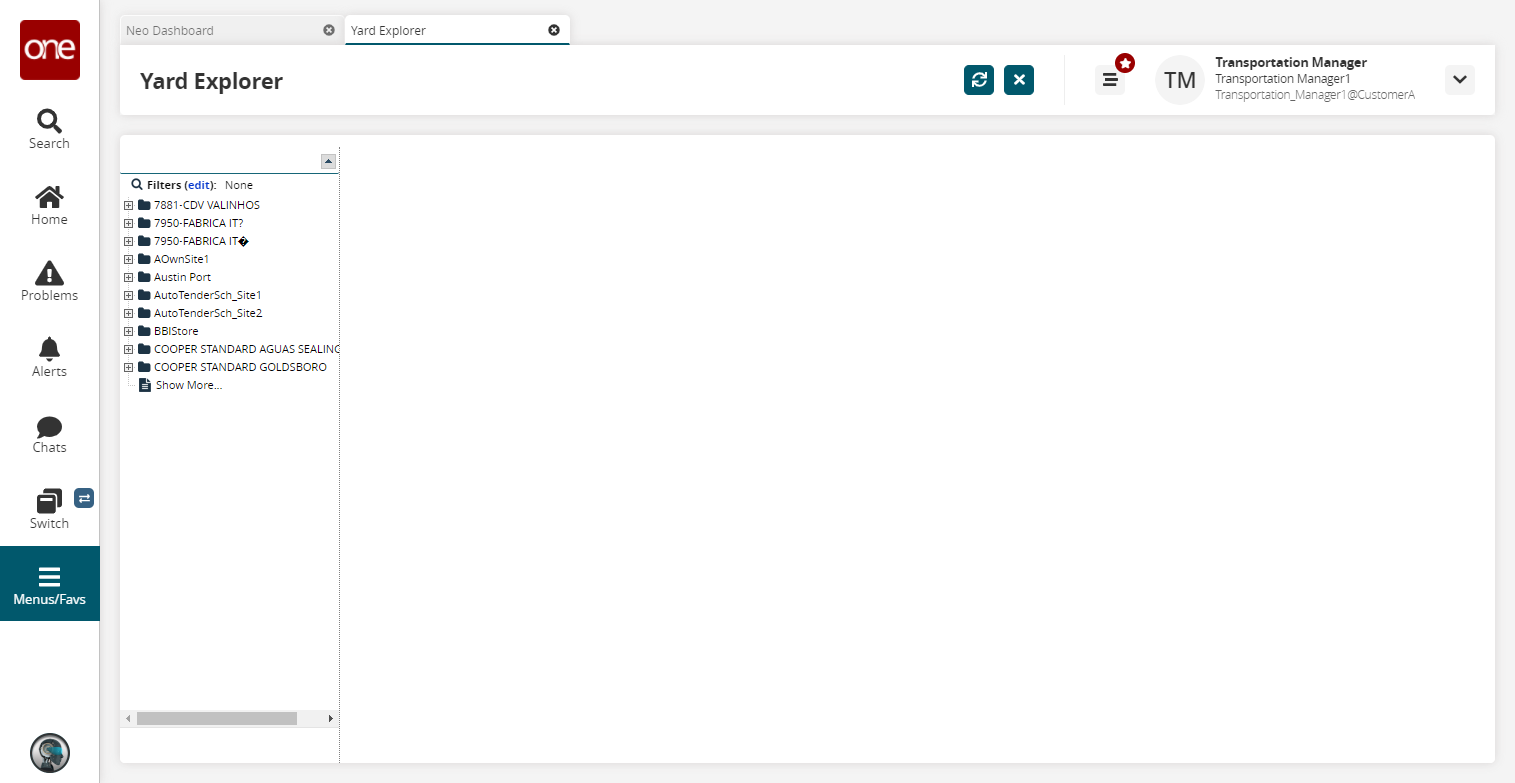
To view the yards at a site, click a site folder.
The Locations tab appears showing all yards for this site.
Locations Tab
Click the Export to CSV button to export the report to a CSV file.
Click the New Yard Location button to create a new yard.
The New Yard Location popup appears.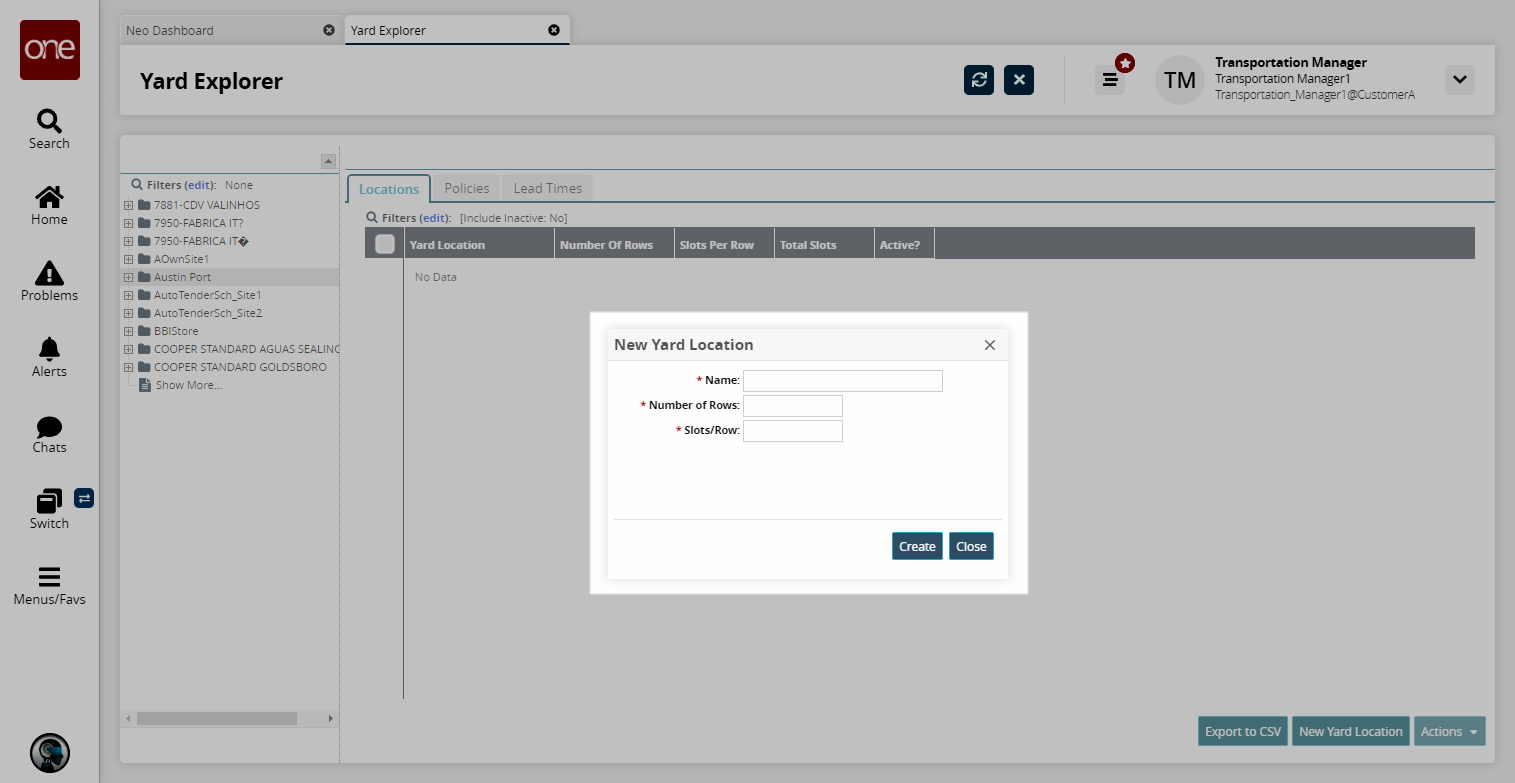
Enter values in the Name, Number of Rows, and Slots/Row fields.
Click Create.
A success message appears and the new yard appears in the Locations tab.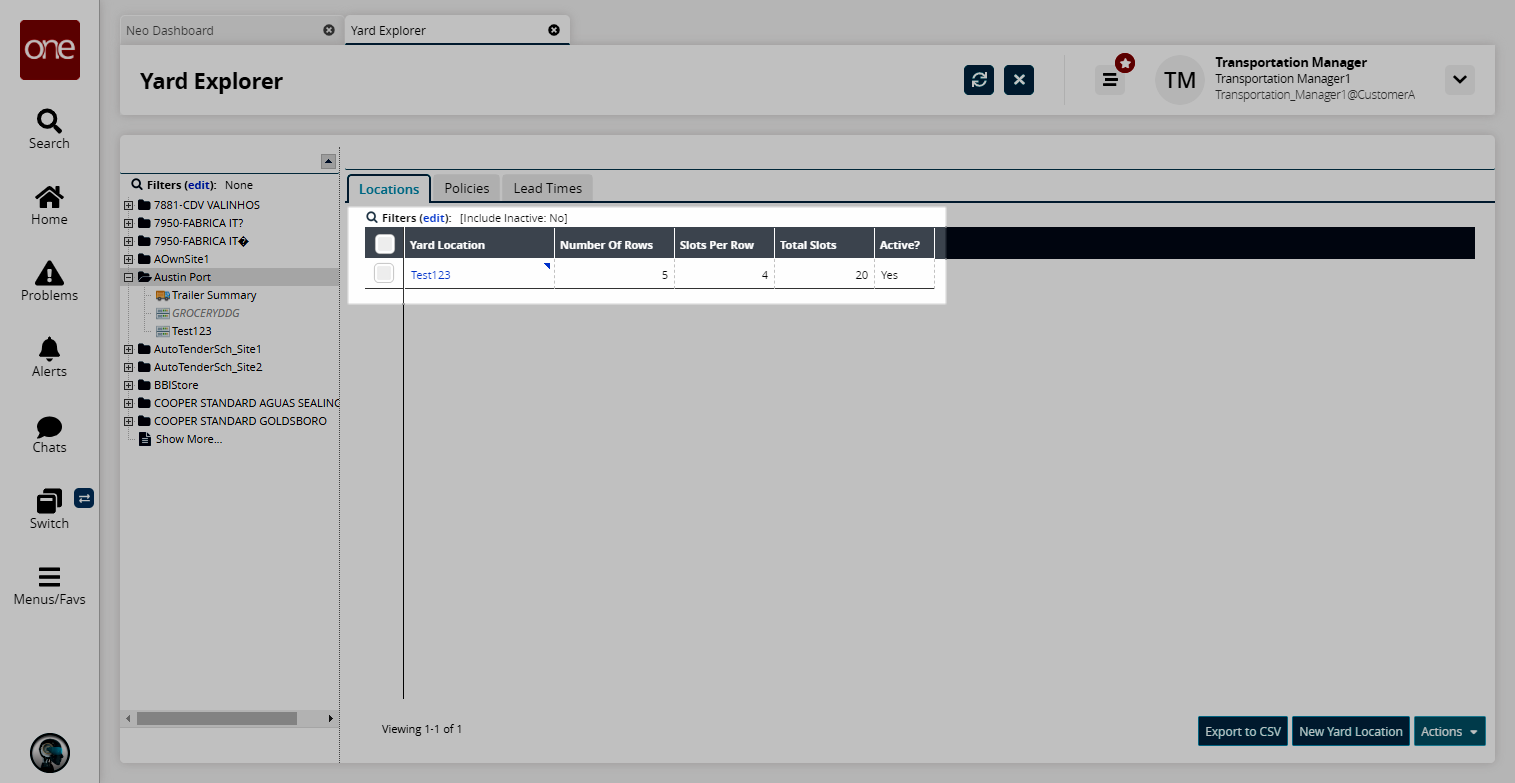
Select a location and click the Actions button.
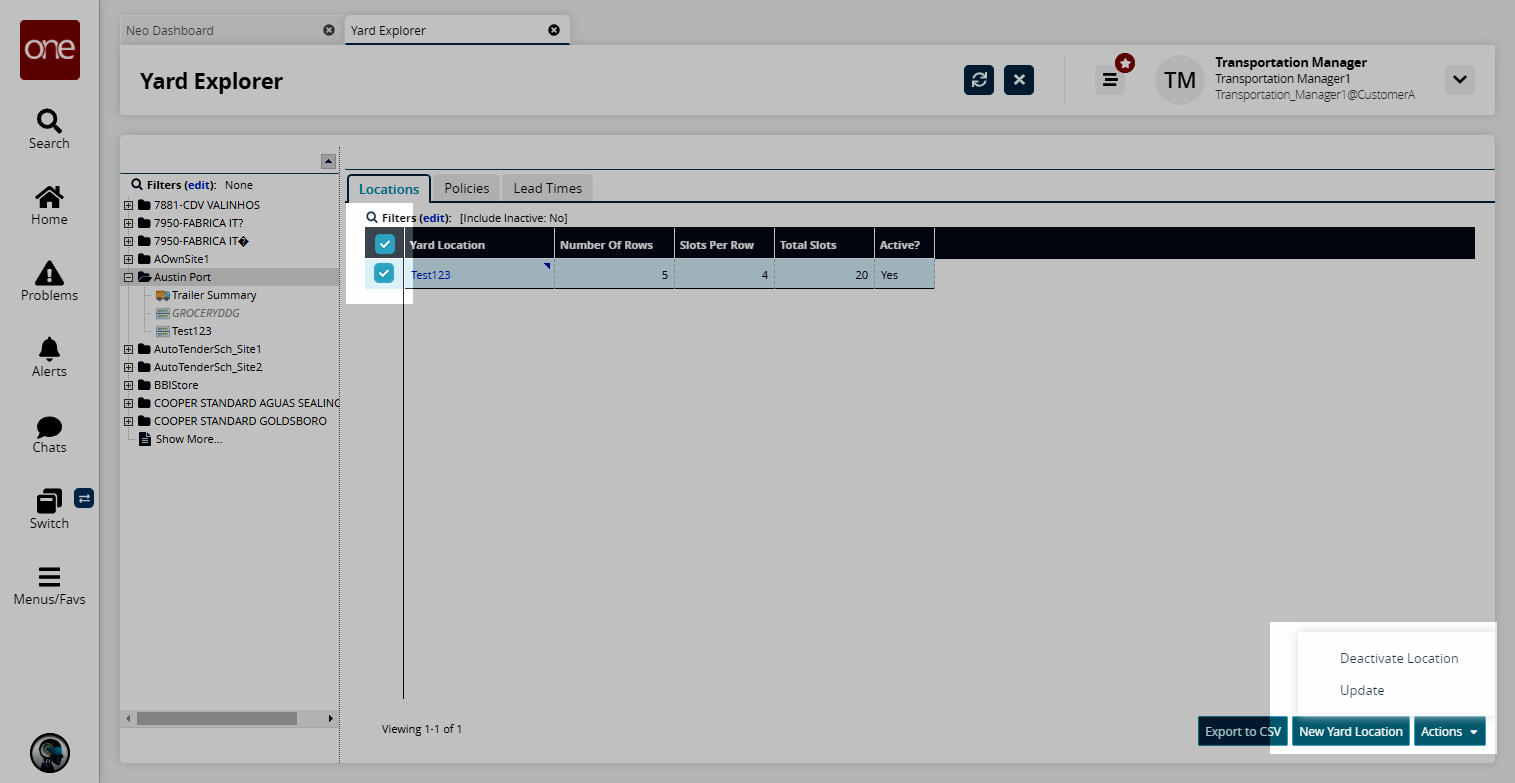
To update a location, click the Update option.
The Update popup appears.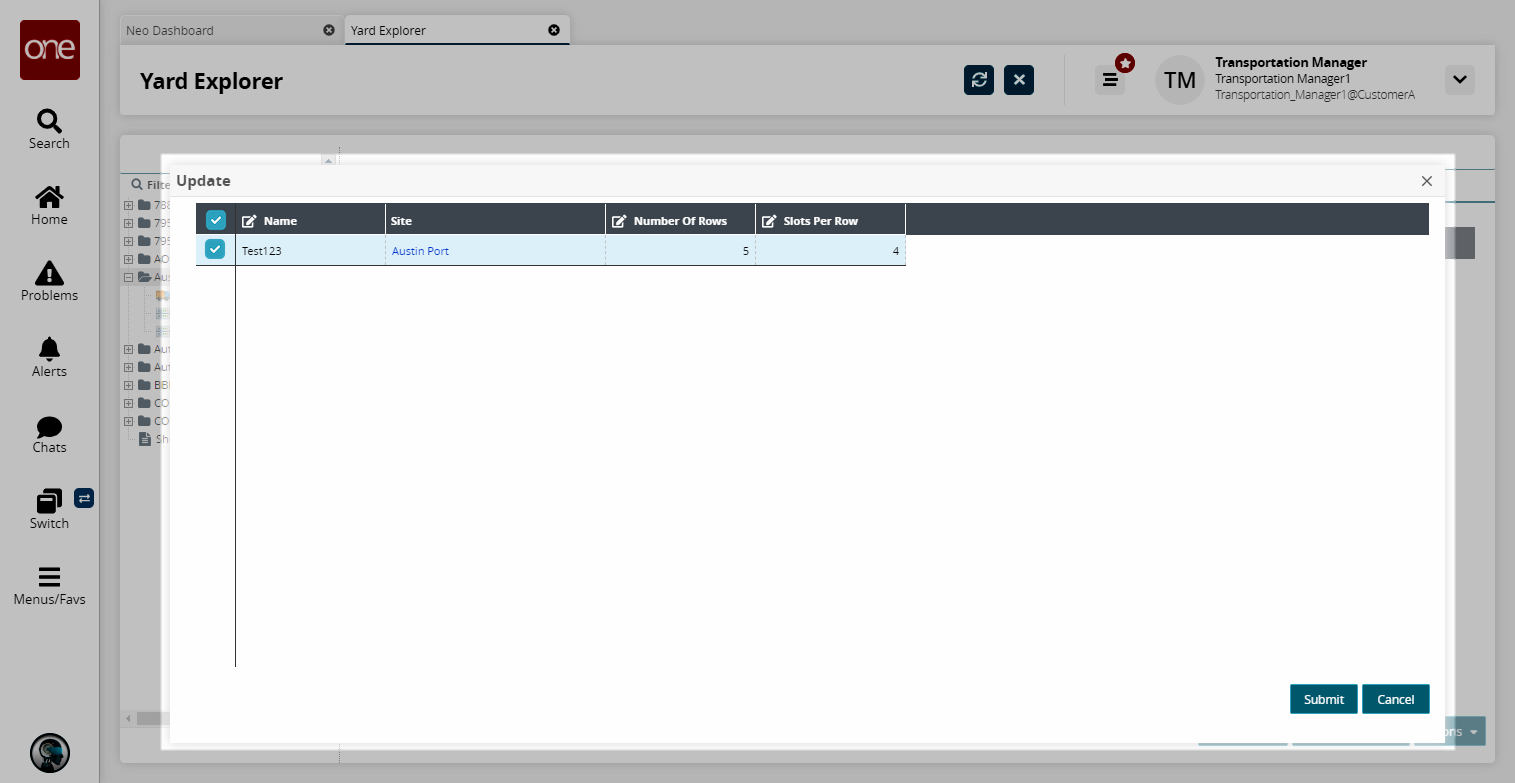
Update the Name, Number of Rows, and Slots Per Row columns as desired, and then click the Submit button.
To deactivate a location, click the Deactivate Location option.
The Deactivate Location popup appears.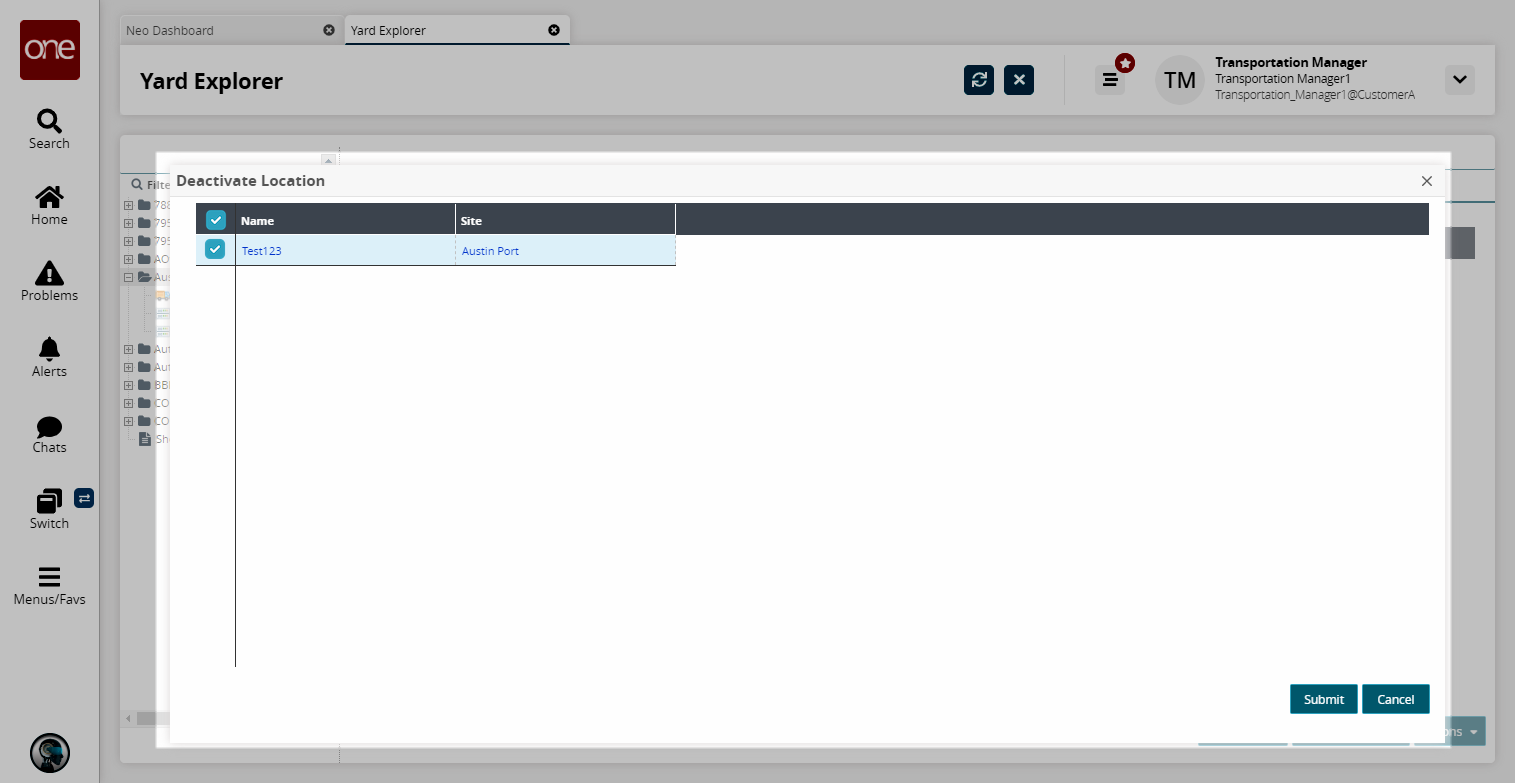
Click the Submit button to deactivate the location.
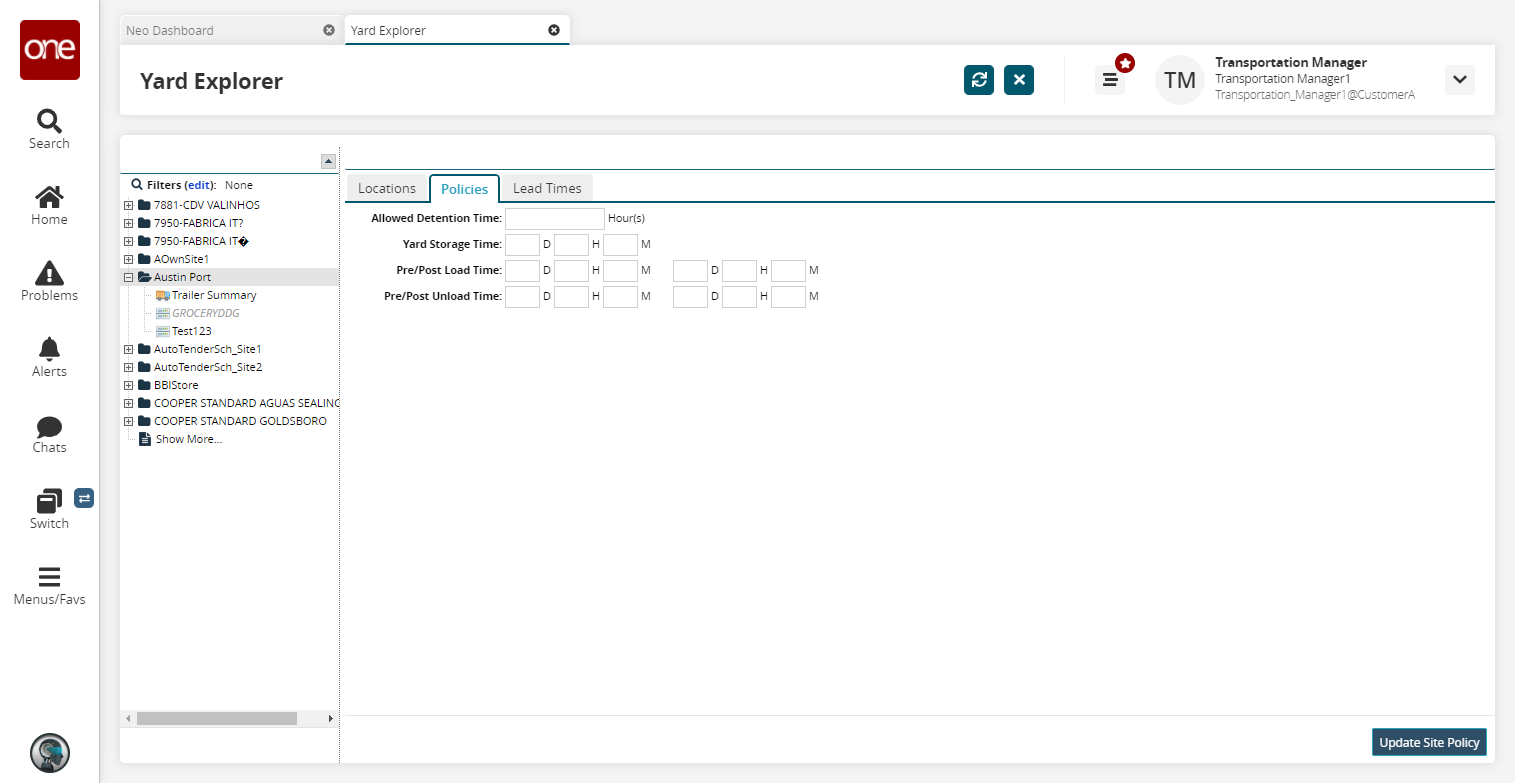
Click the Policies tab to specify the maximum time a trailer should stay empty, storage times, and loading times.
The Policies tab appears.
Policies Tab
Fill out the following fields. Fields with an asterisk ( * ) are required.
Field
Description
Allowed Detention Time
Enter an allowed detention time, in hours.
Yard Storage Time
Enter a yard storage time in days, hours, and minutes.
Pre/Post Load Time
Enter a pre- and post-loading time in days, hours, and minutes.
Pre/Post Unload Time
Enter a pre- and post-unloading time in days, hours, and minutes.
Click the Update Site Policy button.
A success message appears.Click the Lead Times tab.
The Lead Times tab appears.
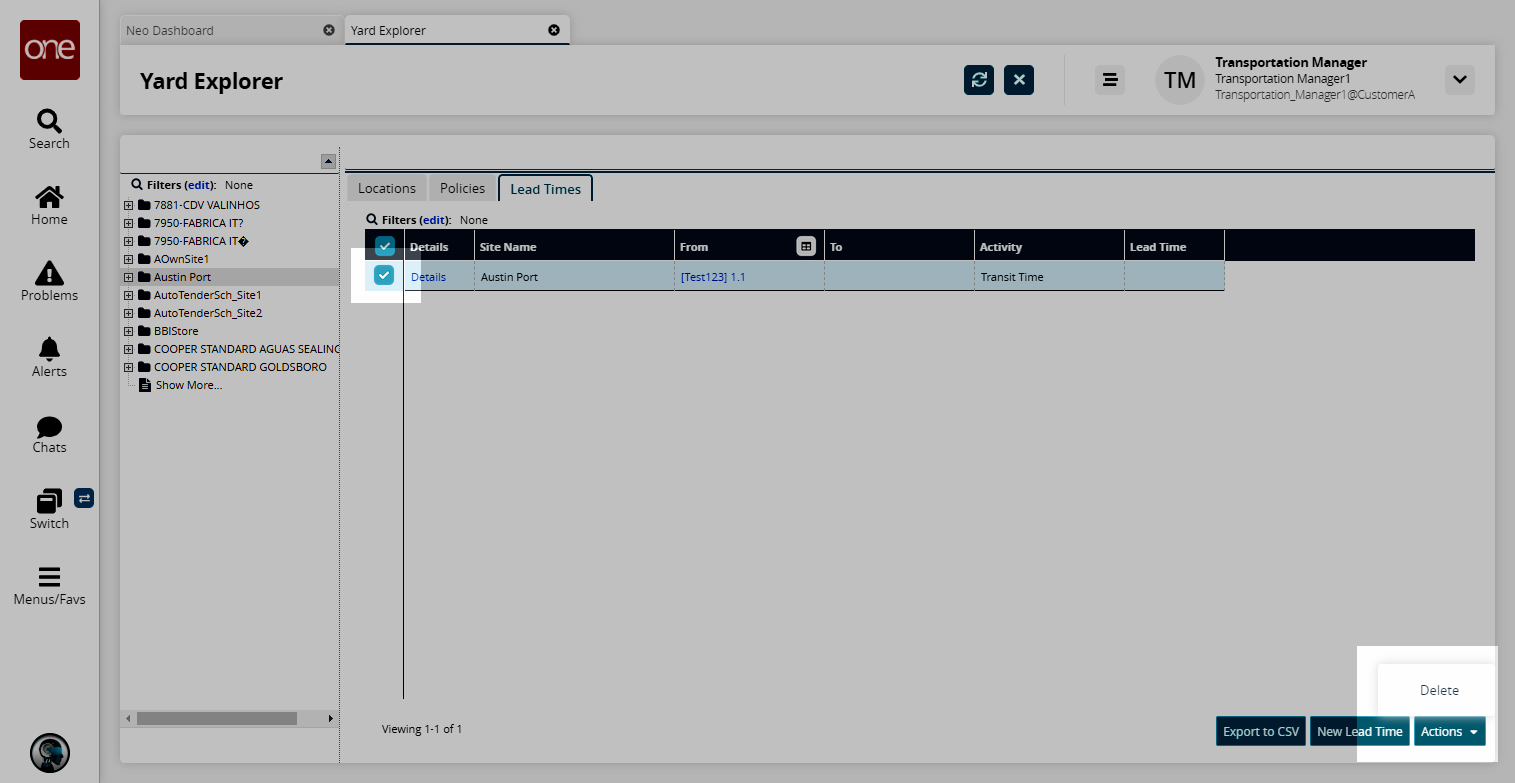
Lead Times Tab
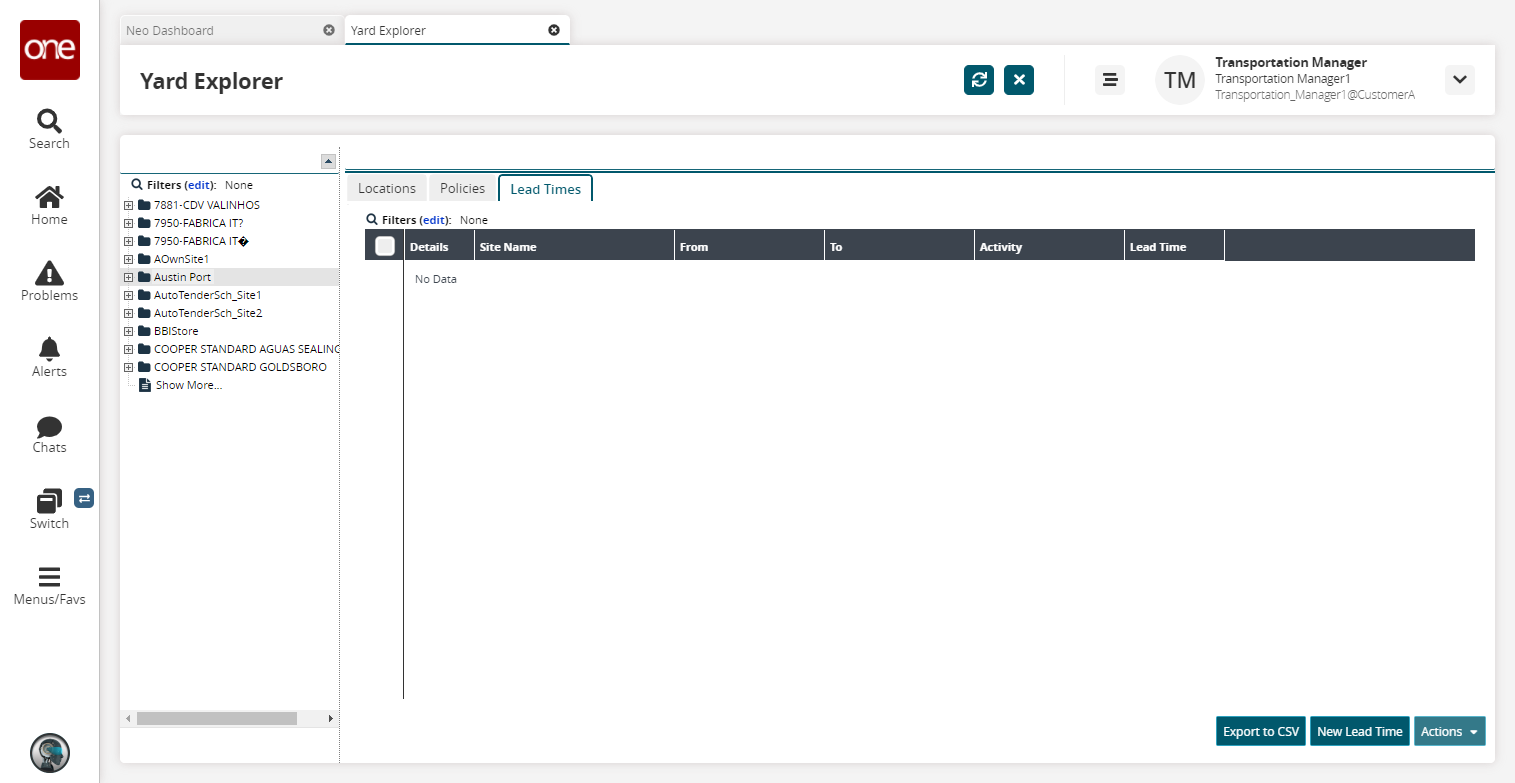
Click the Export to CSV button to export the report to a CSV file.
Click the New Lead Time button to create a new lead time.
The New Lead Time screen appears.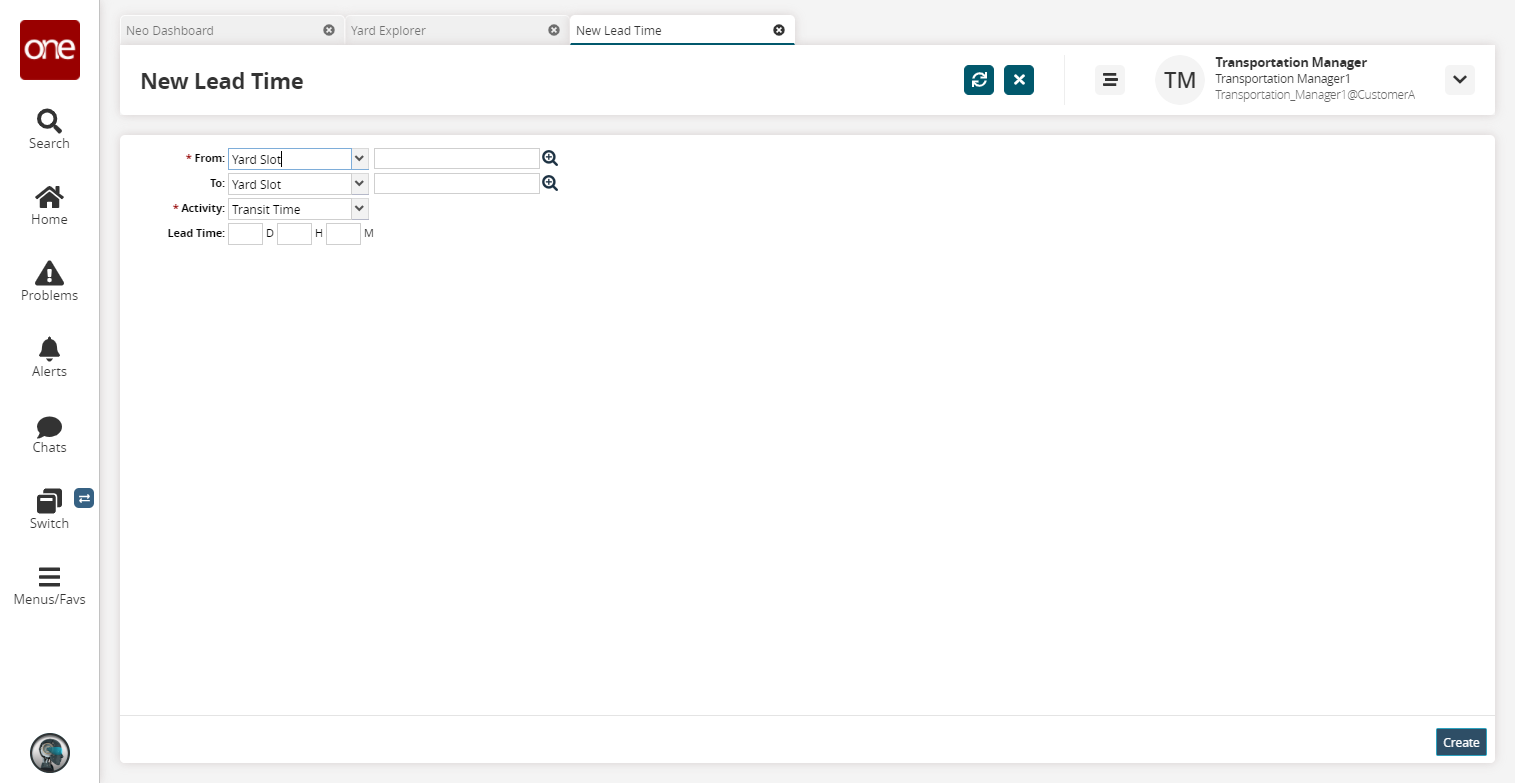
Fill out the following fields. Fields with an asterisk ( * ) are required.
Field
Description
* From
Select either Yard Slot or Site Resource from the drop-down menu, then use the picker tool to select either a yard slot or a site resource.
To
Select either Yard Slot or Site Resource from the drop-down menu, then use the picker tool to select either a yard slot or a site resource.
* Activity
Select an activity from the drop-down menu. The available options are Dock Time, Drop Time, Pick Time, Transit Time, and Undock Time.
Lead Time
Enter a lead time in days, hours, and minutes.
Click Create.
A success message appears.To delete a lead time, select and click Actions > Delete.