Configuring an HTTPS Destination with MTLS (Mutual TLS, aka Client Certs)
When configuring an HTTPS Destination for outbound messaging, it is possible to configure the destination for Mutual TLS (MTLS), also known as "client certificates". In an MTLS configuration, the server expects the client to have a key pair. The server has the client's public key (as a one-time activity, you mail this to the server administrator), and the client has the private key (the client NEVER shares the private key). When the client connects to the server, the server presents a challenge that only the holder of the private key can respond to successfully.
To configure an HTTPS Destination for MTLS, we must configure the JSON for the destination with four additional attributes (described fully in the HTTP/S Enqueue and Dequeue section):
keystoreFile
keystorePass
truststoreFile
truststorePass
Creating the KeyStore
Complete the following steps to create the KeyStore file using a free GUI application called "Keystore Explorer". (If you prefer, you can do this via the java command line tool "keytool" instead):
Download and install Keystore Explorer from https://keystore-explorer.org/
Click Create a new KeyStore.

The New Keystore Type popup appears.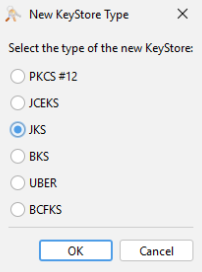
Select JKS as the format and click OK.
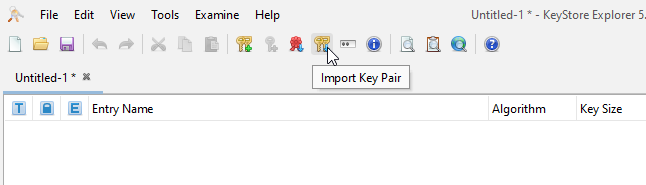
Select the Import Key Pair button.
The Import Key Pair Type popup appears.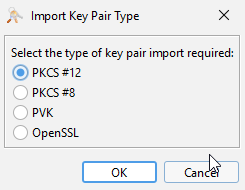
Select the key pair format you have on hand. In this example, we have a file KeyPair.p12, so we are selecting PKCS#12.
A password prompt appears for the existing key.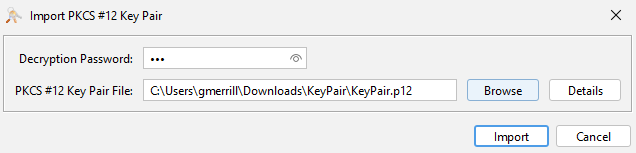
Enter the Decryption Password and click Import.
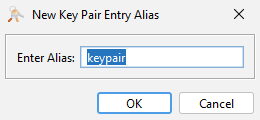
The New Key Pair Entry Alias popup appears.Enter an alias for the key pair and click OK. This must be unique within your keystore.
The New Key Pair Entry Password popup appears.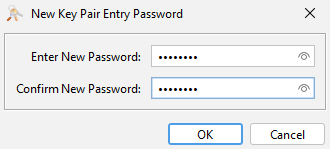
Enter a new password for the key pair and click OK.
Whatever password you choose, carefully note it down because we must ensure it matches the password we assign to the key store file as a whole later.
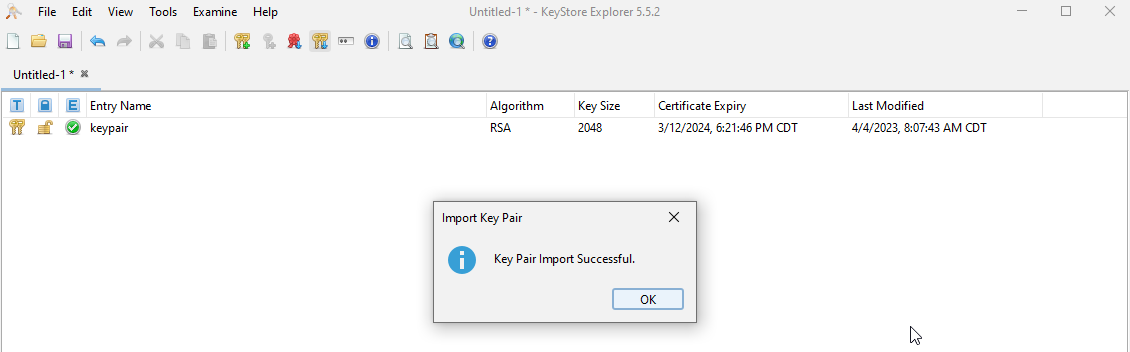
A success message appears.
Select File > Save to save the keystore file itself.

The Set KeyStore Password screen appears.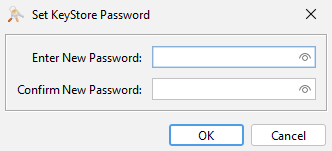
Enter the same password you chose for the new key pair entry earlier in this workflow.
NEO assumes the keystore password and key pair password always match.
Click OK.
The Save KeyStore As popup appears.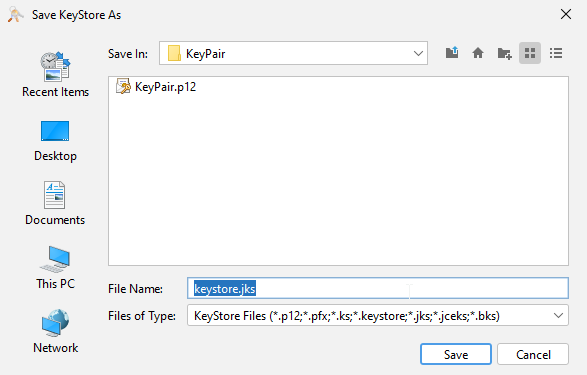
Click Save.
Ensure you save the file with a ".jks" extension.
Creating the TrustStore
Complete the following steps to create the TrustStore file using a free GUI application called "Keystore Explorer". (If you prefer, you can do this via the java command line tool "keytool" instead):
Download and install Keystore Explorer: https://keystore-explorer.org/
Click Create a new KeyStore.
The New Keystore Type popup appears.
Select JKS as the format and click OK.
The customer should have provided a URL to which you are supposed to post your messages. Visit that URL in your browser. An error message will likely appear because the URL is not meant to be visited by a browser, but that's OK.
Click the Secure icon in the browser to view the certificate.

A ONE URL is shown above, but your URL will not be a ONE URL; it is just provided for demo purposes in this workflow.
A dropdown appears.
Click Connection is secure.

The popup updates.
Click Certificate is valid.
A popup appears.
Click each certificate in the hierarchy on the Details tab of the certificate. Click Export to export them one by one.
The Save As popup appears.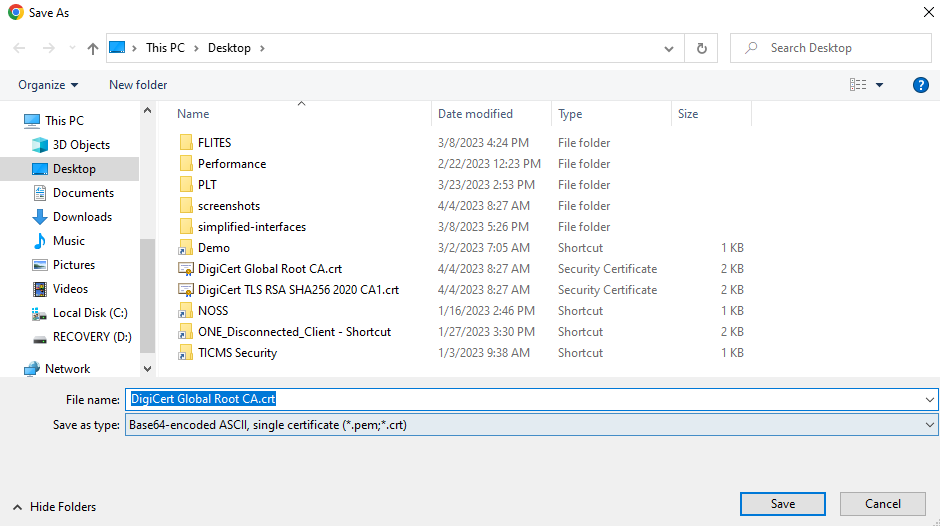
Name your exported file and click Save.
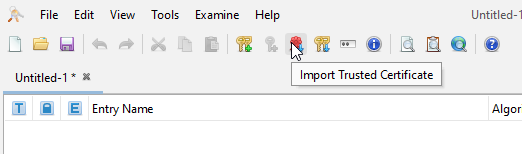
Once exported, return to your KeyStore Explorer and click the Import Trusted Certificate button to import the certificates one by one. You can accept whatever default aliases are provided.
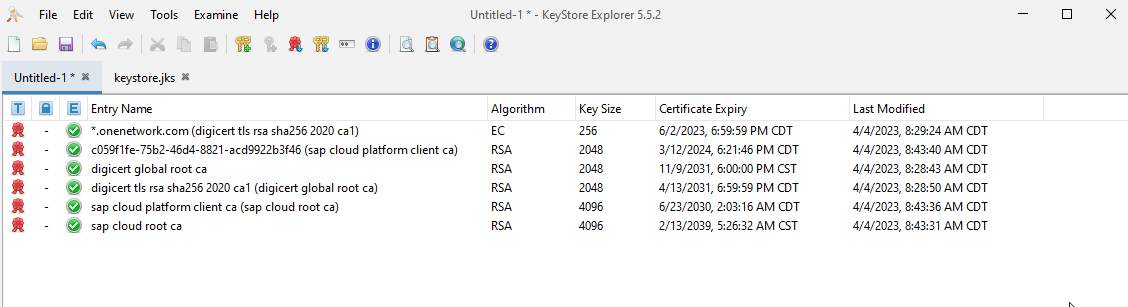
After importing all your certificates, your screen should look similar to the following screenshot. Not the number of certificates will vary based on how they are signed.
Open your original keystore file.
A new tab is created in the KeyStore Explorer.
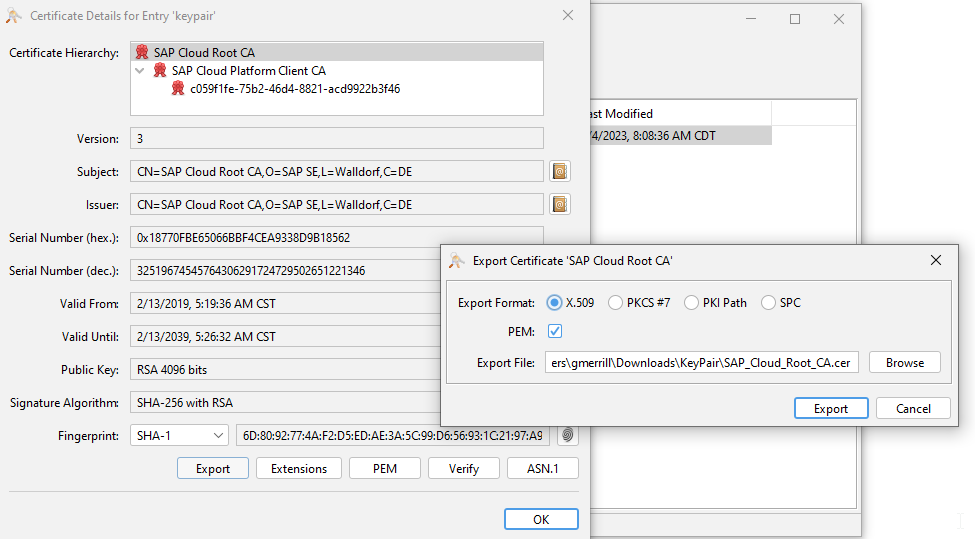
Double-click the keystore and Export the certificates one by one by clicking the Export button.
The Export popup appears.Select X.509 as the Export Format and click Export.
Now, return to the TrustStore tab, and import each of those certificates using Import Trusted Certificate. You should end up with something like the following screenshot.
Save the TrustStore using File > Save.
The Set KeyStore Password popup appears.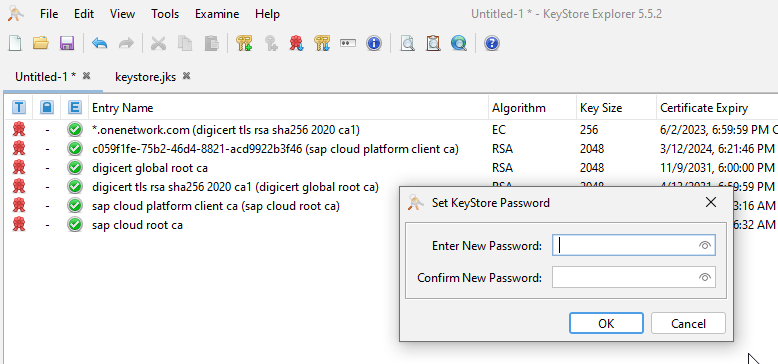
Enter a password and click OK.
The Save KeyStore As popup appears.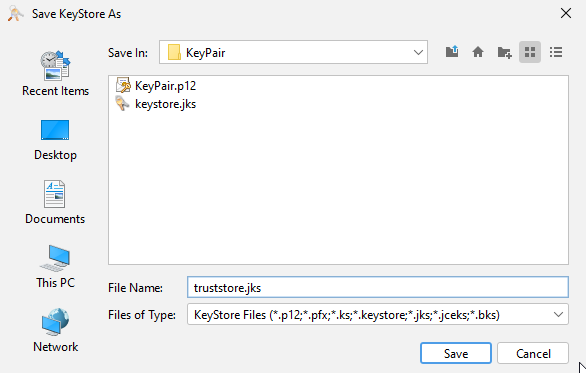
Click Save.
Ensure you save the file with a ".jks" extension.