Report-based
The report-based Outbound generator works similarly to the SqlDef-based processer, using a report’s SqlDef directly instead of a custom SqlDef. This allows the user to leverage the report’s custom DateRange filters as the Start and End Date values, which will then be used during Outbound processing.
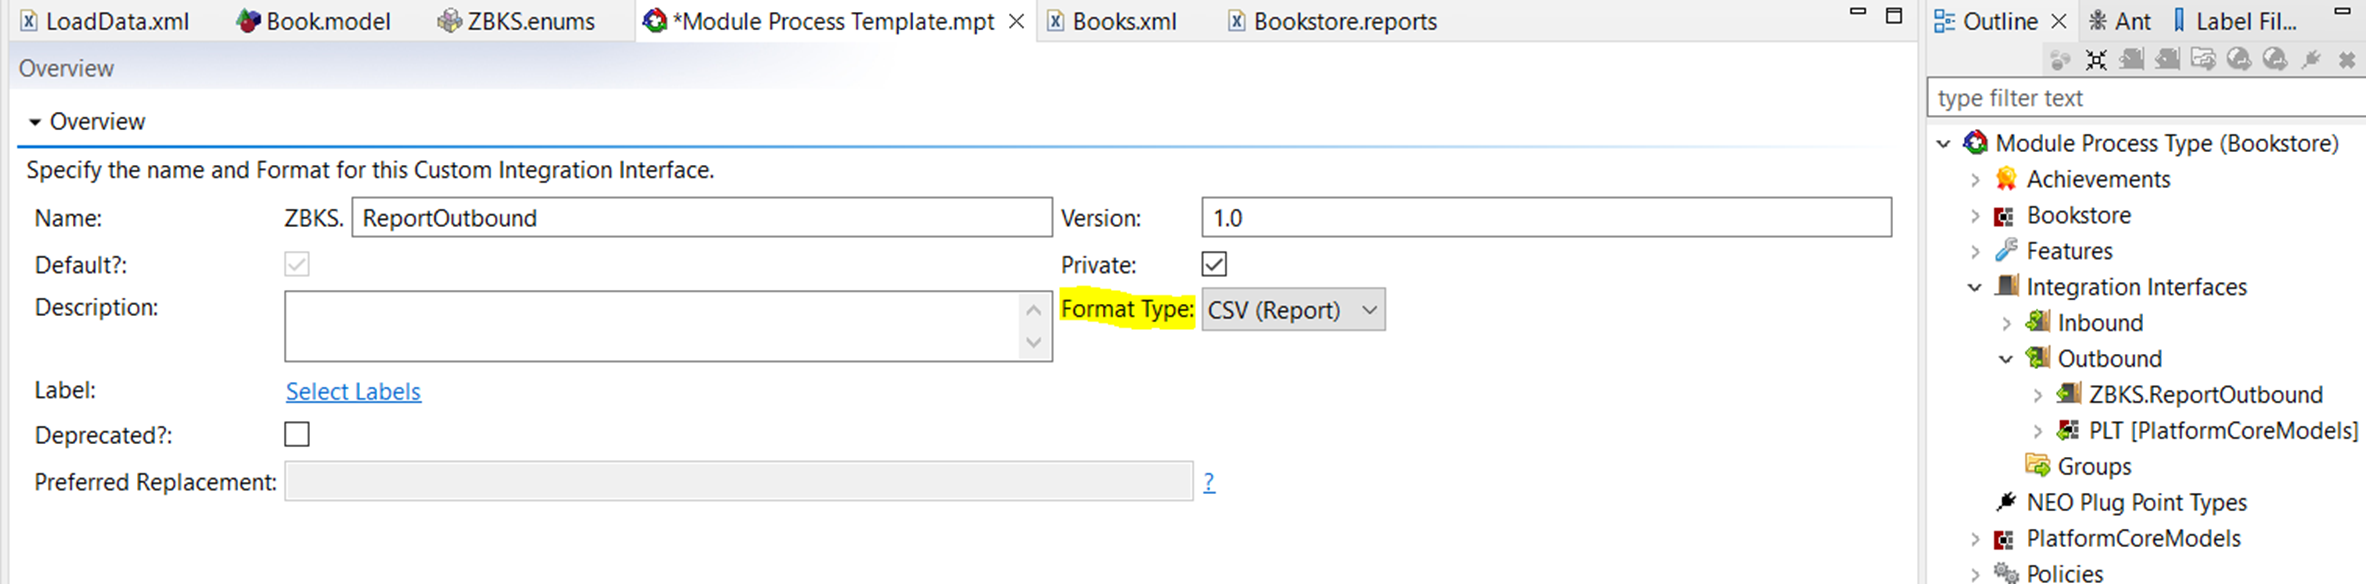
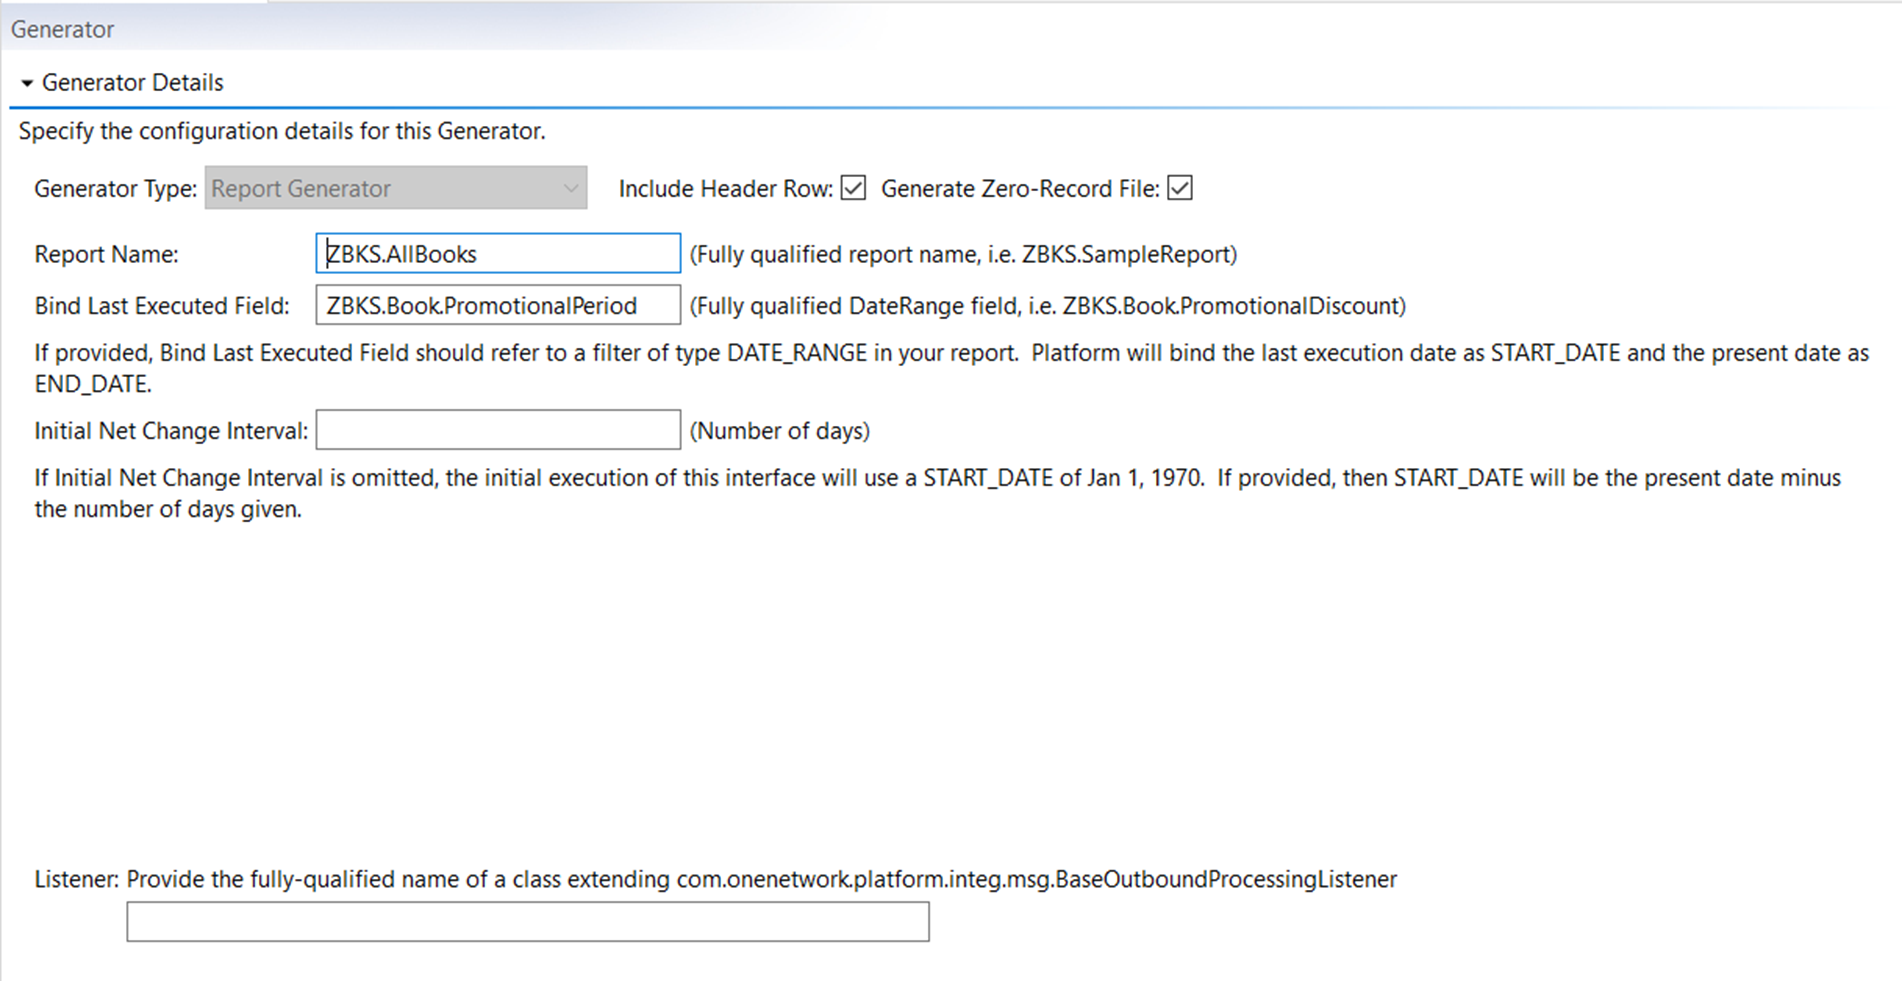
The generator must include the fully qualified report name (i.e., ZBKS.AllBooks). If we want the report to filter by a DateRange, the generator must provide the fully qualified DateRange field (i.e., ZBKS.Book.PromotionalPeriod). We can see that ZBKS.Book.PromotionalPeriod matches with our filter field within our report. The platform will bind the last execution date as the START_DATE and the present date as END_DATE. You can also provide an “Initial Net Change Interval”, which applies to the initial execution of the generator. If omitted, START_DATE will default to Jan 1, 1970. If provided, START_DATE will be the present-day minus the number of days given.

Once the Report Name and DateRange bindings are provided, we can schedule this Outbound to run on our custom schedule. Every time the Outbound runs, it generates our file based on the report SqlDef with the report DateRange filters applied. As mentioned above, the START_DATE will be the last execution date, and the END_DATE will be the present date.
Complete the following steps to create an Integration Subscription for your report-based Outbound:
Open your report.
Favorite the report by clicking the star button.

Click the Schedule Report button.

A popup appears.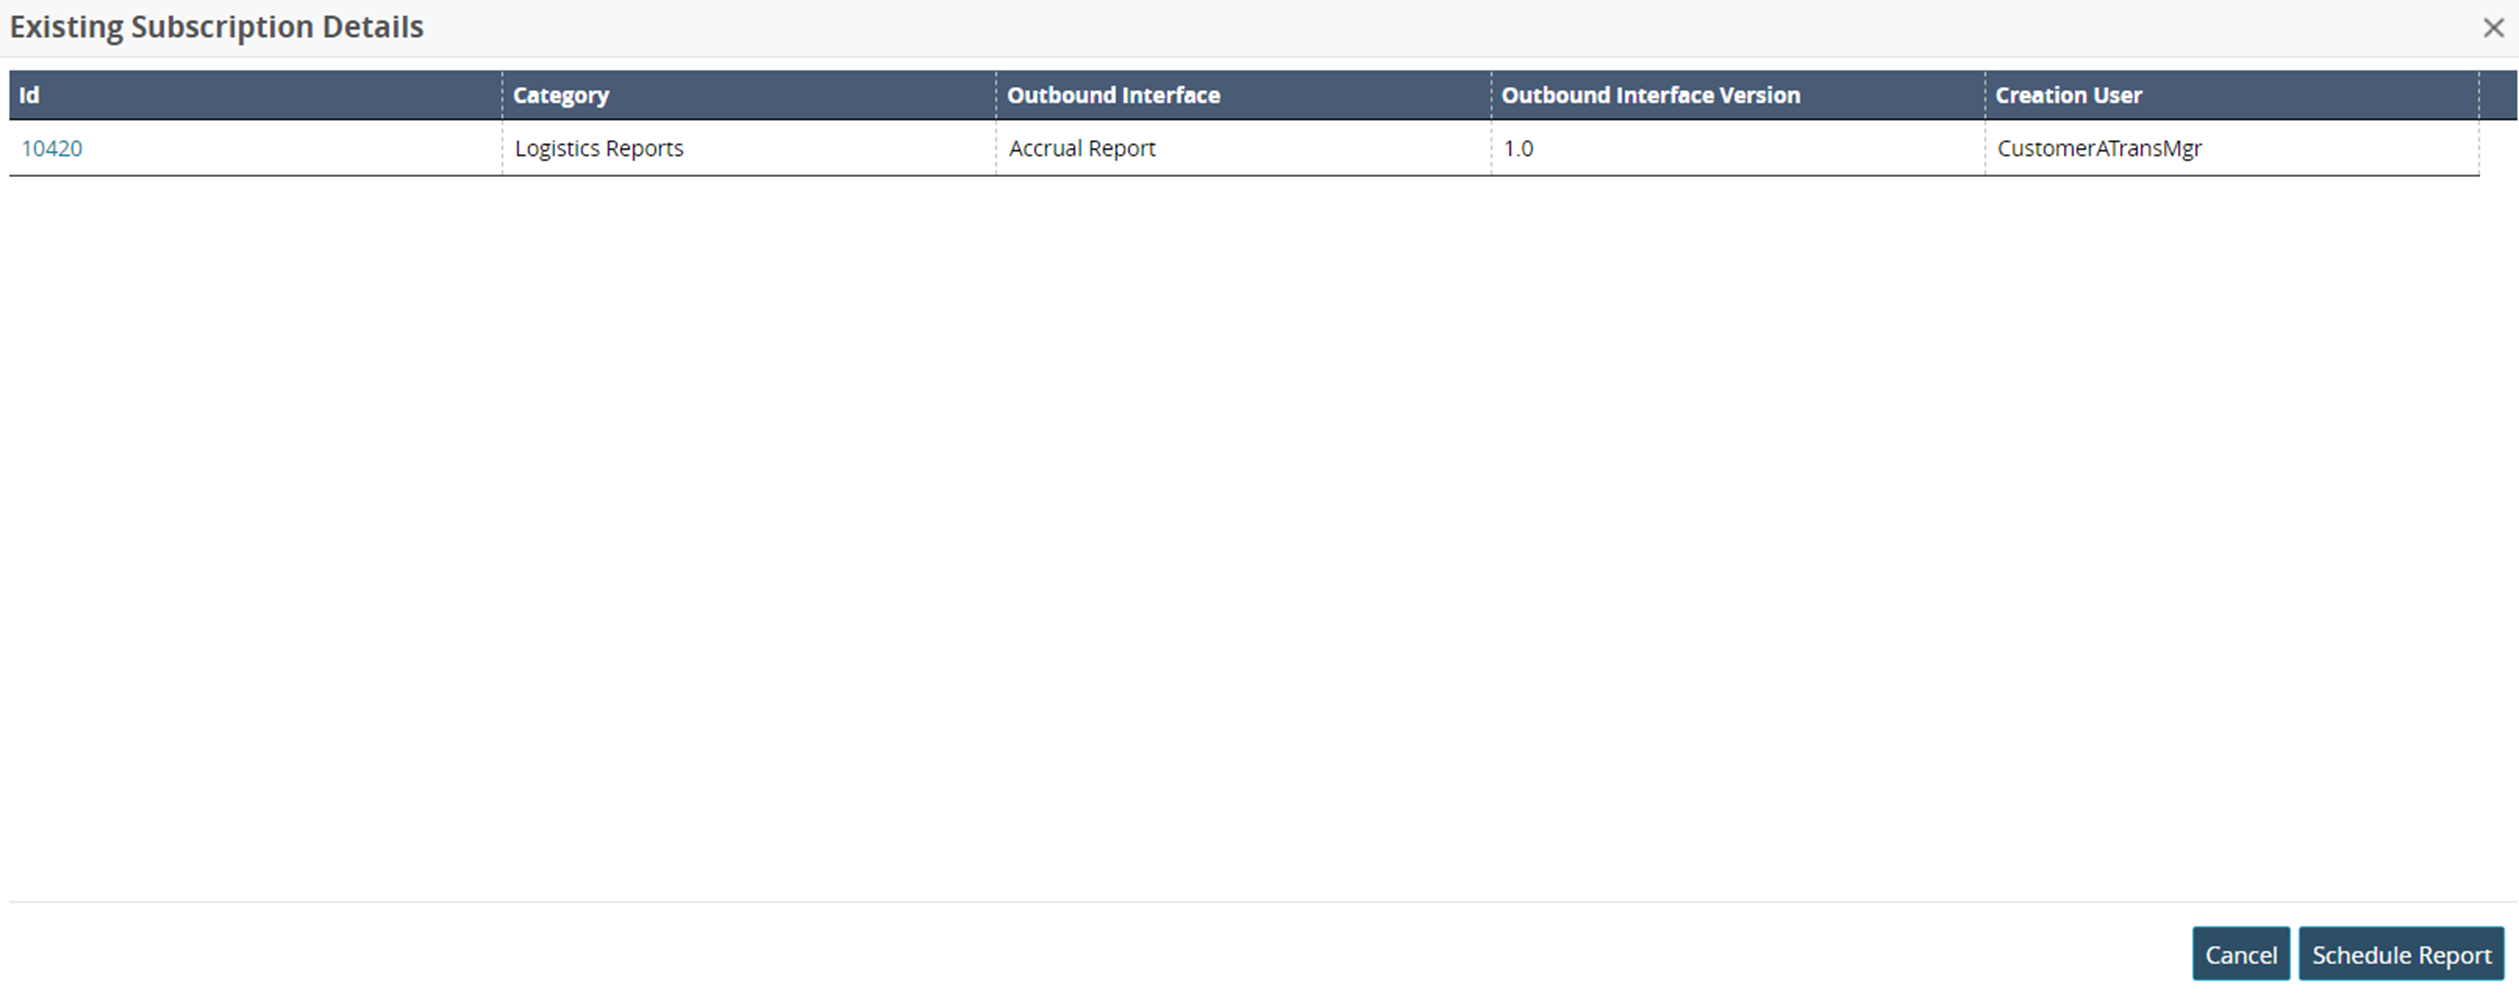
Click the Schedule Report button again.
A confirmation popup appears.Click Yes.
The New Integration Subscription screen appears.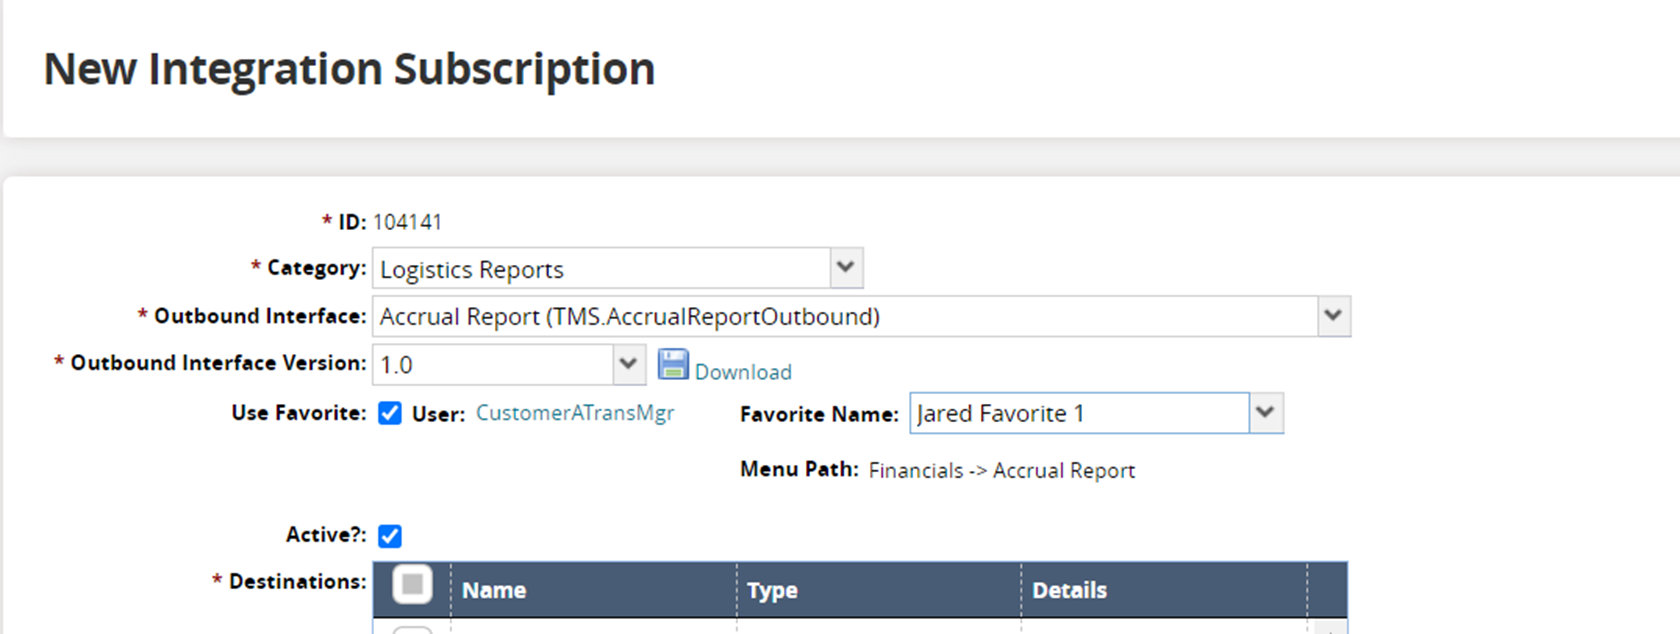
Fill out the following fields. Fields marked with an asterisk ( * ) are required.
Field
Description
* Category
Select a category from the dropdown menu.
* Outbound Interface
Select an outbound interface from the dropdown menu.
* Outbound Interface Version
Select an outbound interface version from the dropdown menu.
Use Favorite
Select this checkbox to use this subscription as a favorite.
Favorite Name
Select a favorite name from the dropdown menu.
At this point, you can create your schedule and finish setting up the Integration Subscription as normal.