Adding a Location to a Warehouse or Another Location
Users can add a location to a warehouse or to another location within a warehouse. For example, if you have a warehouse Warehouse A, and in Warehouse A is a location Facility B, you can add a location, such as a shelf or a zone, to Facility B.
Complete the following steps to add a location to a warehouse or another location using Warehouse Explorer:
Click Menu/Favs > Warehouse Mgmt >Warehouse Explorer .
The Warehouse Explorer screen appears .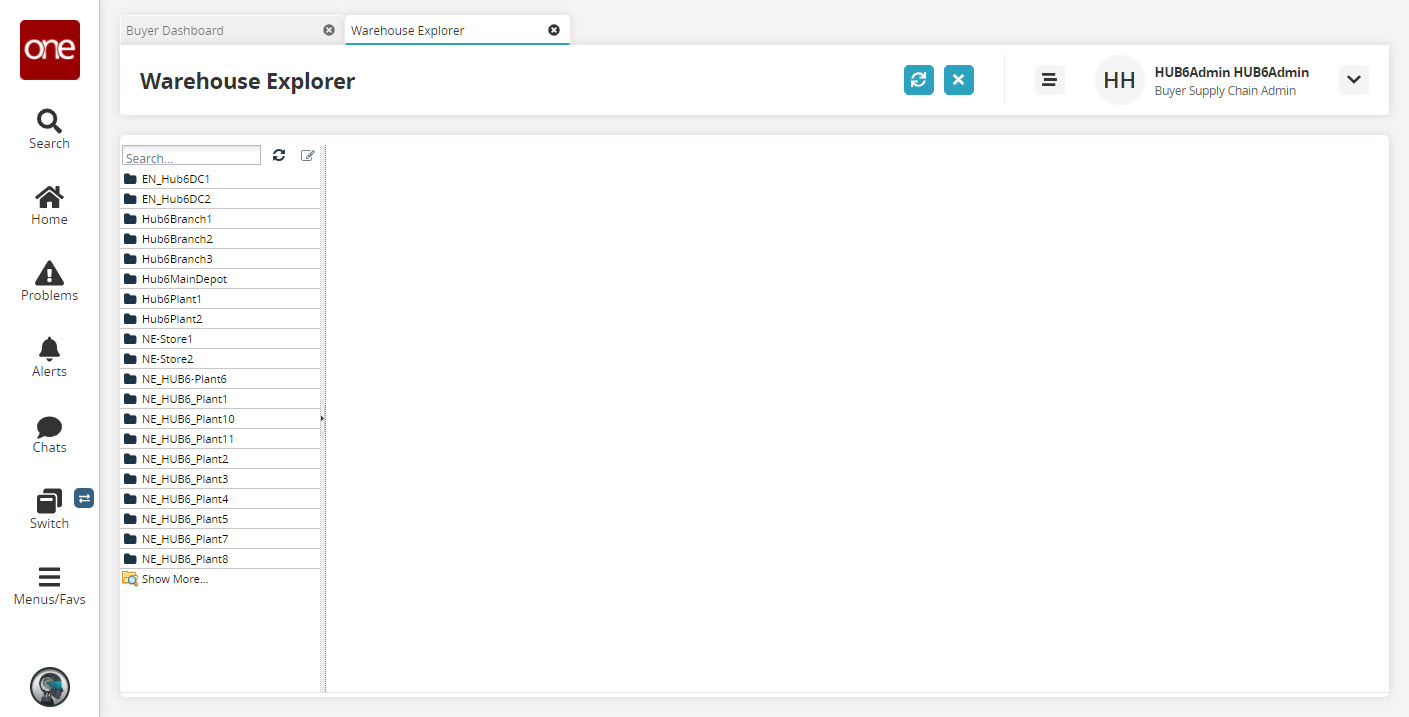
Select the warehouse or another location in the Explorer pane to set a default location.
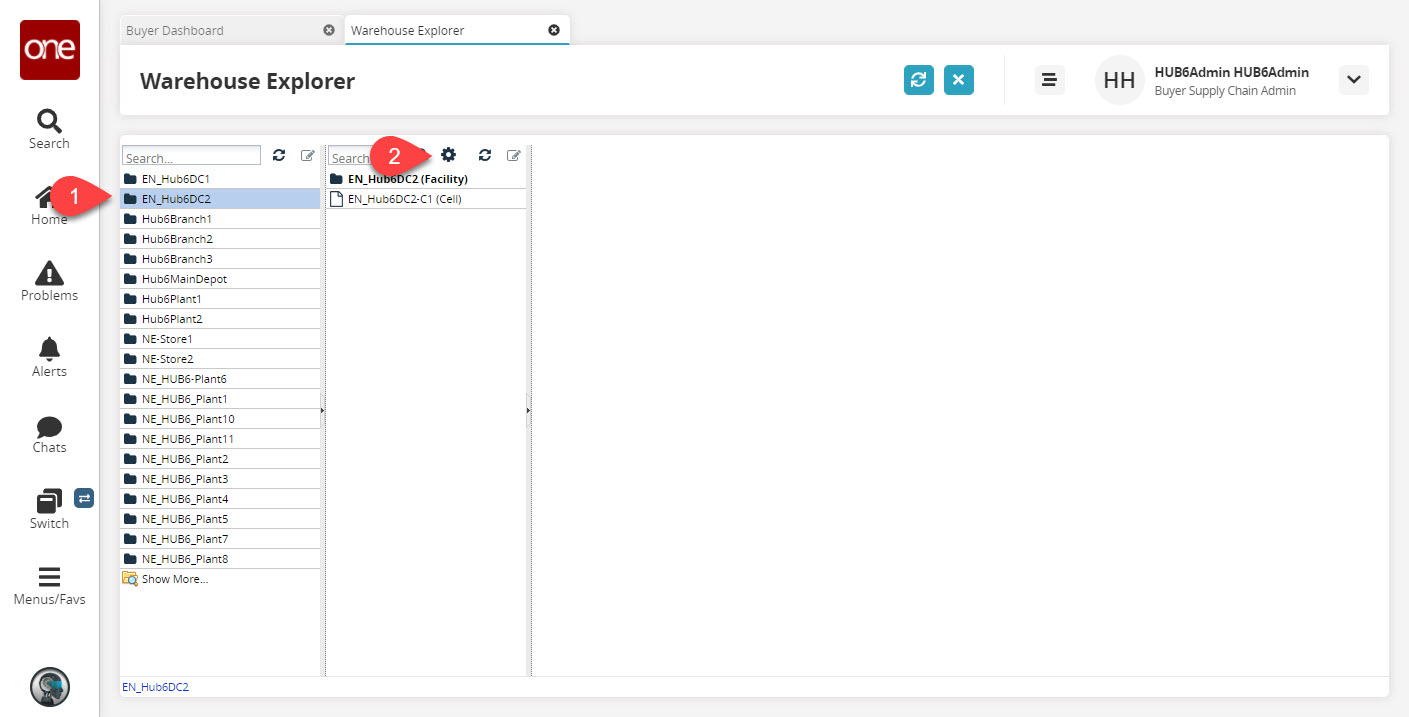
lick the configuration icon and then click Add Location.
Because we are operating at the warehouse level, the only option available is Add Location.
The Add Location popup appears.
The following table describes the fields. An asterisk ( * ) preceding a field name indicates a required field.
Field
Description
* Location Type
Select a value from the drop-down menu. The available options are Aisle, Cell, Facility, Floor, Level, Row, Shelf, or Zone.
* Name
Enter a name for the location.
* Display Name
Enter a display name for the location.
Active?
Select this checkbox if the new location is active.
Is Default
Select this checkbox if the new location is a default location.
Capacity, Spaces
Define the capacity or number of spaces for the location.
Auto-Putaway
Select this checkbox to enable the auto-putaway feature.
Locked
Select this checkbox if the location is locked.
Site Resource
Use the picker tool to select a Site Resource.
Click Create.
The new location appears in the Locations pane for the selected warehouse or in the warehouse explorer.