Applying Late Serialization to an Item
Users can apply serialization to a previously unserialized item during the manufacturing/initial packing process. Serialization can be applied to a Singleton or at the Singleton Line level.
Complete the following steps to apply late serialization:
L og in to the ONE system.
Select Menu/Favs > Administration > Items > Singletons.
In the NEO UI, users can click on the Menu/Favs icon on the left sidebar and type in the name of the screen in the menu search bar. For more information, see "Using the Menu Search Bar."
The Singletons screen appears.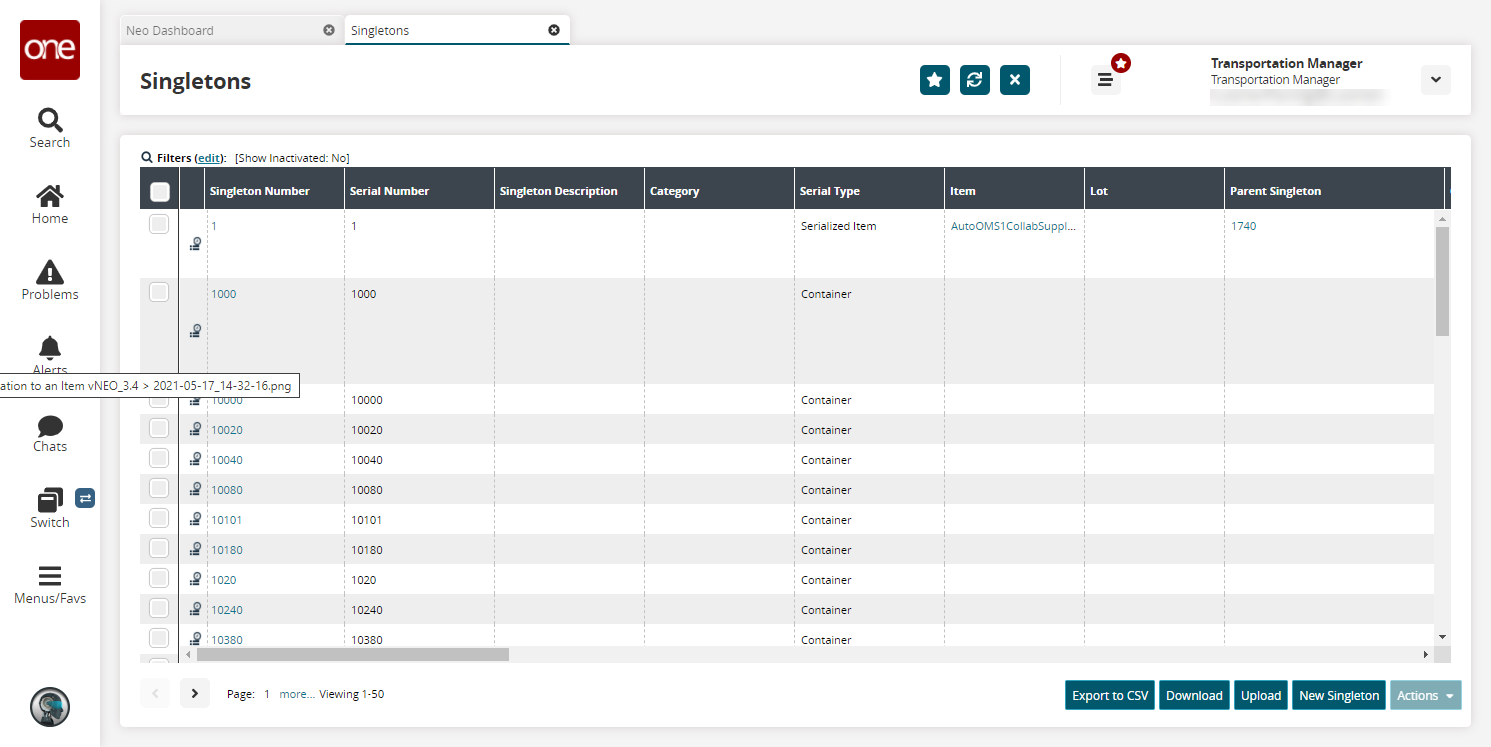
Select a checkbox for the Singleton Number, and then click Actions > Late Serialization.
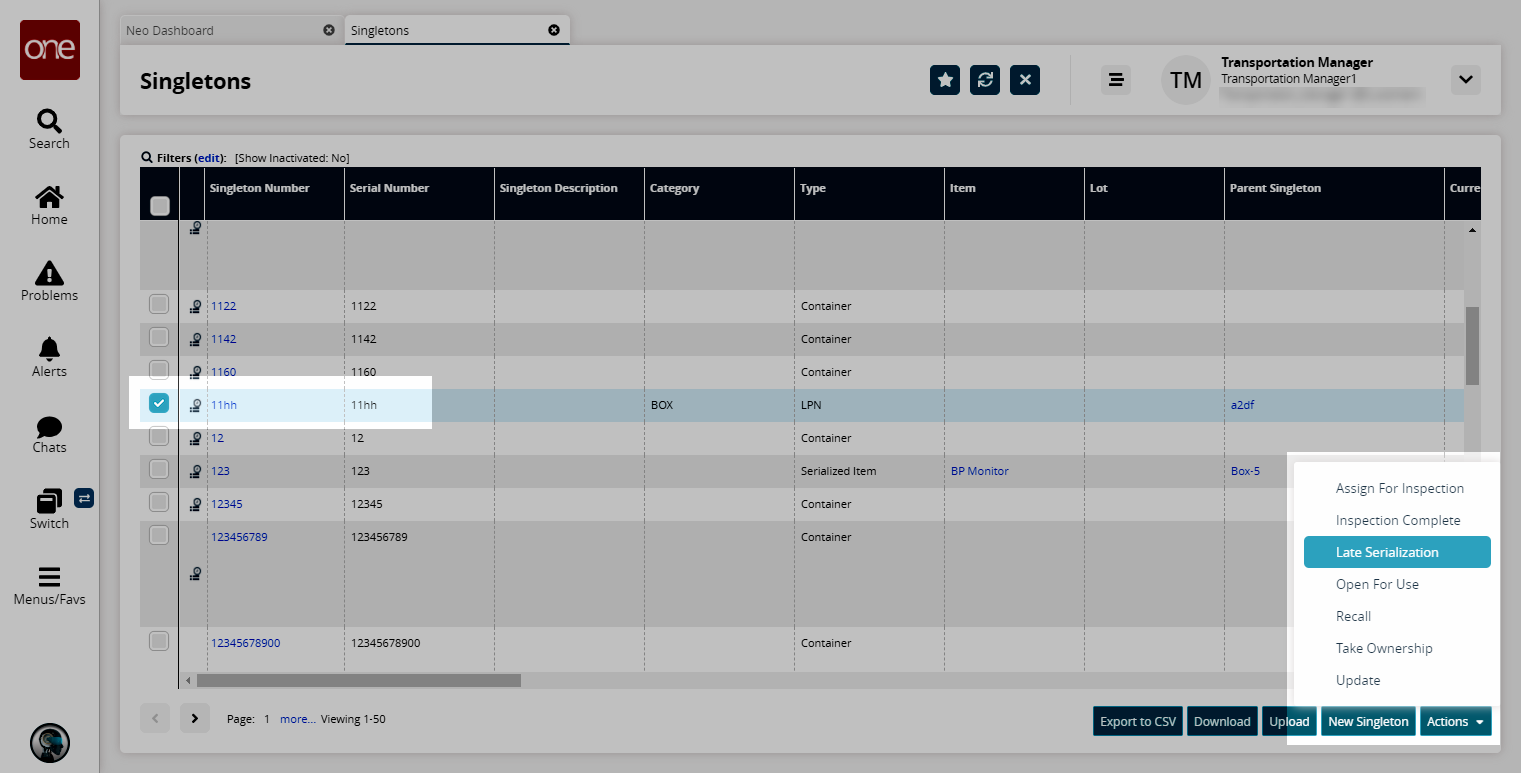
The Serialize popup appears.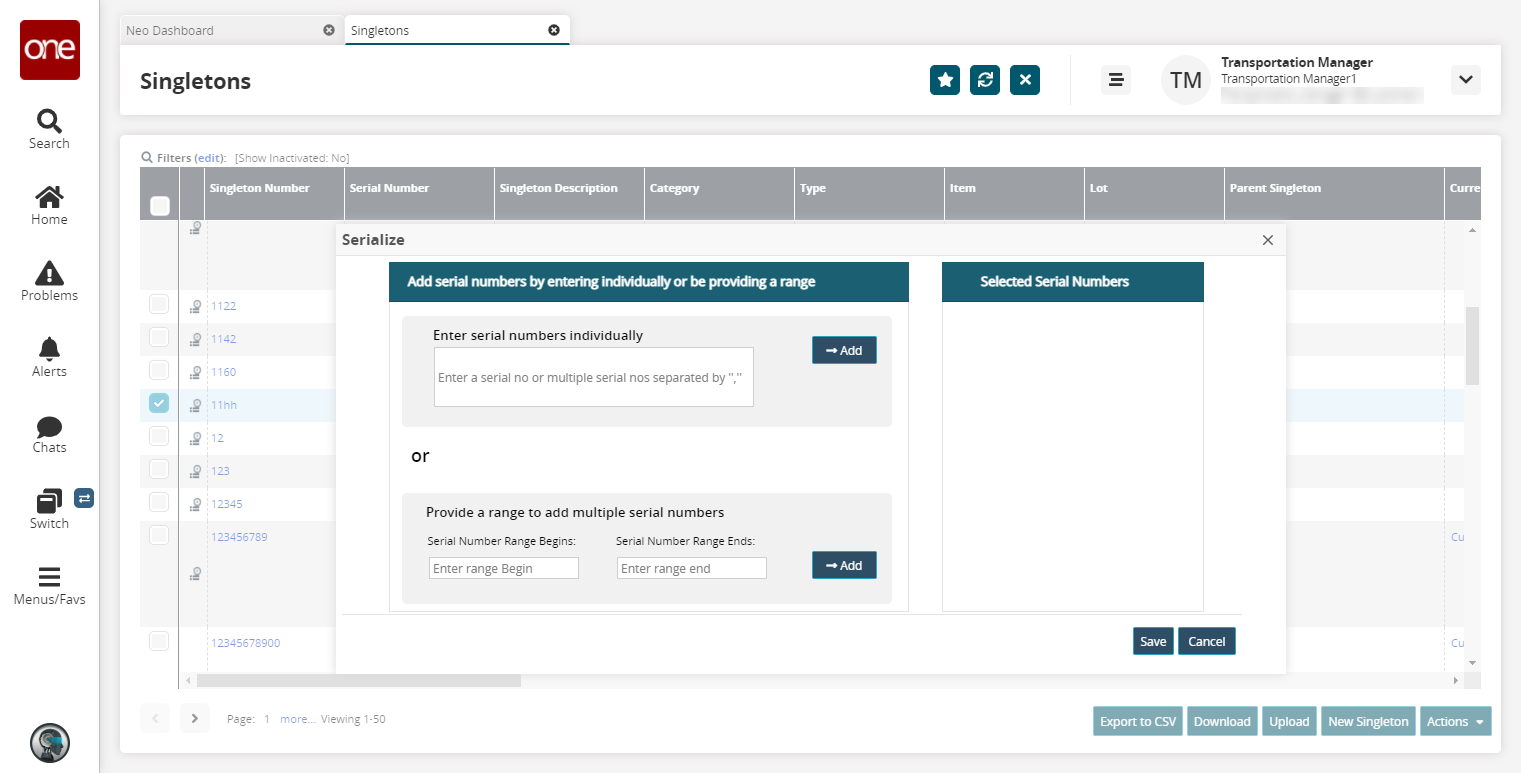
Enter the serial numbers individually in the Enter serial numbers individually field, or provide a range in the Provide a range to add multiple serial numbers field
Click the Add button.
The entered serial numbers appear on the right.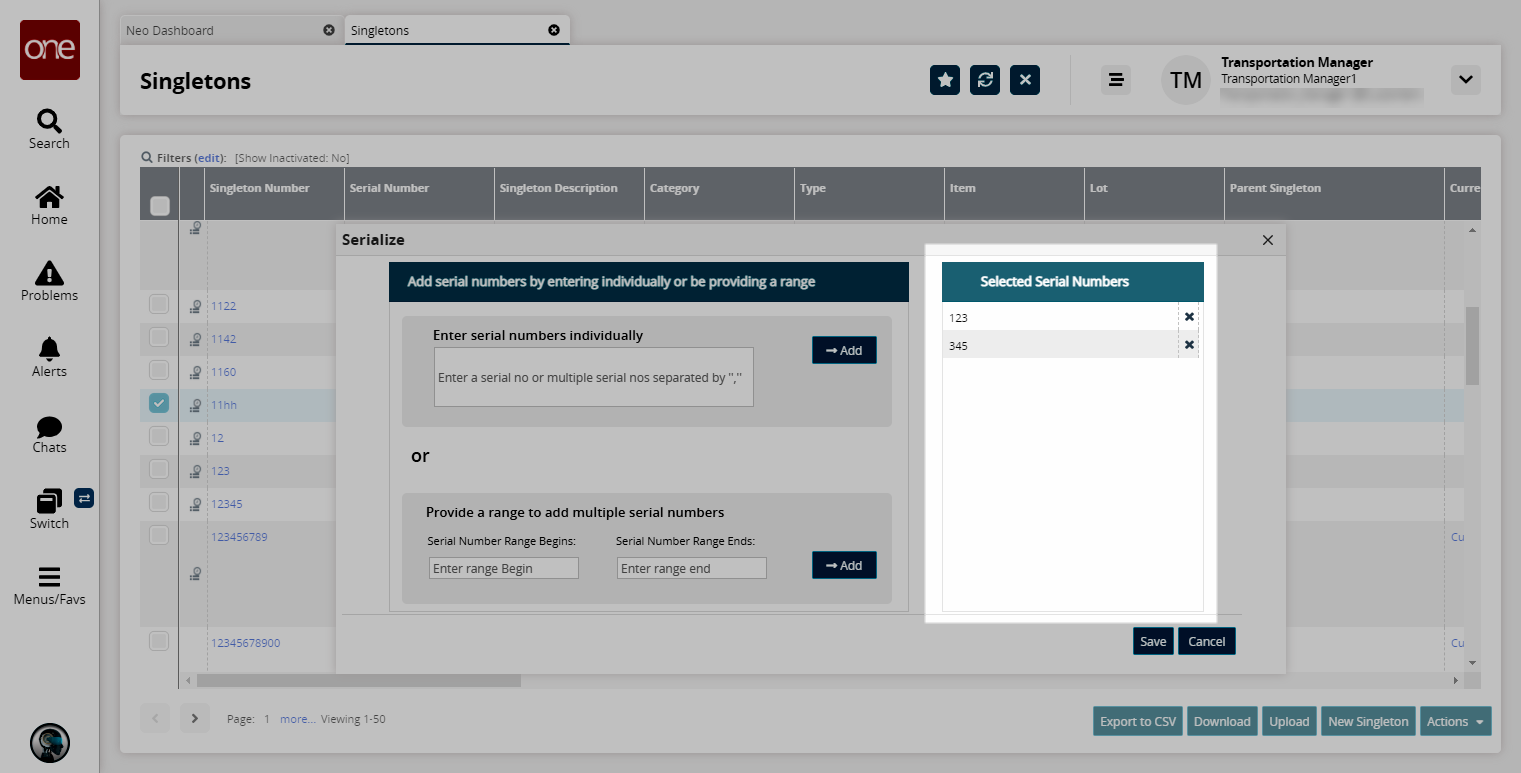
Click the Save button to save the serial numbers.
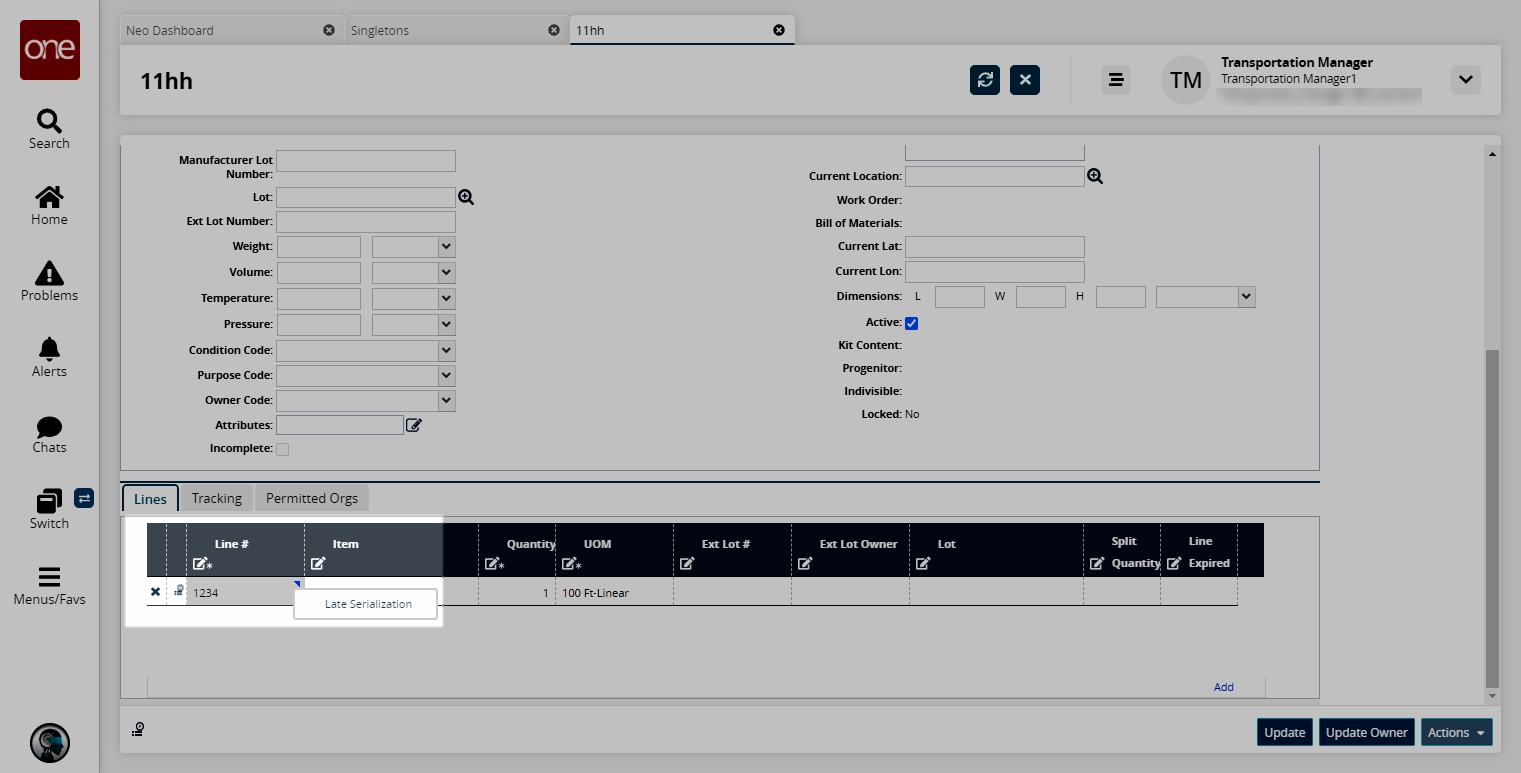
Late Serialization is enabled at Singleton Line level.Click a Singleton Number.
The Singleton details screen appears.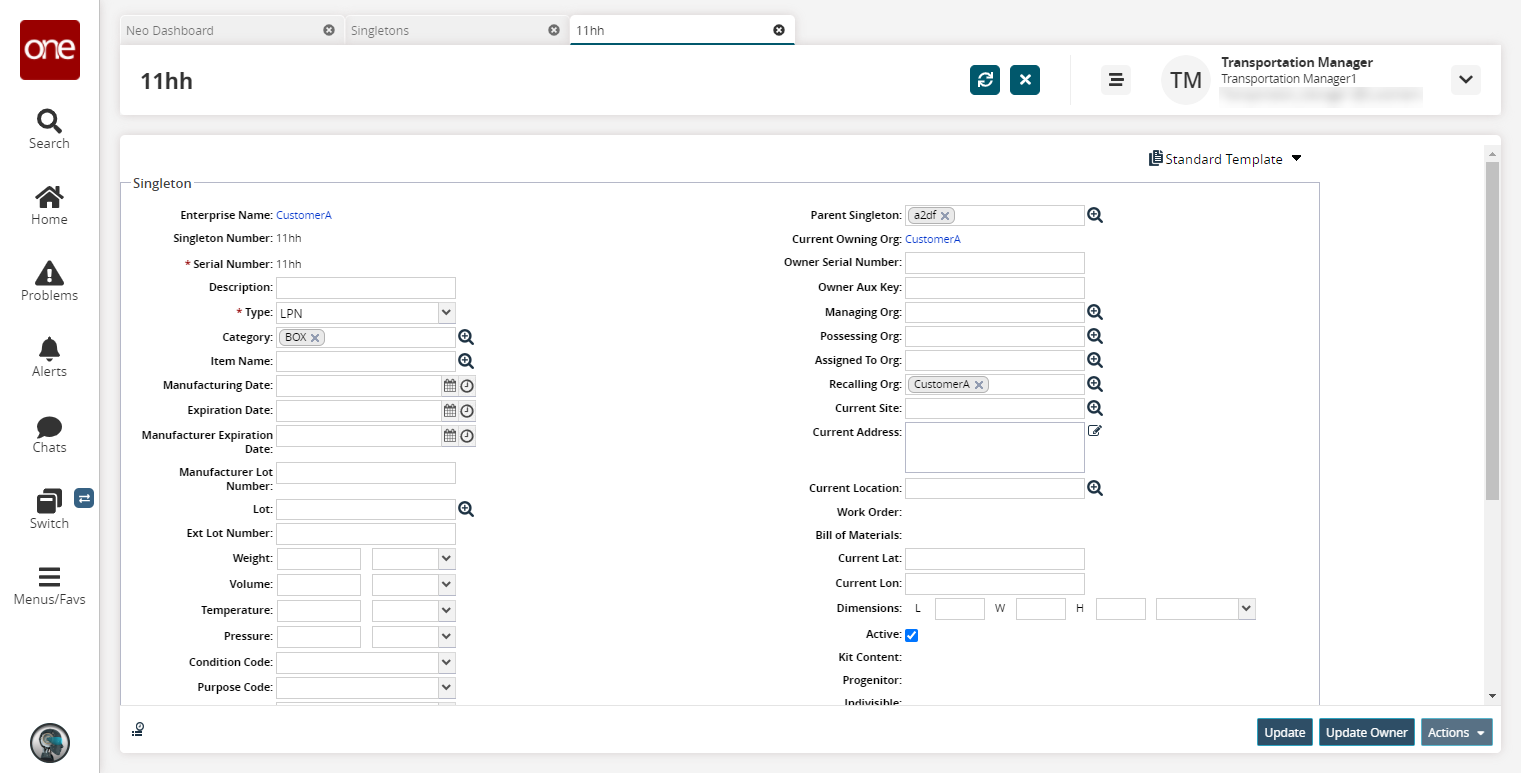
Click the triangle icon under the Lines tab. The Late Serialization option is visible.