Checking In New Trailers
Using the Trailer Summary, you can check new trailers into a site.
Complete the following steps to check-in new trailers:
L og in to the ONE system.
Select Menu/Favs > Yard Management > Yard Explorer.
In the NEO UI, users can click on the Menu/Favs icon on the left sidebar and type in the name of the screen in the menu search bar. For more information, see "Using the Menu Search Bar."
The Yard Explorer screen appears, showing all sites in the organization in the Explorer pane.In the expanded site folder of the Explorer pane, click Trailer Summary.
The Trailer Summary pane appears.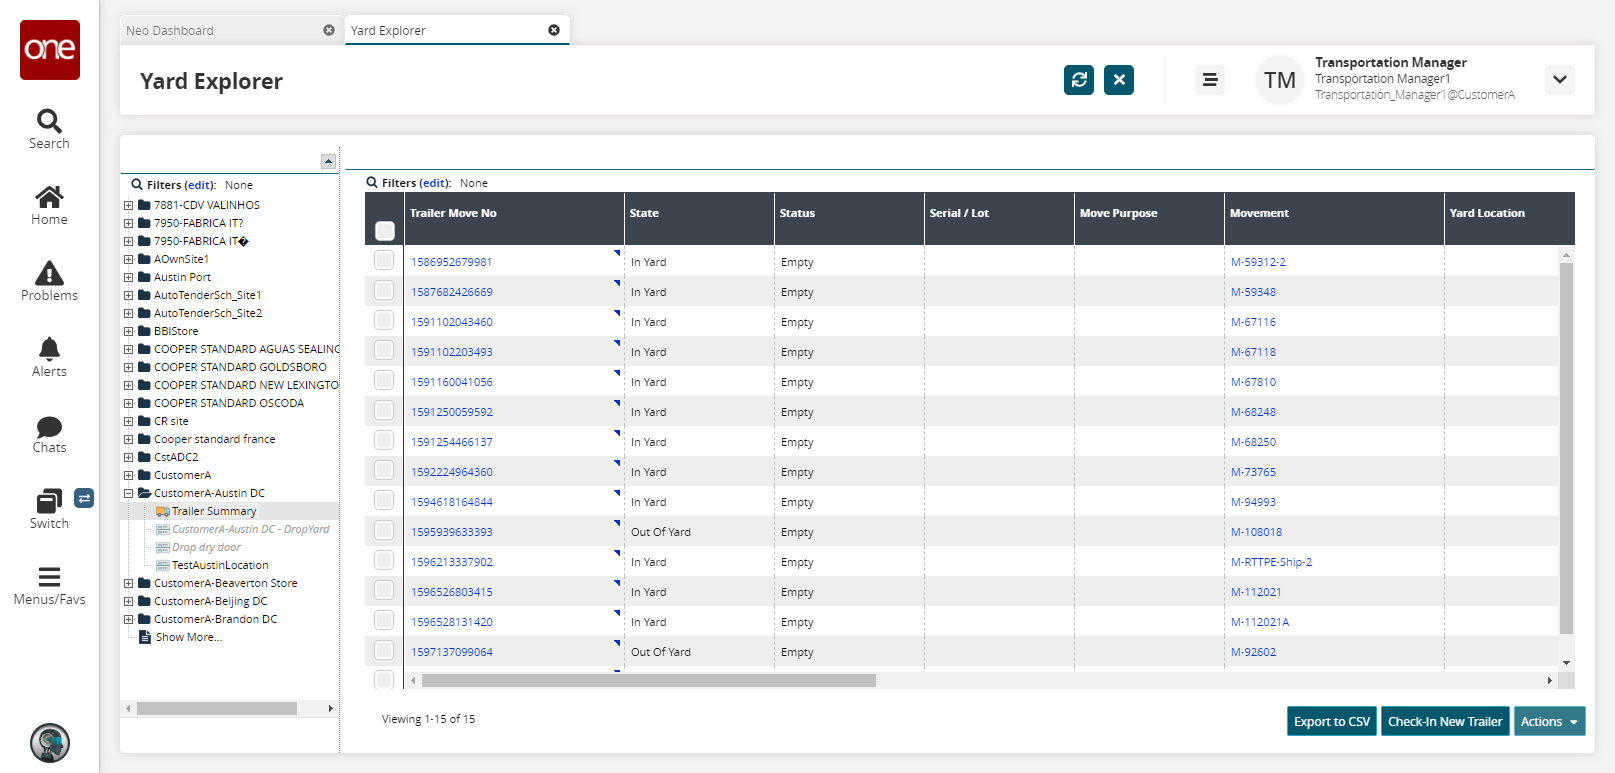
Click the Check-In New Trailer button.
The New Trailer Move popup appears.
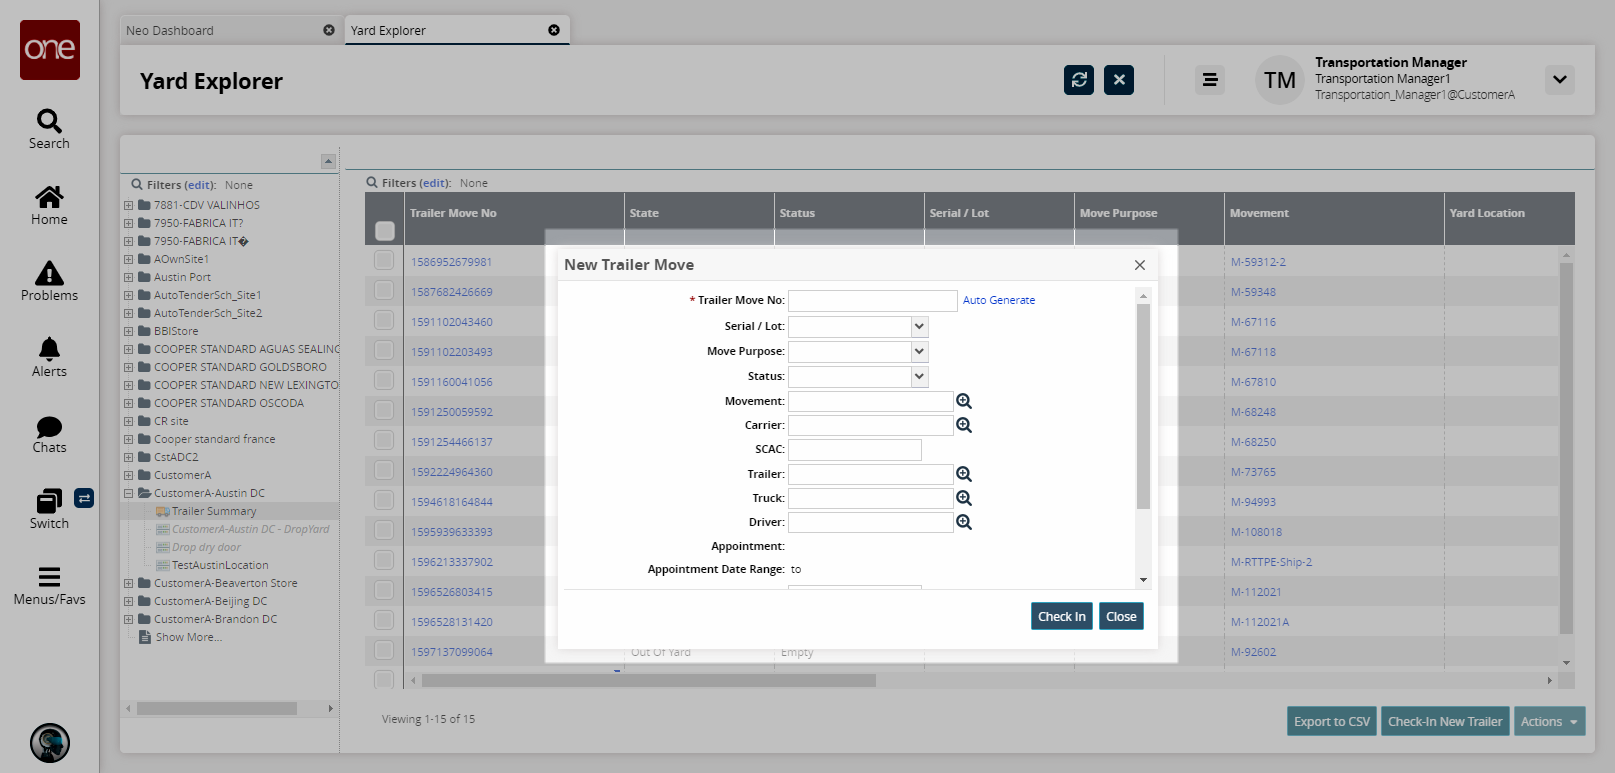
Fill out the following fields. Fields with an asterisk ( * ) are required.
Field
Description
* Trailer Move No
Enter a trailer move number or click the Auto Generate link and the system will create one.
Serial / Lot
Select a serial or lot from the drop-down menu.
Move Purpose
Select a move purpose from the drop-down menu. The available options are Inbound and Outbound.
Status
Select a status from the drop-down menu. The available options are Empty and Full.
Movement
Select a movement using the picker tool.
Carrier
Select a carrier using the picker tool.
SCAC
Enter an SCAC.
Trailer
Select a trailer using the picker tool.
Truck
Select a truck using the picker tool.
Driver
Select a driver using the picker tool.
Reference No
Enter a reference number.
Commen
Enter descriptive comments.
Click Check In.
A success message appears. The new trailer move appears on the Trailer Summary pane with a state of In-Yard.