Creating Standalone Appointments
Users can create delivery or pickup standalone appointments that are not associated with a shipment. The example below is for a pickup standalone appointment. The procedure for a delivery standalone appointment is similar.
Complete the following steps to create standalone appointments:
L og in to the ONE system.
Click Menu/Favs > Scheduling > Standalone Appointments > New Pickup Standalone Appointment.
In the NEO UI, users can click on the Menu/Favs icon on the left sidebar and type in the name of the screen in the menu search bar. For more information, see "Using the Menu Search Bar."
The method for creating a delivery standalone appointment is similar; instead, simply click Menu/Favs > Scheduling > Standalone Appointments > New Delivery Standalone Appointment.
The New Pickup Standalone Appointment screen appears.
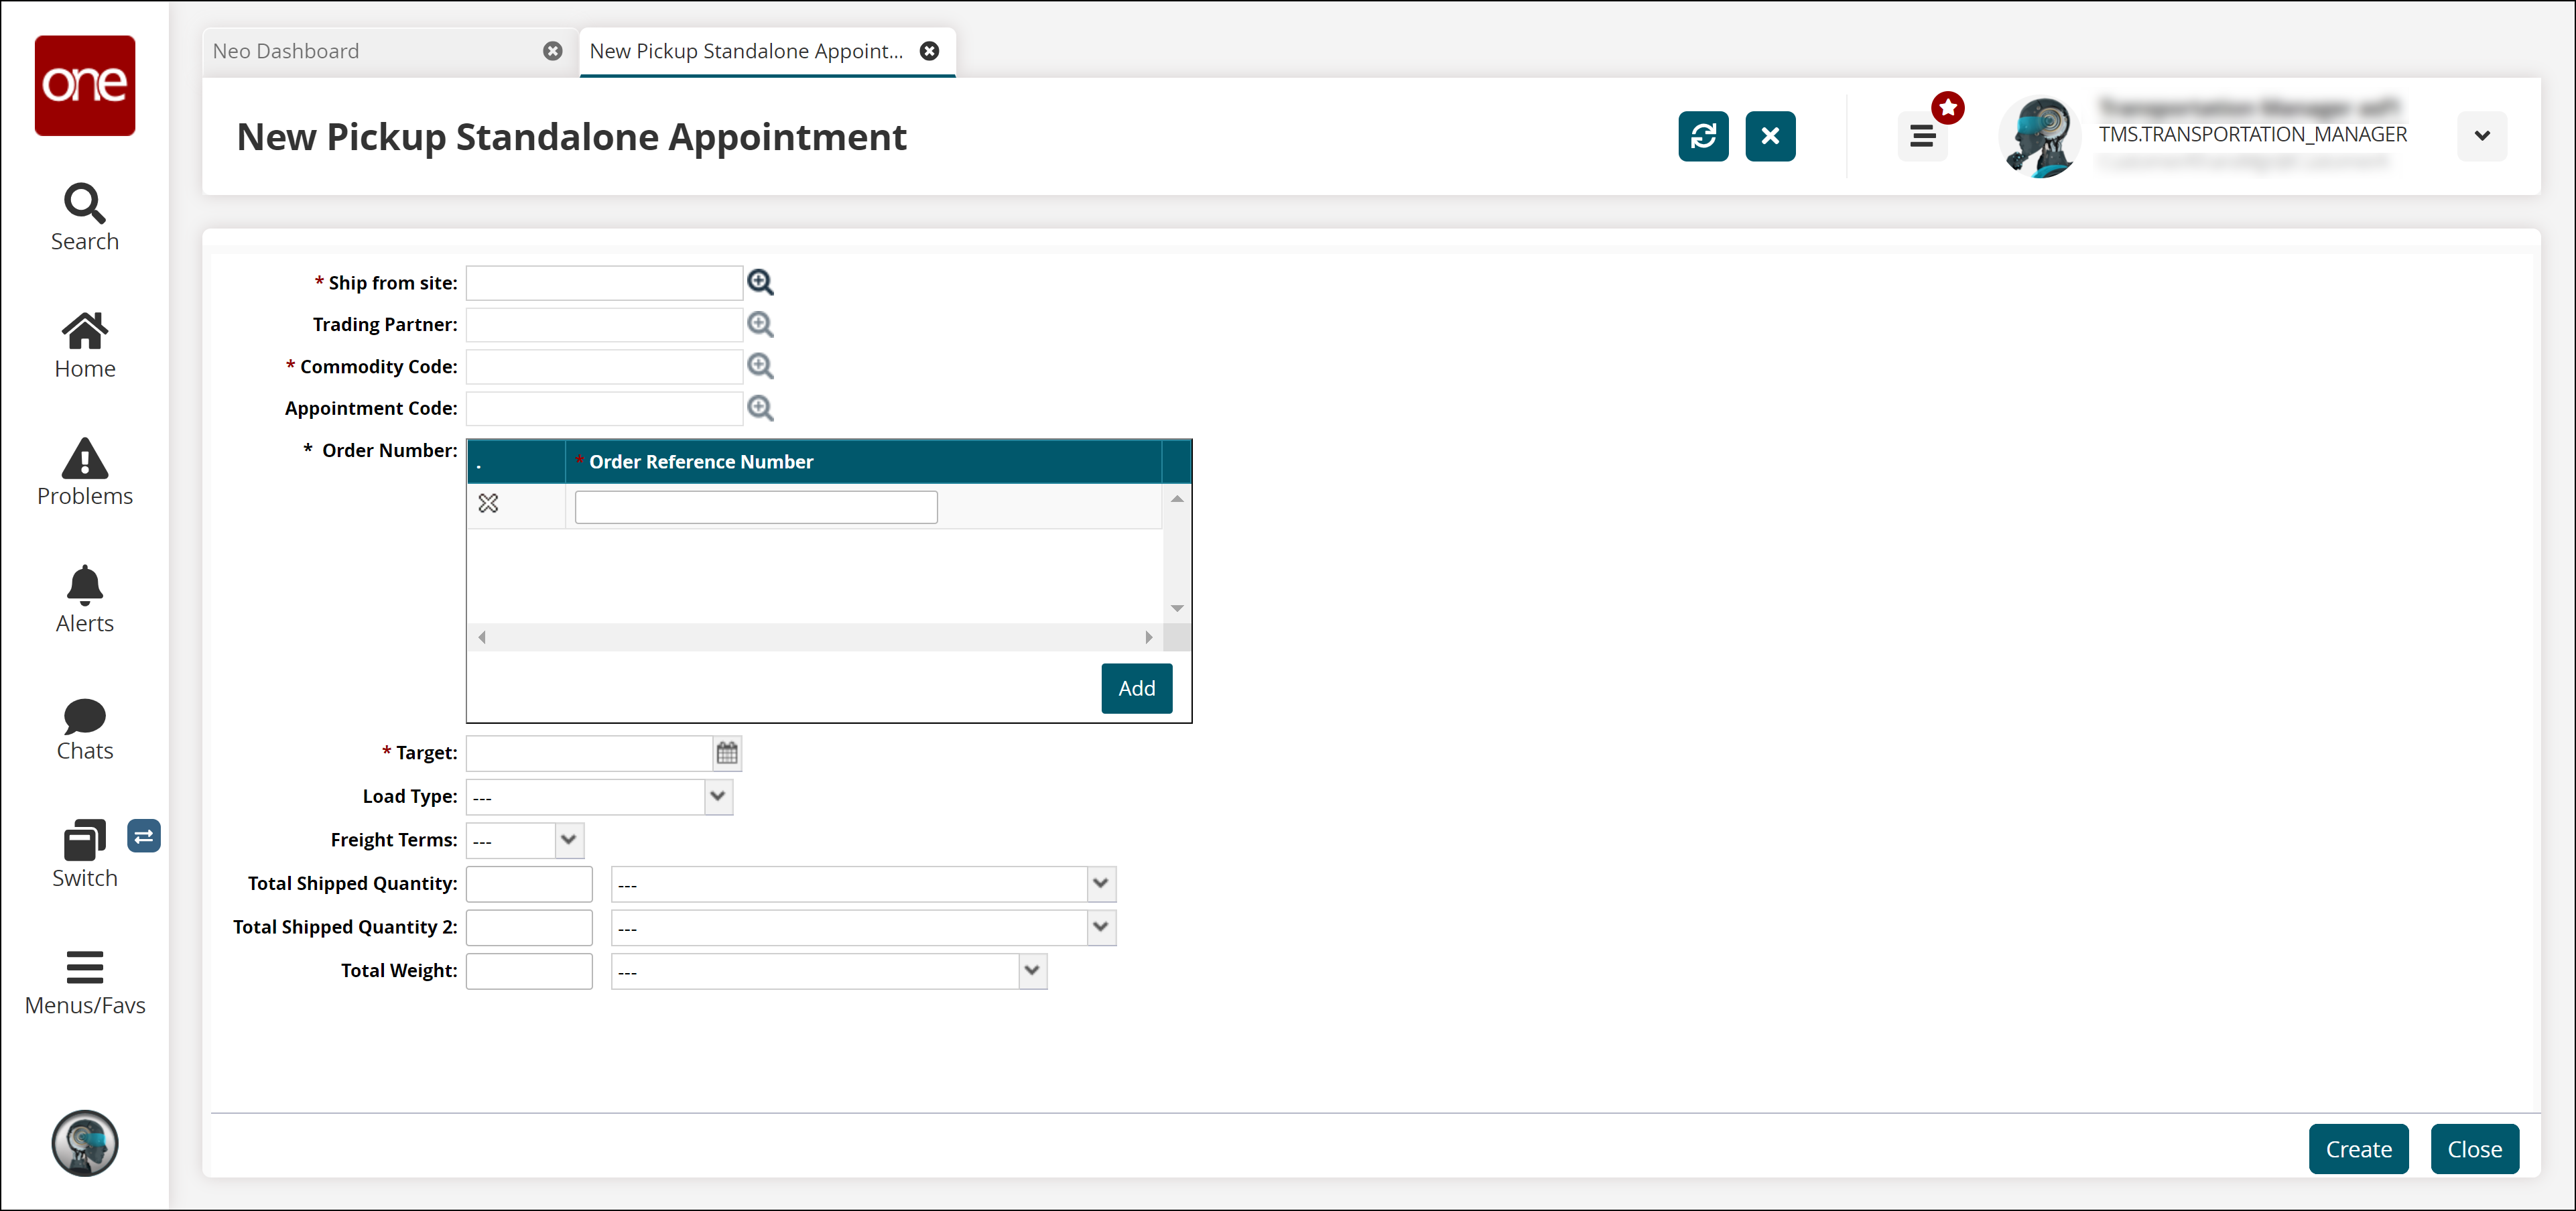
Fill out the following fields. Fields with an asterisk ( * ) are required.
Field
Description
* Ship from site
Select a ship from site using the picker tool.
Trading Partner
Select a trading partner using the picker tool.
* Commodity Code
Select a commodity code using the picker tool.
Appointment Code
Select an appointment code using the picker tool.
* Order Number
To add an order number, click Add below the Order Number box, and enter an order number. To add other order numbers to the appointment, click Add and repeat the previous step.
* Target
Select a target date using the calendar icon.
Load Type
Select a load type from the drop-down menu.
Freight Terms
Select freight terms from the drop-down menu. The available options are Prepaid or Collect.
Total Shipped Quantity
Enter a total shipped quantity and select a container option.
Total Shipped Quantity 2
Enter a total shipped quantity and select a container option.
Total Weight
Enter weight and select a unit of measure from the drop-down menu.
Click Create.
The Create Live Pickup Appointment screen appears. This screen has two tabs, Reservations (default) and Shipments. In the Reservation Candidates section of this tab, the Appointment Scheduling Engine automatically suggests three available reservation times for the Dock Door Group that is scheduled based on business rules. Each suggested reservation is identified by Slot Type: whether the slot is due to a Regular available open slot or from a Standing Block.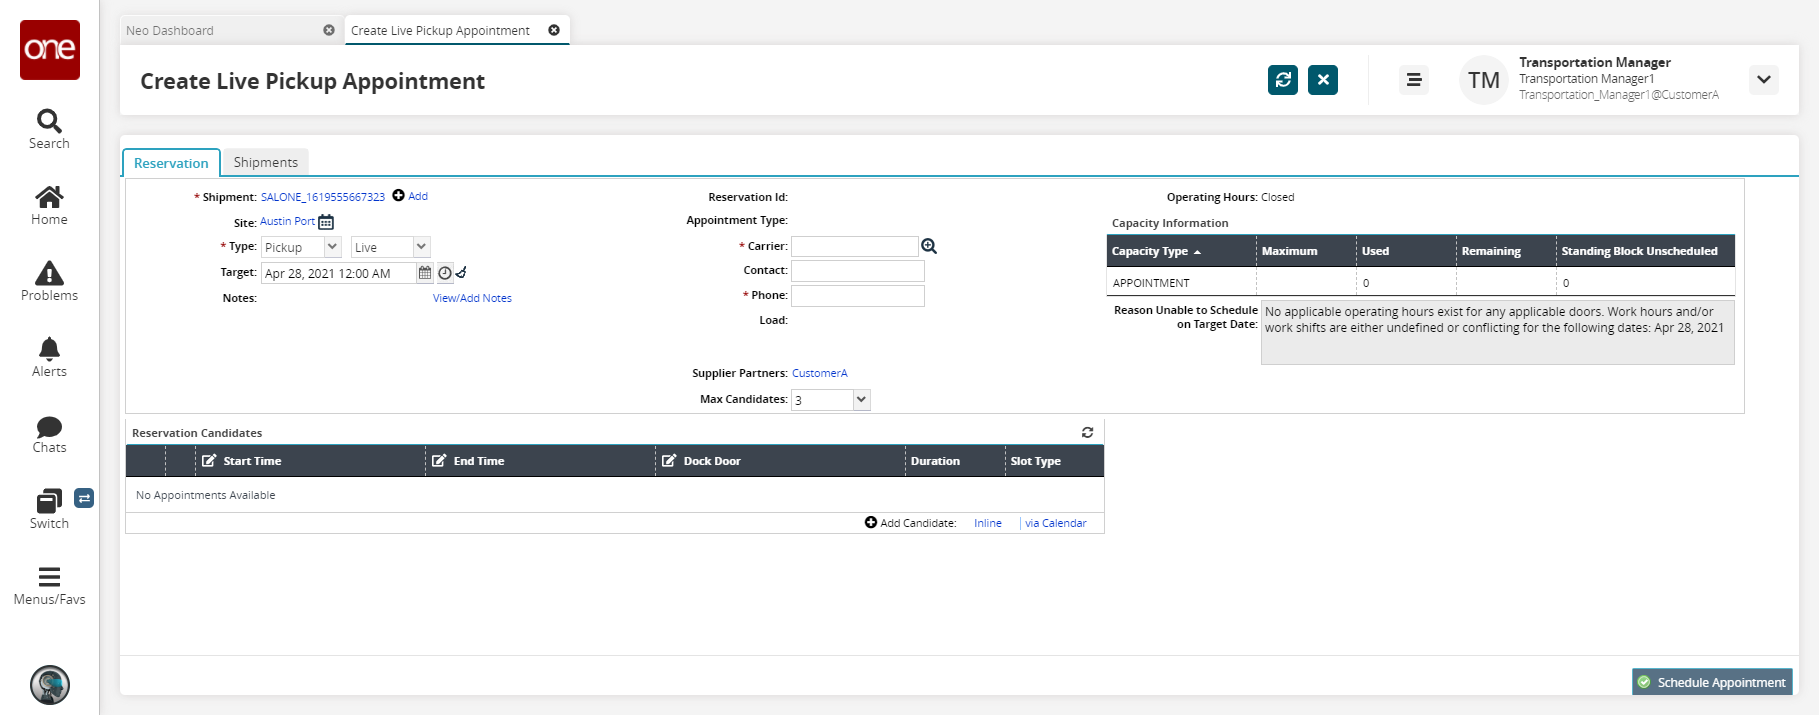
Reservation Tab
To add another shipment to this appointment, click the Add link, and then select the Select Shipments option.
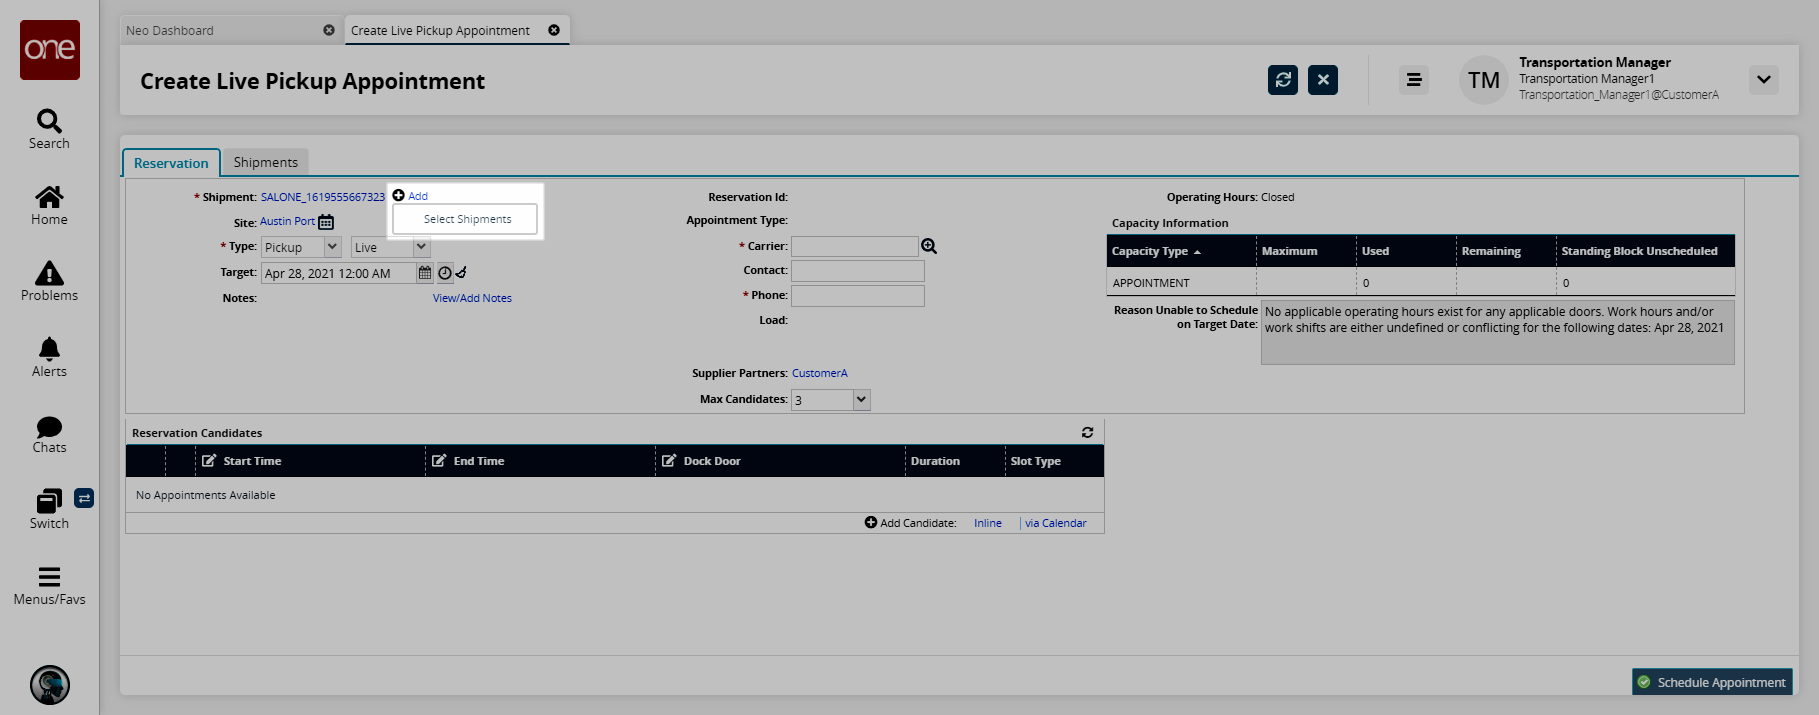
The Select Shipments dialog box appears.
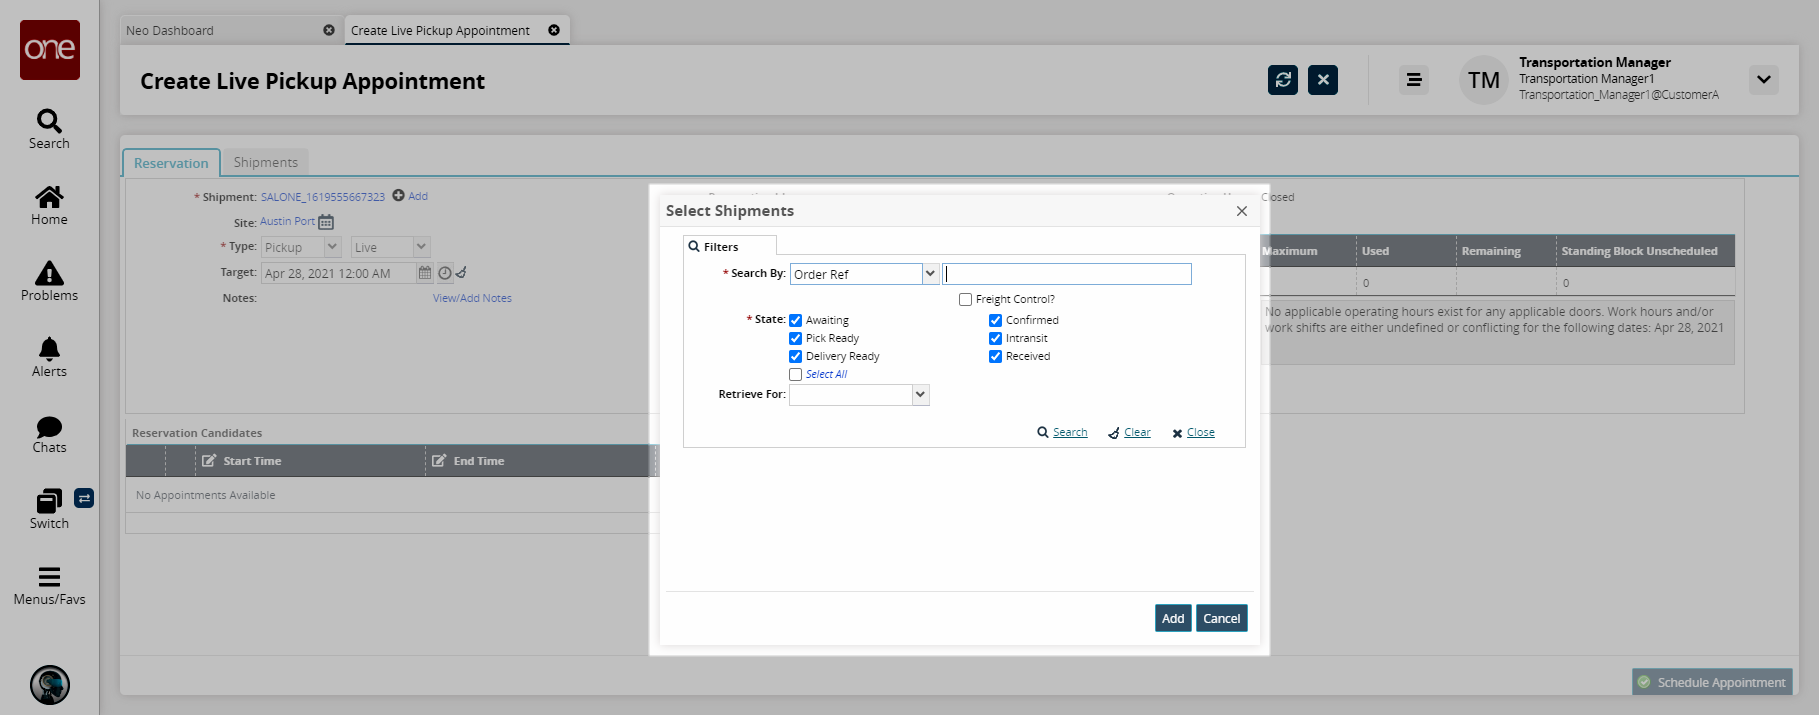
Select value from the drop-down menu for the * Search by field and enter the appropriate value in the next cell. Fields with an asterisk ( * ) are required.
Check the Freight Control checkbox if appropriate.
Select one or more * State checkboxes.
Select a value from the drop-down menu for the Retrieve for field.
Click the Search link.
The search results appear.Select one or more shipments, and then click the Add button.
The additional shipments appear on the appointment.As required, edit selections or values for Target (date), Carrier, Contact, Phone, and Max Candidates.

To add a note about this appointment, click the View/Add Notes link.
The Notes dialog box appears.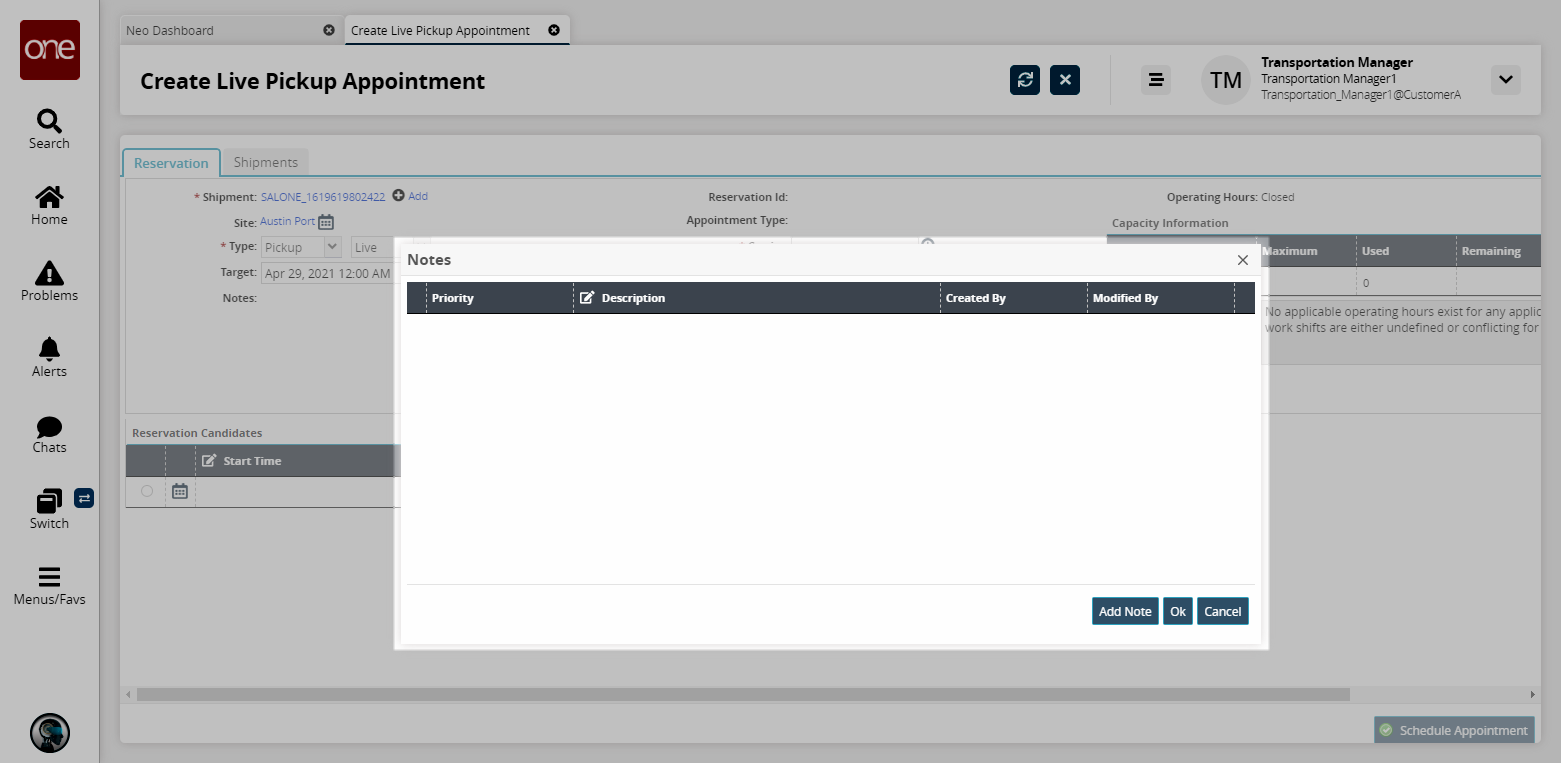
Click the Add Note button.
A new note row appears.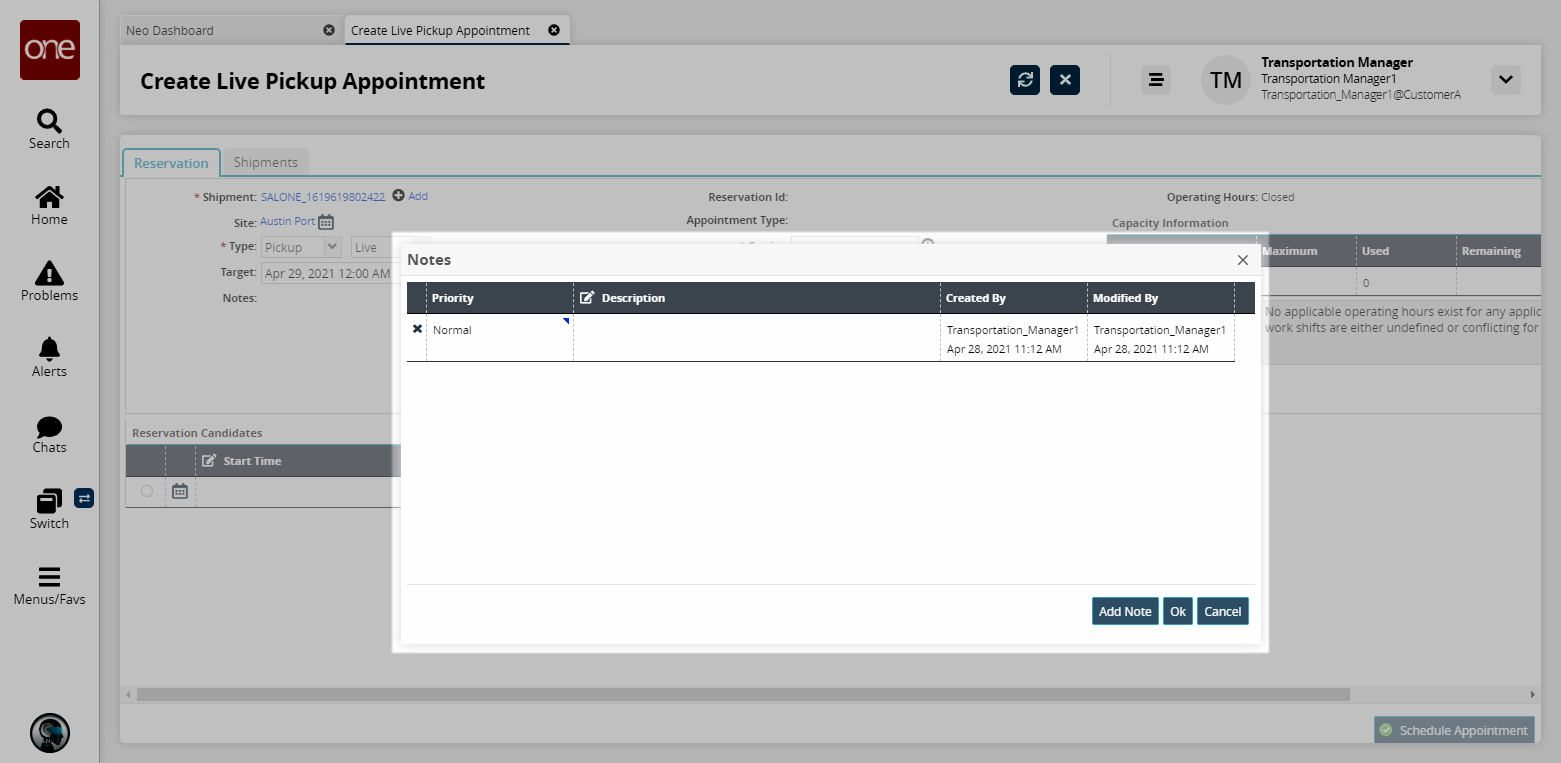
In the Priority cell, click the context menu (blue triangle in the upper right-hand corner), and then select a priority option: High, Normal (default), or Low.
In the Description cell, type a note about the appointment.
Click the OK button.
The first few words of the first note appear in the Notes field on the Shipments tab.If one of the suggested reservation candidates is acceptable, click the option in the Reservation Candidate pane.
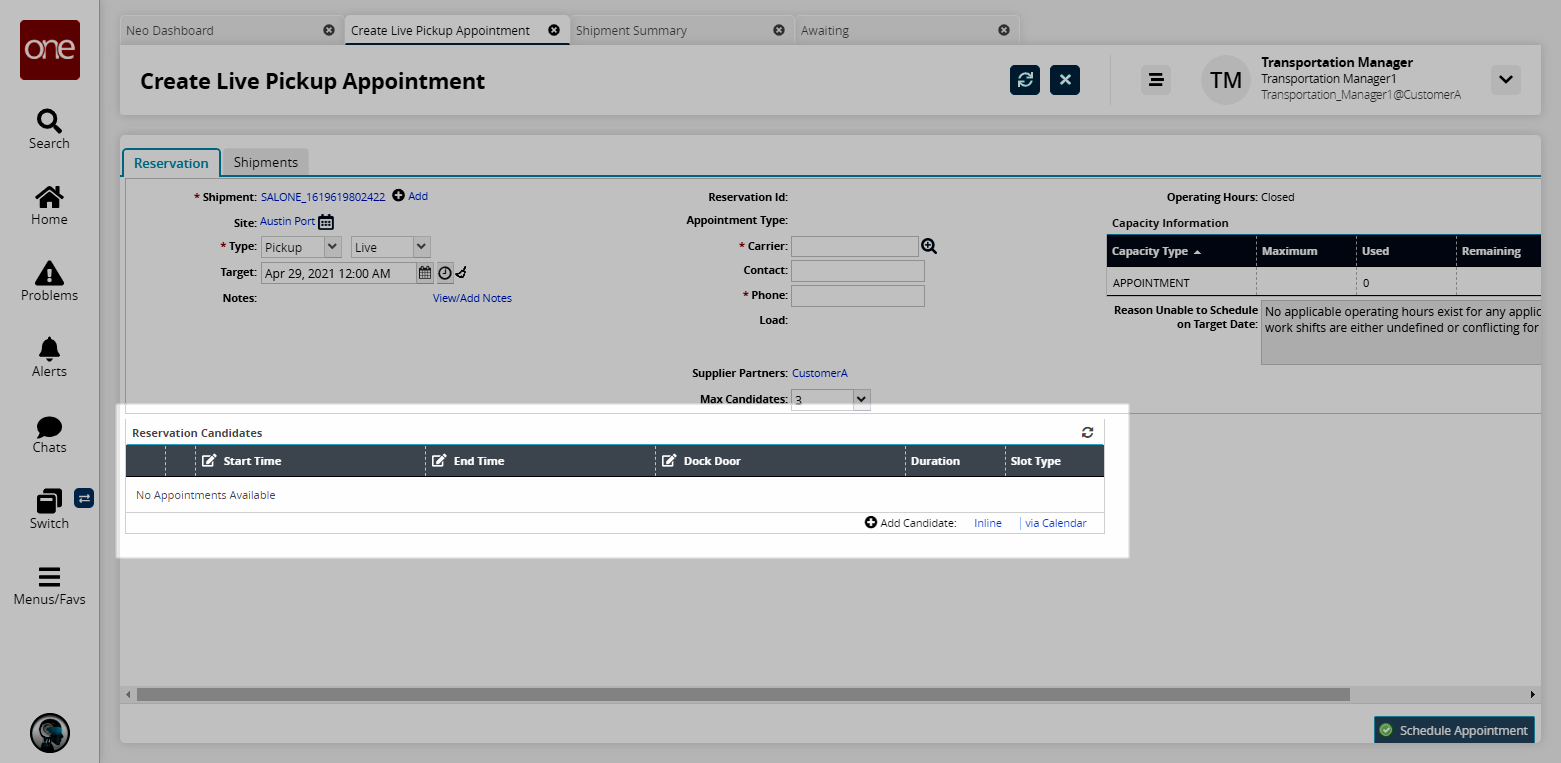
If none of the suggested appointment times are acceptable or none display based on the criteria you entered, you can:
Edit the Target date field. The list of reservation candidates refreshes to reflect the revised target date.
Get another reservation candidate by clicking the Add Candidate: Inline link.
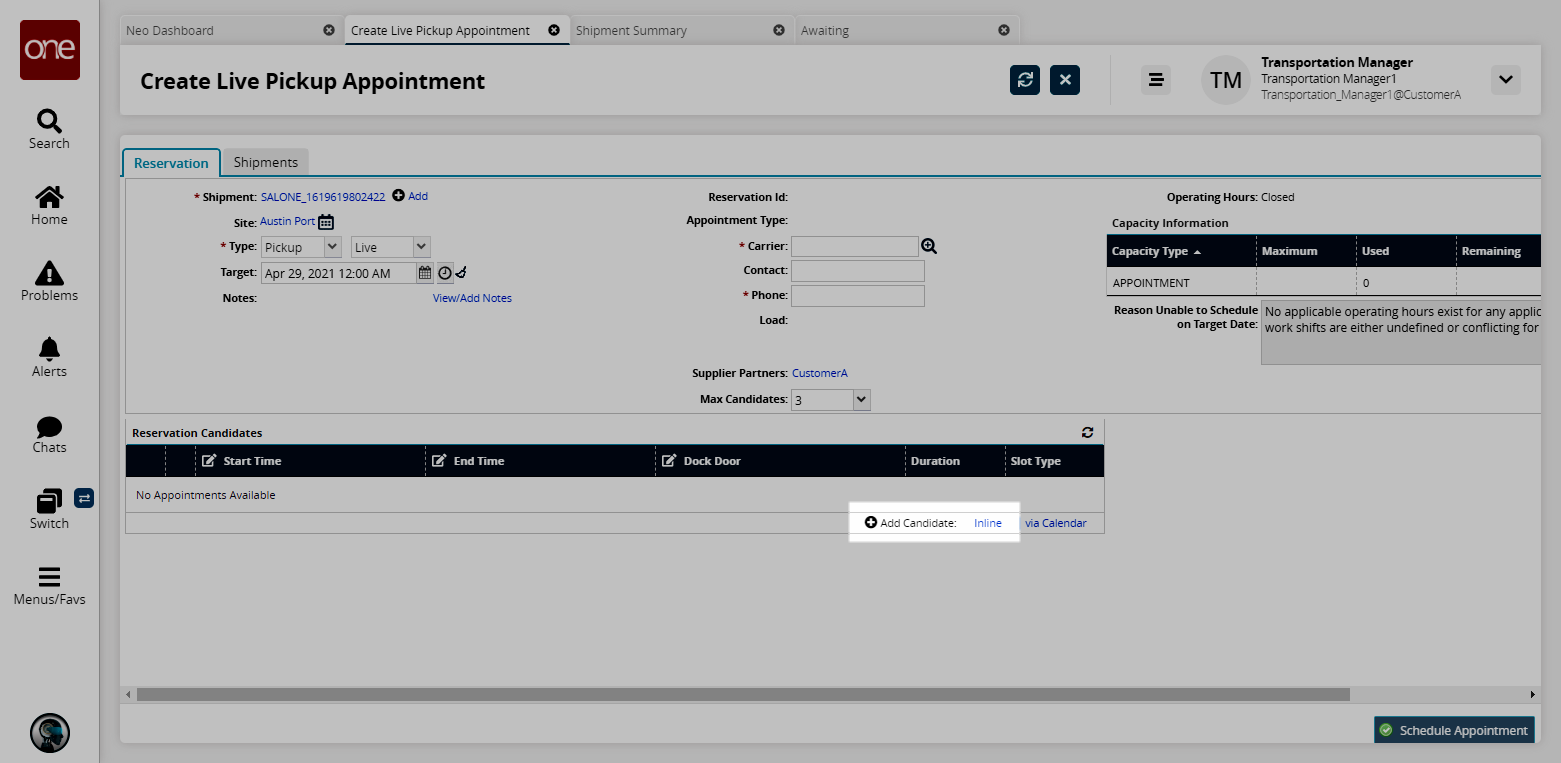
A new reservation candidate row appears.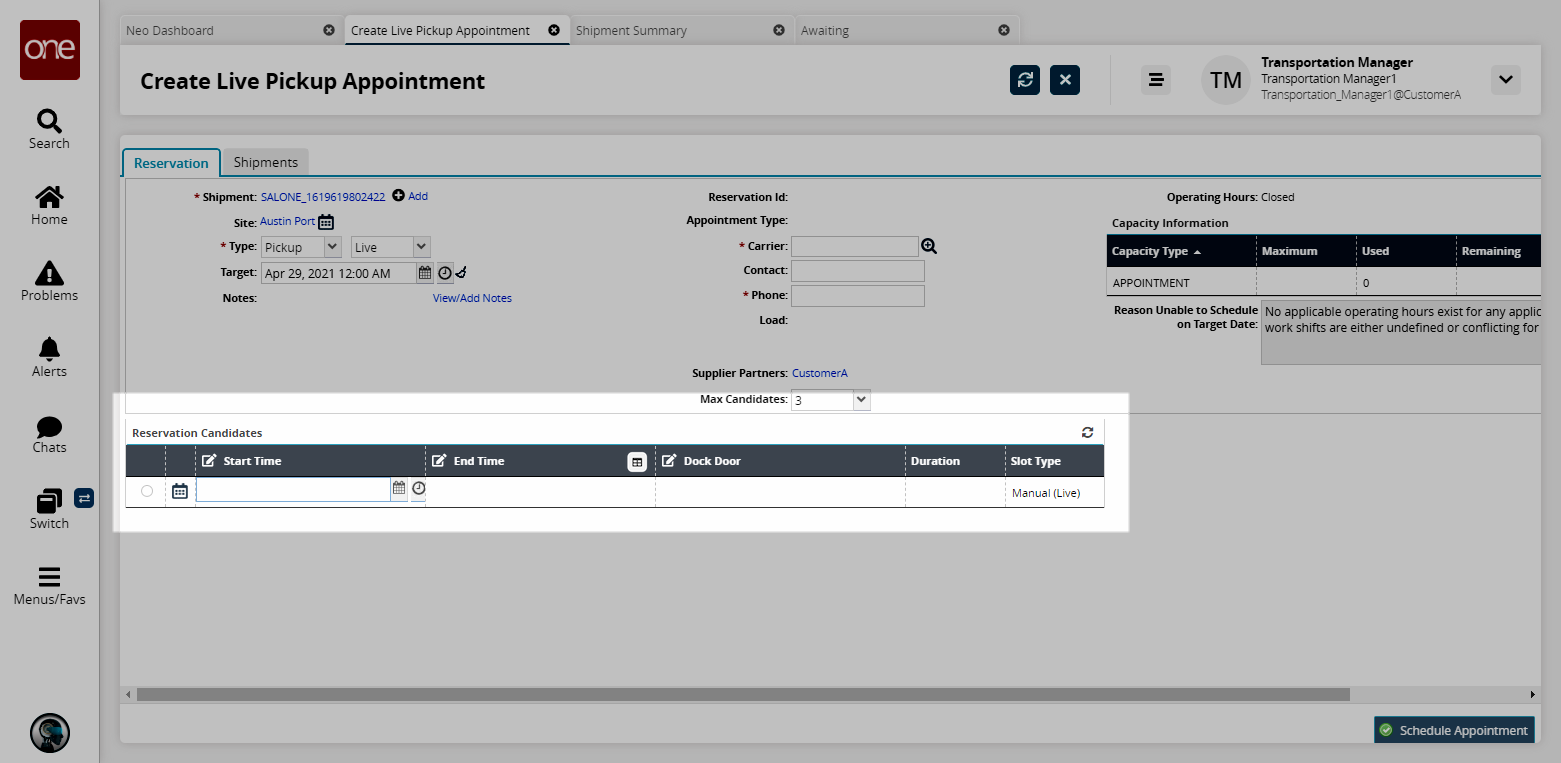
Select the date and time values for the Start Time and End Time fields.
Select the desired value from the Dock Door drop-down list.
Shipments Tab
Click the Shipments tab to view summary details about the shipment.
You can accept the values shown in the shipment, or you can edit specific fields.
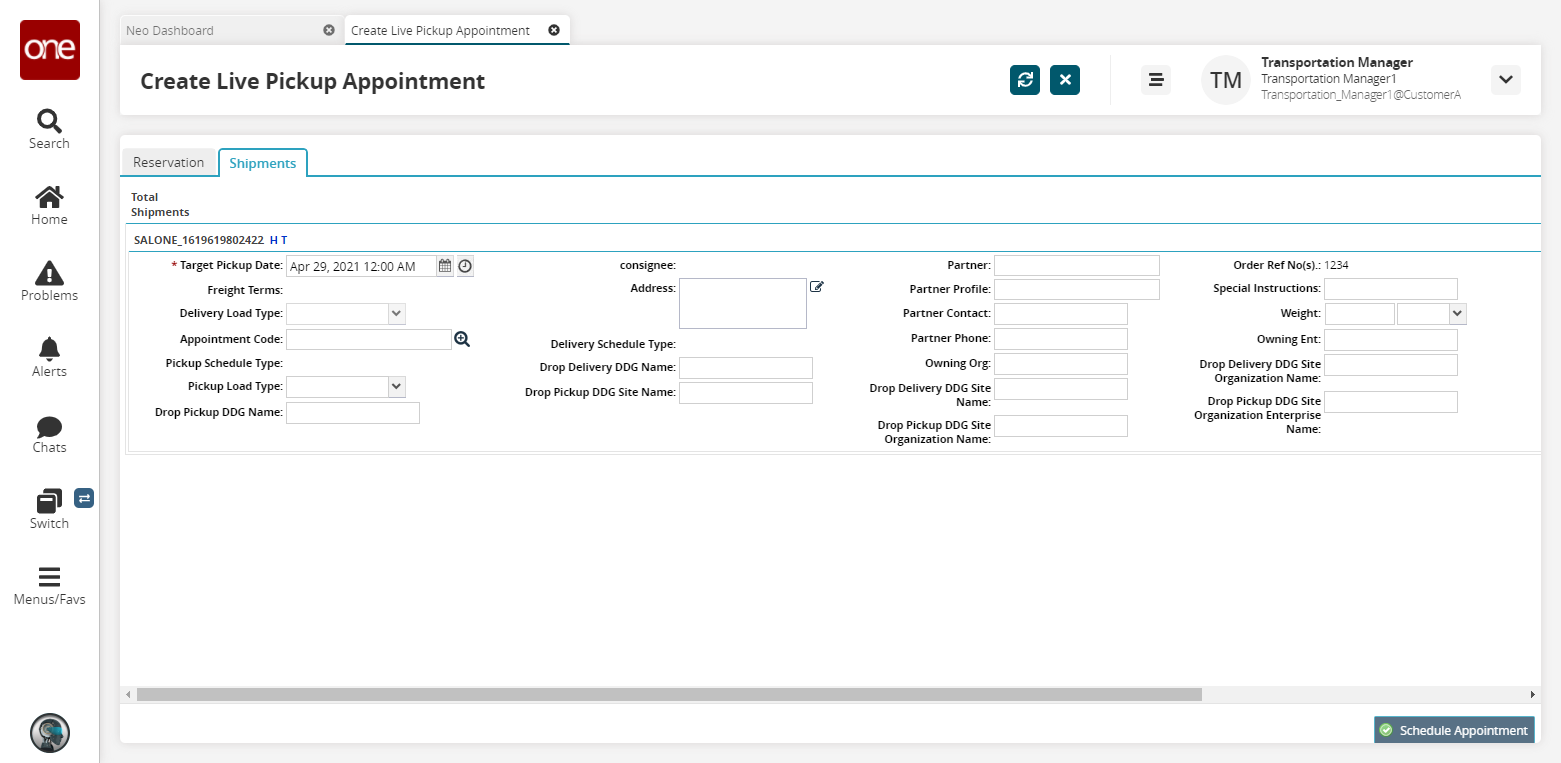
Fill out the following fields. Fields with an asterisk ( * ) are required.
Field
Description
* Target Pickup Date
Enter a date and time using the calendar and clock icons.
Freight Terms
This field is populated by the system.
Delivery Load Type
Select a delivery load type from the drop-down menu.
Appointment Code
Select an appointment code using the picker tool.
Pickup Schedule Type
This field is populated by the system.
Pickup Load Type
Select a pickup load type from the drop-down menu.
Drop Pickup DDG Name
Enter a drop pickup DDG (dock door group) name.
Consignee
This field is populated by the system.
Address
Enter an address.
Delivery Schedule Type
This field is populated by the system.
Drop Delivery DDG Name
Enter a drop delivery DDG name.
Drop Pickup DDG Site Name
Enter a drop pickup DDG site name.
Partner
Enter a partner. Use the auto-complete function to select an existing partner.
Partner Profile
Enter a partner profile. Use the auto-complete function to select an existing partner profile.
Partner Contact
Enter a partner contact.
Partner Phone
Enter a partner phone.
Owning Org
Enter an owning organization.
Drop Delivery DDG Site Name
Enter a drop delivery DDG site name.
Drop Pickup DDG Site Organization Name
Enter a drop pickup DDG site organization name.
Order Ref No(s)
This field is populated by the system.
Special Instructions
Enter special instructions.
Weight
Enter a weight and a unit of measure.
Owning Ent
Enter an owning enterprise.
Drop Delivery DDG Site Organization Name
Enter a drop delivery DDG site organization name.
Drop Pickup DDG Site Organization Enterprise Name
Enter a drop pickup DDG site organization enterprise name.
Ordered Pieces 1
Enter ordered pieces.
Ordered Pieces 2
Enter ordered pieces.
Shipped Pieces 1
Enter the number of shipped pieces and a unit of measure.
Shipped Pieces 2
Enter the number of shipped pieces and a unit of measure.
Scheduled Receiving Date
Enter the scheduled receiving date.
Drop Delivery DDG Site Organization Enterprise Name
Enter the drop delivery DDG site organization enterprise name.
After making all edits, click Schedule Appointment.
The appointment is created, and an appointment success message appears above the header section. The Reservation ID field updates to show the confirmation number.
Email Notification
After creating an appointment, you may send the email notification to carriers, partners, or yourself.
Click the Actions button, and then click the Email Notification option.
The Email Notification dialog box appears showing details of the appointment.
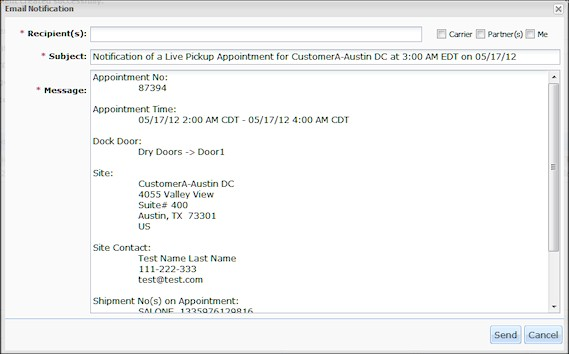
As required, specify the recipients of the email by selecting the Carrier, Partner(s), or Me checkboxes.
The respective email addresses will appear in the Recipient(s) box. You may also type other recipients' email addresses, separated by commas, into the Recipient(s) box.Click the Send button.
A success message appears.
Rescheduling Appointments
You can reschedule appointments for pick-up or delivery of shipments.
To reschedule appointments:
Click the Reschedule Appointment button.
The Reason for Rescheduling dialog box appears.
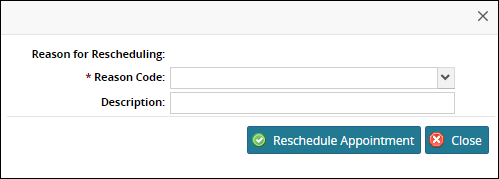
Select an option from the drop-down list for the * Reason Code list.
In the Description box, type a description.
Click the Reschedule Appointment button.
The New Pickup Standalone Appointment tab shows options in the Reservation Candidates section.Select another appointment using one of the options described in the previous procedure.
The appointment is created, and an appointment success message appears above the header section. The confirmation number does not change.
Canceling Appointments
You can cancel appointments for pick-up or delivery of shipments.
To cancel appointments:
Click the Cancel Appointment button.
The Reason for Cancelling dialog box appears.
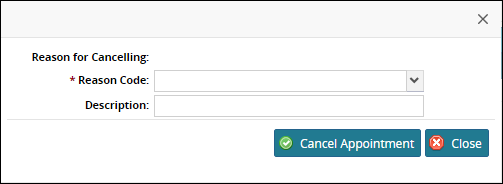
Select a code from the drop-down list for the Reason Code.
In the Description box, type a description,
Click the Cancel Appointment button.