Dock Doors
You view dock door reports by site and name. Afterward, you can export details to a spreadsheet. You can also set dock door policies. Policies at the dock door level allow for the set up of shipping and receiving times and the application of dock door settings defined at the organization level. Setting dock door policies is typically performed by transportation manager roles.
Multiple dock doors can belong to a single dock door group.
Complete the following steps to search dock doors:
L og in to the ONE system.
Select Menu/Favs > Scheduling > Dock Doors.
In the NEO UI, users can click on the Menu/Favs icon on the left sidebar and type in the name of the screen in the menu search bar. For more information, see "Using the Menu Search Bar."
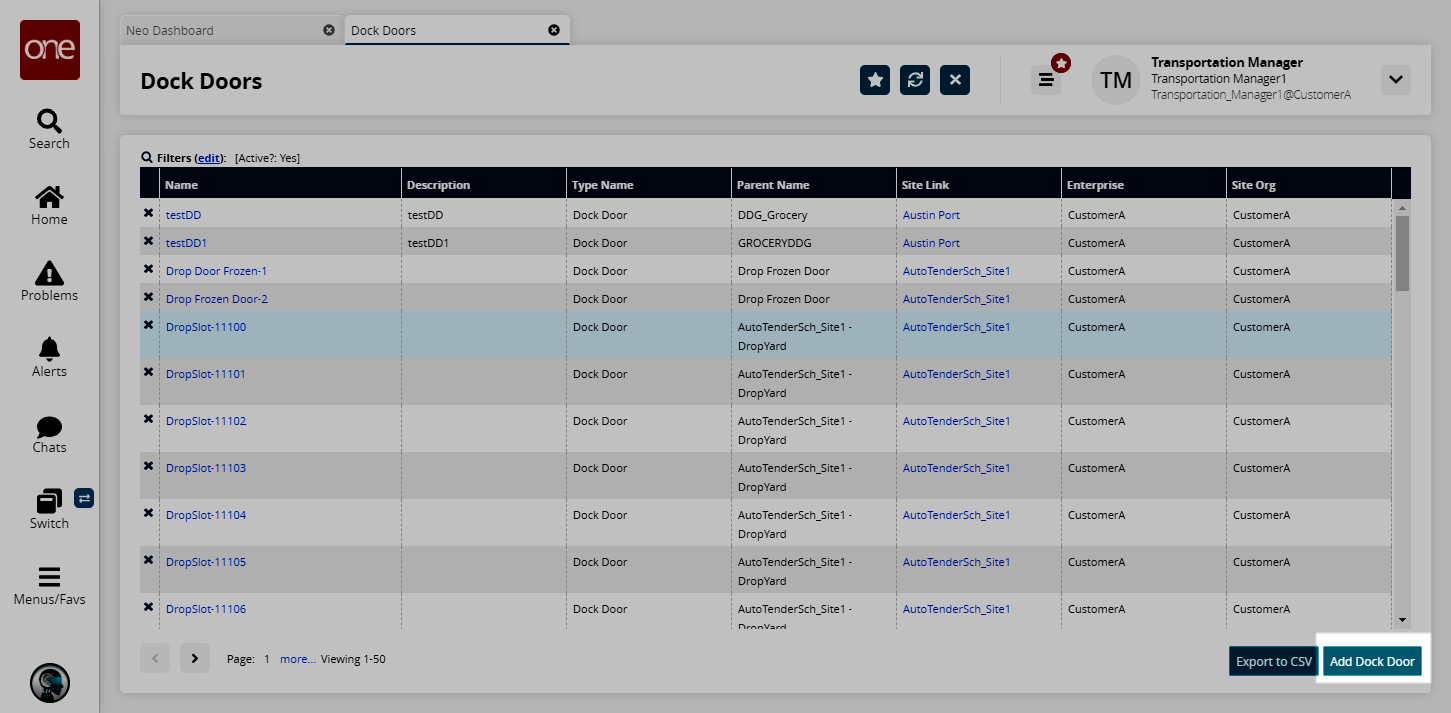
The Dock Doors screen appears.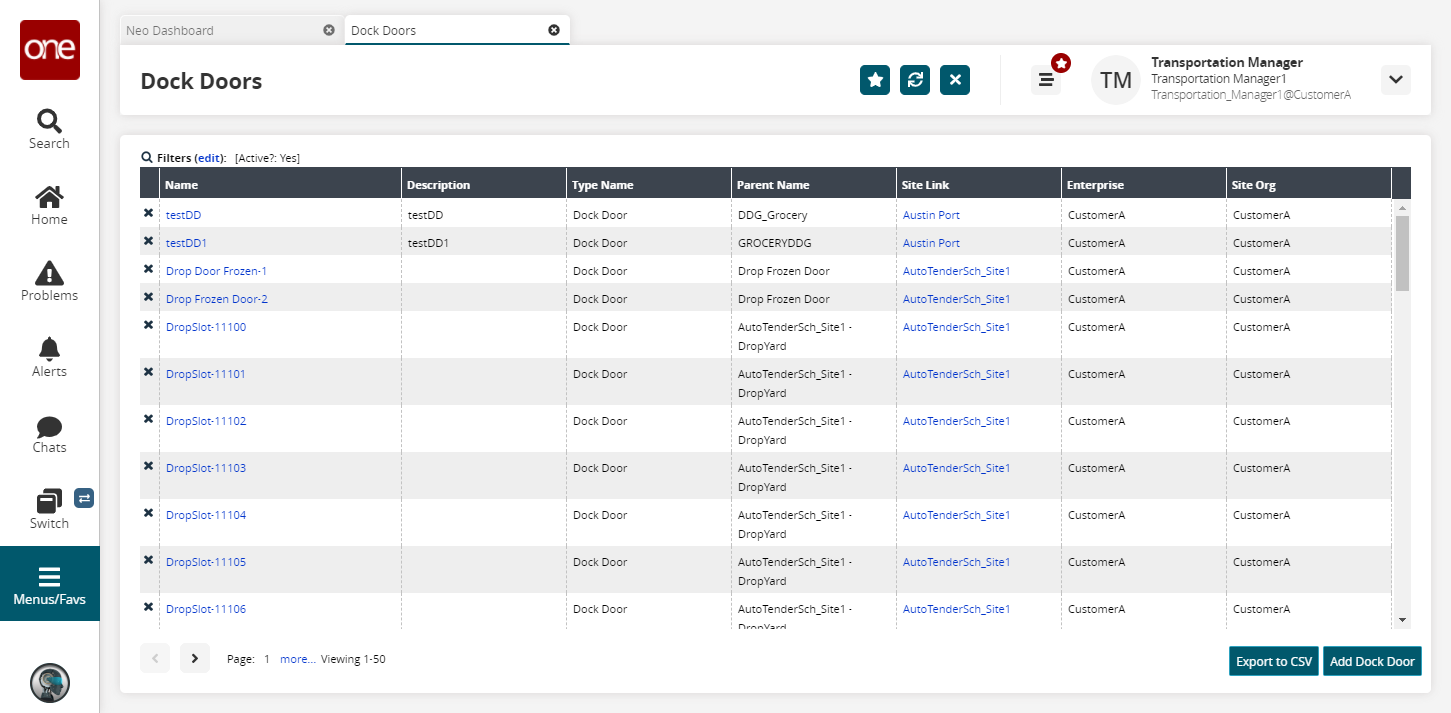
Click the Filters (edit) link to apply search criteria to reduce the number of entries shown.
The Filters menu appears.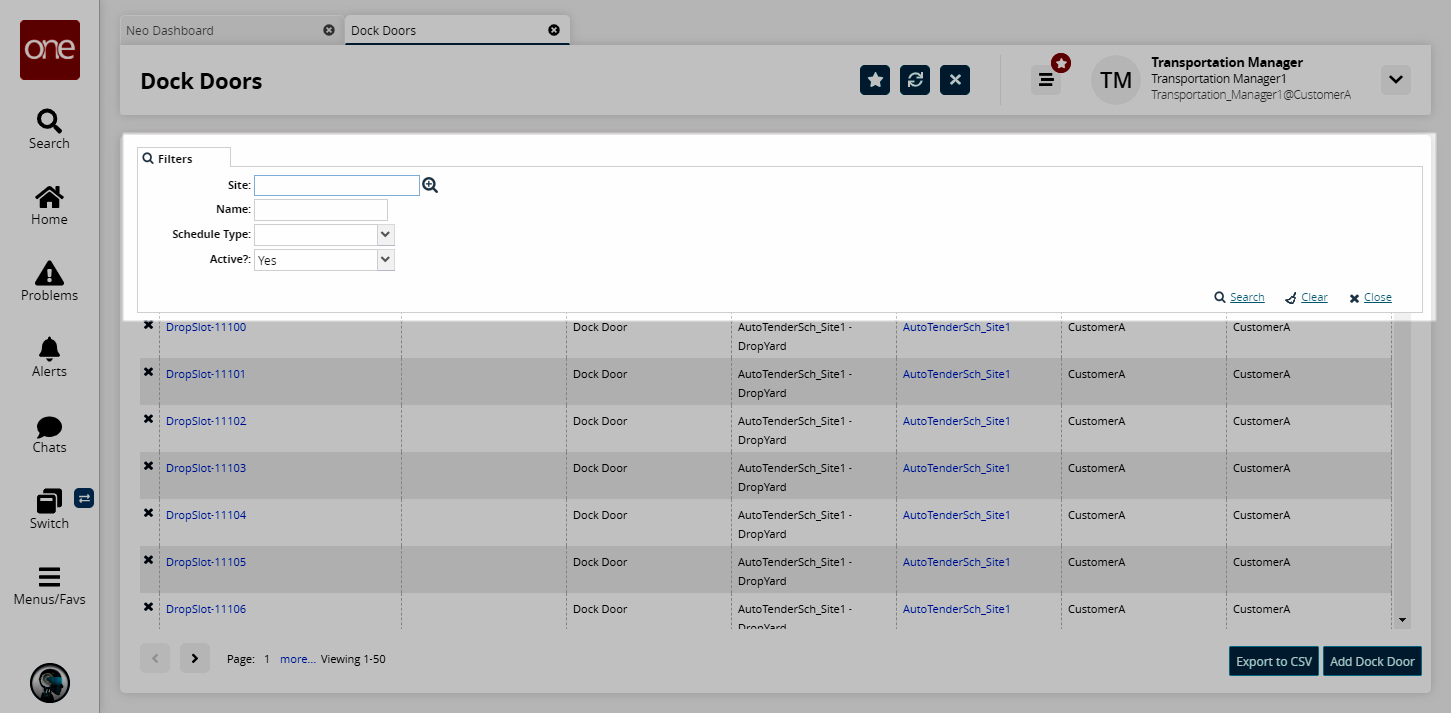
Enter values for the relevant filters and click Search.
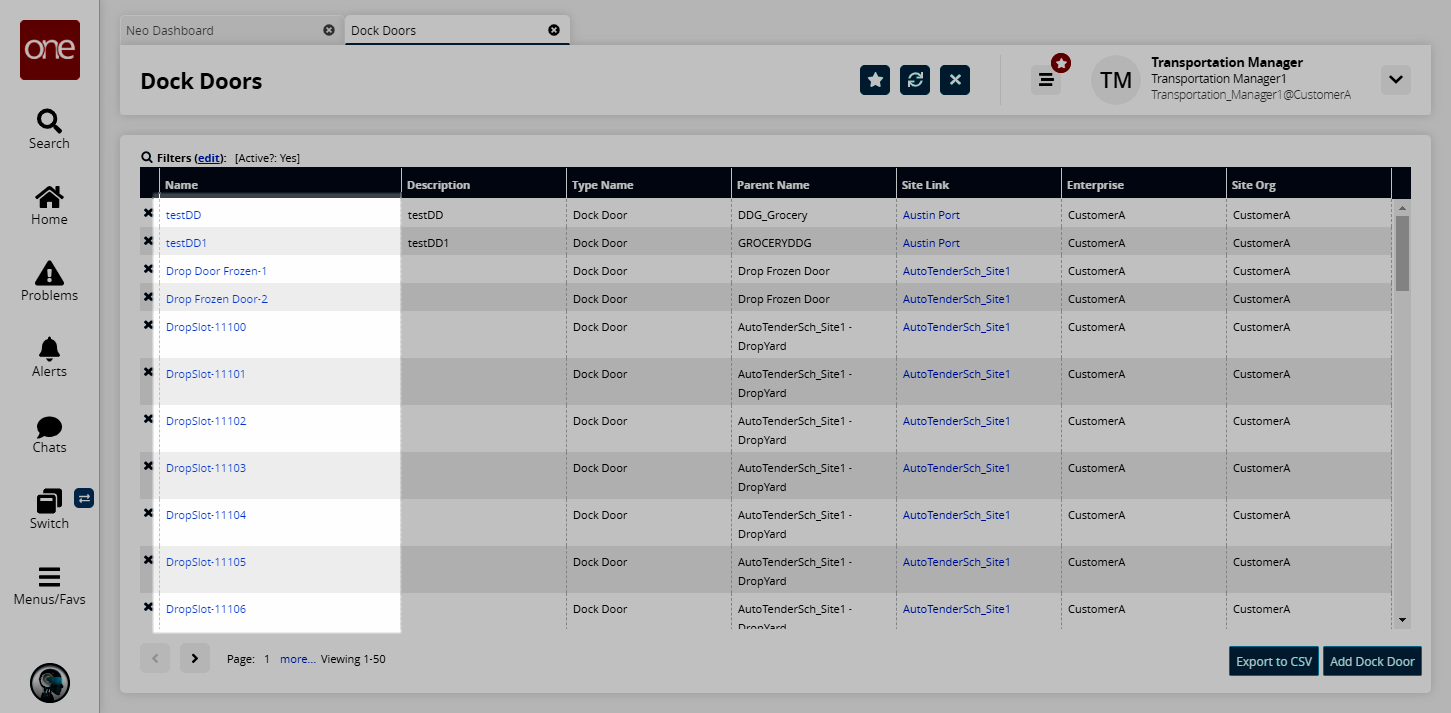
The search results appear.To view details about a dock door, in the Dock Doors tab, click a Name link.
Information about the dock door appears in a new tab.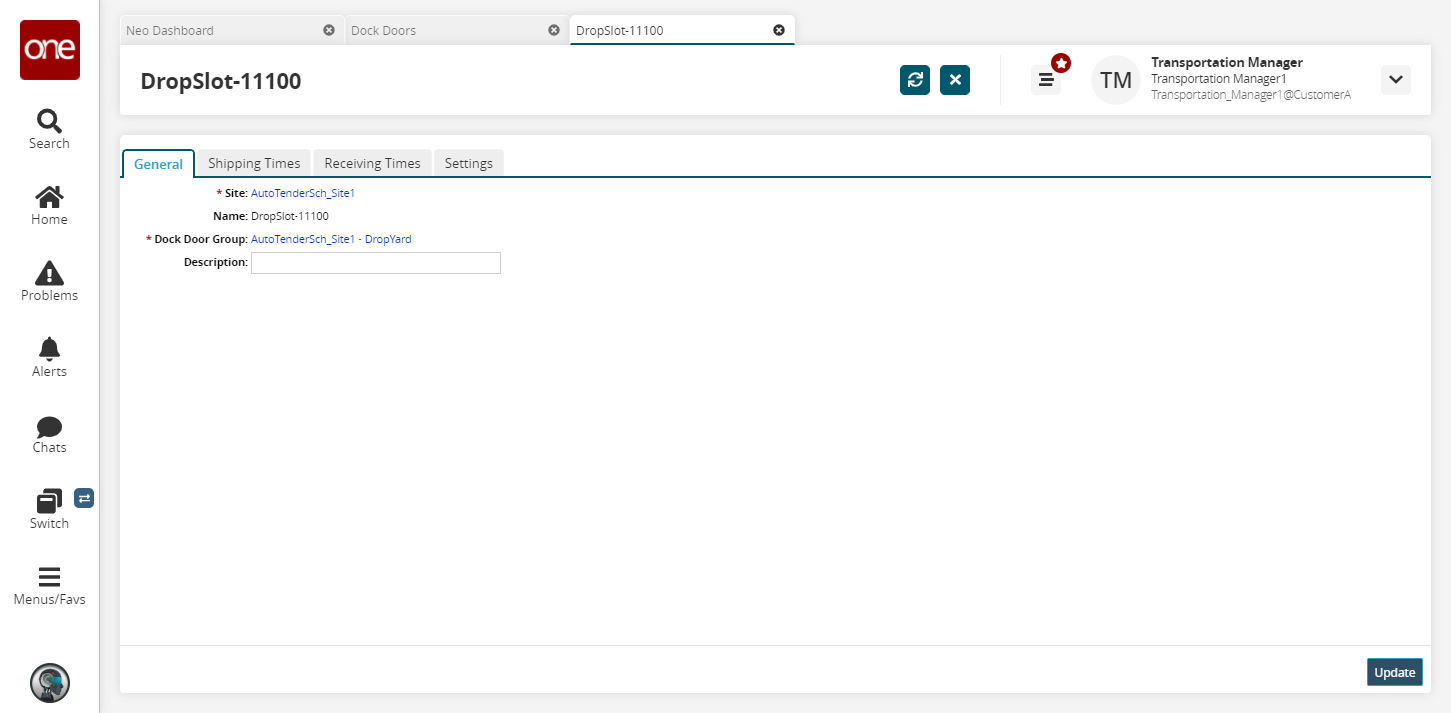
As required, edit the Name, Dock Door Group, and Description, and then click Update.
A success message confirms that the record was updated.
Complete the following steps to add dock doors:
L og in to the ONE system.
Select Menu/Favs > Scheduling > Dock Doors.
The Dock Doors screen appears.On the Dock Doors tab, click Add Dock Door.
The Create Dock Door tab appears.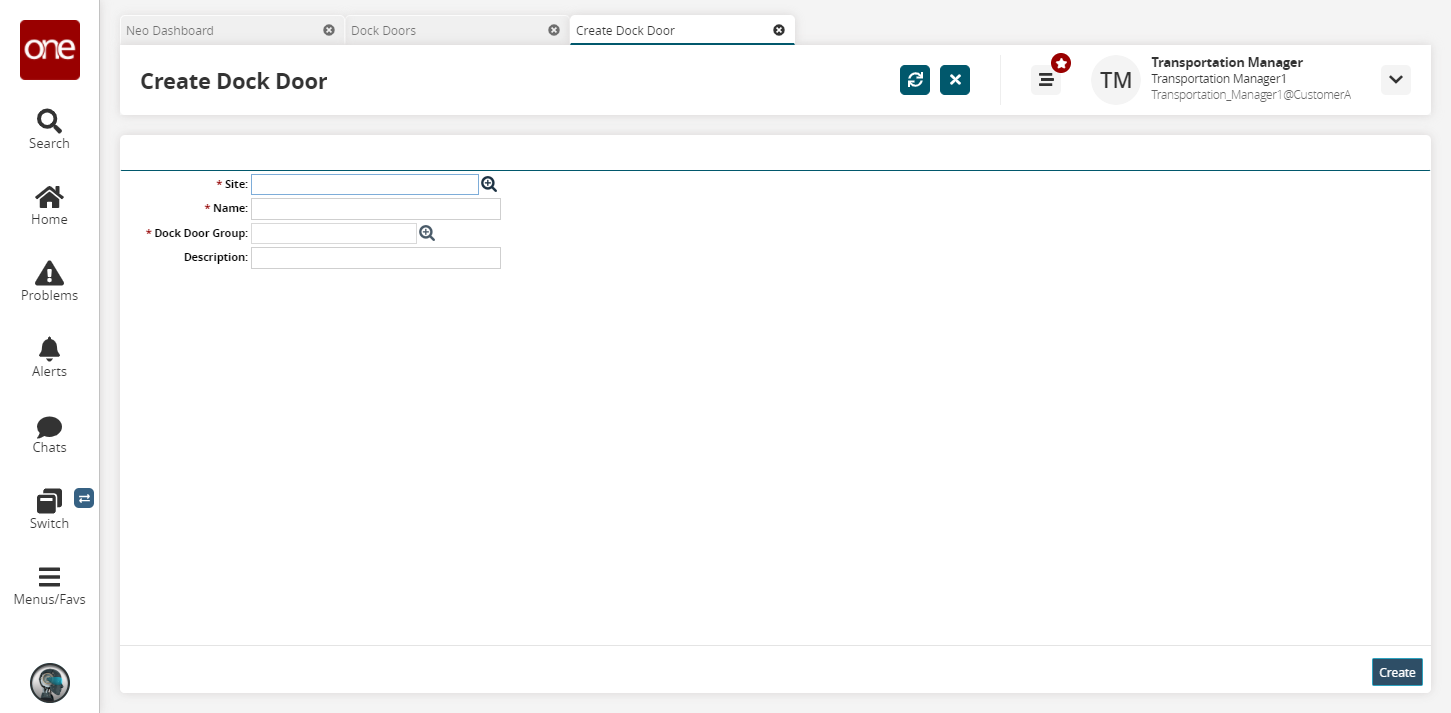
Select a Site using the picker tool.
Enter the Name of the new dock door.
Select a Dock Door Group using the picker tool.
Enter a Description of the new dock door group.
Click Create.
A success message confirms that the record was created.On the Dock Doors tab, click the Refresh button to show the new dock door.