Executing the Pipeline
The basic workflow to create an inbound integration pipeline:
Create an integration pipeline.
Create a pipeline interface.
Create a message queue.
Execute the pipeline.
View the pipeline execution history.
This page provides the instructions for the fourth step in this workflow. See the other sections for information on the other steps. Once the Message Queue has been created, the next step is executing the pipeline.
Complete the following steps to execute the pipeline:
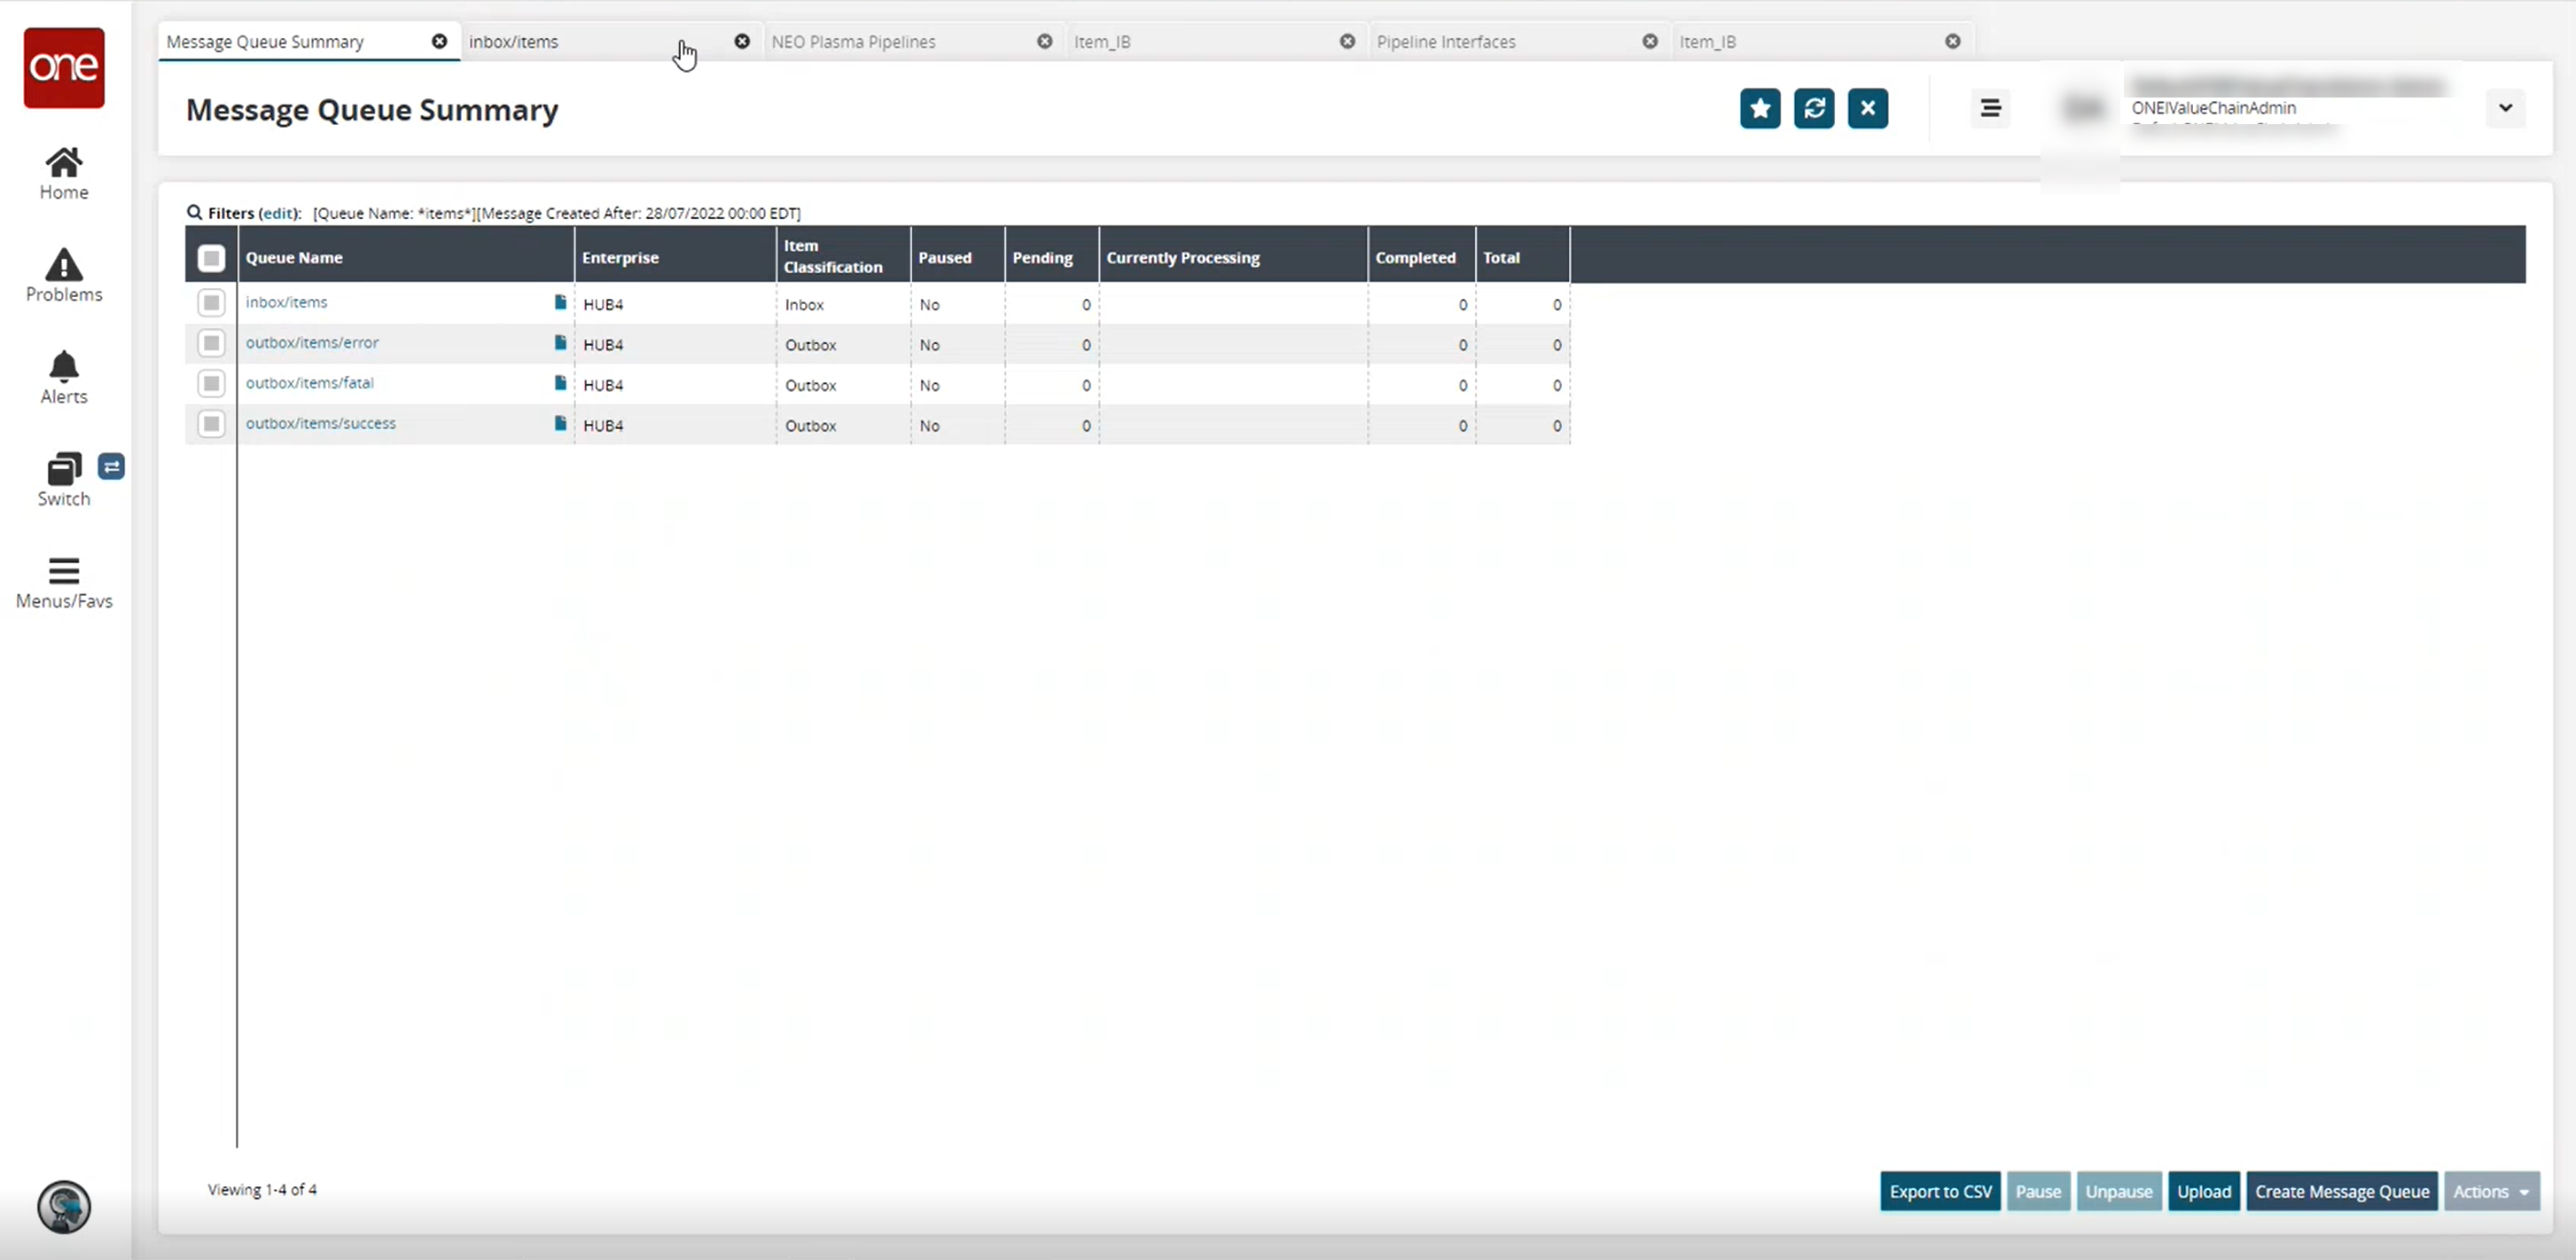
Begin at the Message Queue Summary screen.
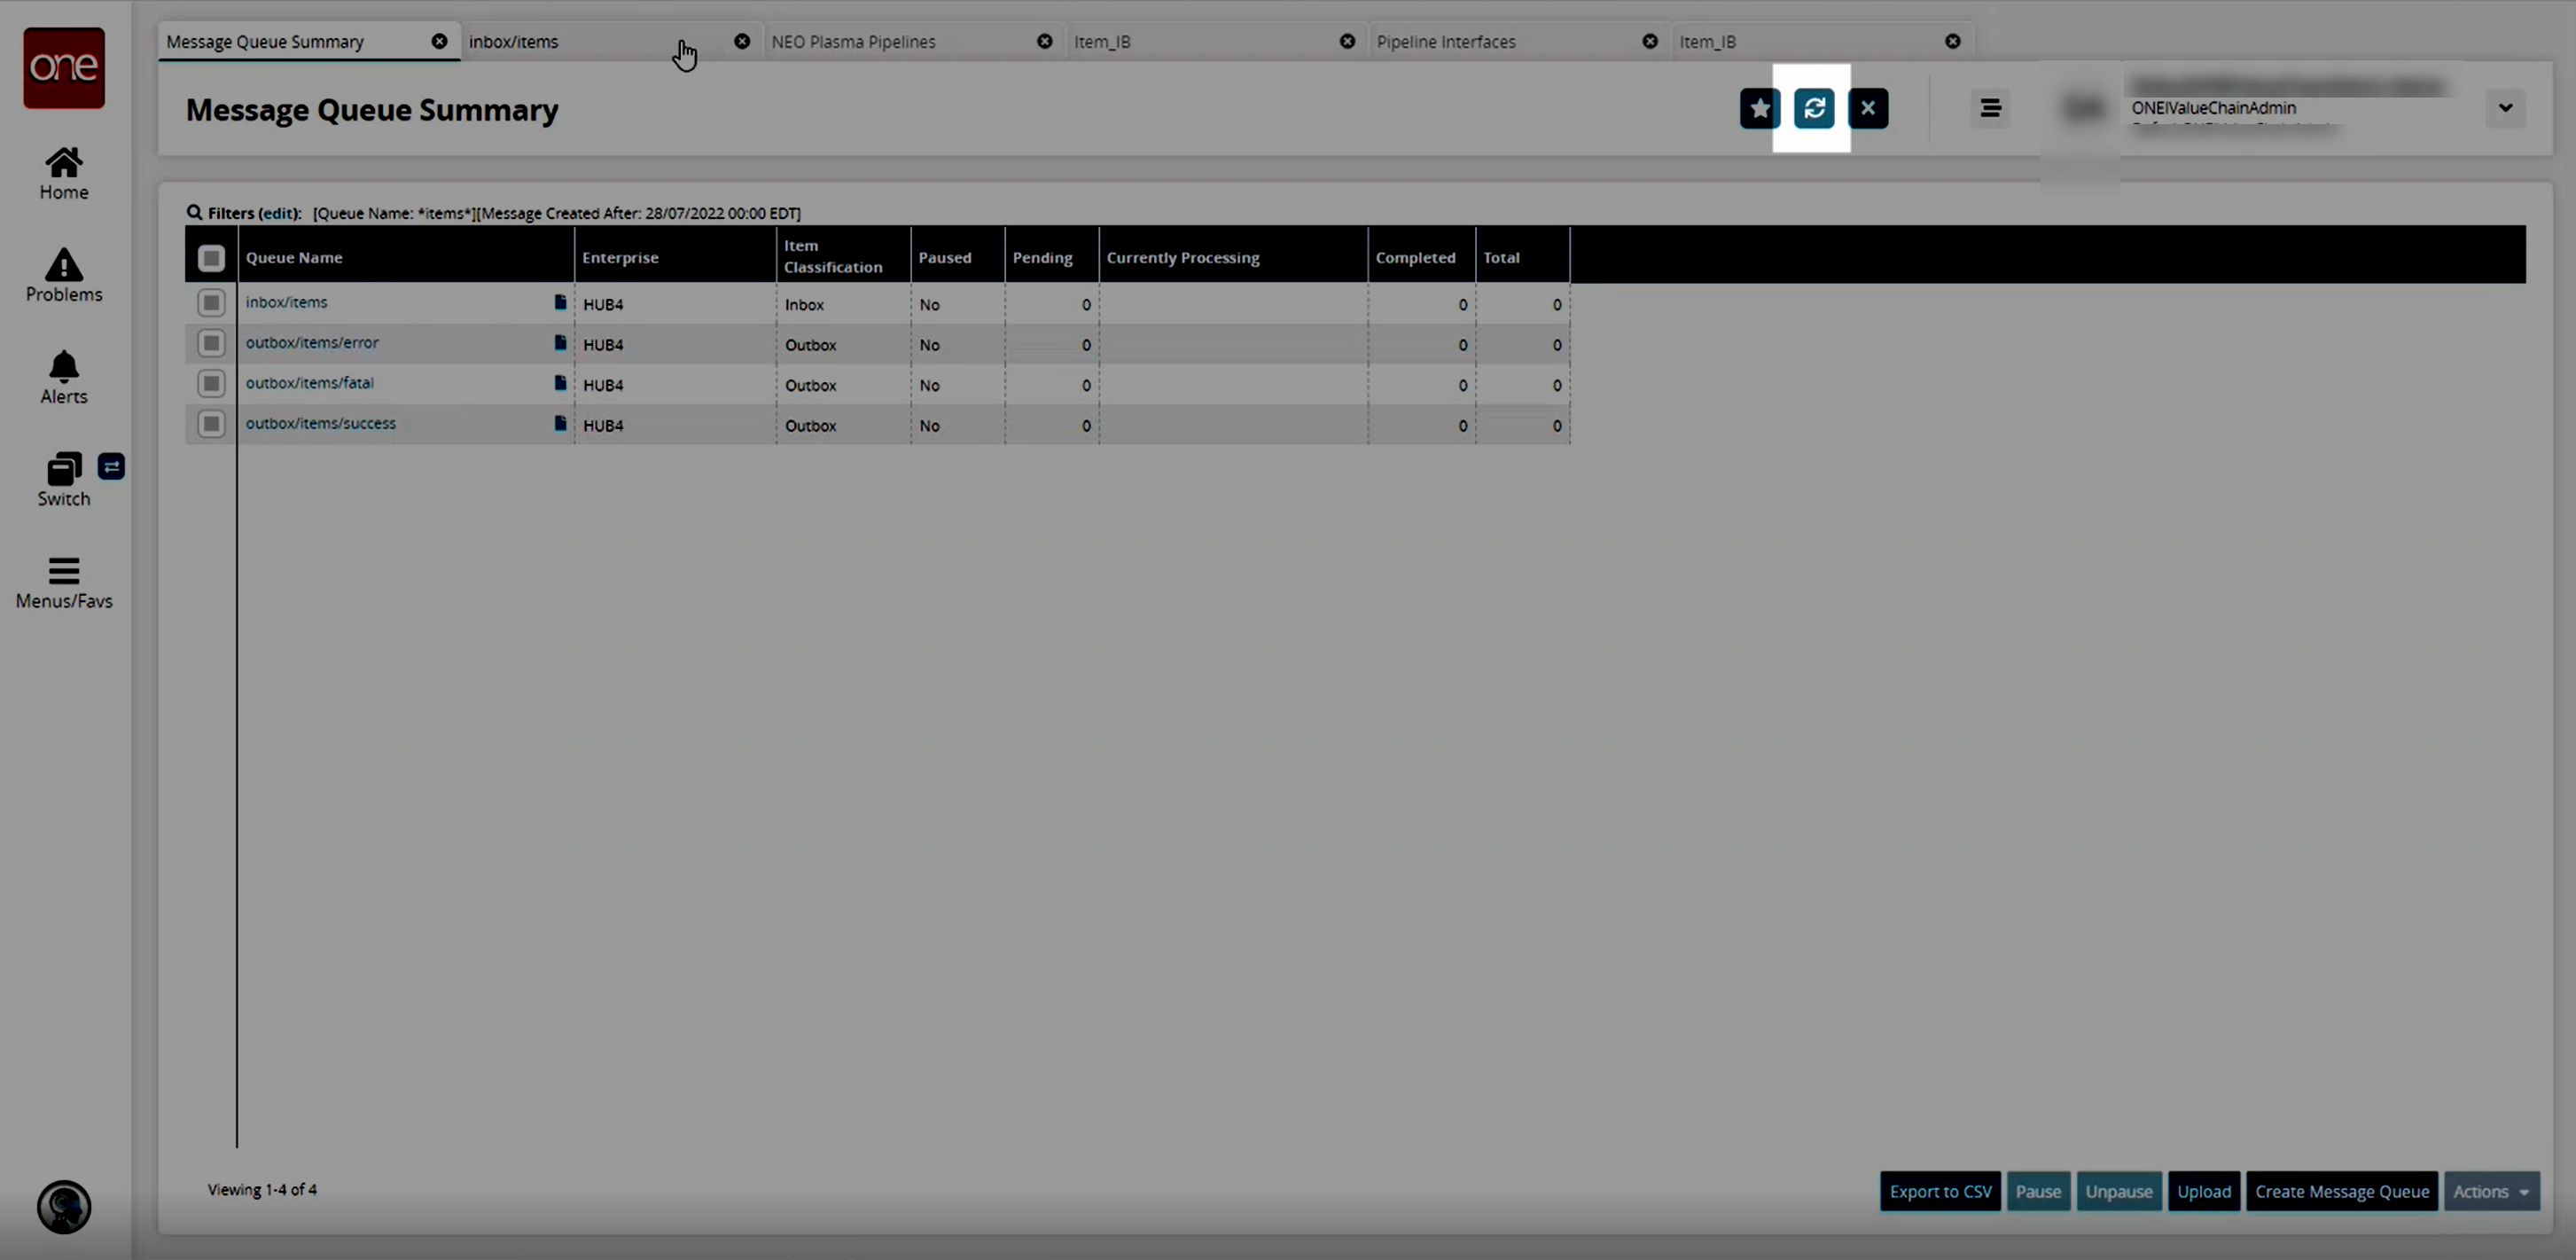
Run the cURL (Client URL) command for the created pipeline to upload the data. A sample is shown below.
curl -verbose -u"<Username>:<Password>"-H"Content-Type: application/json"--data-binary"@products.json"https://<domain>/oms/rest/queue/enqueue?QueueName=inbox/items&Sender=<Username>&InboundInterface=Item_IB&InboundQueueEnterpriseName=HUB4&InboundInterfaceVersion=1.0&ValueChainId=<VC ID>&ClientFileName=products.jsonOnce the command runs, click the refresh icon to refresh the Message Queue Summary screen.
A Messages tab appears, showing the execution result in the Result Queue field.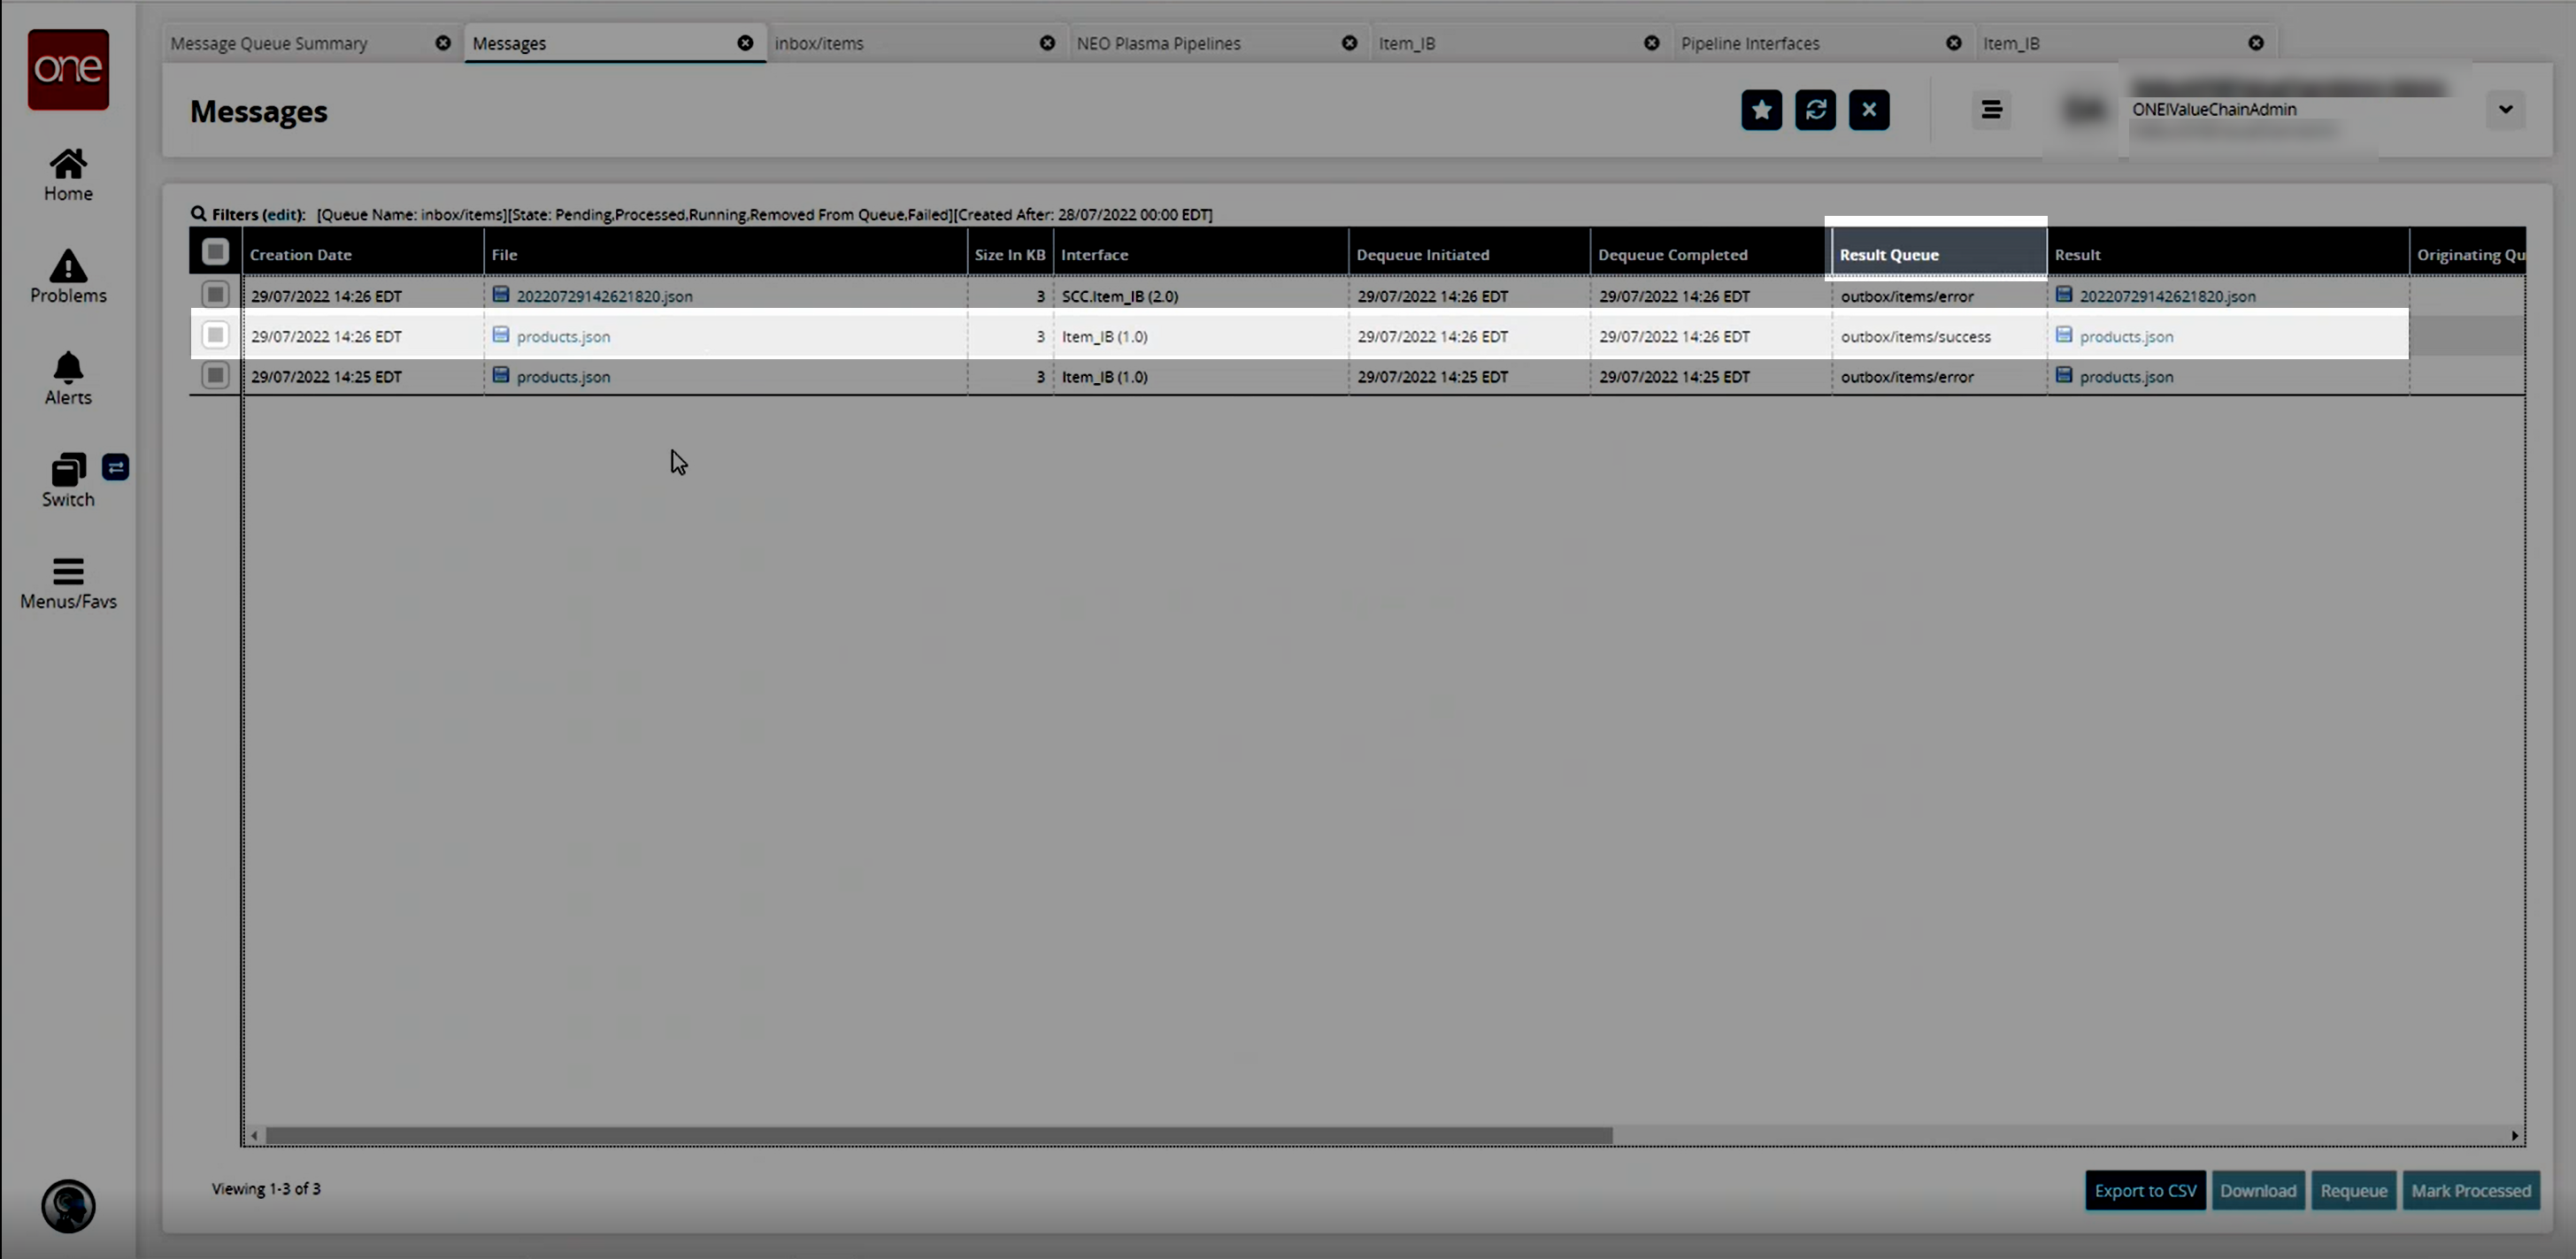
The uploaded data now appears in the ONE system in the desired format.