Creating Move Plans
Complete the following steps to create move plans:
Log in to the ONE system.
Click Menu/Favs > Warehouse Mgmt > Inventory Move > Move Plans.
The Move Plans screen appears displaying the Explorer pane.In the Explorer pane, select the required site.
The details appear in the right pane.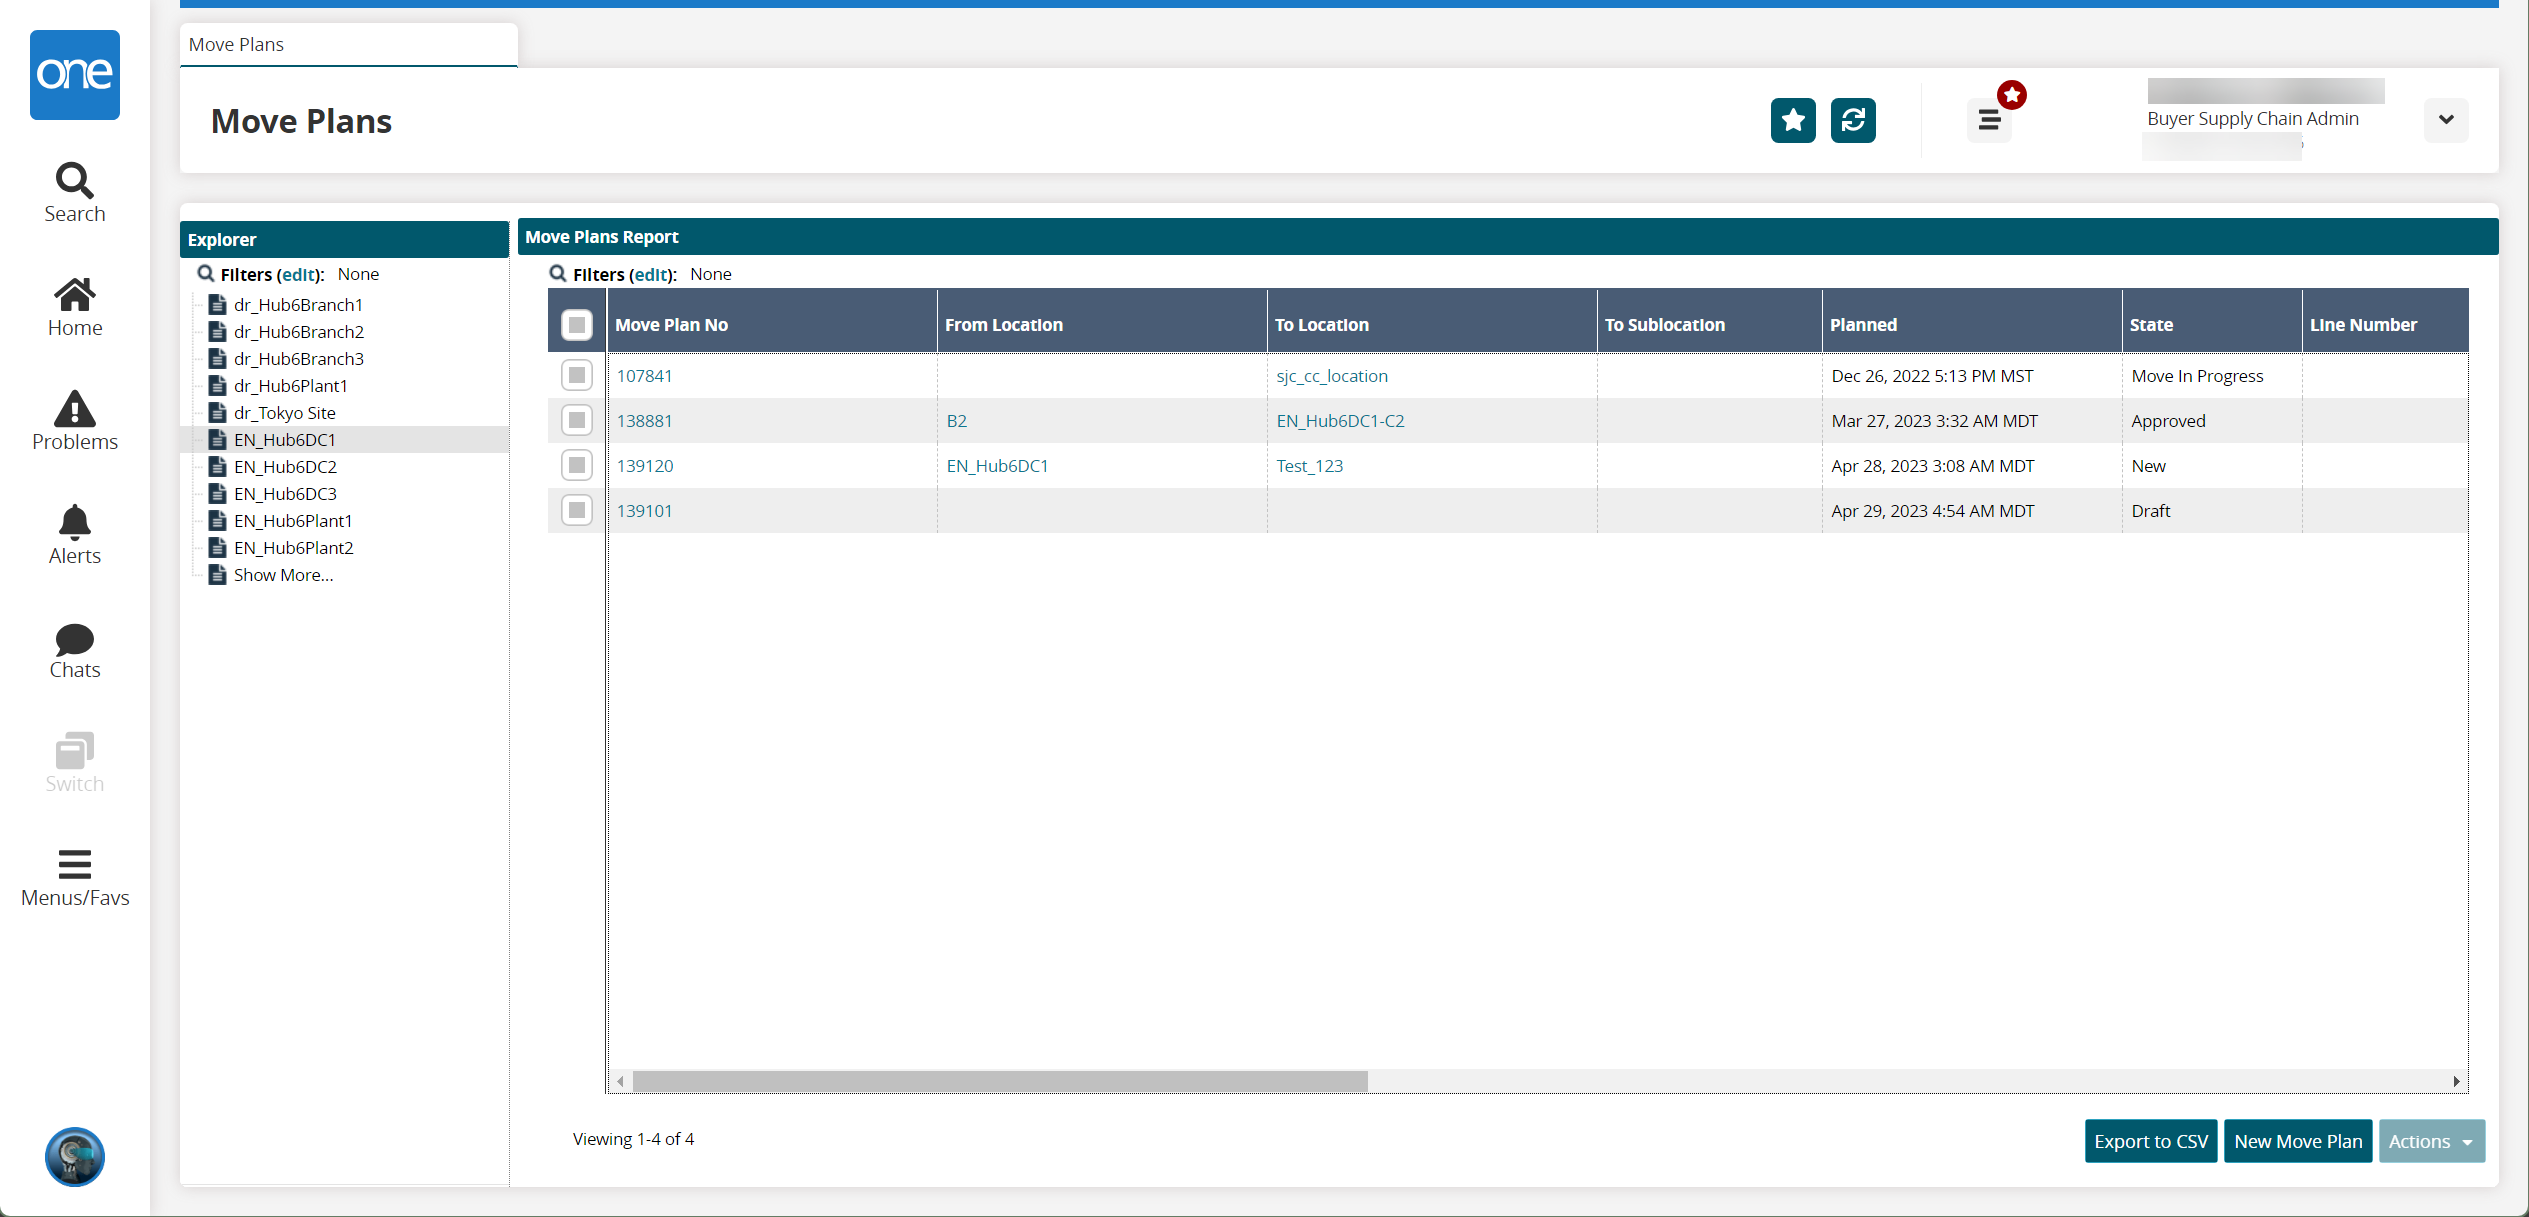
Click the New Move Plan button.
The New Move Plan screen appears.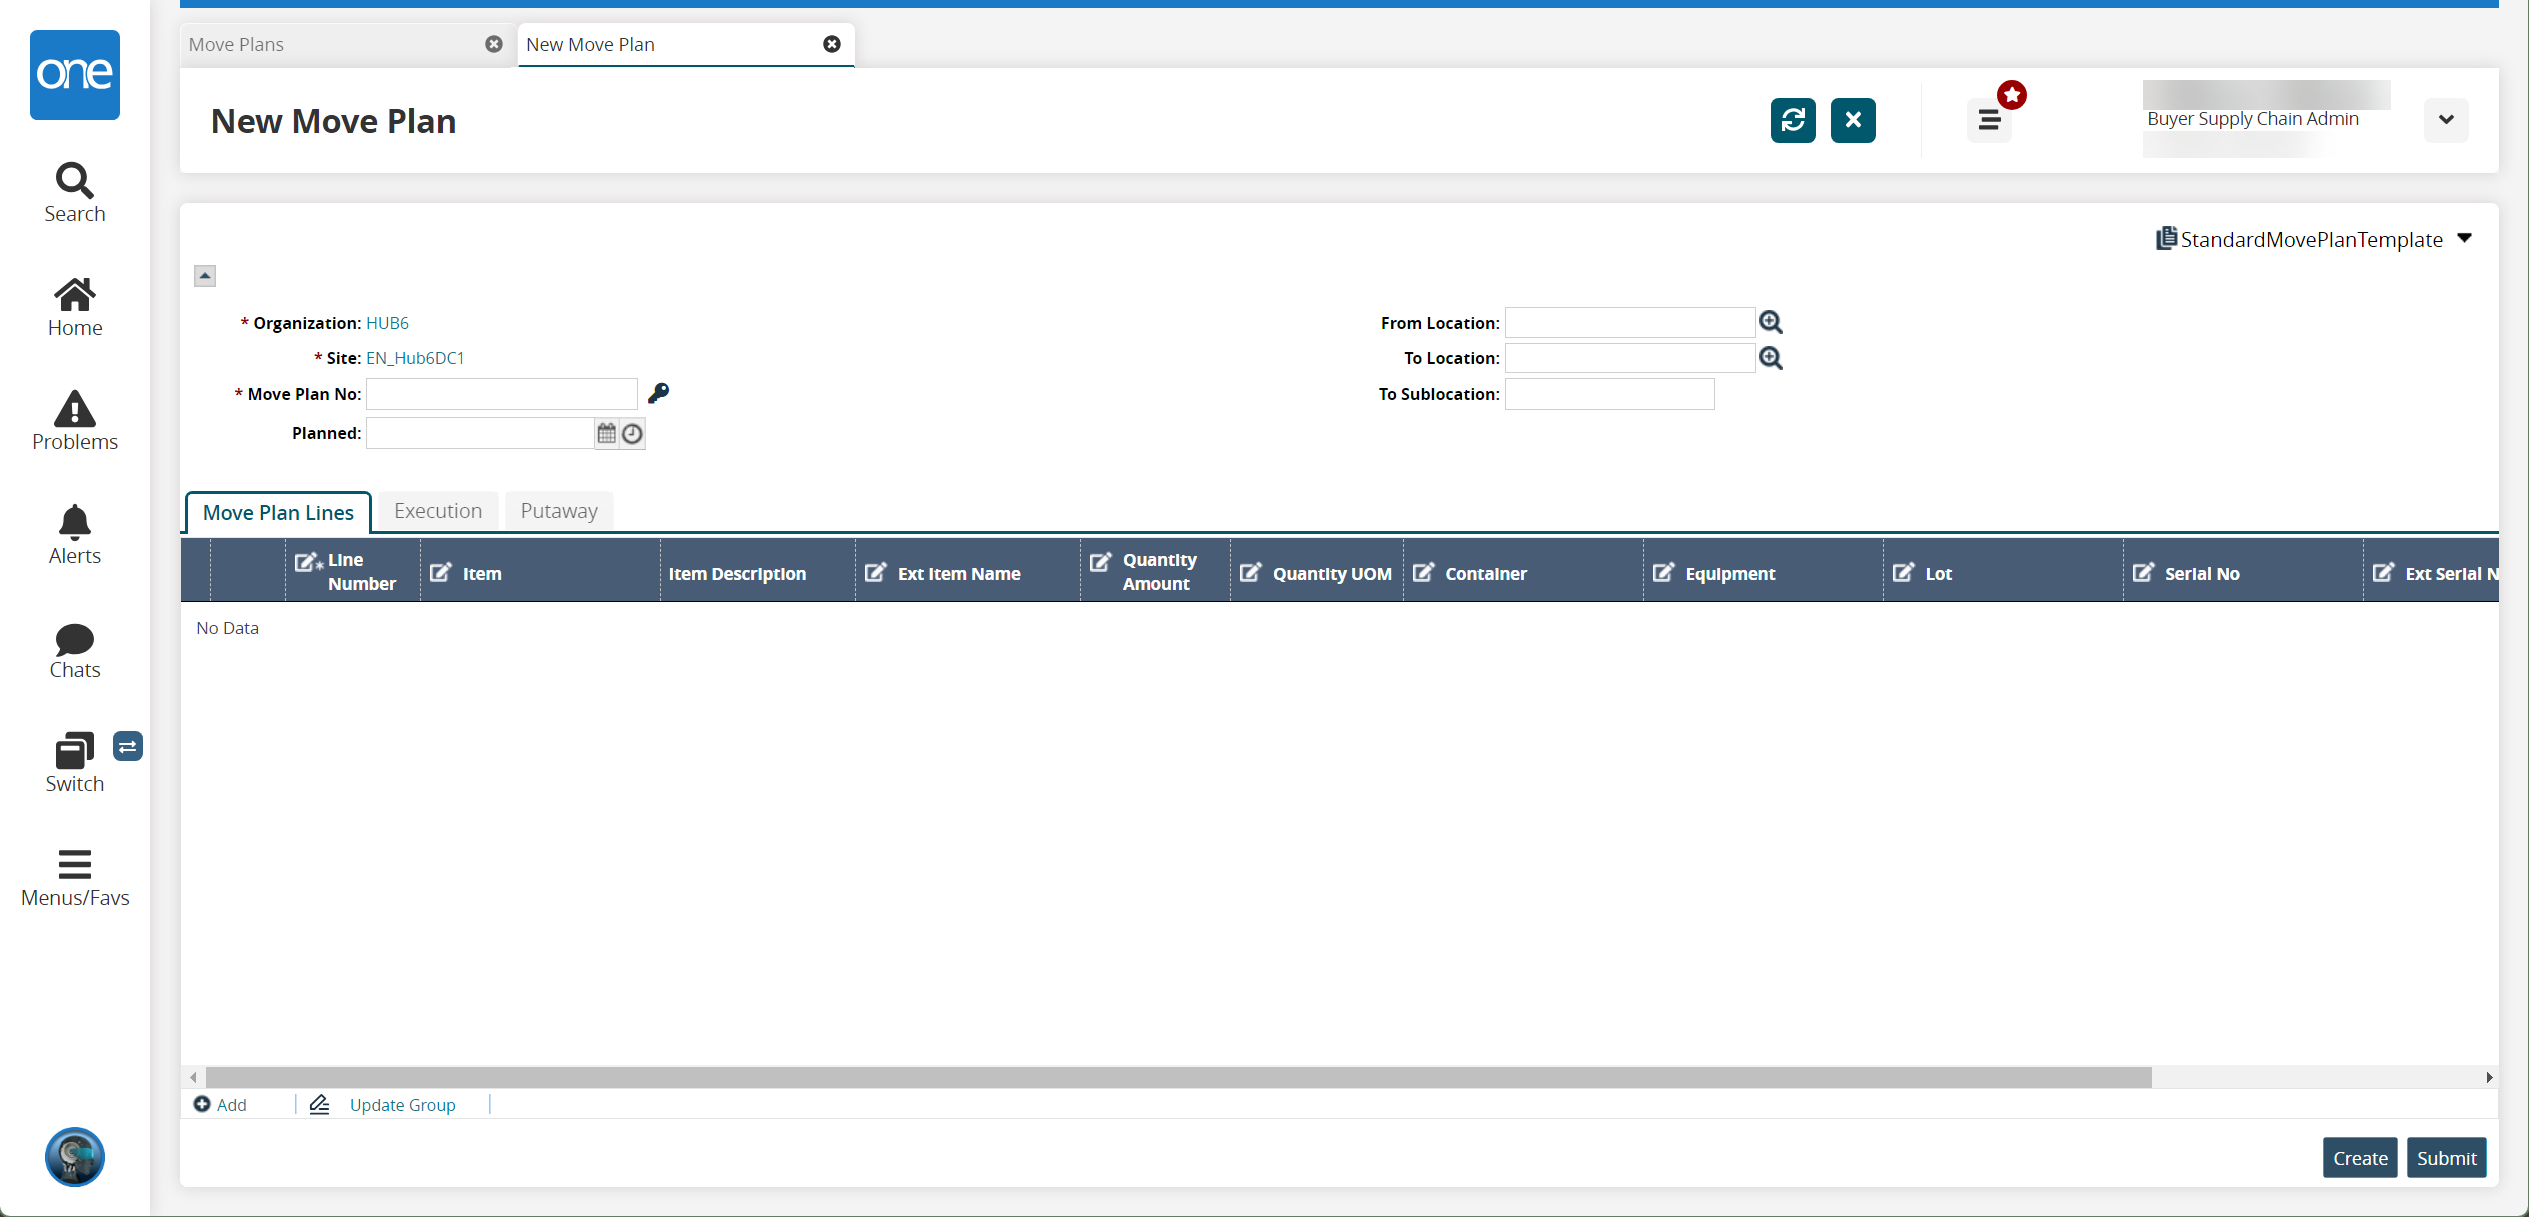
Fill out the following fields. Fields with an asterisk ( * ) are required.
Field
Description
* Move Plan No
Click the key icon to generate a move plan number.
Planned
Select a planned date using the calendar and clock icons.
From Location
Select a from location using the picker tool.
To Location
Select a to location using the picker tool.
To Sublocation
Enter a to sublocation.
Click the Add link button to add one or more lines on the Move Plan Lines tab.
Click the Update Group link to update the multiple lines.
Click Create to create the move plan.
Click Submit to submit the move plan.
A success message appears.