GLG: Carrier User Guide for Integration Onboarding
ONE's partners (carriers) can initiate the onboarding process. The following instructions pertain to the onboarding and integration certification process that carrier users navigate upon logging in to the ONE system. These instructions assume that carrier users have not begun the integration onboarding process at all. Some users may be at different steps shown on this page.
QA Test Environment
Complete the following steps to complete onboarding and integration certification:
Log in to the ONE QA test system.
The Carrier NEO Dashboard displays with the Onboarding Tasks widget. If the widget shows no results, then your invitation has not yet been approved. Otherwise, you will see that subtasks are available.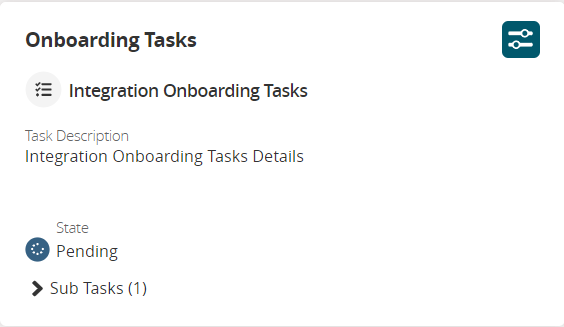
Click the arrow to expand the sub-task list.
The ProdOnboard Partner is listed as the first sub-task.Click the ProdOnboard Partner link.
The ProdOnboard Partner screen displays all sub-tasks and their current states, along with the state of the overall onboarding process.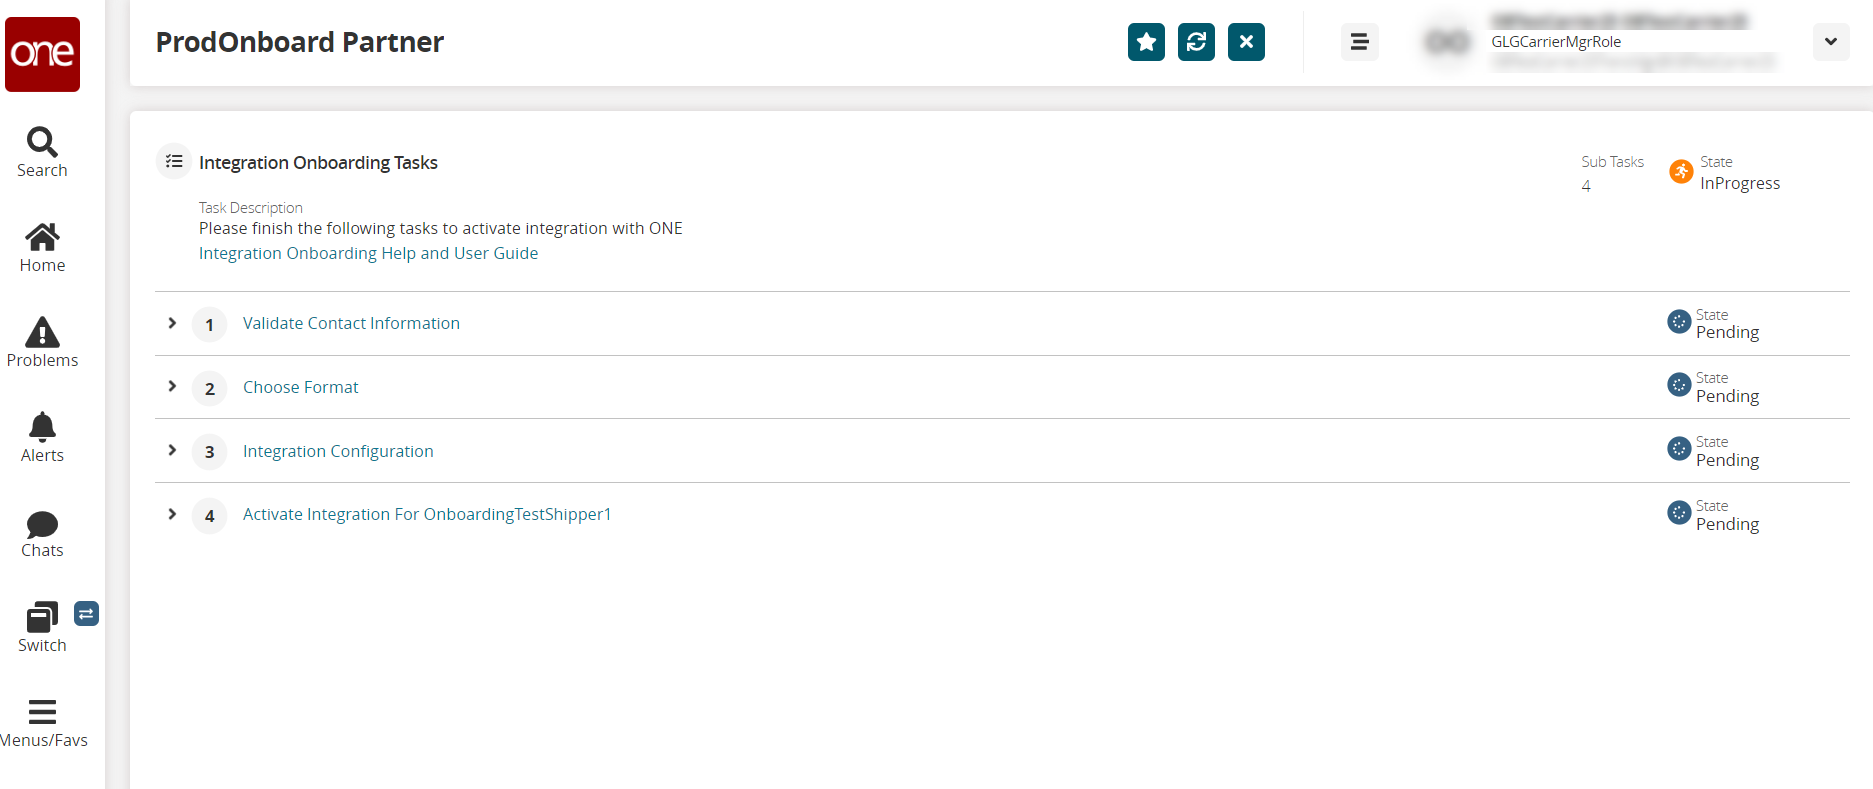
Step 1: Validate the Contact Information
Click the Validate Contact Information link.
The Validate Contact Information screen displays the contact information provided previously when initiating the onboarding process with ONE. This information may be updated.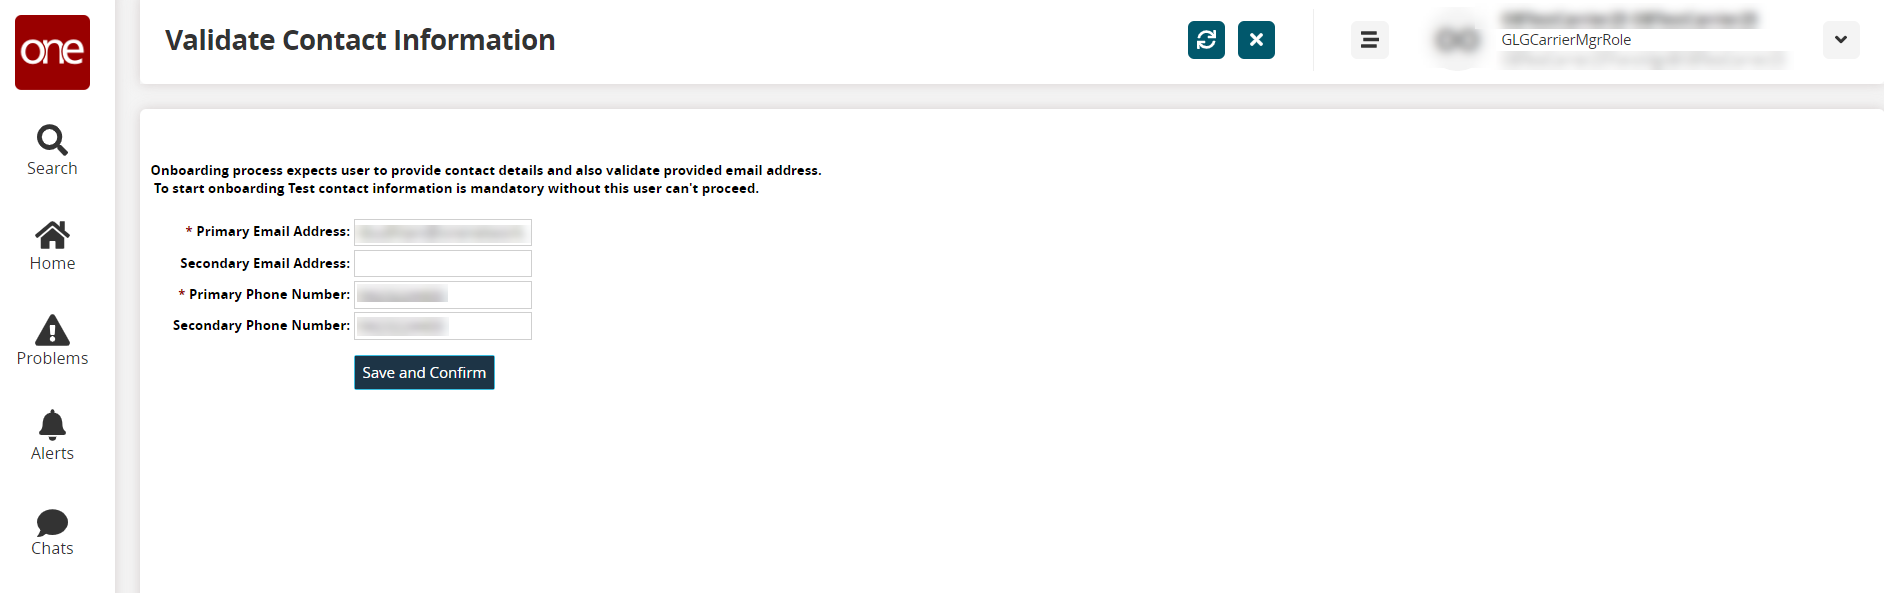
Validate or update the contact information as necessary. Fields with an asterisk ( * ) are required.
Click the Save and Confirm button.
A green success bar displays.Click the ProdOnboard Partner tab (or click the X button to close the current perspective) to return to the ProdOnboard Partner screen.
Click the Refresh icon to refresh the information on the page.
The state for the Validate Contact Information task is updated to Completed.
Step 2: Choose the Format
Click the Choose Format link.
The Choose Format page displays.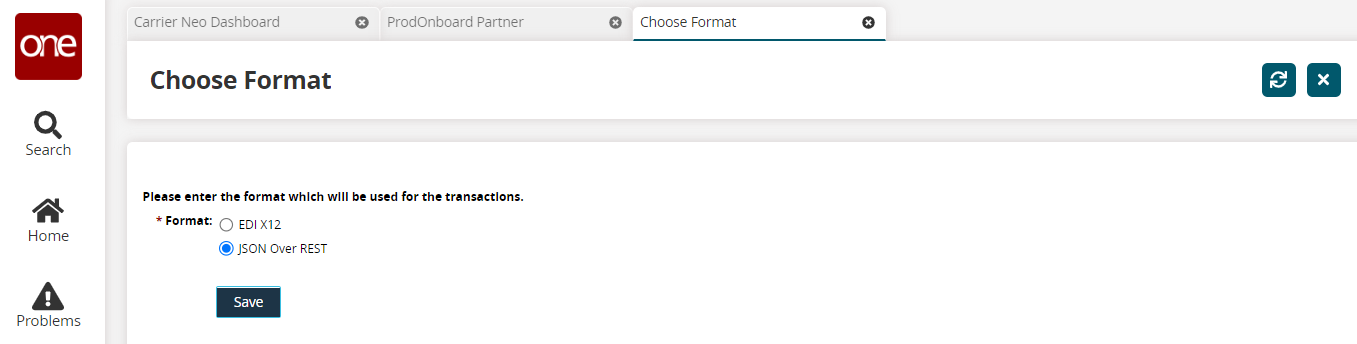
In the * Format field, select one of the options: EDI X12 or JSON Over REST.
Users can later add the other option if necessary.Click the Save button.
A confirmation popup displays.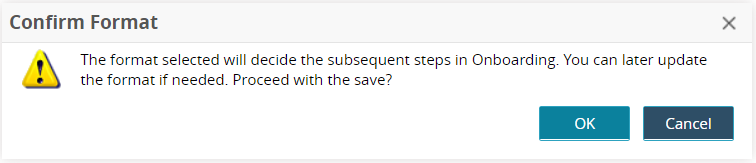
Click the OK button.
A green success bar displays.Click the ProdOnboard Partner tab (or click the X button to close the current perspective) to return to the ProdOnboard Partner screen.
Click the Refresh icon to refresh the information on the page.
The state for the Choose Format task is updated to In Progress.
Step 3: Integration Configuration
Step 3a: Configure the Integration Path for JSON Over Rest
Click the Integration Configuration arrow and the arrow for the connection formats to open sub-tasks. The screenshot below shows both options for demonstration purposes; users have to configure each format separately.
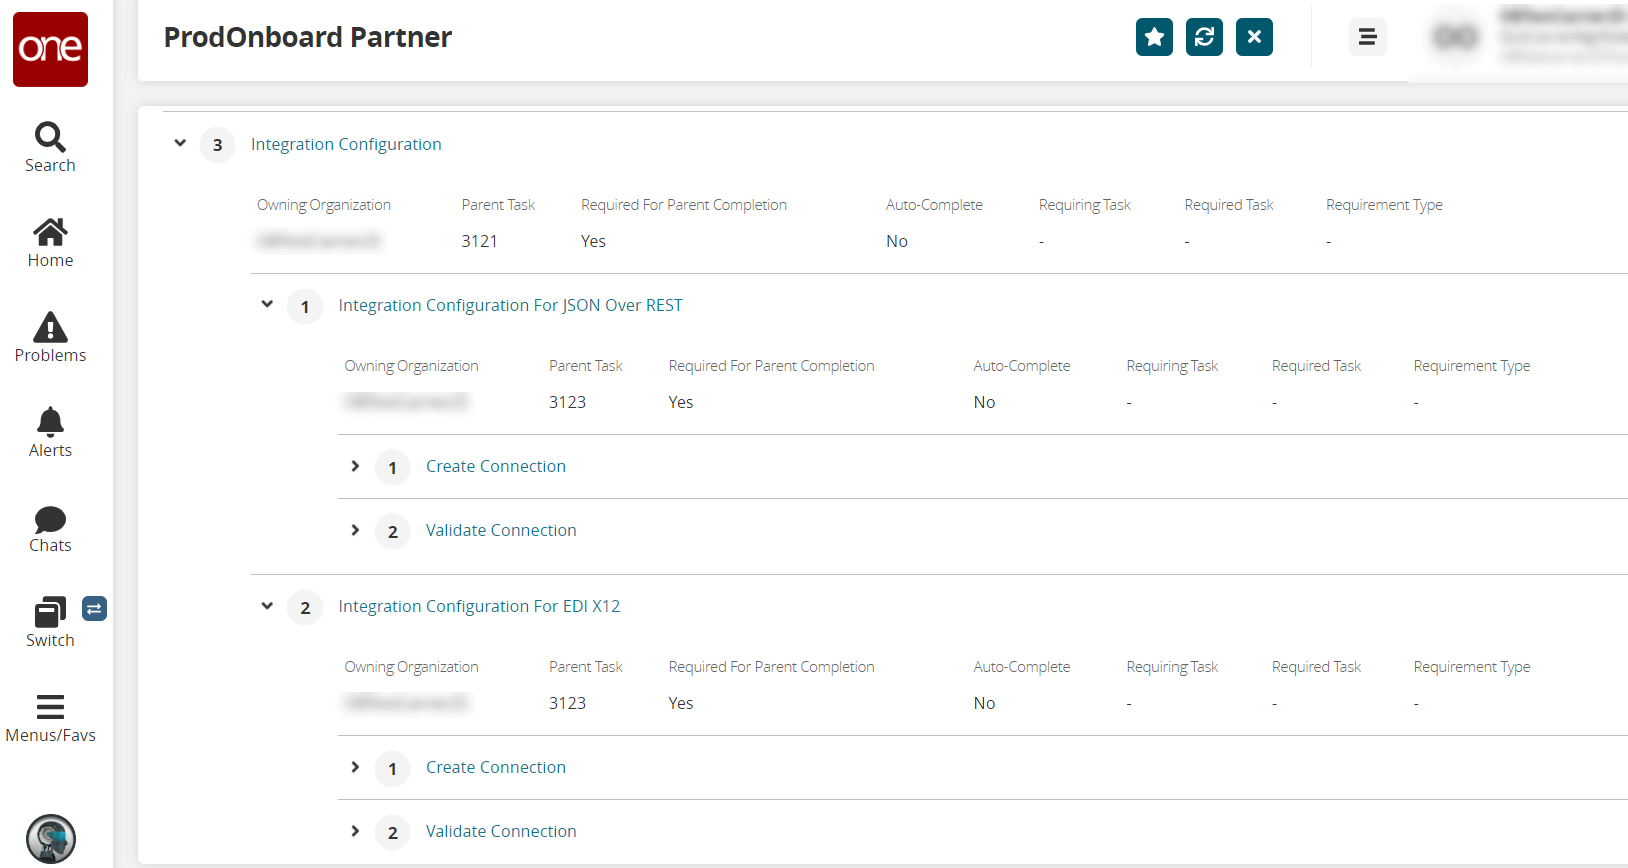
Click the Create Connection link for a JSON Over Rest connection.
The New Integration Subscription page displays.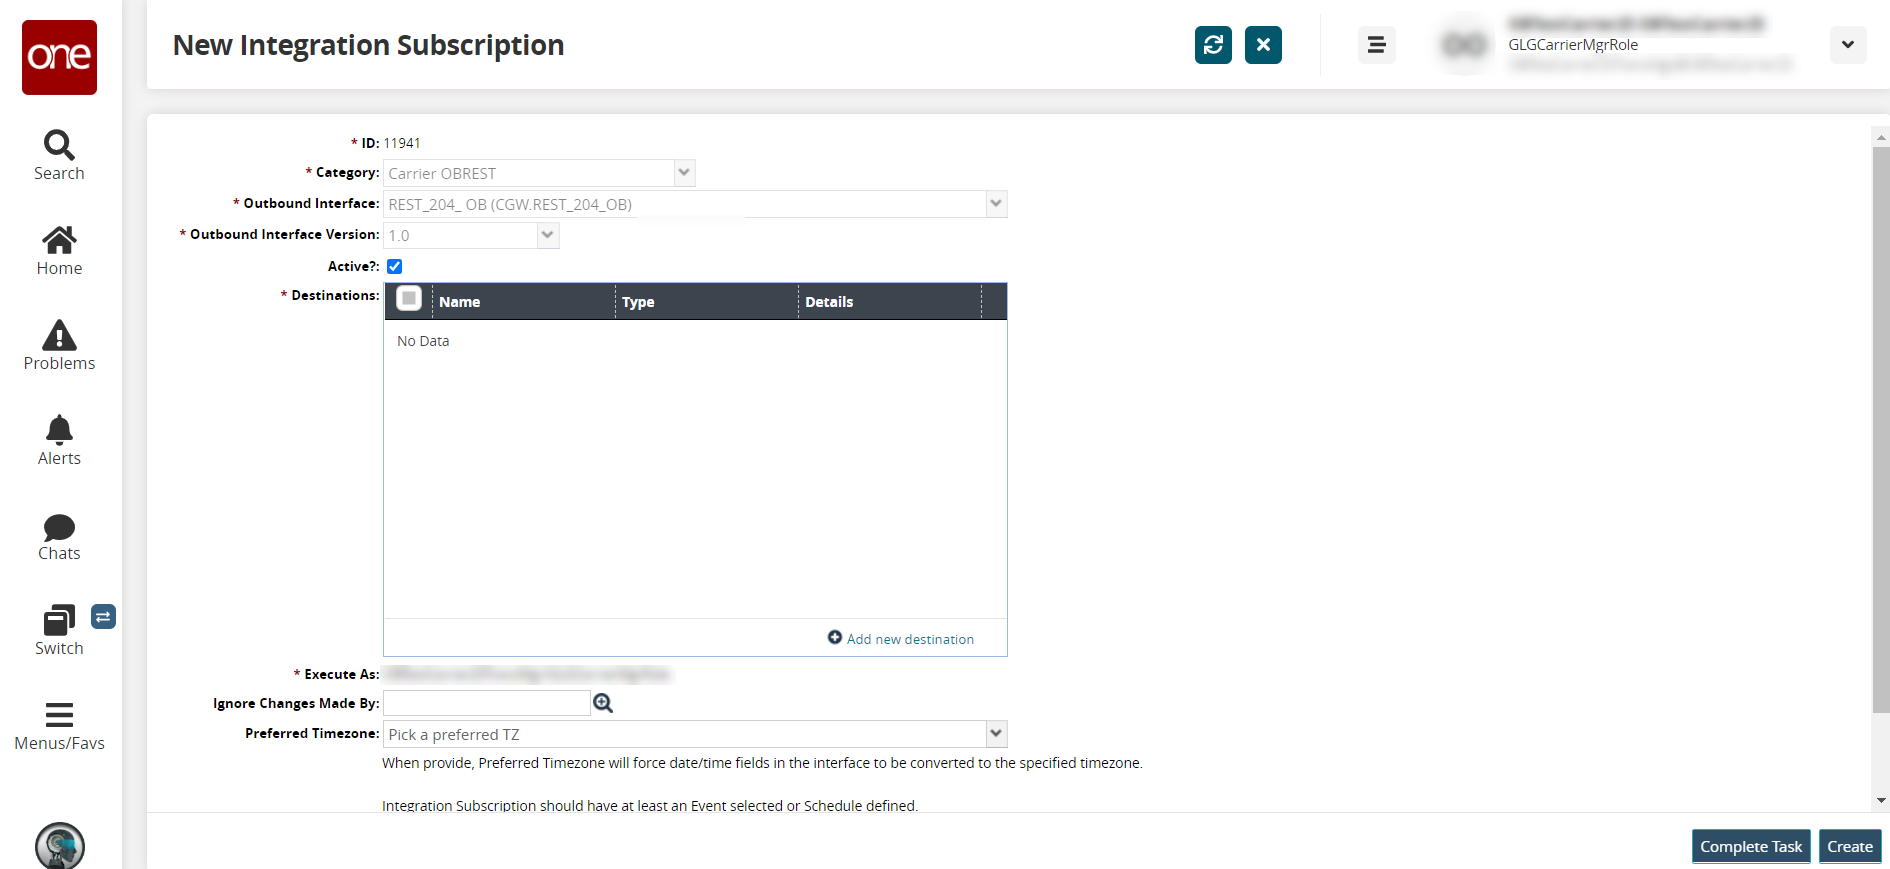
The * ID, * Category, * Outbound Interface, and *Outbound Interface Version fields are all pre-populated. Fields with an asterisk ( * ) are required.
Click the Active checkbox to make the subscription inactive or active.
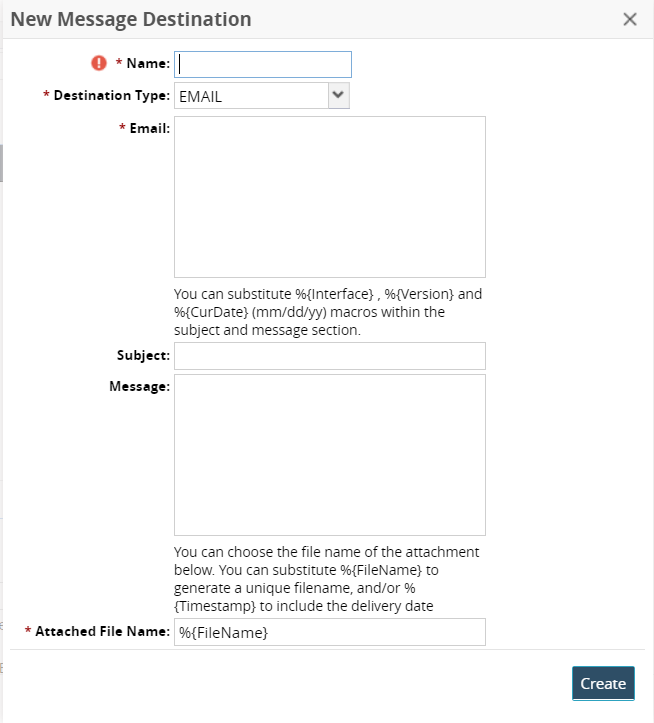
Click the Add new destination link in the * Destinations table to create a customized subscription destination.
The New Message Destination popup displays with email selected as the default destination type. At this time, HTTP should be selected for JSON integration connections.