Viewing the Channel Allocation Projected Inventory View
Complete the following steps to view the Channel Allocation Projected Inventory View (PIV):
Log in to the ONE system.
Click Menu/Favs > Replenishment > Order Allocation > Channel Allocation Projected Inventory View.
The Channel Allocation Projected Inventory View screen appears with the Filter fields displayed.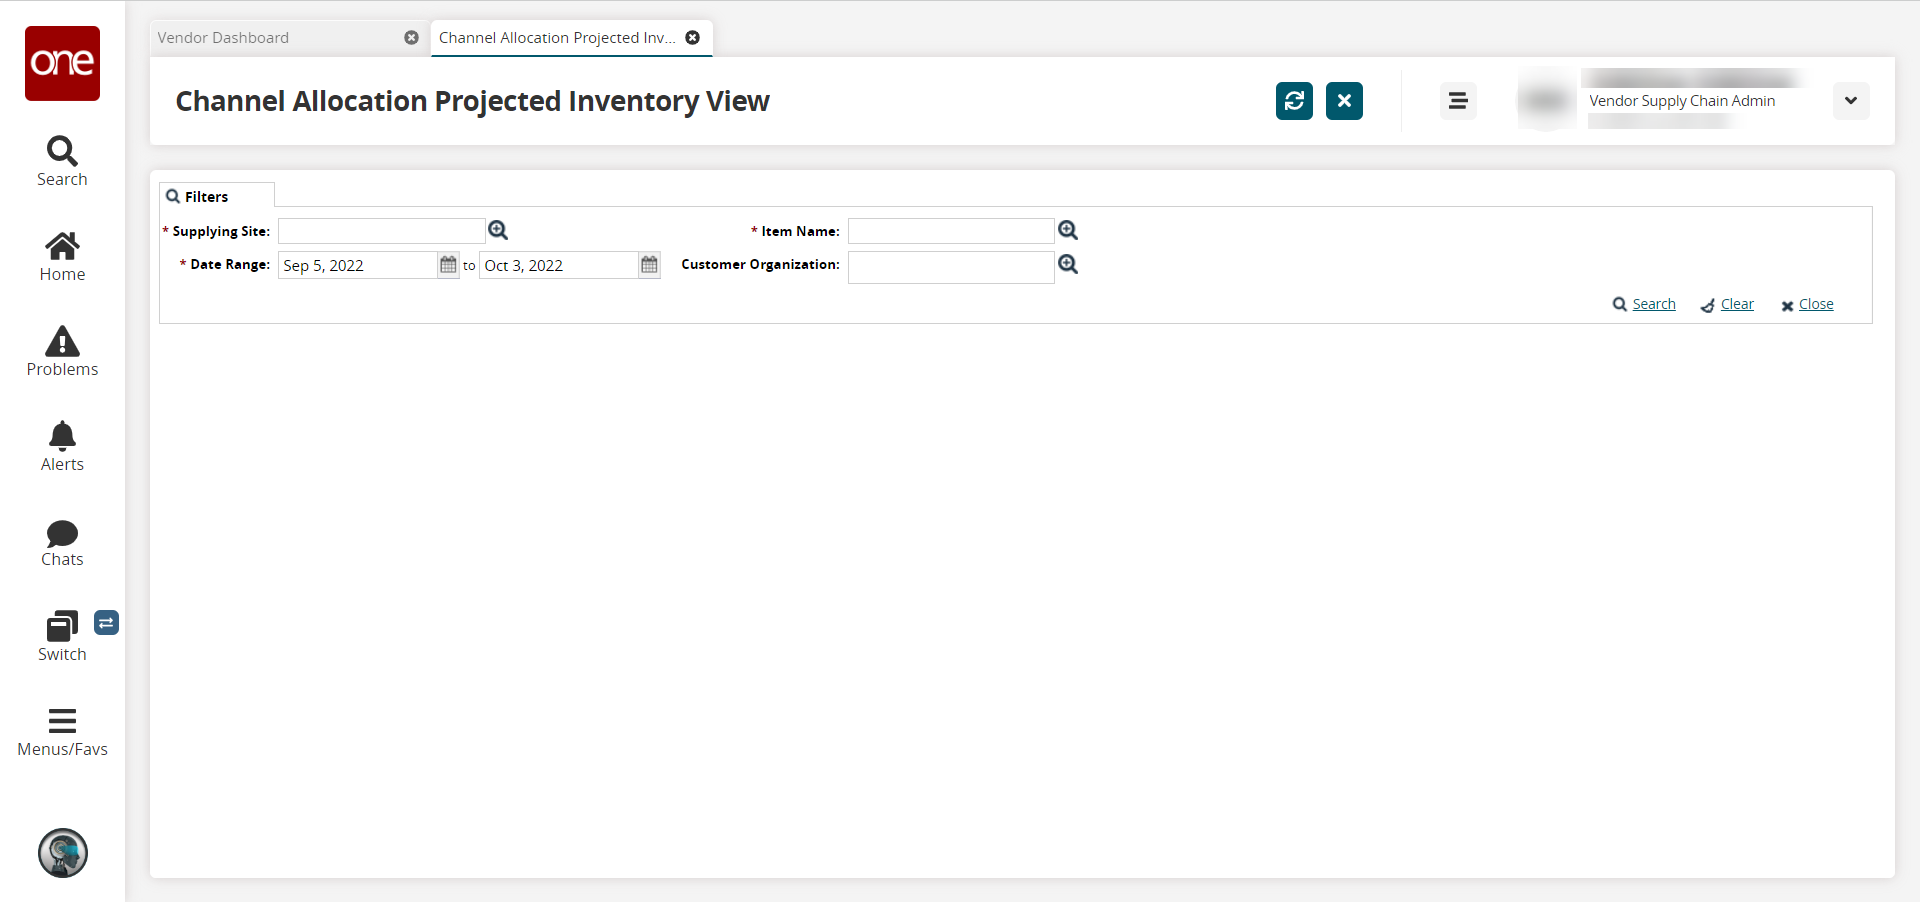
Enter values for fields described in the table below. Fields with an asterisk ( * ) are required.
Field
Description
* Supplying Site
Begin typing the site name and select from the results that appear below the field, or use the picker tool to select a site.
* Item Name
Begin typing the item name and select from the results that appear below the field, or use the picker tool to select an item.
Customer Organization
Begin typing the customer organization name and select from the results that appear below the field, or use the picker tool to select a customer organization.
* Date Range
Click the calendar icons to select a start date and an end date for the PIV.
Click the Search link.
The Channel Allocation Projected Inventory View appears.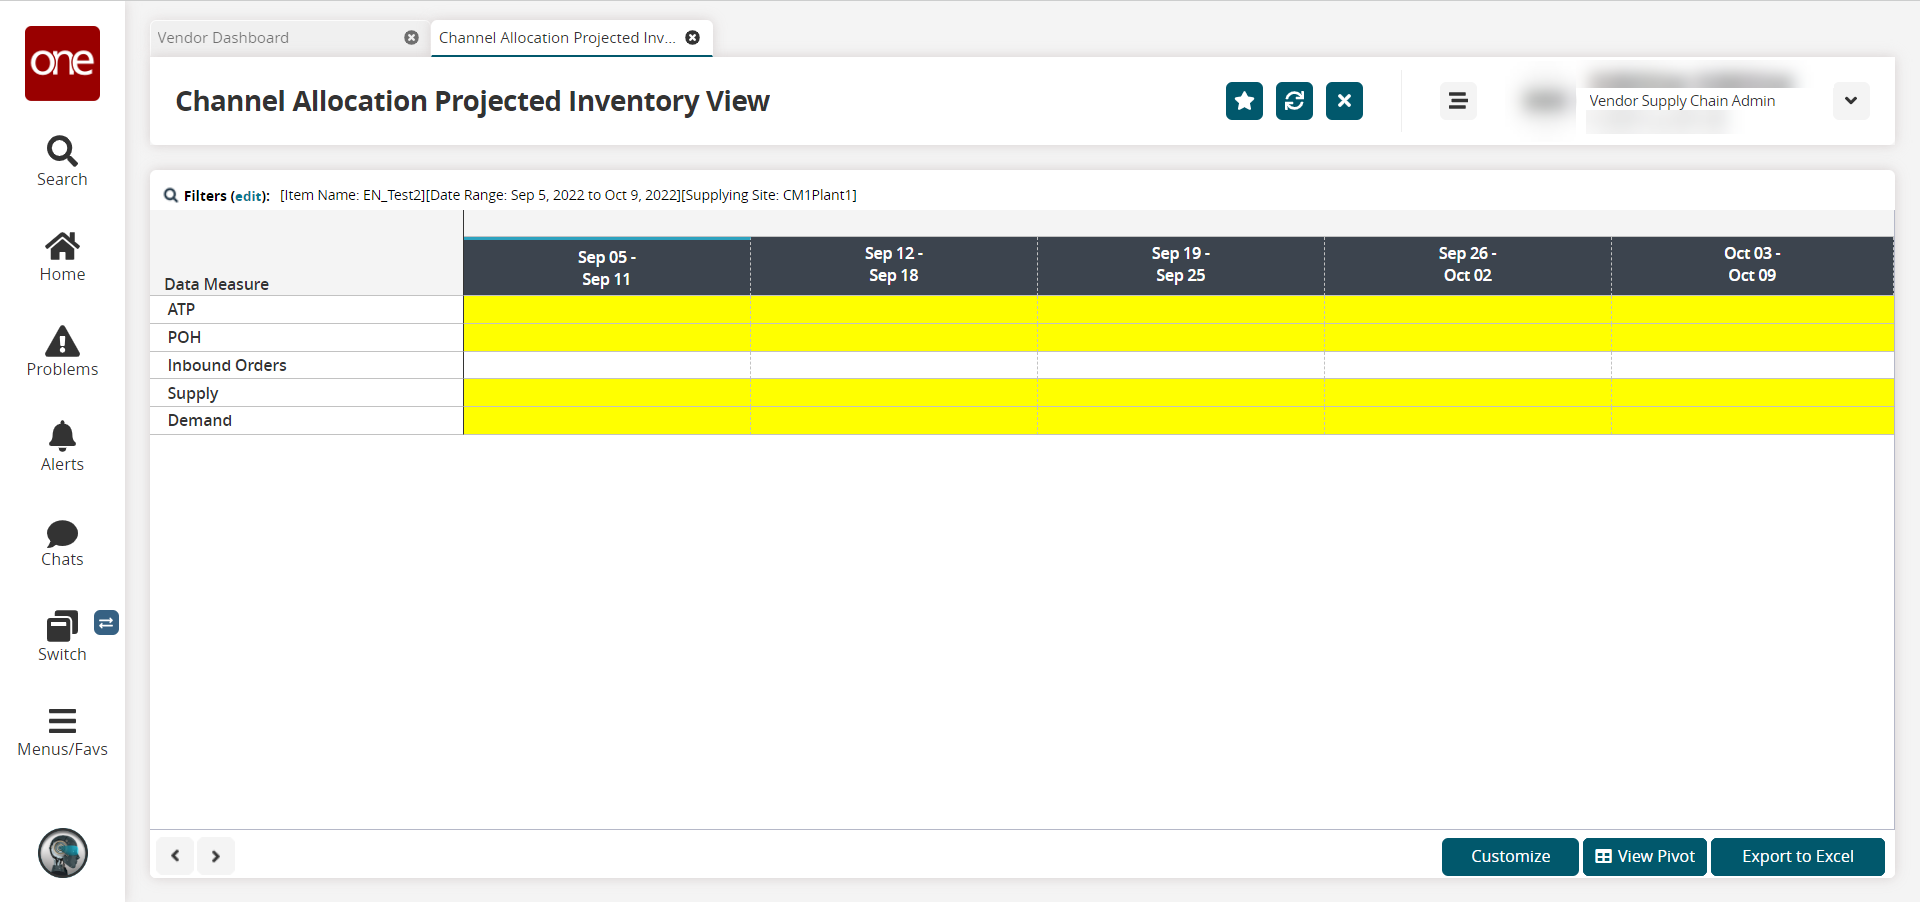
Click a number link under any date column to view details for that data measure. Available data measures are ATP, Projected On Hand (POH), Inbound Orders, Supply, and Demand.
Detailed information for the selected data measure appears.Click Export to Excel to export the results to a spreadsheet.
Click Customize to customize the PIV for your specific organization or enterprise.