Adding States
Click the State Machine tab of the MPT editor. We are going to add two states for our Book model, Proposed and Published. Proposed will be the initial state, and the Publish action will change the state of the Book to Published.
Click the State button on the left panel of the State Machine editor. Then click somewhere within the workspace (white area) to create a new state:
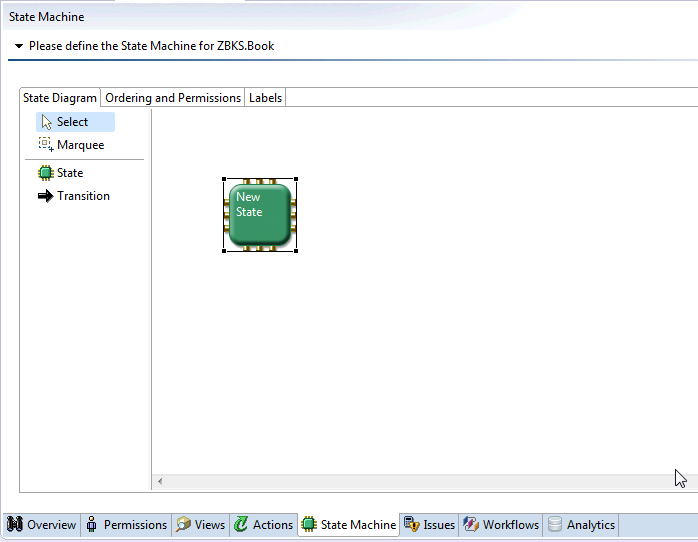
With the new state still selected, click the "New State" text in the Value column of the Properties tile at the bottom of Studio. Change this Name property to Proposed and then press Enter:

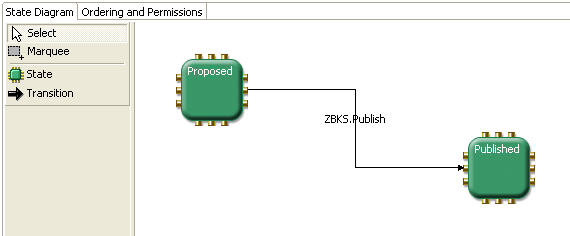
Create another state named "Published".
Click the Transition button on the left panel, and then click the first state (Proposed), and then the second state (Published). This should automatically assign the Publish action to the new transition:
Click
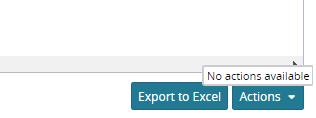
 Submit to submit the MPT to the server. Then you can click the Books By Title menu item to open the original view. Select the only book that we currently have, and click the Actions button on the bottom-right of the page. You will notice it says "No actions available".
This is because our new action, Publish, is available only to Books in the "Proposed" state. But we introduced that state after adding our book to the database. To resolve this, open your favorite SQL editor and execute the following queries:
update zbks_book set state = 'Proposed';commit;
Now if you click Actions again, you should see the Publish option. Select it:
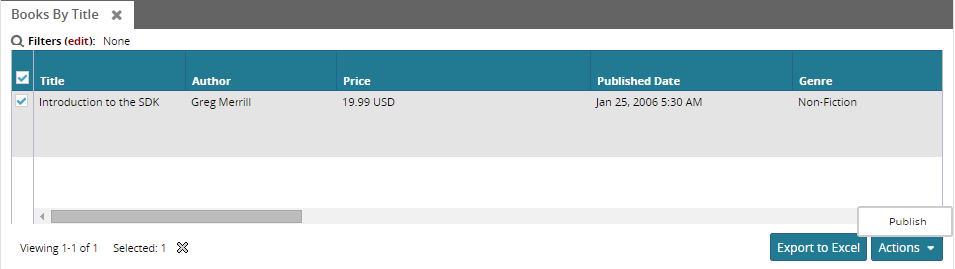
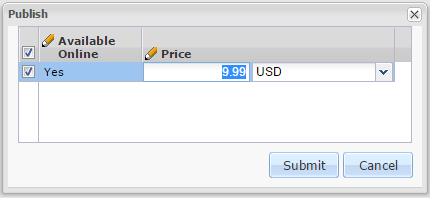
The Action Screen we created should open in a new window. As you can see, the Publish fields we marked as optional for the Publish action are editable (double-click to edit), and there are options to submit and cancel. Once you are finished editing the book, click Submit:
At this point, the book will have moved into the "Published" state, and so the Publish action should no longer apply. To verify this, select the book again and click the Actions button to open the actions menu, which should contain "No actions available". In the simple state diagram we created, we didn't add any transitions from the Published state, so no actions will be available here: