Browsing the Database
Now that we have added data to our Book model, let us view the data from our database. For this tutorial, we will be using DBeaver, but you can use your preferred SQL client.
DBeaver - https://dbeaver.io/download/
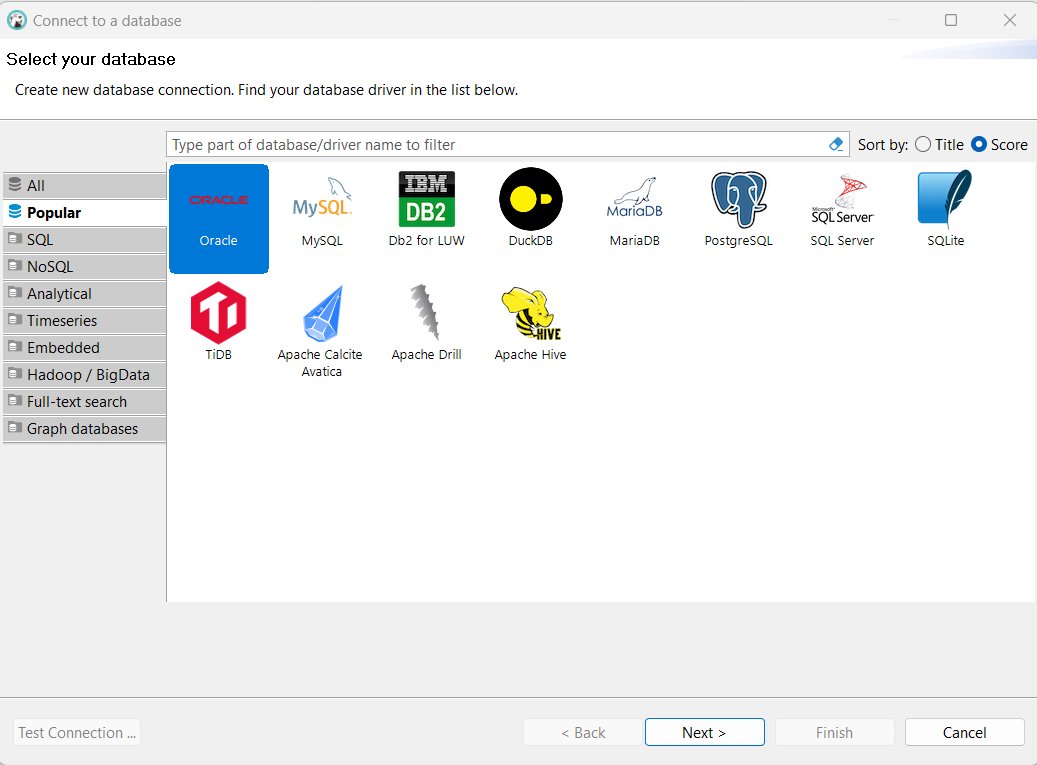
Open DBeaver and click the "New Database Connection" button in the top-left corner. This will launch a pop-up window. Within the pop-up, click on the "Oracle" box. Then click "Next >".
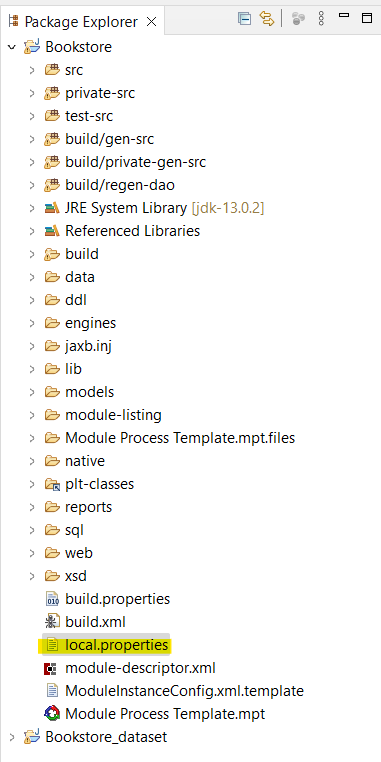
On the next screen, we will enter our database schema information. To fill in the values for your database connection, you can open your local.properties in the Bookstore project in the Platform SDK (or Dataset) perspective. The file opens in a text editor in the Editor Area.
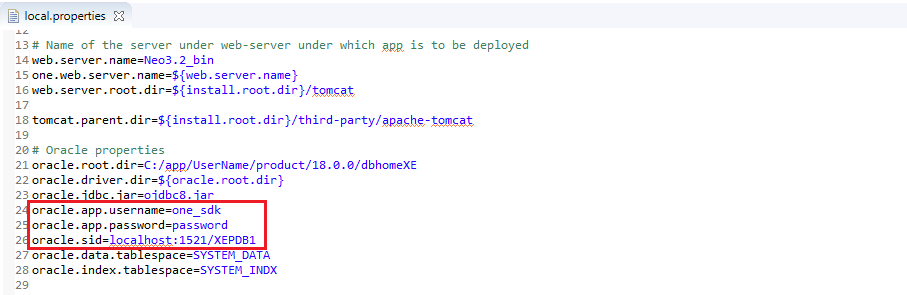
Then fill in the following values:
Host: localhost (First part of your oracle.sid value)
Database: XEPDB1 (Last part of your oracle.sid value)
Port: 1521 (Middle part of your oracle.sid value)
Username: <your oracle.app.username value>
Password: <your oracle.app.password value>
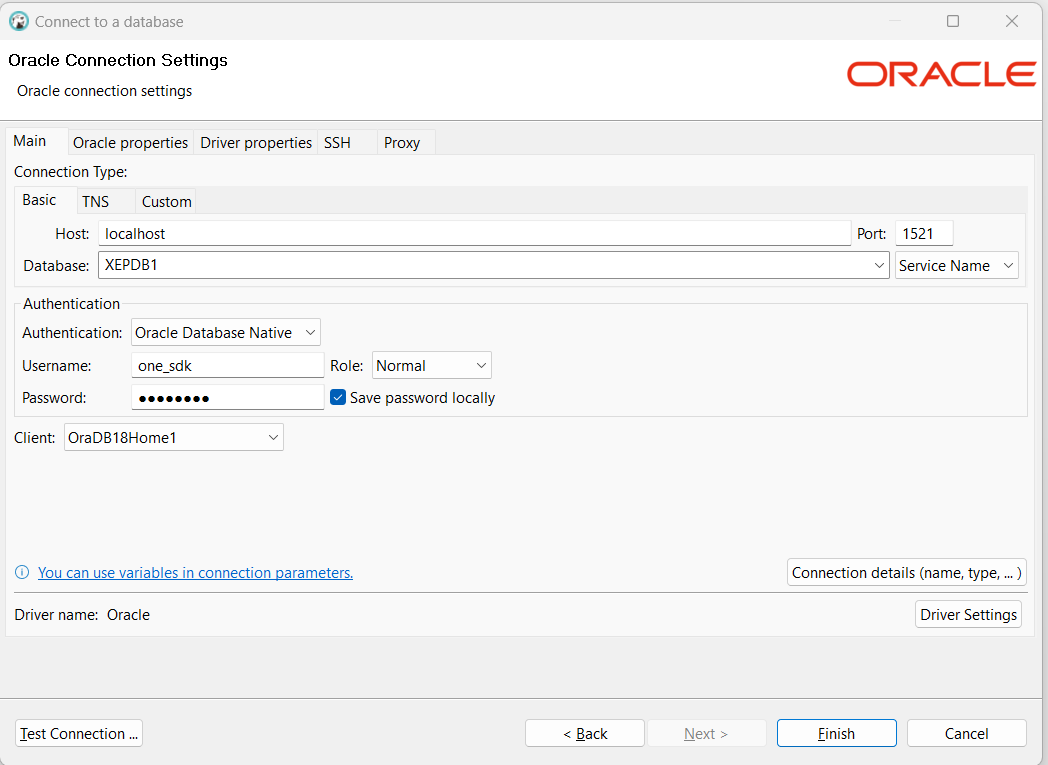
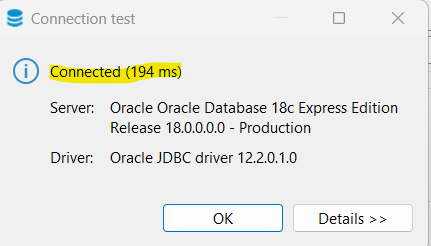
Click "Test Connection ..." to ensure you are able to connect to the database with your provided credentials. You should see a "Connected" message. Click "OK" to close the connection test pop-up window.
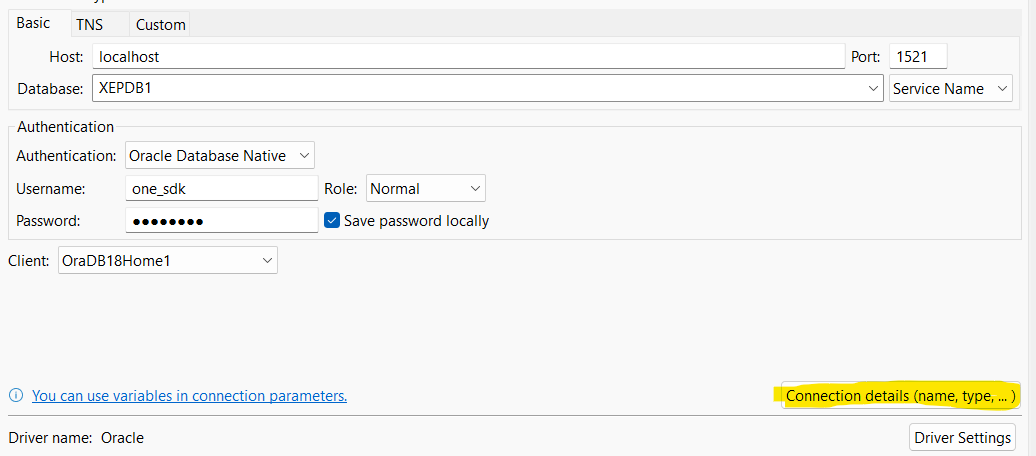
Click on "Connection details (name, type, ...)" button. In here we can provide our connection name, which we will set as "one_sdk" for this tutorial
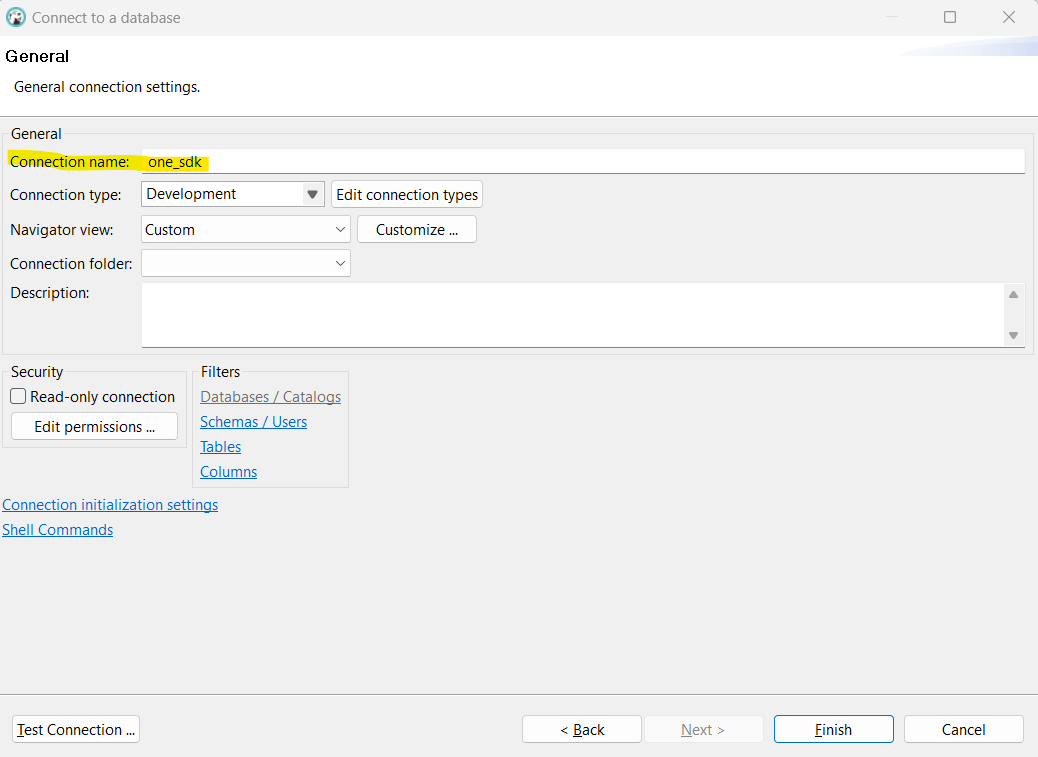
Click on "Finish" button to connect to the database. Our database connection will be listed on the left-hand panel
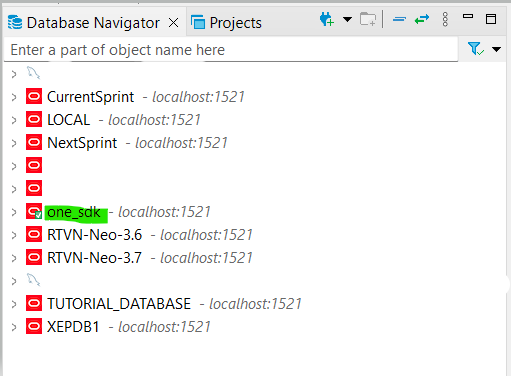
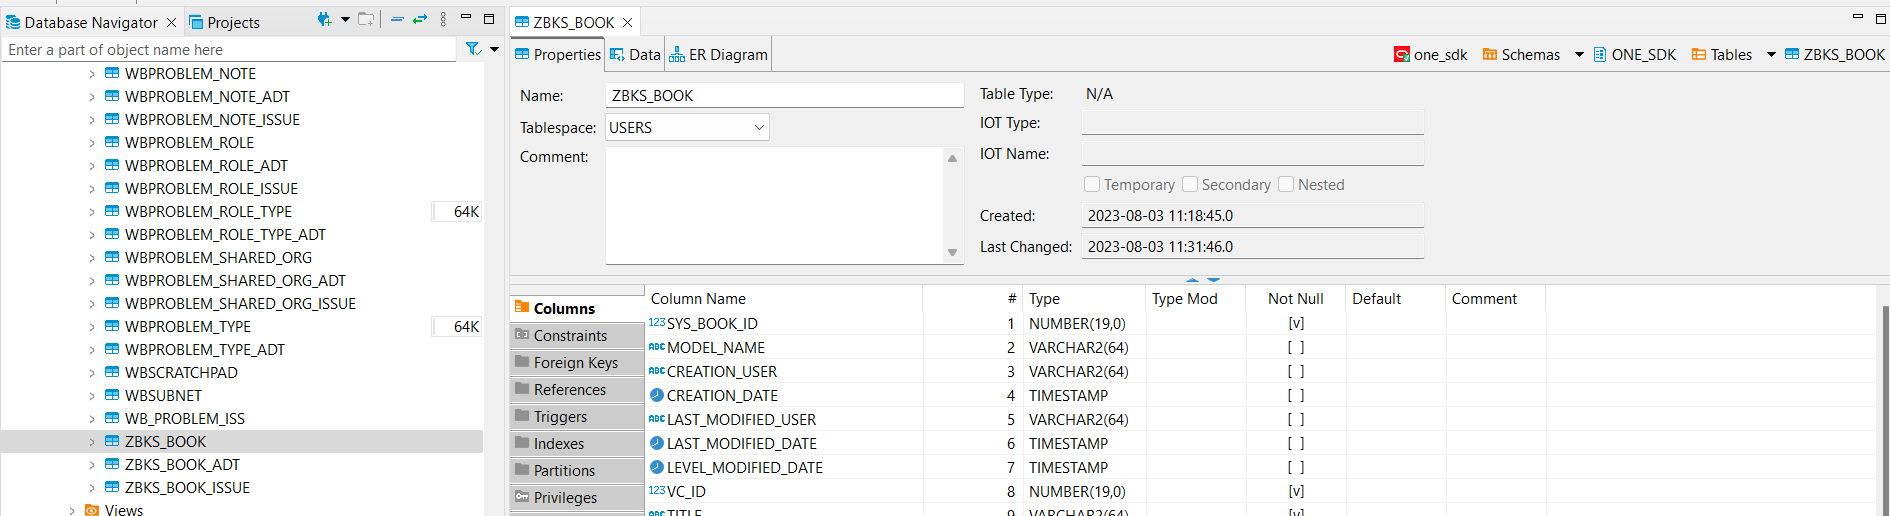
Expand our new connection so that we can view our schema tables. Open "one_sdk → Schemas → ONE_SDK → Tables". Then navigate to the table "ZBKS_Book" and double-click on it. This table was automatically created within our schema when we added the model ZBKS.Book and built our Bookstore module.
Click on the "Data" tab, you should see the Book you created earlier via load-data.

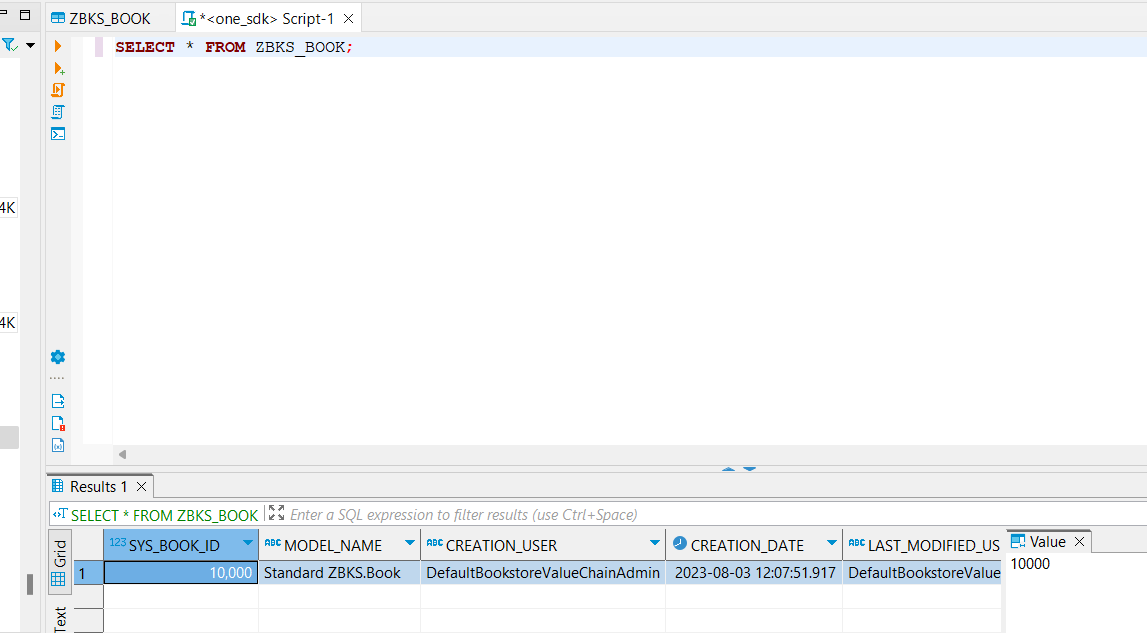
You can also execute queries to manipulate and view data by using the SQL Editor. On the top toolbar of DBeaver, click "SQL Editor" then "Open SQL Script". This will open a sql editor within your database connection. Add the following SQL statement and execute it. It should return 1 record, which is the Book record you created earlier via load-data