Configuring a Default Pivot
Following the steps to configure a default
Define the fields to be displayed in the rows in the Rows element of the Pivot. Remember that the field names must be exactly the field names that are defined in the retrieval criteria. Only non-numeric fields must be selected in the dimensions.
<Pivot>
 <PivotName>BooksStoreCharts</PivotName>
 <Rows>
  <FieldName>Title</FieldName>
  <FieldName>Genre</FieldName>
 </Rows>
</Pivot>
Define the fields to be displayed in the columns in the Columns element of the Pivot. Remember that the field names must be exactly the field names that are defined in the retrieval criteria. Only non-numeric fields must be selected in the dimensions.
<Pivot>
 <PivotName>BooksStoreCharts</PivotName>
 <Rows>
  <FieldName>Title</FieldName>
  <FieldName>Genre</FieldName>
 </Rows>
 <Columns>
  <FieldName>AvailableOnline</FieldName>
  <FieldName>ISBN</FieldName>
 </Columns>
</Pivot>
Define the aggregate fields in the Measures element of the Pivot. Remember that the field names must be exactly the field names that are defined in the retrieval criteria. Only numeric fields must be selected in the dimensions.
<Pivot>
 <PivotName>BooksStoreCharts</PivotName>
 <Rows>
  <FieldName>Title</FieldName>
  <FieldName>Genre</FieldName>
 </Rows>
 <Columns>
  <FieldName>AvailableOnline</FieldName>
  <FieldName>ISBN</FieldName>
 </Columns>
 <Measures>
  <FieldName>Rating</FieldName>
 </Measures>
</Pivot>
Optionally, we can specify the aggregations to be displayed either in the rows or in the columns. The default is columns.
<Pivot>
<PivotName>BooksStoreCharts</PivotName>
<Rows>
<FieldName>Title</FieldName>
<FieldName>Genre</FieldName>
</Rows>
<Columns>
<FieldName>AvailableOnline</FieldName>
<FieldName>ISBN</FieldName>
</Columns>
<Measures>
<FieldName>Rating</FieldName>
<FieldName>Promotional Discount</FieldName>
</Measures>
<MeasuringDimension>rows</MeasuringDimension>
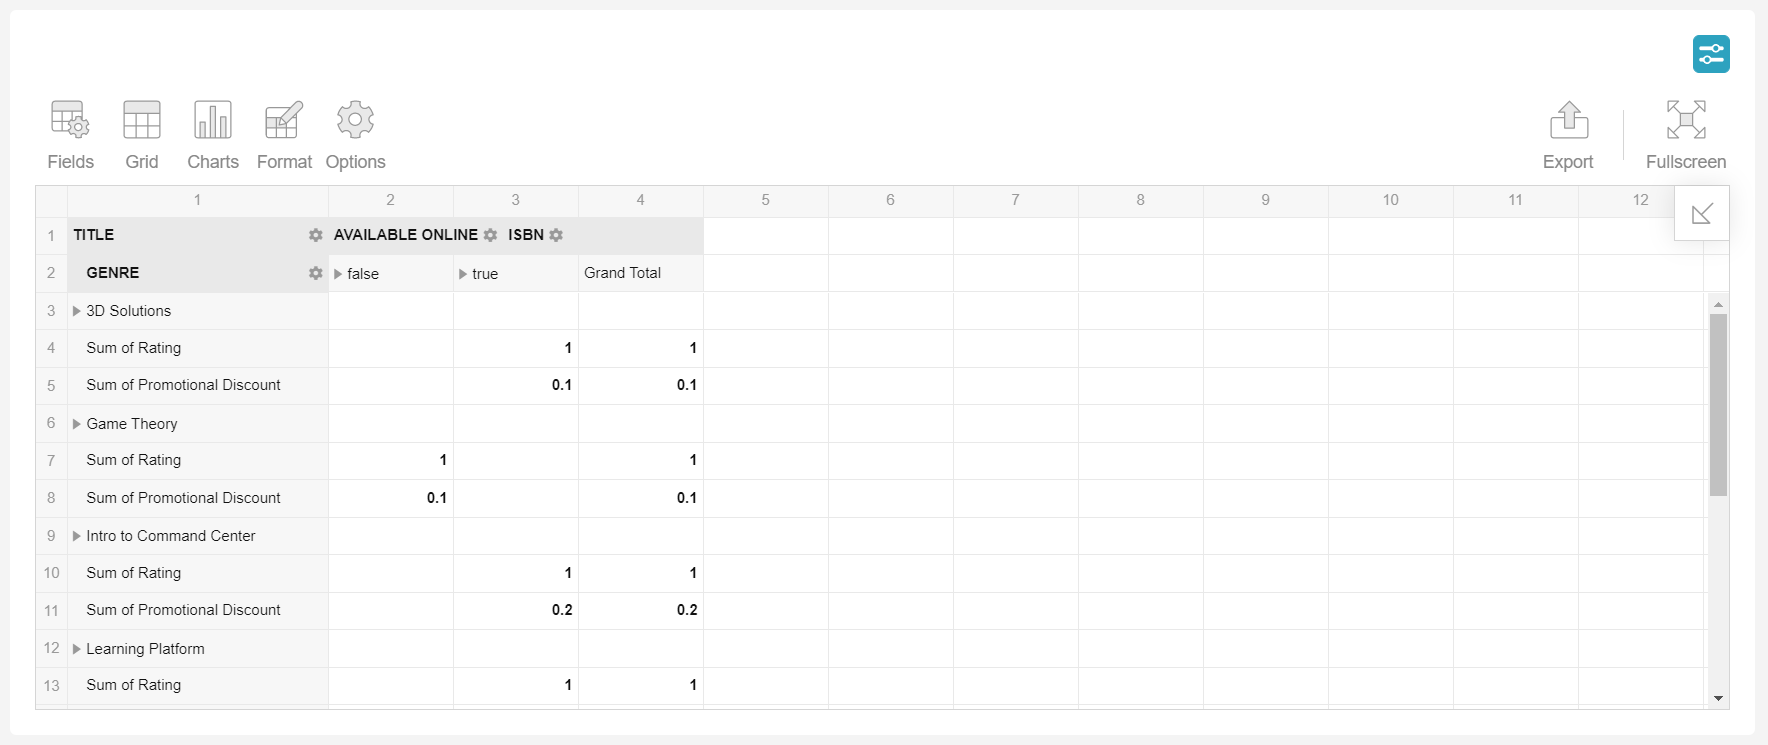
</Pivot>Deploy the reports, then refresh the pivot.
Following image shows the pivot we just created
Pivot can be exported as Excel, CSV, HTML and PDF. At the top toolbar, one can find the Export pop-up button.
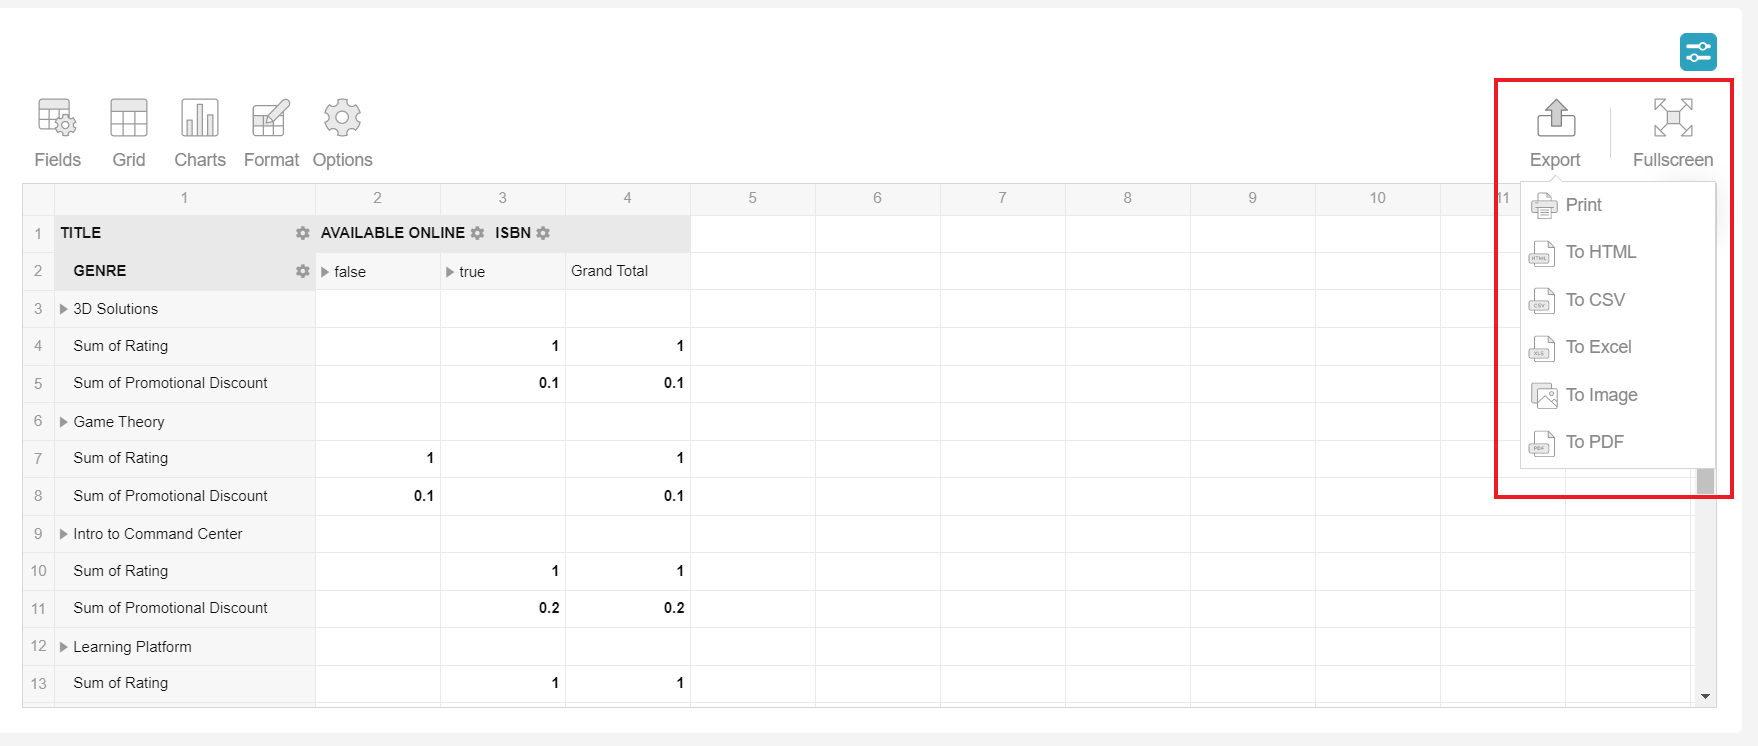
To Export the pivot as CSV, click on the To CSV menu and file will be downloaded.
For more options on default configuration, refer to the section titled Pivot Schema.