Creating a Pipeline Interface for an Outbound Integration Pipeline
The basic workflow to create an outbound integration pipeline:
Create an integration pipeline.
Create a pipeline interface.
Set up an integration subscription and execute the pipeline.
View the pipeline execution history.
This page provides the instructions for the second step in this workflow. See the other sections for information on the other steps.
Complete the following steps to create a new pipeline interface:
Follow the steps to create an integration pipeline. See the "Creating an Integration Pipeline" section for more information.
Click Menu/Favs > Tools > Integration > Pipeline Interfaces.
The Pipeline Interfaces screen appears.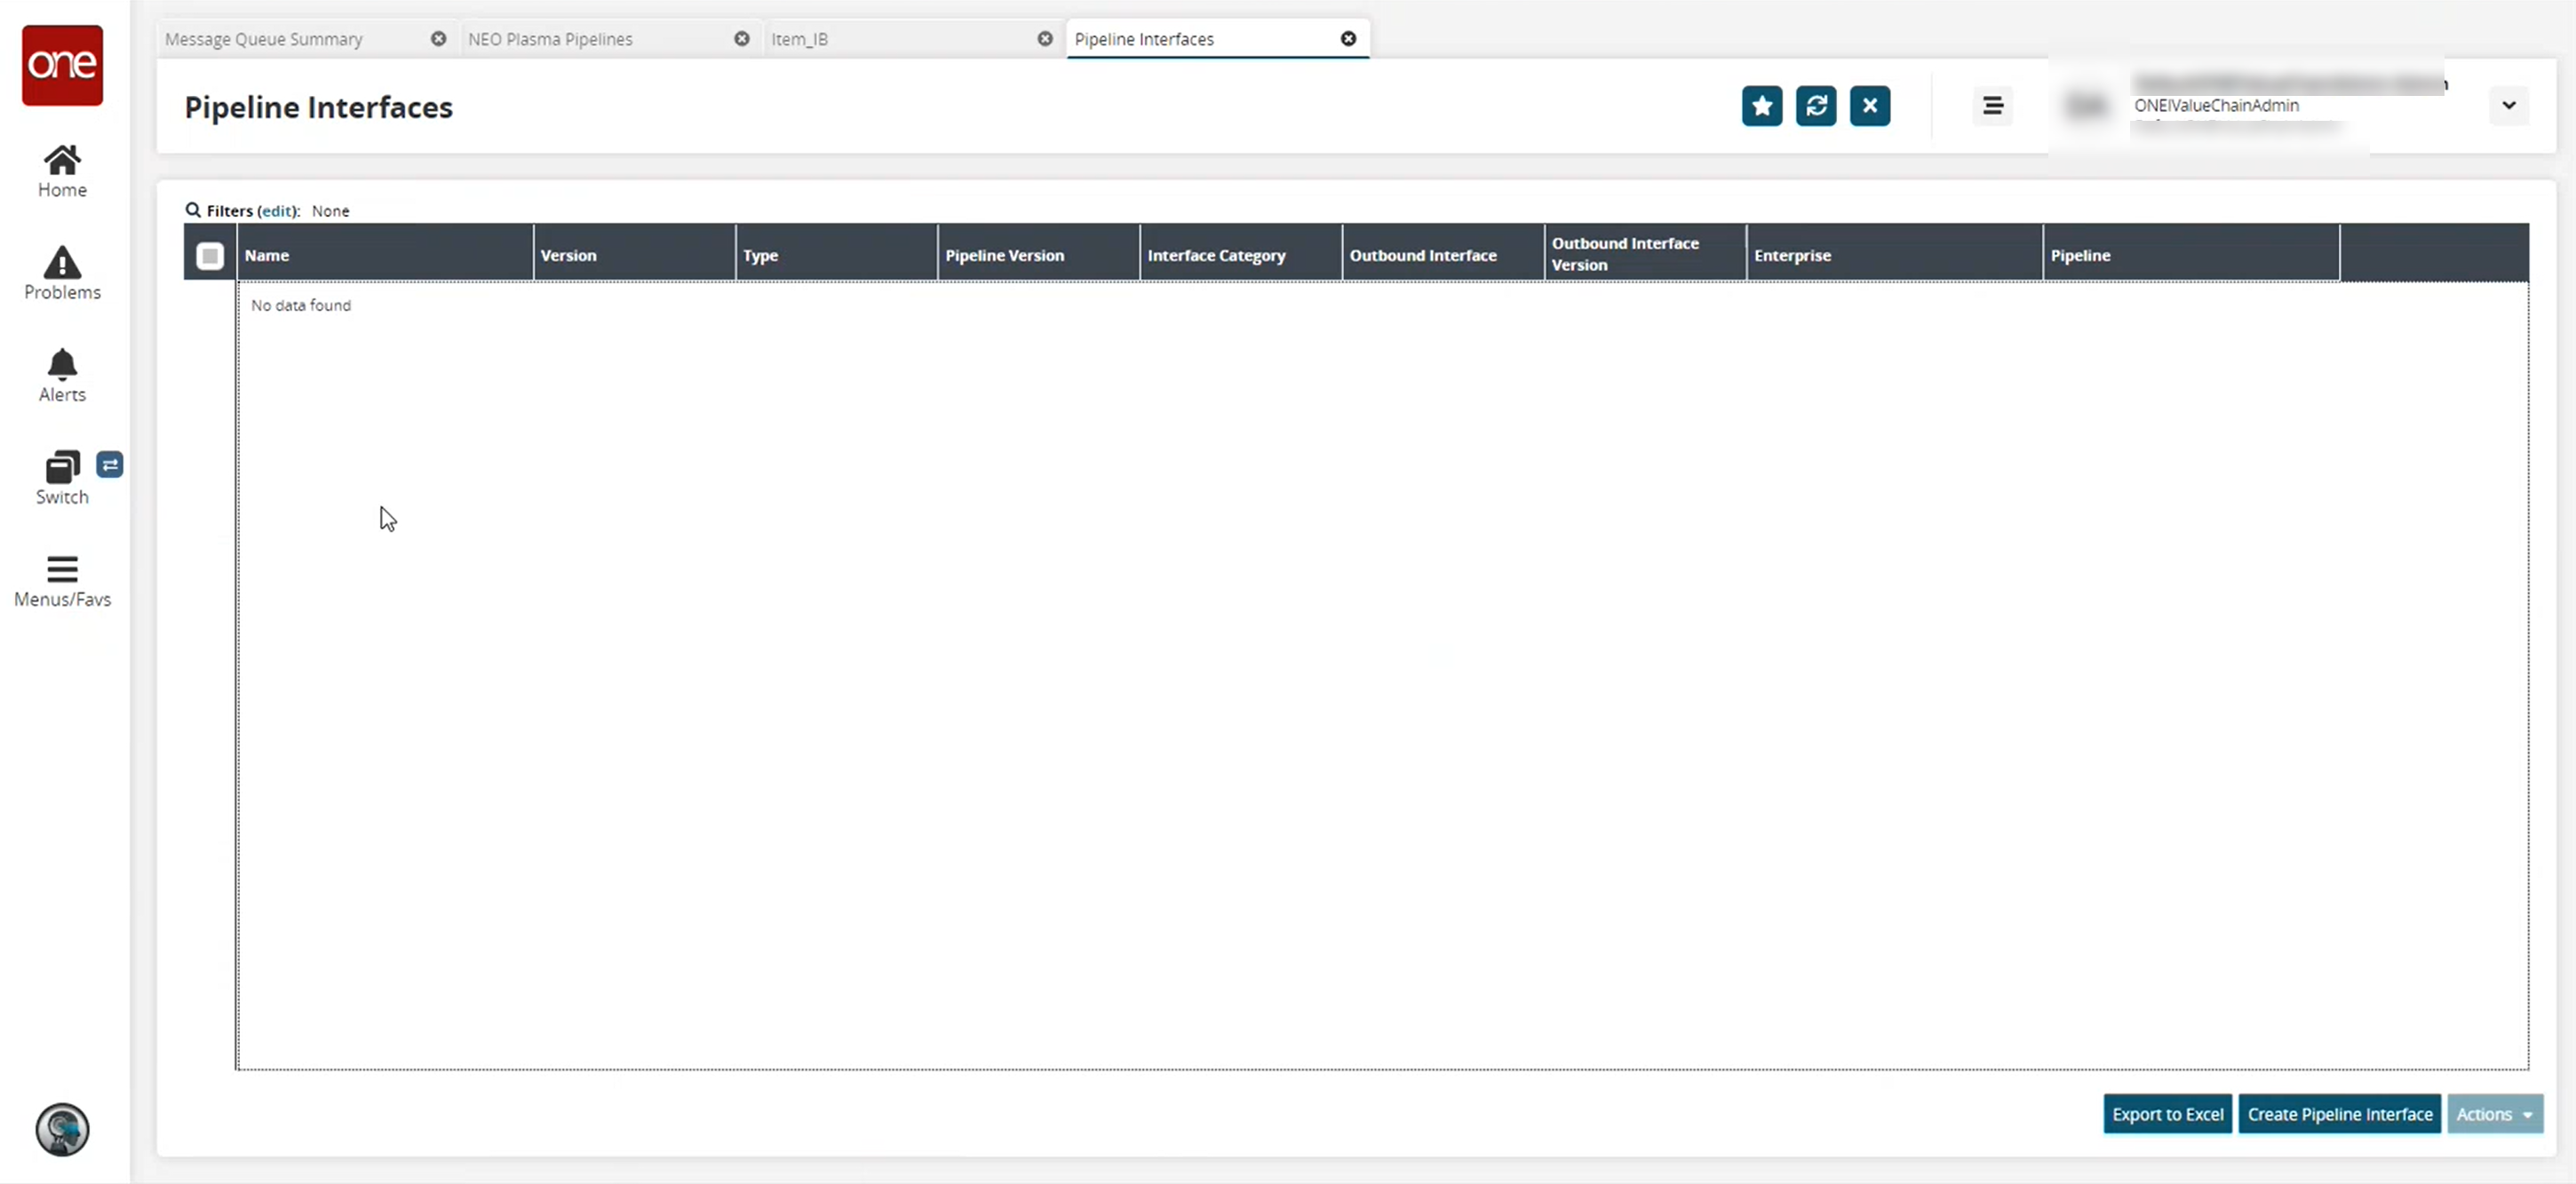
Click the Create Pipeline Interface button.
The Create Pipeline Interface screen appears.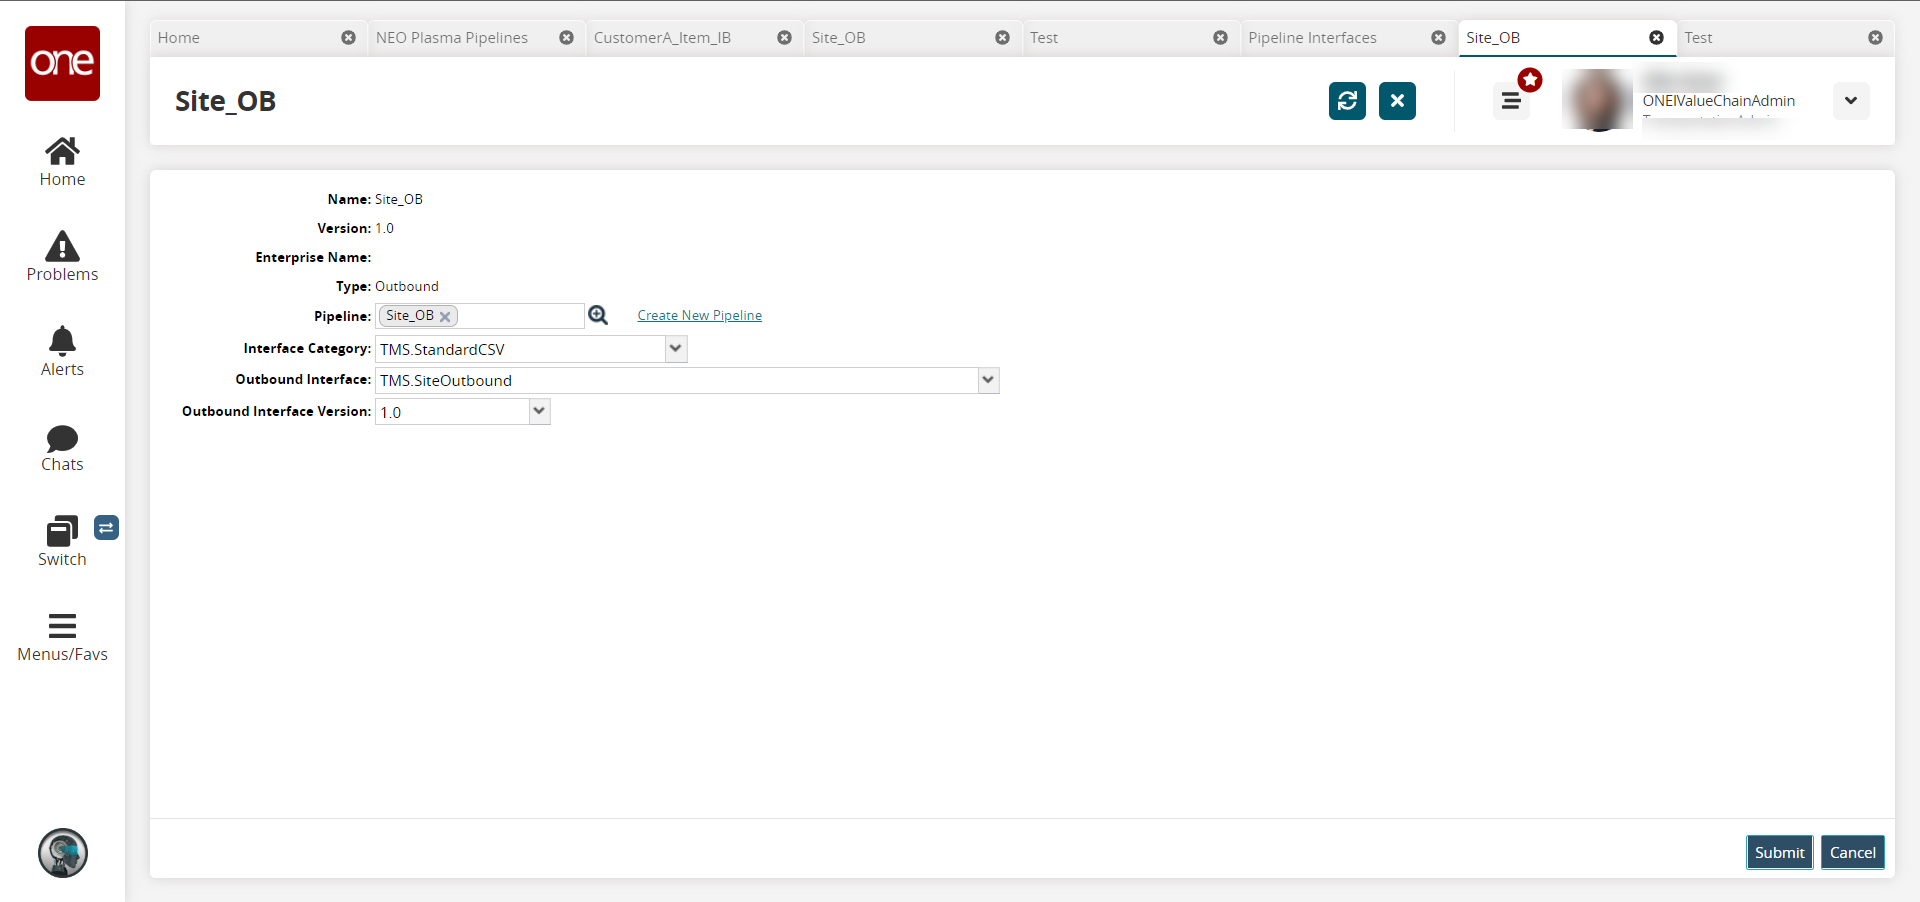
Fill out the following fields. Fields with an asterisk ( * ) are required.
Field
Description
* Name
Enter a name for the pipeline interface.
* Version
Enter a version number.
Enterprise
Use the picker tool to select an enterprise.
* Type
Select the interface type from the dropdown list. The options are Inbound and Outbound. For this example, we selected Outbound.
Pipeline
Use the picker tool to select a pipeline you want to use with this interface.
Interface Category
Select an interface category from the dropdown list.
Outbound Interface
Select an outbound interface from the dropdown list. The options vary based on the interface category selected.
Outbound Interface Version
Select an outbound interface version from the dropdown list.
Click Create.
The pipeline interface detail screen appears with a green success message.