Setting Up an Integration Subscription and Executing the Pipeline
The basic workflow to create an outbound integration pipeline:
Create an integration pipeline.
Create a pipeline interface.
Set up an integration subscription and execute the pipeline.
View the pipeline execution history.
This page provides the instructions for the third step in this workflow. See the other sections for information on the other steps.
Complete the following steps to set up an integration subscription for an outbound integration pipeline:
Log in to the ONE system.
Click Menus/Favs > Tools > Integration > Integration Subscription.
The Integration Subscription screen appears.
Click the Add Subscription button.
The New Integration Subscription screen appears.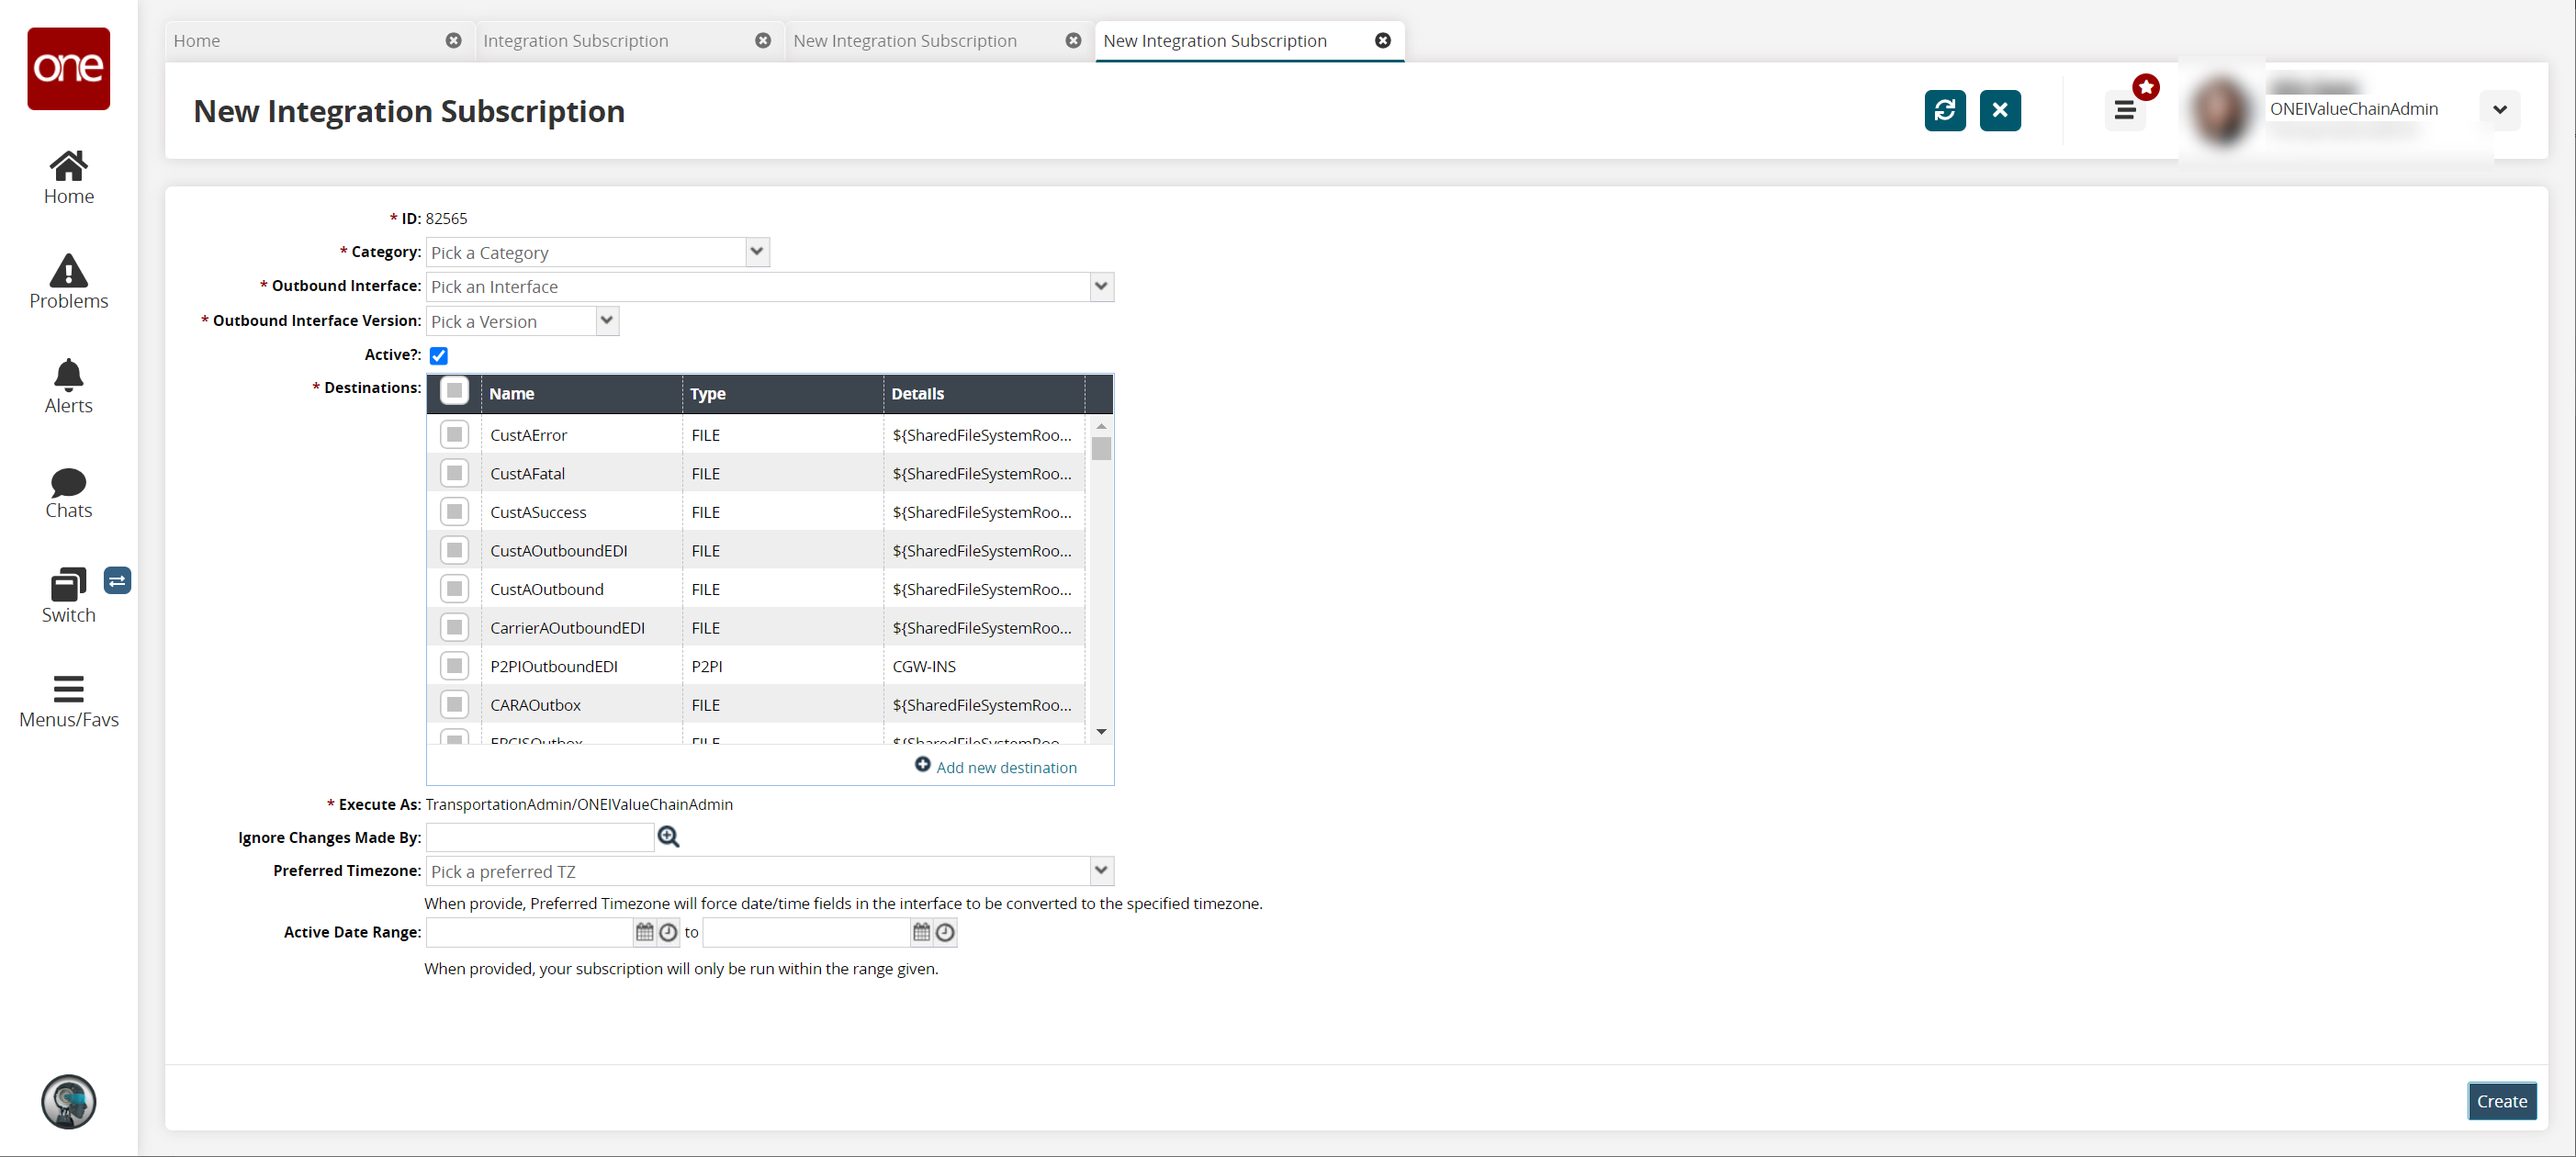
Complete the following fields. Fields with an asterisk ( * ) are required. The fields may vary depending on the outbound interface selected.
Field
Description
* ID
This field auto-populates.
* Category
Select a category for the integration subscription from the dropdown list. For this example, we selected Standard CSV.
* Outbound Interface
Select the outbound interface for this pipeline from the dropdown list. For this example, we selected Site Outbound (TMS.SiteOutbound).
* Outbound Interface Version
Select the outbound interface version from the dropdown list. For this example, we selected 1.0.
Pipeline Interface
Select the pipeline interface from the dropdown list. This field may not appear depending on the outbound interface selected. For this example, we selected Site_OB.1.0.
Active
Check the box to make the subscription active.
* Destinations
Check the box for the destinations for the outbound file, or click the +Add new destination link to add a new destination for the file.
The New Message Destination popup appears.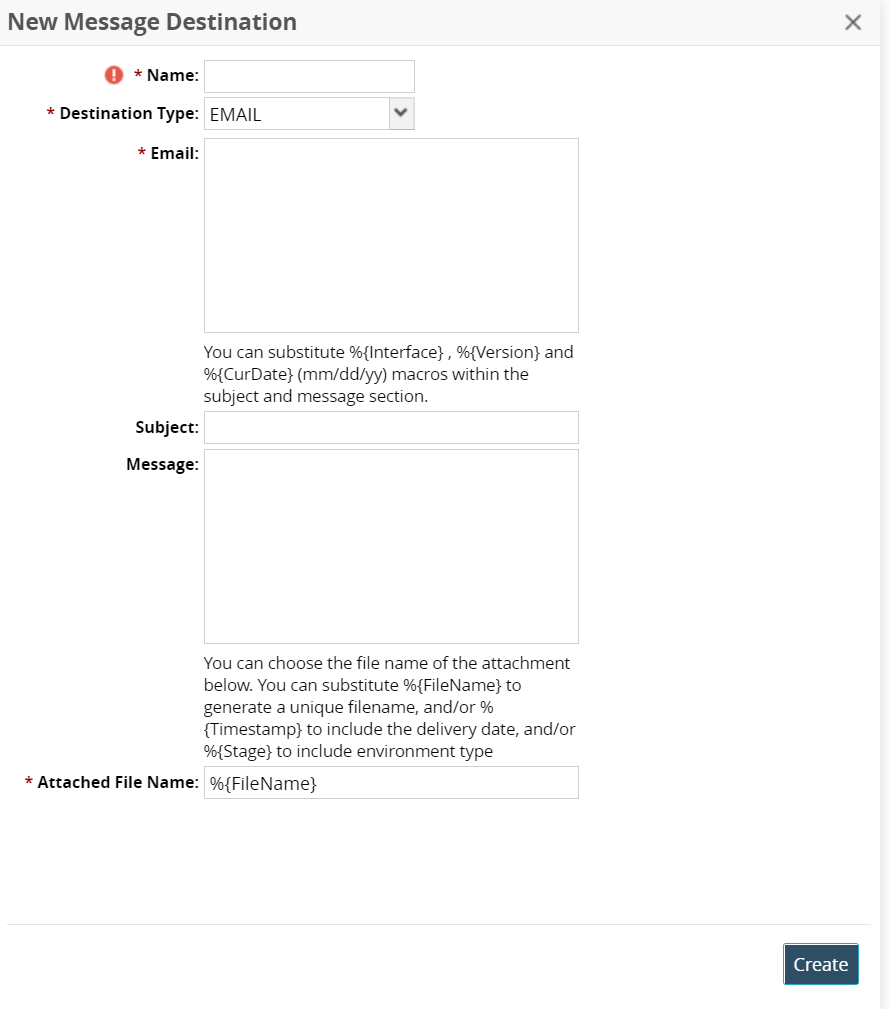
Fill out the fields. Fields with an asterisk ( * ) are required.
Click the Create button.
The new destination is added.
* Execute As
This field auto-populates.
Ignore Changes Made By
Use the picker tool to select any users whose changes you want the system to ignore.
Preferred Timezone
Select the preferred time zone from the dropdown list.
Events
This field appears because of the outbound interface selected in this example. Check the box to select the event that triggers the execution of the pipeline. For this pipeline, we selected Site: Update, which means the pipeline executes when a site is updated.
Active Date Range
Use the calendar and clock icons to specify a date range for the pipeline to run.
Click the Create button.
A success message appears.
Executing the Pipeline
Because we selected Site: Update as the event that triggers the execution of this pipeline, navigate to a site uploaded in the sample site data created for this example. See the "Loading Sample Data" section in this guide for more information and the "Searching Sites" section in the Online Help for assistance in searching for a site.

Click the site name to open the site details screen.
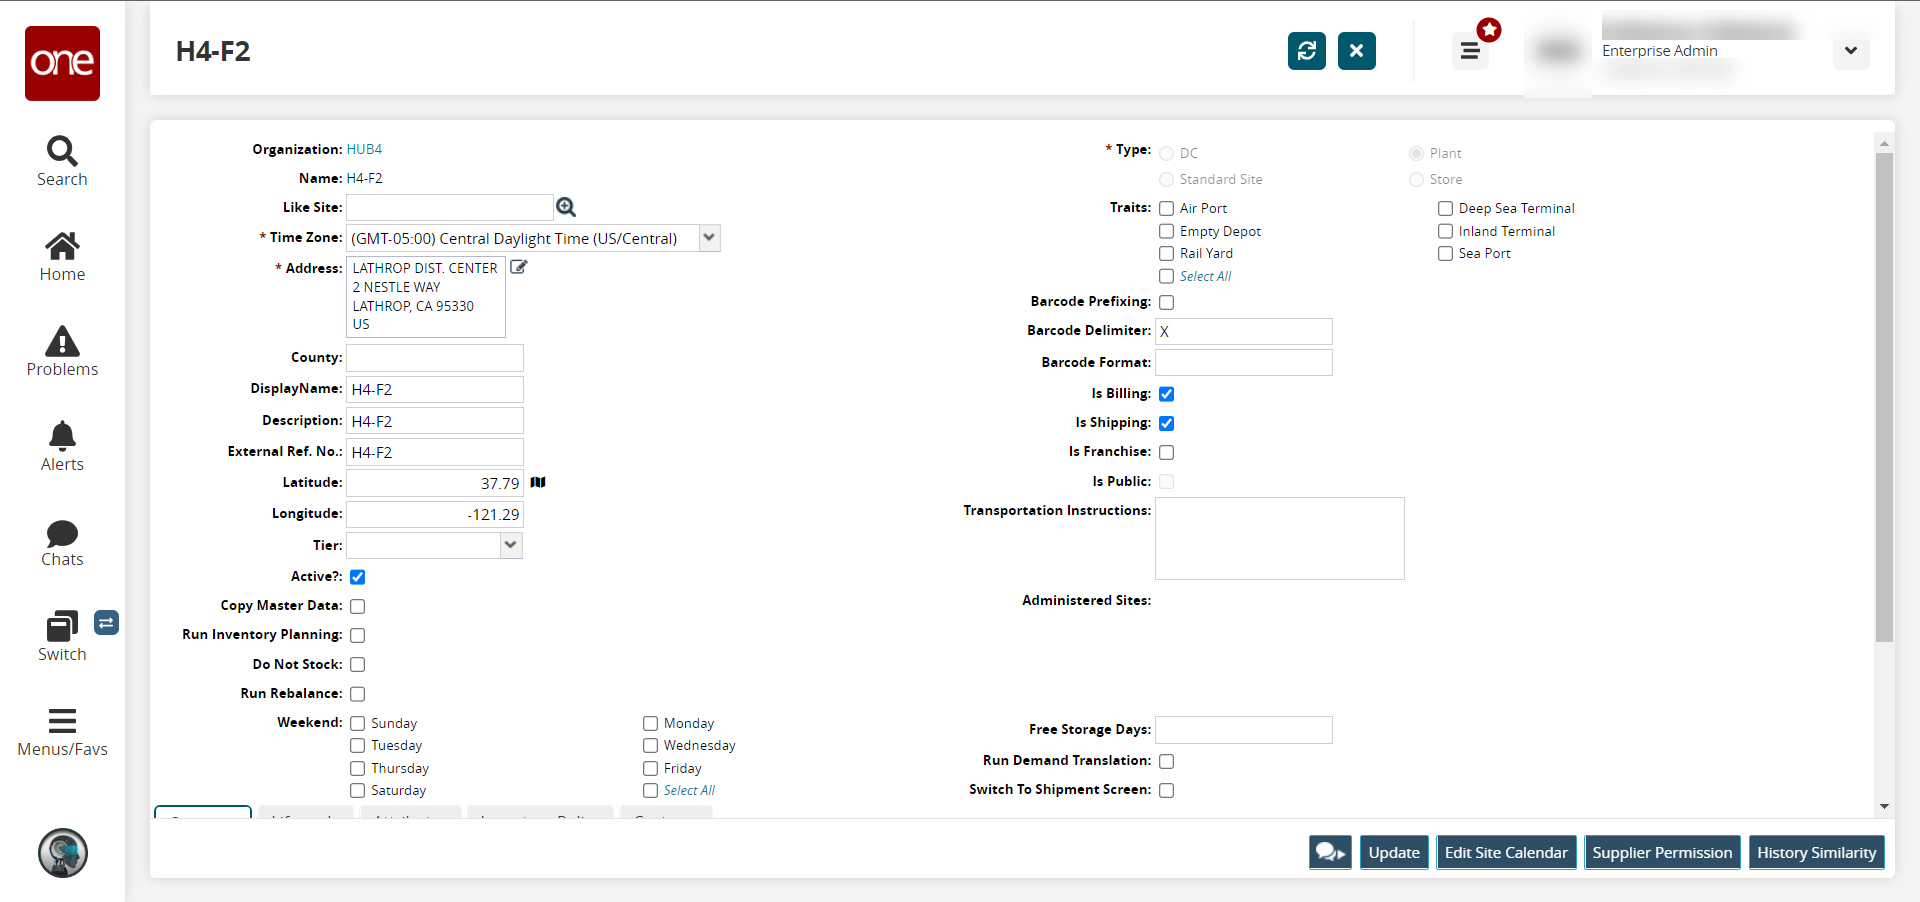
Edit any field.
Click Update.
The site updates, which triggers the execution of the pipeline.