Specifying the Rules
There can be more than one Page Flow per Model Level, and Rules can be set to dictate which one is used depending on the User Context and the Model data. The Rules Editor can be accessed by clicking on the Model Level node in the Page Editor Explorer.
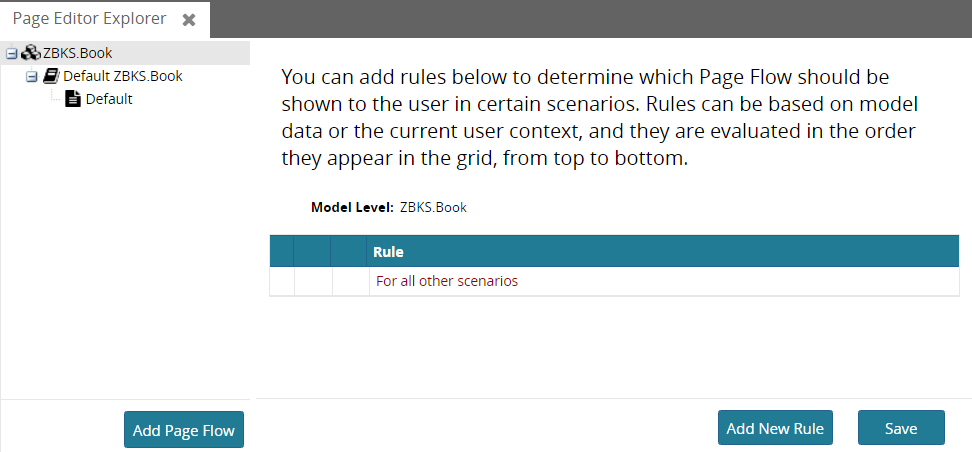
Click Add New Rule to open the New Rule dialog.
Set the variable to User's Role Type and enter ZBKS.SampleRoleType as the value. Then select Default ZBKS.Book as the Page Flow. Then click OK.
Click Save to persist the new rule in the database.
Ensure that ZBKS.SampleRoleType has permissions to execute the PLT.Create and PLT.Update actions on ZBKS.Book.
Add the following WebAction to your UI Meta Model, and add a corresponding WebActionRef for it to the RoleTypeUiConfig for ZBKS.SampleRoleType. Then deploy the UIMM.
WebAction example:
<WebActionname="CreateBook"><PanelOptions><PanelClass>One.ext.page.PageFlowDetail</PanelClass><PanelConfig>{ "modelLevel": "ZBKS.Book" }</PanelConfig></PanelOptions></WebAction>WebActionRef example:
<WebActionRefname="CreateBook"/>Save the MPT, and then Click
 Submit to submit it to the server.
Log in as BookstoreUser, and click the new Create Book menu. You should see the create page you constructed using the Page Editor Explorer:
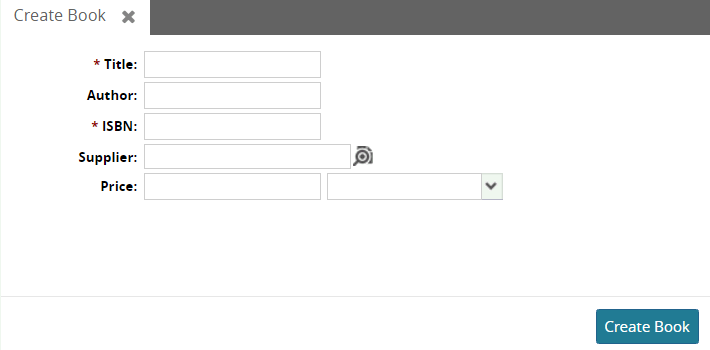
Populate the required fields and click Create Book, and it should navigate to the read-only detail page with an Actions button in the bottom-right corner, which is what we configured earlier with the Page Flow Editor.