Activate or Deactivate a Location in Warehouse Explorer
Locations can be activated or deactivated as necessary.
Activate a Location
Complete the following steps to activate an existing location:
Log in to the ONE system.
Click Menus/Favs > Warehouse Mgmt > Warehouse Explorer . In the NEO UI, users can click on the Menus/Favs icon on the left sidebar and type in the name of the screen in the menu search bar. For more information, see "Using the Menu Search Bar."
The Warehouse Explorer screen displays .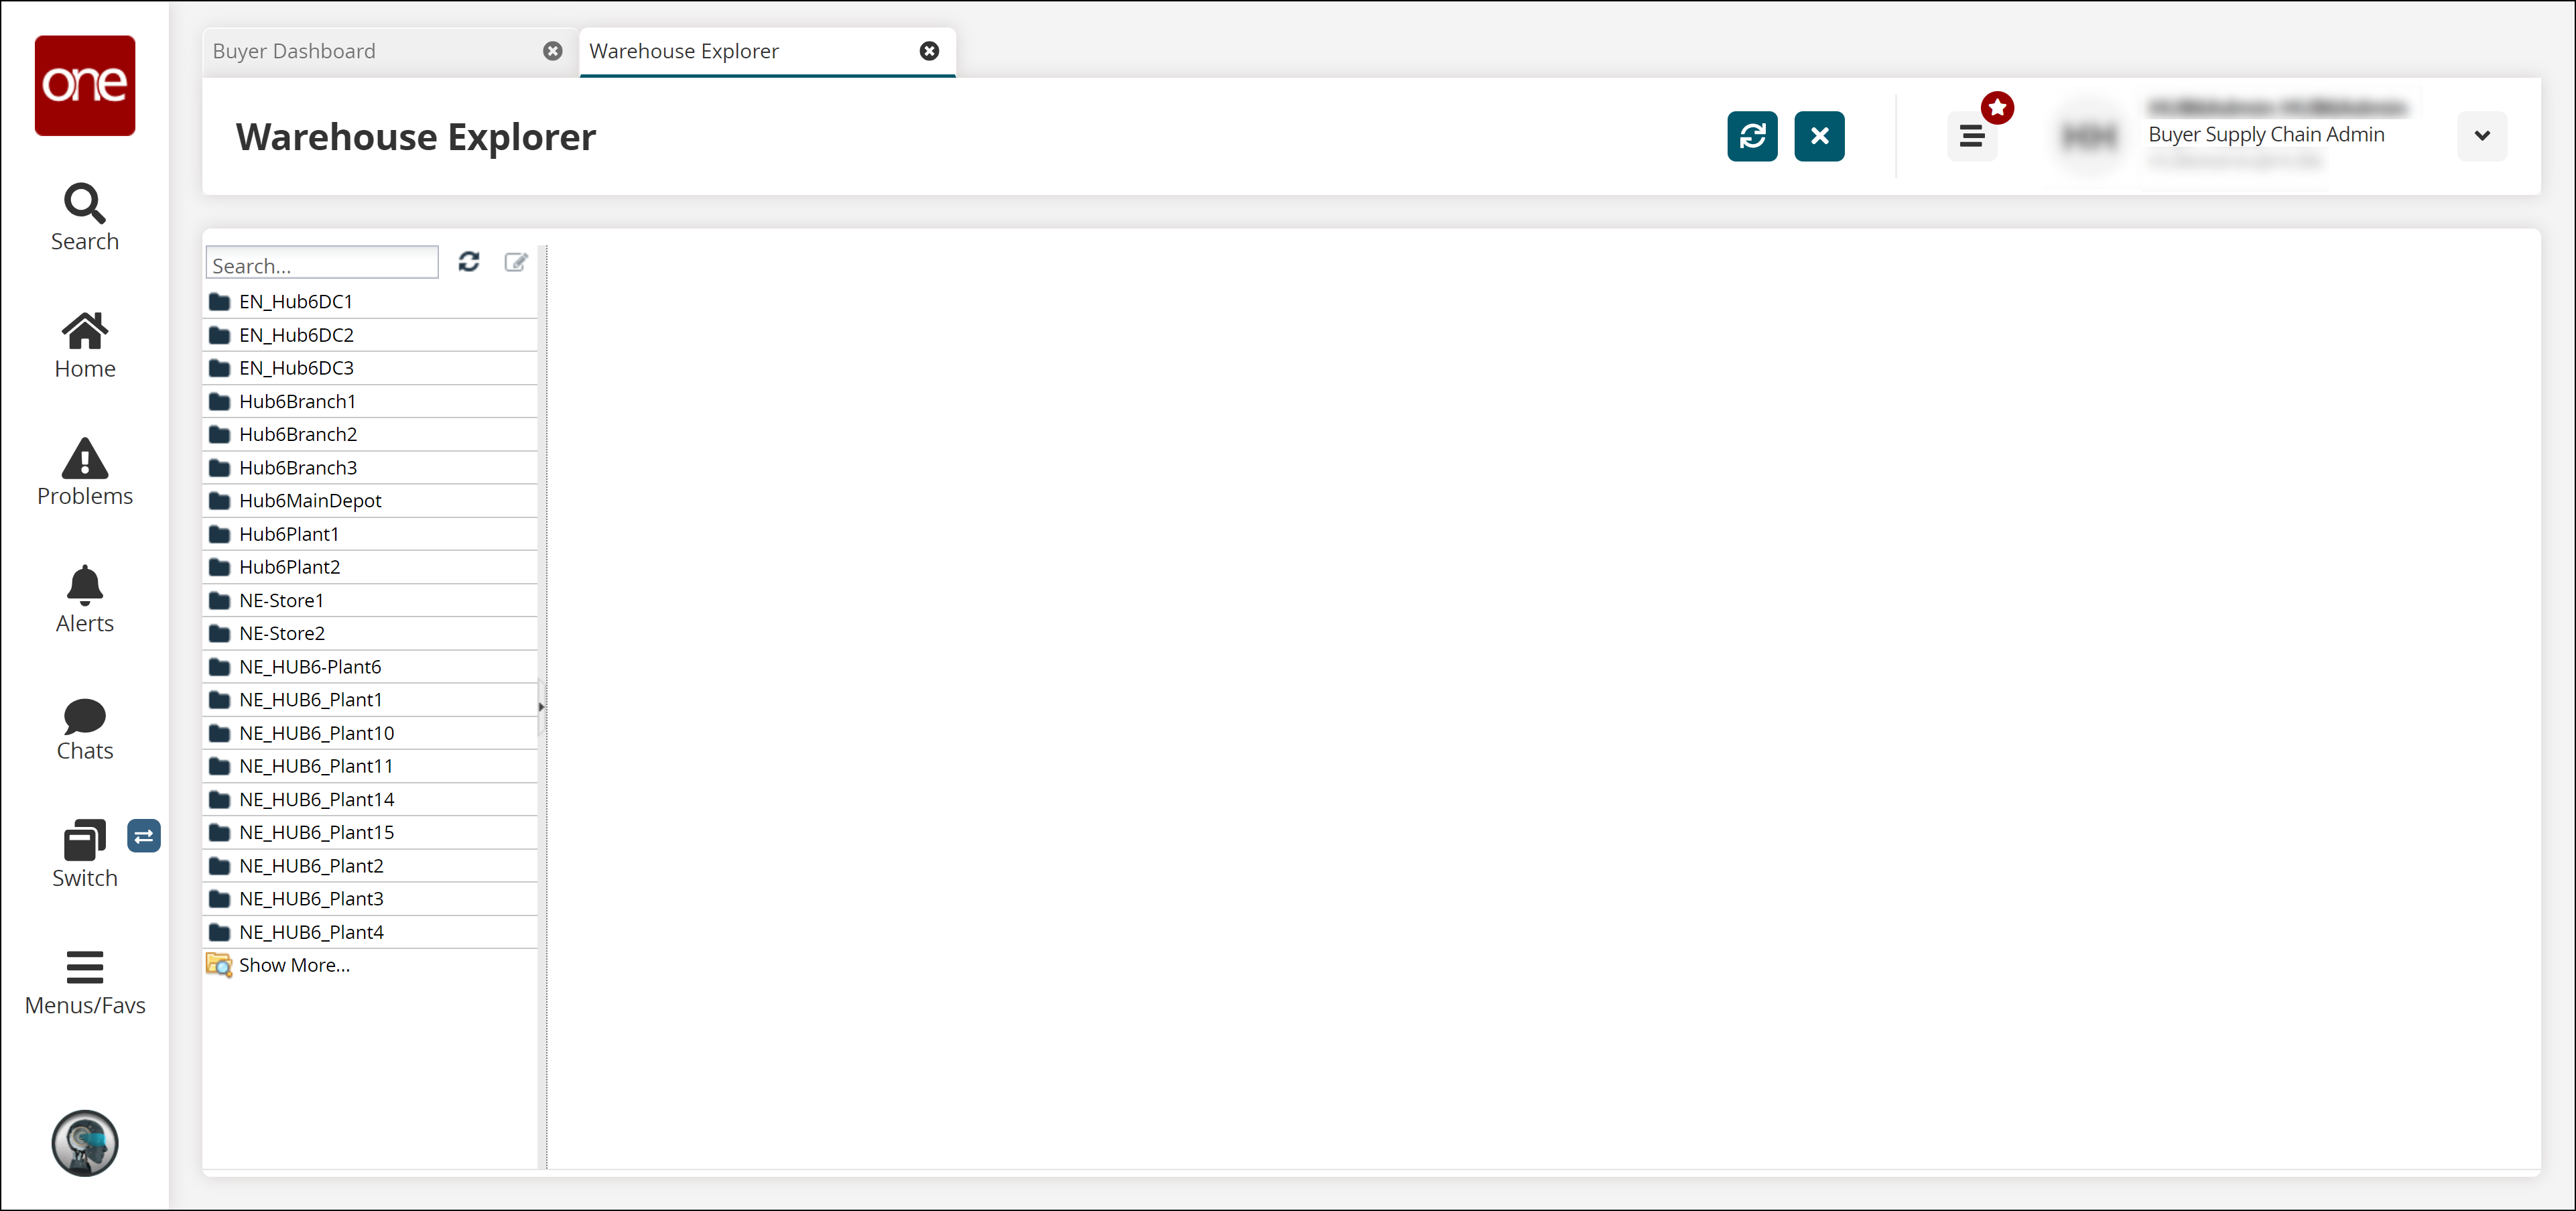
Select a warehouse in the Explorer pane to activate a location.
Deactivated locations are italicized.
Click the configuration icon to open the configuration menu.

Click Activate.
A confirmation window displays.Click Yes.
A confirmation window displays.Click OK.
The name of the location is no longer italicized, indicating that the location is now active.
Deactivate a Location
Complete the following steps to deactivate an existing location:
Log in to the ONE system.
Click Menu/Favs > Warehouse Mgmt > Warehouse Explorer .
The Warehouse Explorer screen displays .
Select a warehouse in the Explorer pane to deactivate a location.
Click the configuration icon to open the configuration menu.
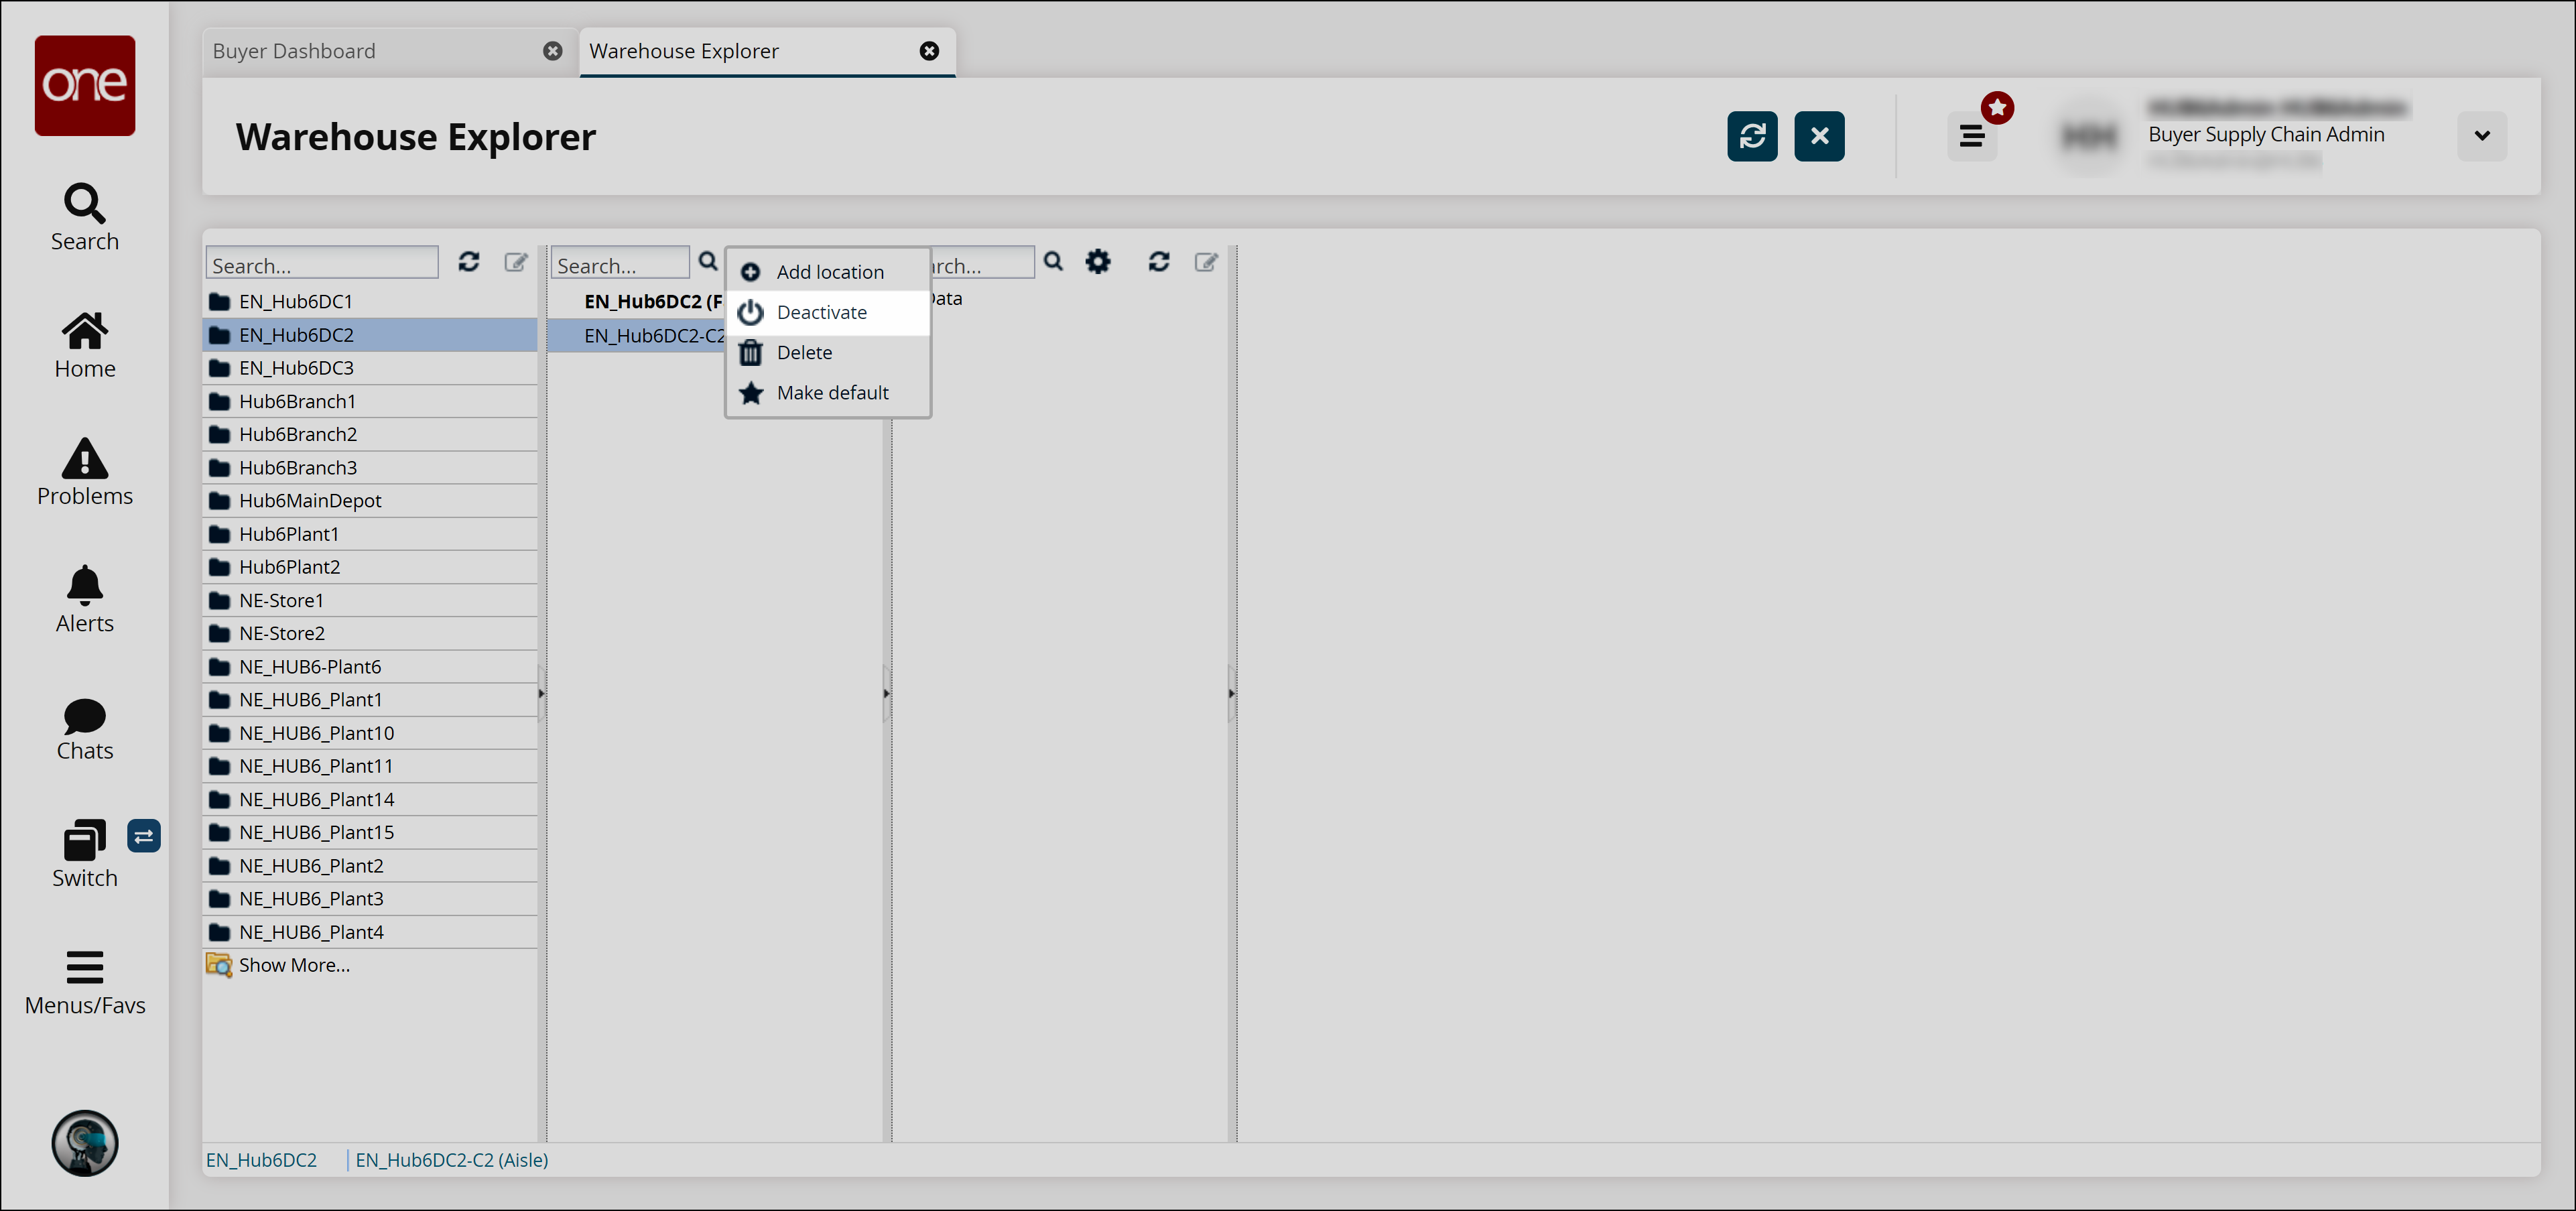
Click Deactivate.
A confirmation window displays.Click Yes.
A success window displays.Click OK.
The name of the location is now italicized, indicating that the location is deactivated.