Adding Carrier Groups
Complete the following steps to add carrier groups:
Log in to the ONE system.
Click Menus/Favs > Administration > Carrier Groups.
The Carrier Groups screen appears.

Click the Add Contract Carrier Group button.
The New Contract Carrier Group screen appears.
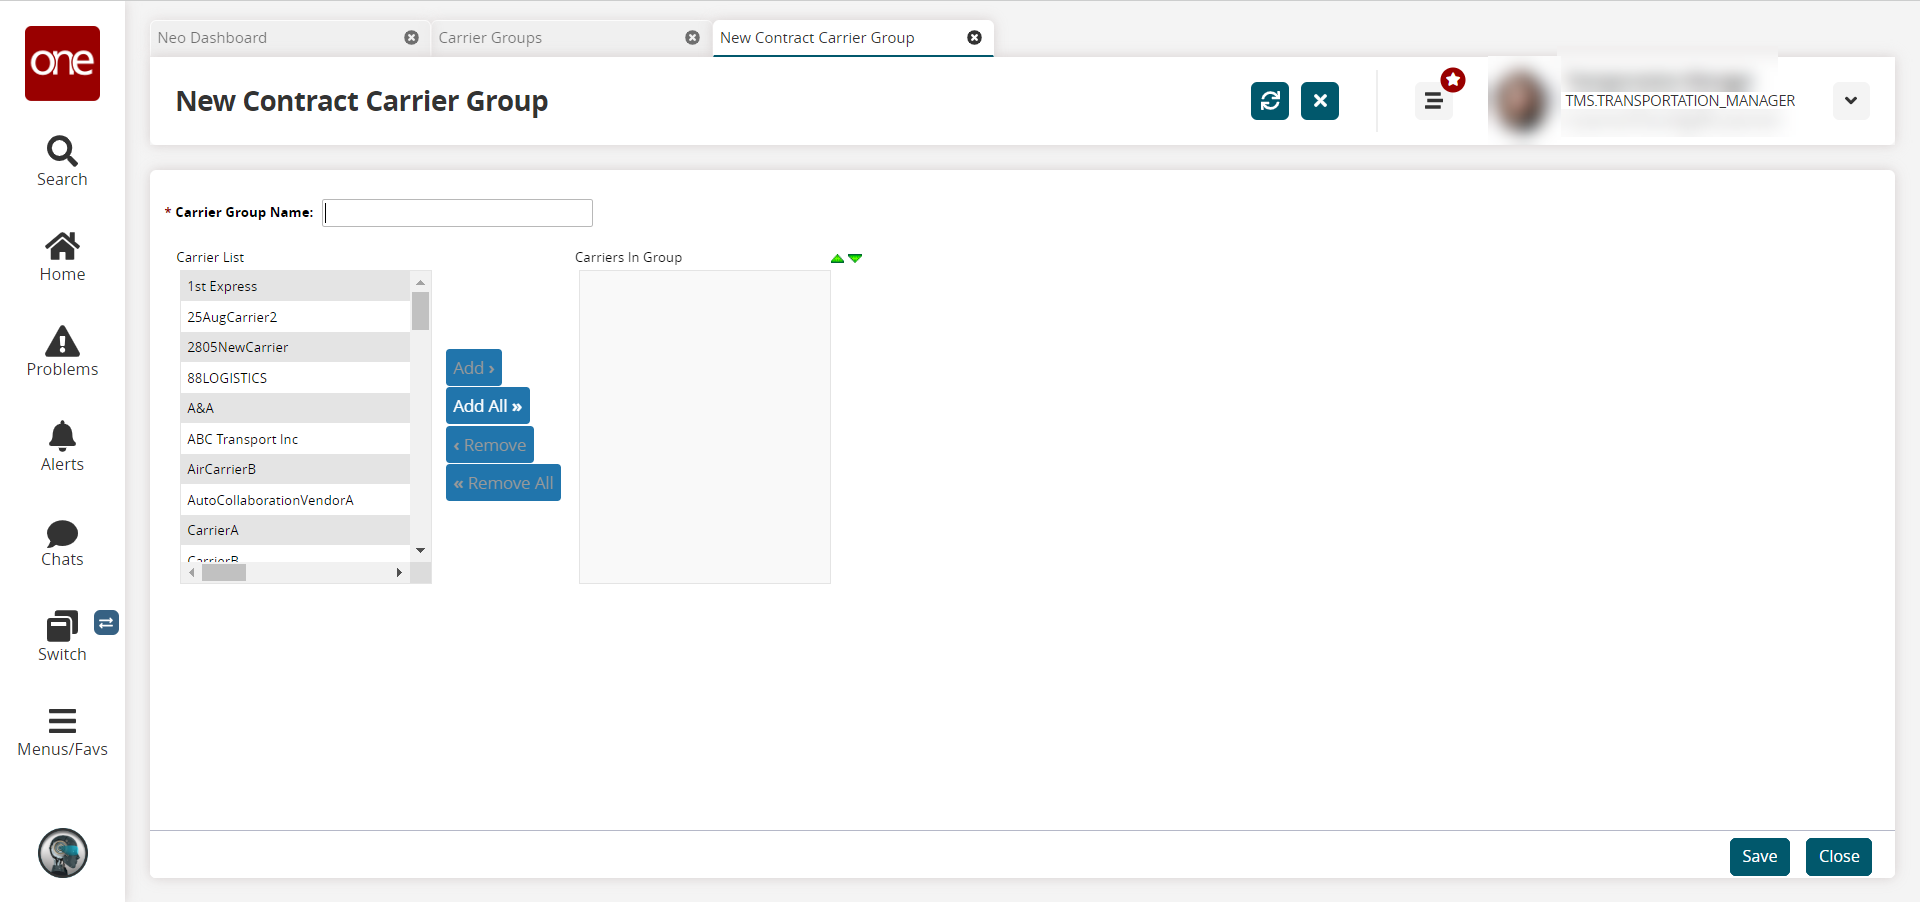
In the Contract Carrier Group Name field, type the name of the new contract carrier group.
In the Carrier List column, click one or more carriers to be in the new carrier group.
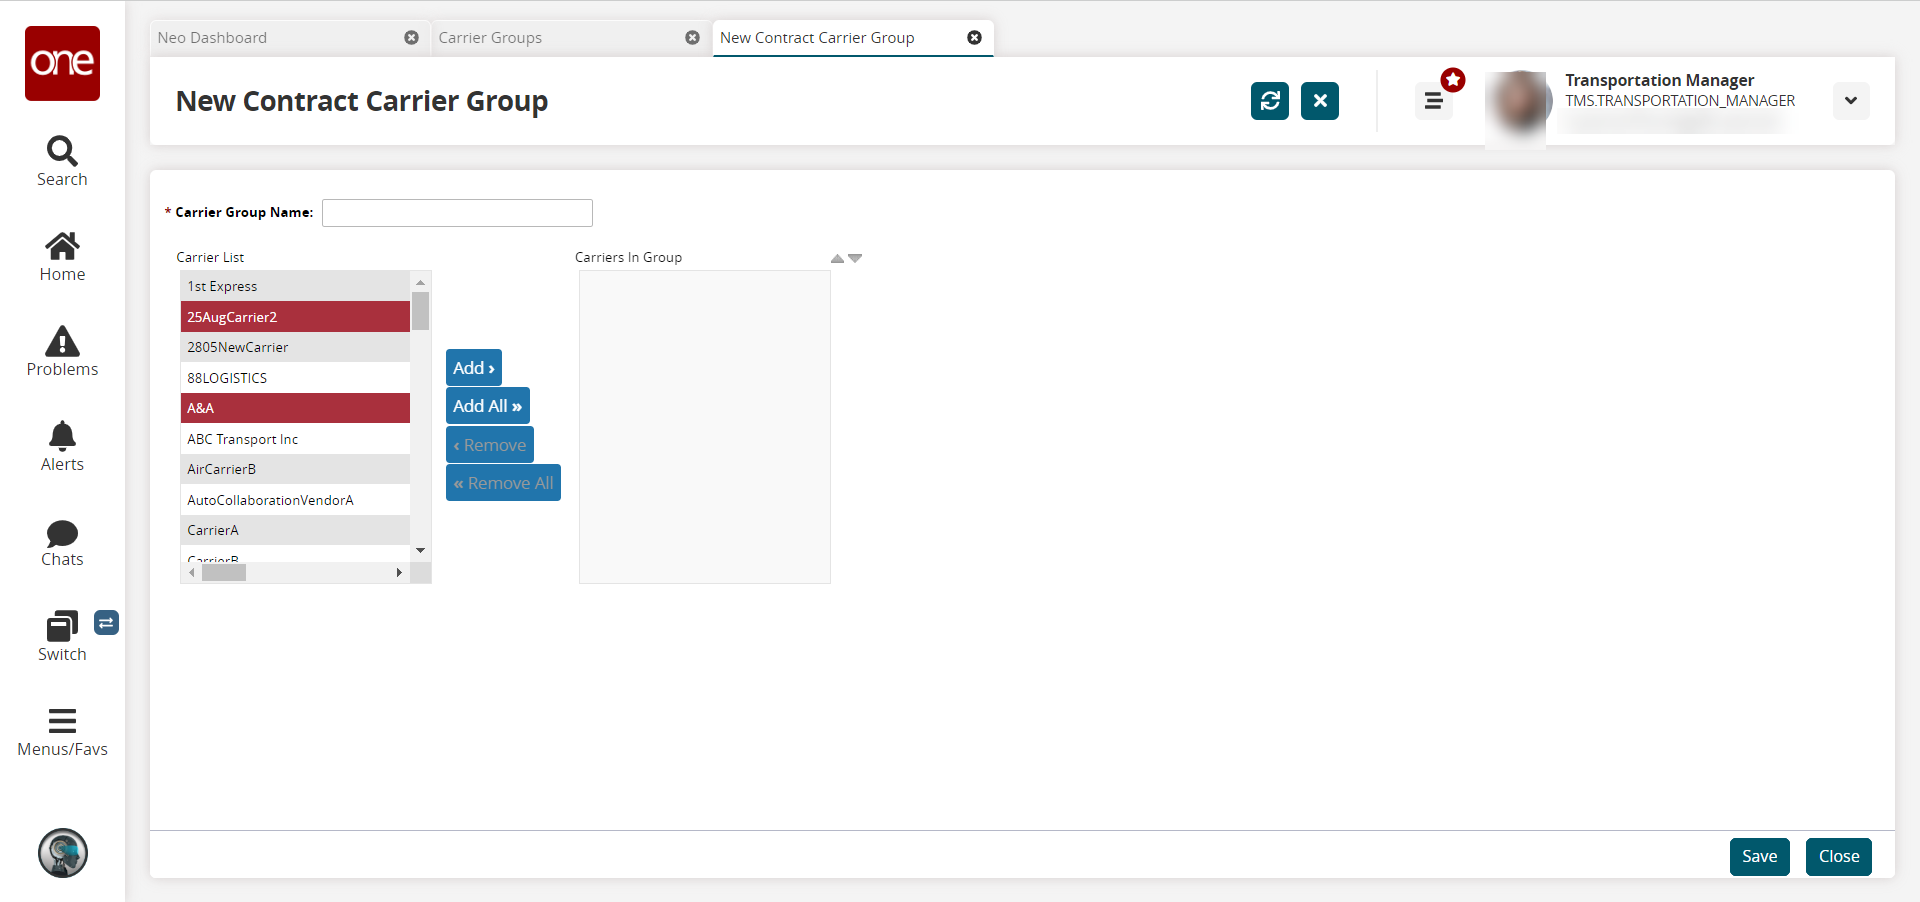
The selected carriers are highlighted.After all carriers that you want to be in this carrier group have been selected, click the Add button, located between the Carrier List and the Carriers In Group list.
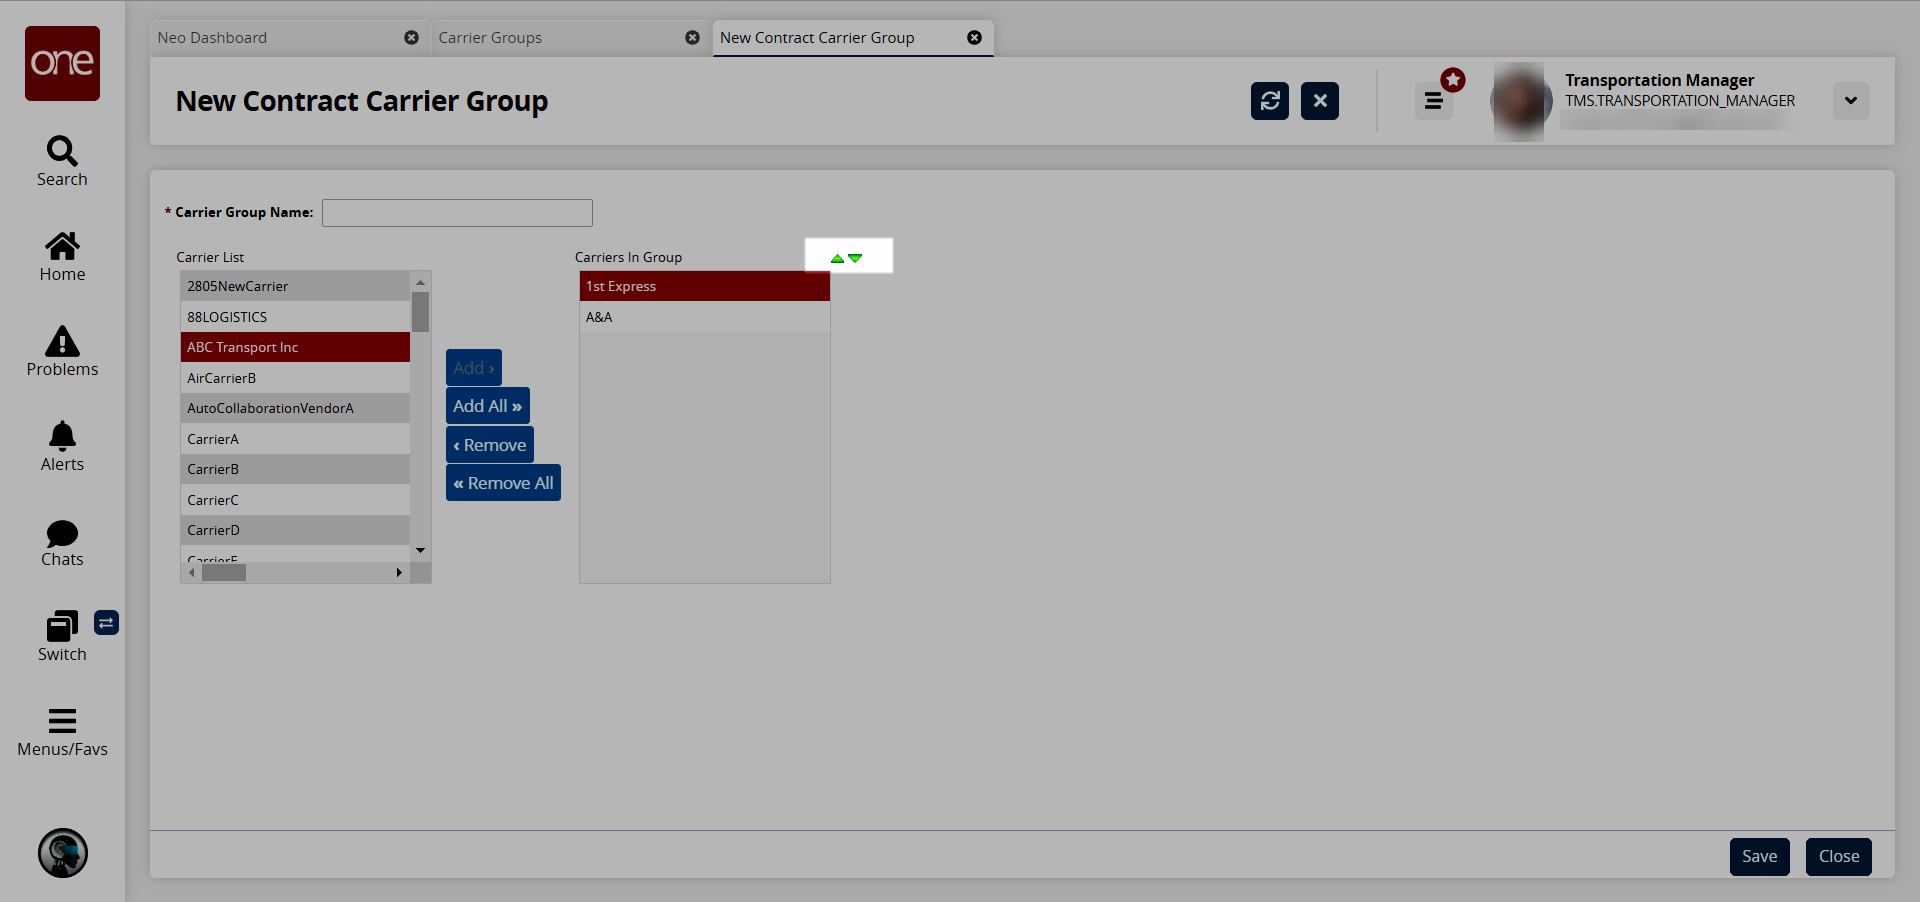
The selected carriers move from the Carrier List to the Carriers In Group list.Tip
You can add all carriers in the Carrier List to the Carriers In Group list by clicking the Add All button.
Similarly, you can remove carriers from the Carriers In Group by selecting carriers and then clicking the Remove button.
The selected carriers move from the Carriers In Group list to the Carrier List.Tip
You can add remove all carriers from the Carriers In Group list to the Carrier List by clicking the Remove All button.
To change the sequence of carriers in the Carriers In Group list, select a carrier and then click the Move Up or Move Down icons.
After carriers have been selected and sequenced, click Save.
A success message appears.