Adding Documents to Requisition Orders
Users can add documents to new or existing requisition orders.
Complete the following steps to add documents to a requisition order:
From the New Requisition or requisition order page, click the Documents tab.
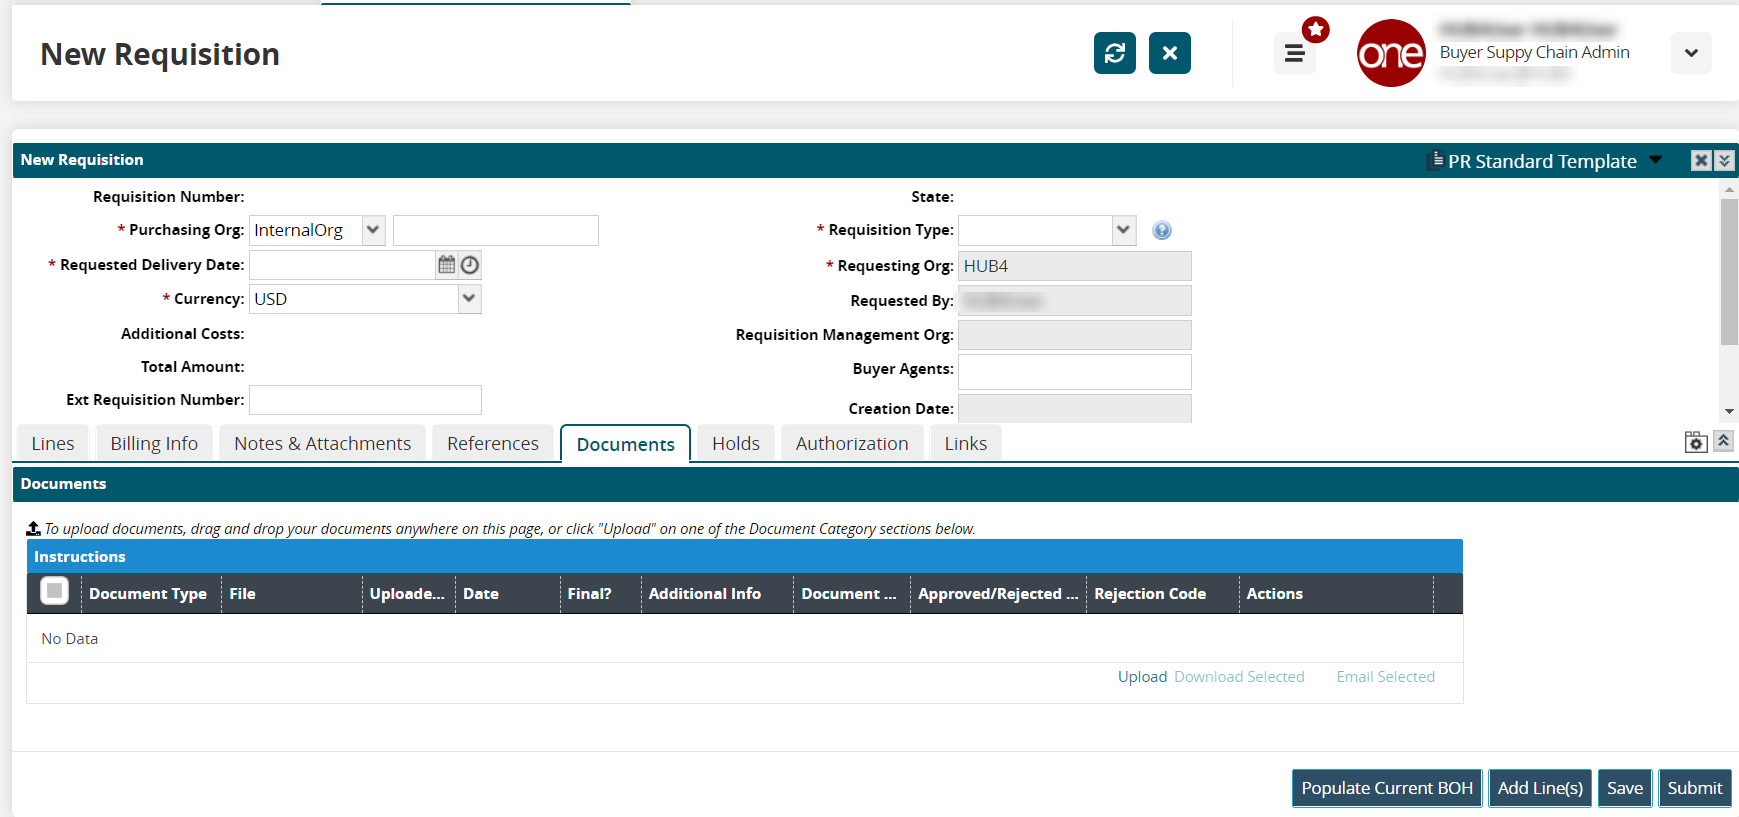
Click the Upload link to attach documents to this order.
The Upload dialog box displays.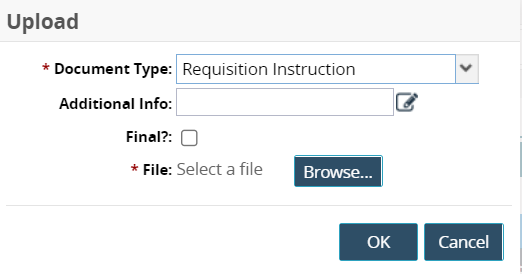
In the * Document Type field, select a type from the dropdown list. Fields with an asterisk ( * ) are required.
Click the pencil icon to add information in the Addition Info field.
Check the box for the Final? field if this is the final version of a type of document.
Marking a document as Final freezes it, and revisions are not allowed. If you click this box, a popup confirms that you want the document in the Final state when you click the OK button.
In the * File field, click the Browse button, and select a file from your computer.
The file name displays in the popup.Click the OK button.
The file displays in the Documents tab.
Complete the following steps to download a document on the requisition order:
Click the checkbox to select a file.
Click the Download Selected link.
The file downloads to your computer.
Complete the following steps to email a copy of the document on the requisition order:
Click the checkbox to select a file.
Click the Email Selected link.
The Email Documents dialog box displays.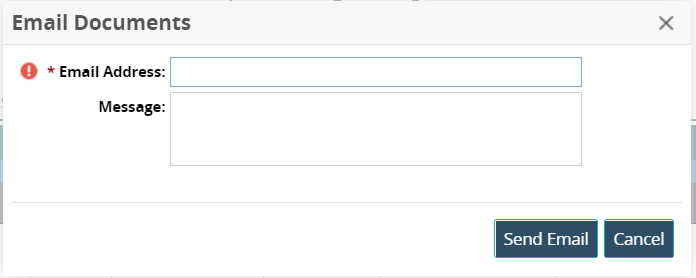
Enter a valid email in the * Email Address field.
Add additional information to the recipient in the Message field.
Click the Send Email button.
The email is sent with the attached document.