Adding Holds to Requisition Orders
Users can add holds to existing requisition orders. If the order is a new order, no actions are available.
Complete the following steps to add a hold to a requisition order:
Click the Holds tab on the Requisition page.
Click the Add Hold button.
The Create Hold popup displays.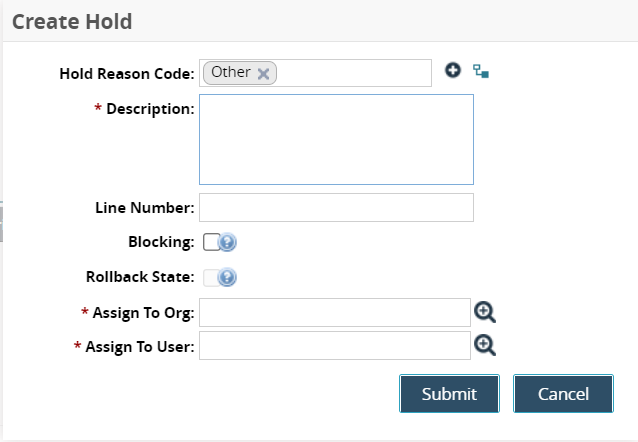
Enter values for fields described in the table below. Fields with an asterisk ( * ) are required.
Field
Description
Hold Reason Code
This field auto-populates.
* Description
Enter a description for the hold and any additional information.
Line Number
Enter a value for the line number this hold is associated with.
Blocking
Check the box to establish a blocked hold that will restrict state transitions for the requisition order.
Rollback State
Check the box to allow a rollback. If the rollback state is checked, users can update the requisition without changing the requisition approval state.
* Assign To Org
Type or use the picker tool to select an organization that the hold is assigned to.
* Assign To User
Type or use the picker tool to select a user that the hold is assigned to.
Click Submit.
The hold displays on the tab in the table, and a large red icon alerts users that a hold has been applied.Under the Actions column, click the plus sign to override a hold.
The Override Hold popup displays.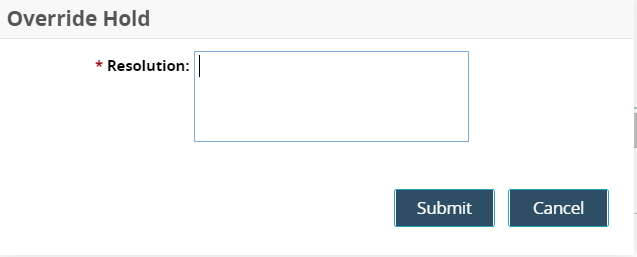
In the * Resolution field, enter a description for the override.
Click the Submit button.
The red icon is removed, and the icon changes in the Actions column.To change the organization or user assigned to the hold, click the user icon (
 ) if the hold exists or the gear icon (
 ) if an override is applied.
A popup to change the organization and users assigned to the hold displays.In the * Assign To Org field, type or use the picker tool to select an organization.
In the * Assign To User field, type or use the picker tool to select a user.
Click the Submit button.
The information is updated in the Assigned To column in the table.Under the Notes column, click the pencil icon to add a note addressing the hold.
The Notes Hold popup displays.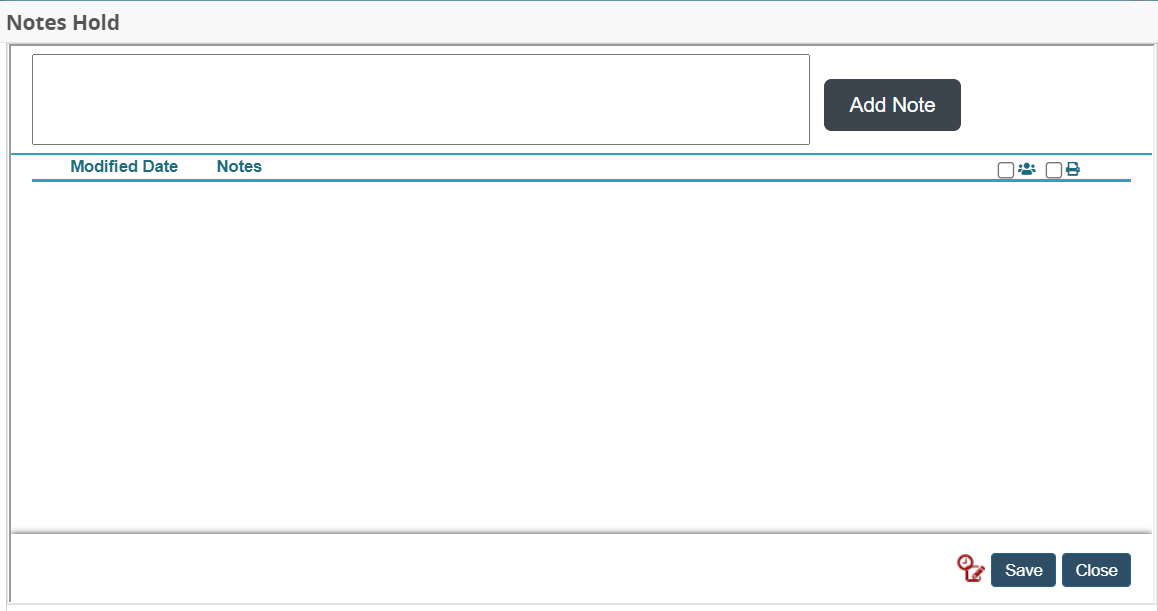
Type your note for this hold into the top text field.
Click the Add Note button.
The new note is added to the table.
Click the red Audit icon in the note's row to open a new tab listing all of the changes to this note.
Check the box under the people icon (
 ) to share this note with other users.
Check the box under the printer icon to print this note.
Click the pencil icon to edit an existing note.
Click the Save button to save changes.
Click the red Audit icon at the bottom to open a new tab of all notes and their changes.
Click the Close button to close the popup.