Adding New Roles
Complete the following steps to add new roles:
L og in to the ONE system.
Click Menus/Favs > Administration > Roles
In the NEO UI, users can click on the Menus/Favs icon on the left sidebar and type in the name of the screen in the menu search bar. For more information, see "Using the Menu Search Bar."
The Roles screen opens.
Click New Role.
The New Role screen opens.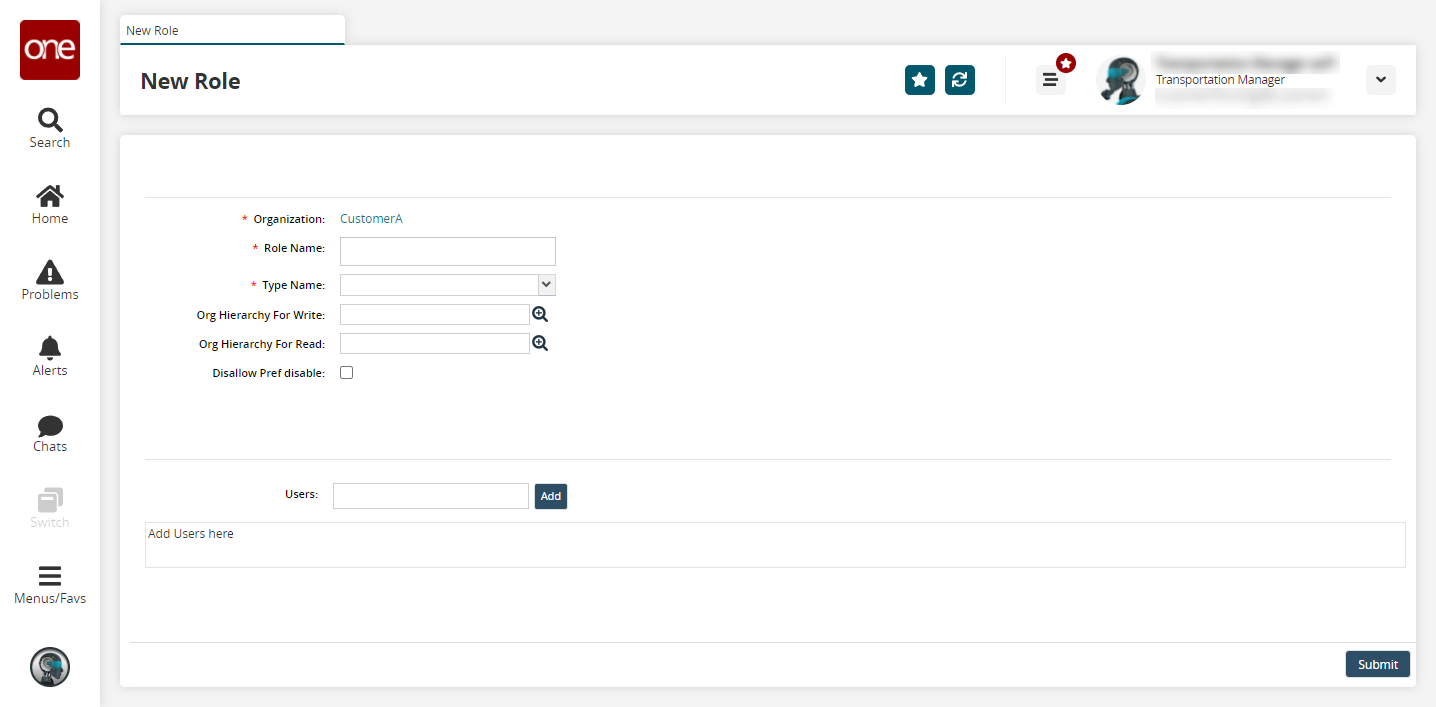
Fill out the following fields. Fields with an asterisk ( * ) are required.
Field
Description
* Role Name
Enter a role name.
* Type Name
Select a role type from the drop-down menu. The permissions of the selected role type are applied to the new role.
Org Hierarchy For Write
Select an organization hierarchy for write using the picker tool.
Org Hierarchy For Read
Select an organization hierarchy for read using the picker tool.
Disallow Pref Disable
Select this checkbox to prevent preferences from being disabled.
To add a user, click Add.
The Users popup opens.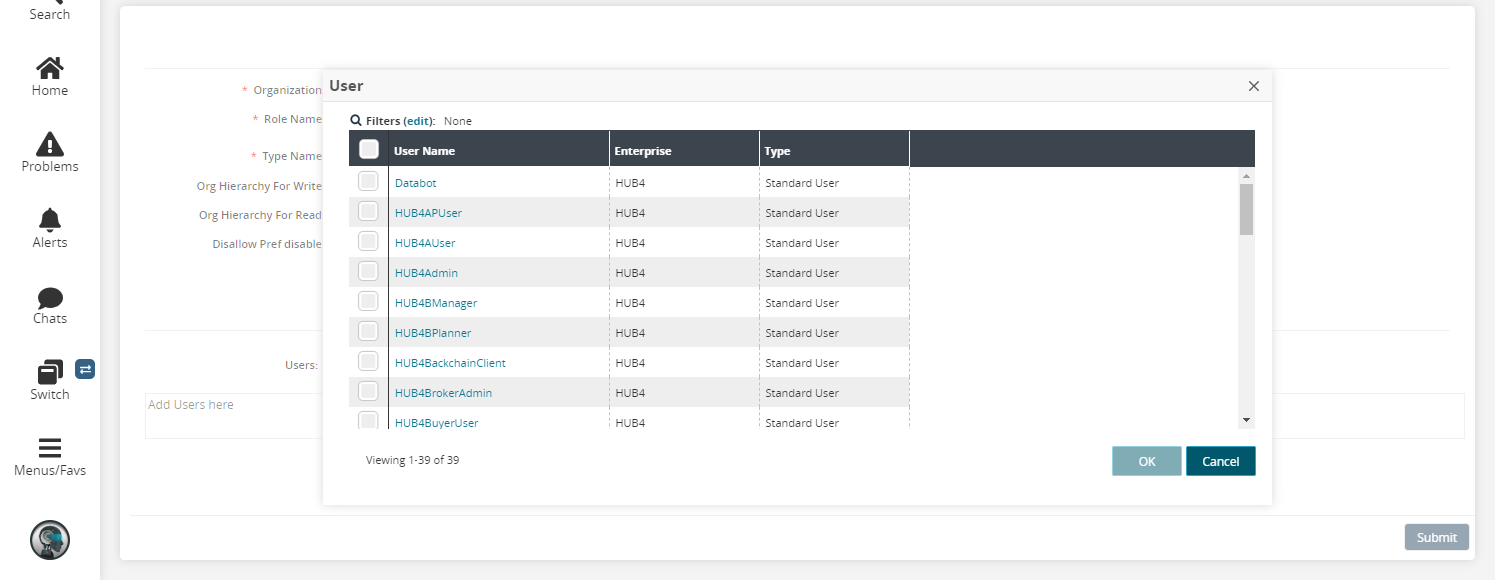
Select one or more users, and then click OK.
Each selected user appears in the Users table.
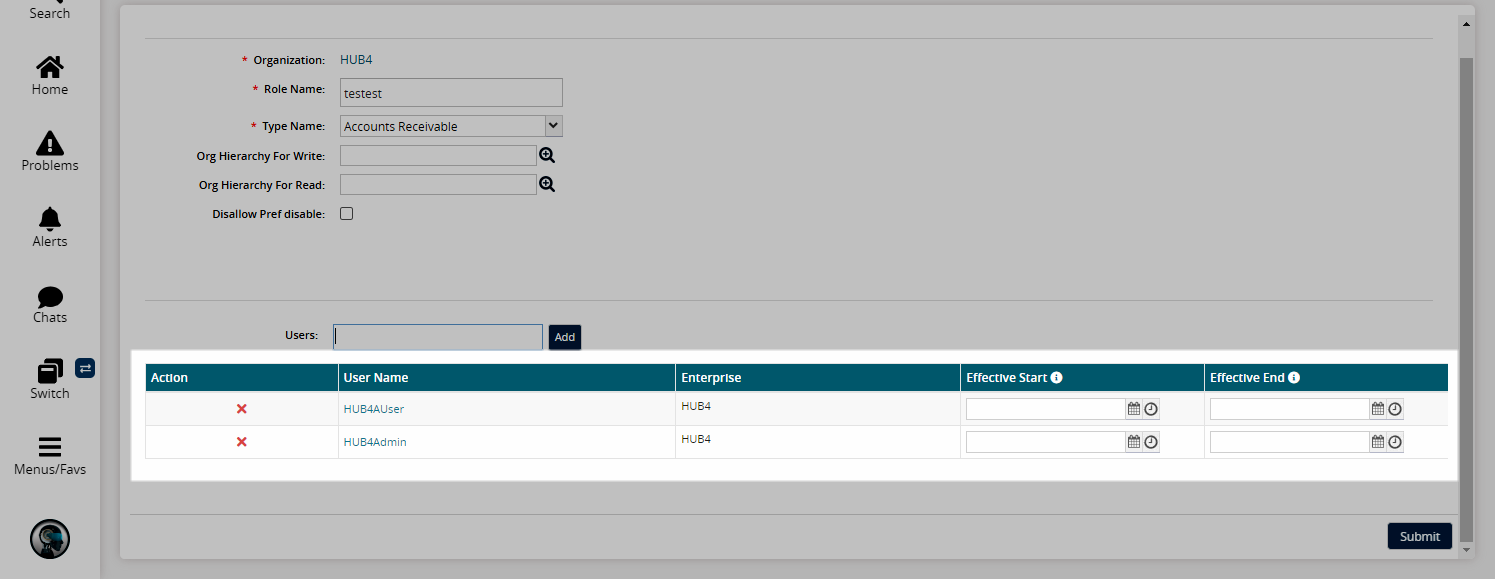
Click Submit.
A success message is displayed.