Adding Organizations
Enterprise Admin roles can create and add new organizations for your enterprise from the NEO UI.
Complete the following steps to add organizations:
L og in to the ONE system.
Click Menus/Favs > Administration > Organization > New Organization.
In the NEO UI, users can click on the Menus/Favs icon on the left sidebar and type in the name of the screen in the menu search bar. For more information, see "Using the Menu Search Bar."
The New Organization screen appears.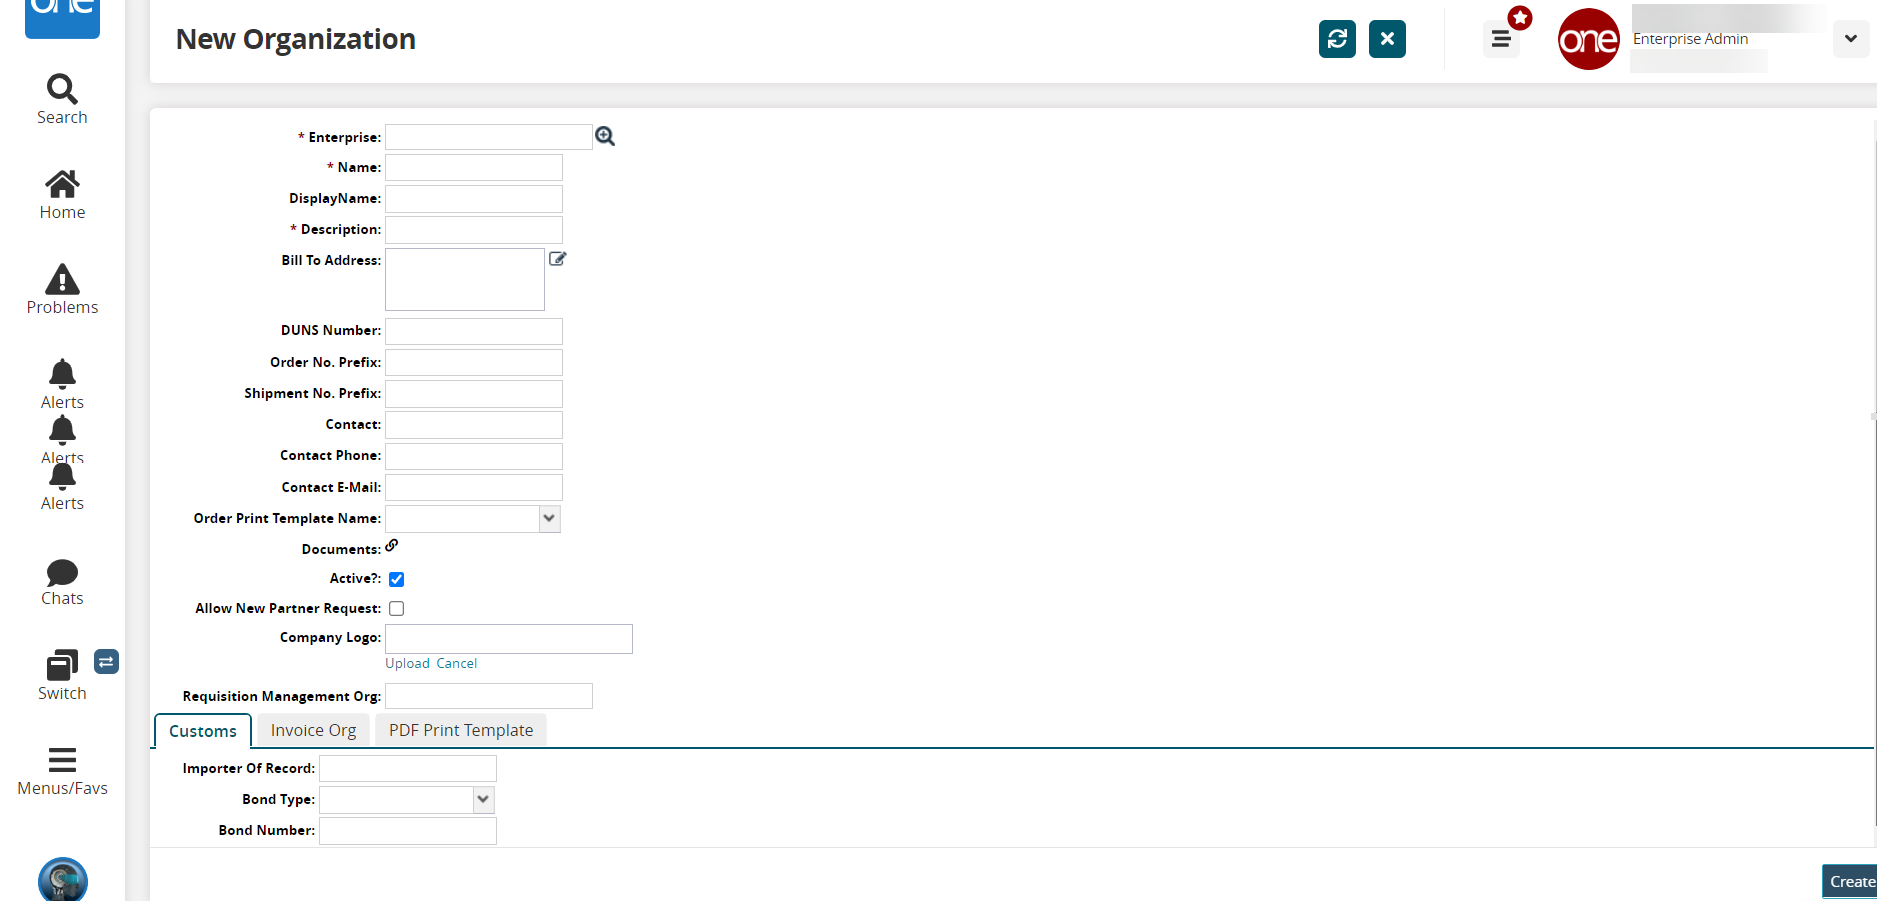
Fill out the following fields. Fields with an asterisk ( * ) are required.
Field
Description
* Enterprise
Use the picker tool to select an enterprise.
* Name
Enter a name.
Display Name
Enter a display name.
* Description
Enter a description of the new organization.
Bill To Address
Enter the Bill To Address of the new organization.
DUNS Number
Enter a DUNS number for the new organization.
Order No. Prefix
Enter an order number prefix for the new organization.
Shipment No. Prefix
Enter a shipment number prefix for the new organization.
Contact
Enter a contact name.
Contact Phone
Enter a contact phone number.
Contact E-Mail
Enter a contact email number.
Order Print Template Name
Enter a template name for the order.
Documents
You can add documents after the organization is saved.
Active
Select this checkbox if the organization is active.
Allow New Partner Request
Select this checkbox to allow new partner requests.
Company Logo
Click the Upload link to upload a company logo.
Requisition Management Org
Enter a requisition management organization. This helps the system automatically populate the organization's value when a new requisition request is created for an external item.
In the Customs tab, enter an Importer of Record, Bond Type, and Bond Number.
In the Invoice Org tab, enter an Invoicer Mgmt Org and Invoicee Mgmt Org.
Click the PDF Print Template tab. Fill out the following fields. Fields with an asterisk ( * ) are required.
Field
Description
Purchase Order
Enter PDF print template details for purchase orders.
Deployment Order
Enter PDF print template details for deployment orders.
Sales Order
Enter PDF print template details for sales orders.
Return Order
Enter PDF print template details for return orders.
Invoice
Enter PDF print template details for invoices.
Contract
Enter PDF print template details for contracts.
Requisition
Enter PDF print template details for requisitions.
To create the new organization, click Create.
A success message appears.