Adding Tools to Tasks on Work Orders
Users can add tools for tasks during the Work Order execution process. This provides flexibility to return and add tools during the planning and progress of the work order.
Prerequisite
Bill of Materials (BOM) should exist in the system with a valid date range for an Assemble Work Order.
Applicable only for serialized assets defined with a tool item type.
Complete the following steps to add tools to tasks on work orders:
L og in to the ONE system.
Click Menus/Favs > Work Order Management > Search Work Orders.
The Search Work Orders screen appears.Click the Filter (edit) link.
The filters display.Click the In Planning state checkbox.
Click the Search link.
Work orders in the In Planning state display. See the "Creating Work Orders" or "Searching Word Orders" sections in the Online Help for more information.In the Work Order Number column, click the desired work order number link .
The order details screen displays.
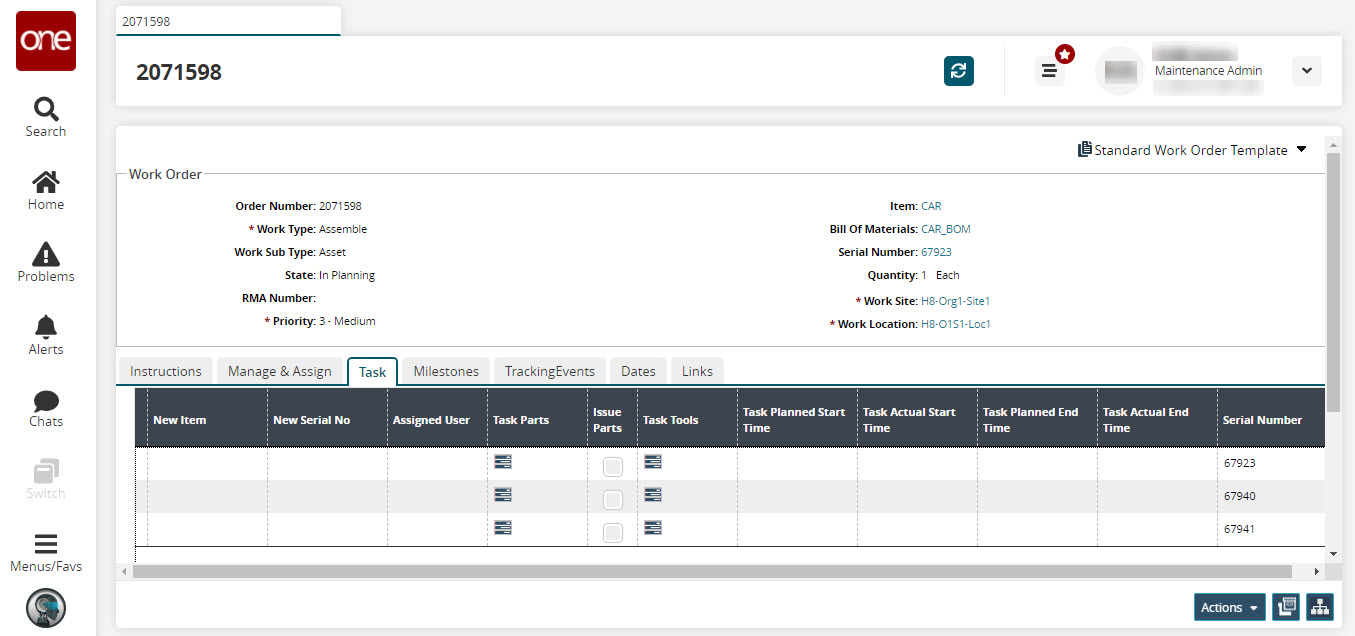
Click the Task tab. The tasks are created based on the Bill of Materials (BOM) structure defined.
Use the horizontal scroll bar to navigate to the Tasks Tools column and then click the Task Tools icon (
 ) to add tools for that particular task.
The Task Tools popup appears.
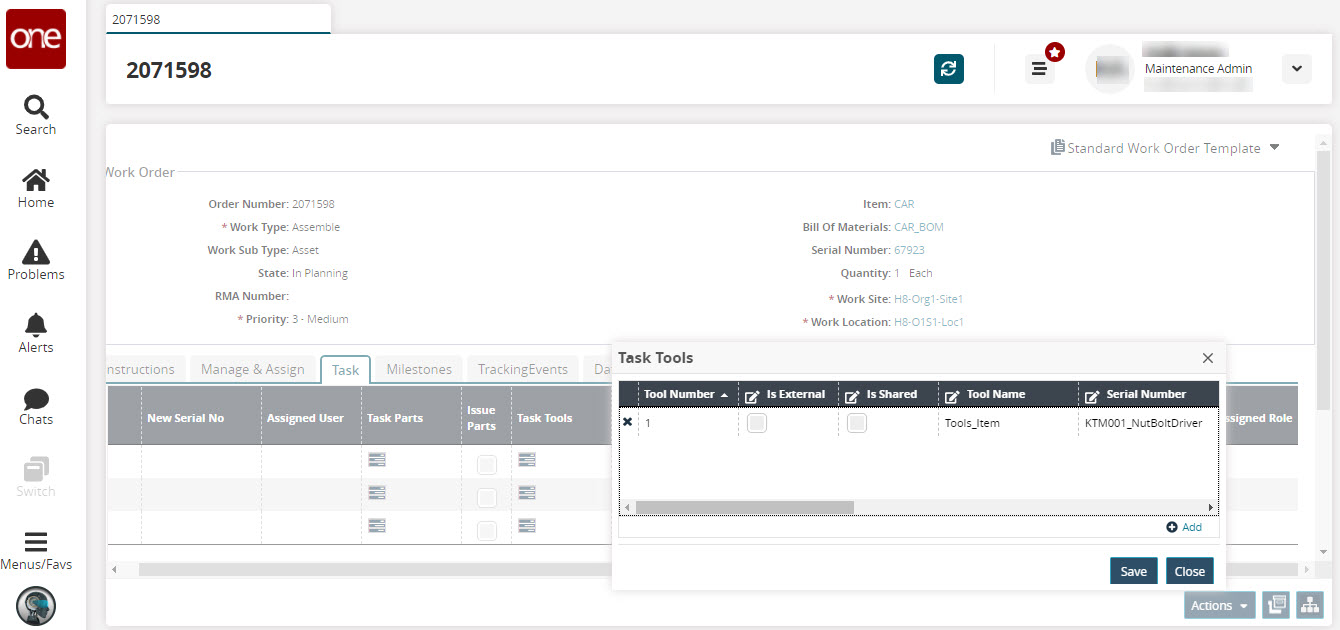
Click the Add link to add a row for enabling tool items for that task.
A new row displays in the popup.Complete the fields described in the table below. Fields with an asterisk (*) are required.
These are the most relevant fields for this process. You may see additional fields based on the Task Type or the Task Part values.
Field
Description
Tool Number
A tool record number is displayed.
Is External
Click to issue the tool externally. (This is not yet implemented)
Is Shared
Click to share the tool in between tasks. (For example, a screwdriver item tool can be shared among tasks.)
Tool Name
Enter a tool name. The value is also populated by selecting the Serial Number.
Serial Number
Type the unique serial number for the tool.
Req Qty
Enter the required quantity.
Issued Qty
Enter the issued quantity.
Qty UOM
Enter the respective unit of measurement for that tool.
Tool Start Time
Click the calendar and clock icons to select the tool start time.
Tool End Time
Click the calendar and the clock icons to select the tool end time.
Duration
Enter the duration in days, hours, and minutes. (D denotes days, H denotes hours, and M denotes minutes)
Standard Price
Enter the appropriate numeric amount.
Cost Currency
Select the currency country code.
After adding tools to the tasks, click the Save button to save the details.
A green success bar displays.Click the Close button on the popup.
The tool is added to the task.
From this point, users can complete or update the plan to submit it and move it to the Planned state.