Adding Tracking Events to Warehouse Locations
Users can add tracking events to new and existing locations. These tracking events capture parameters such as inside and outside temperature, door open, door closed, and lock status. Tracking events can be added in the UI on the location details screen per the instructions below. Once added, they are visible on the Tracking tab on the location details screen.
Complete the following steps to add tracking events to warehouse locations:
Log in to the ONE system.
Click Menus/Favs > Administration > Site > Search Location.
The Search Location screen displays.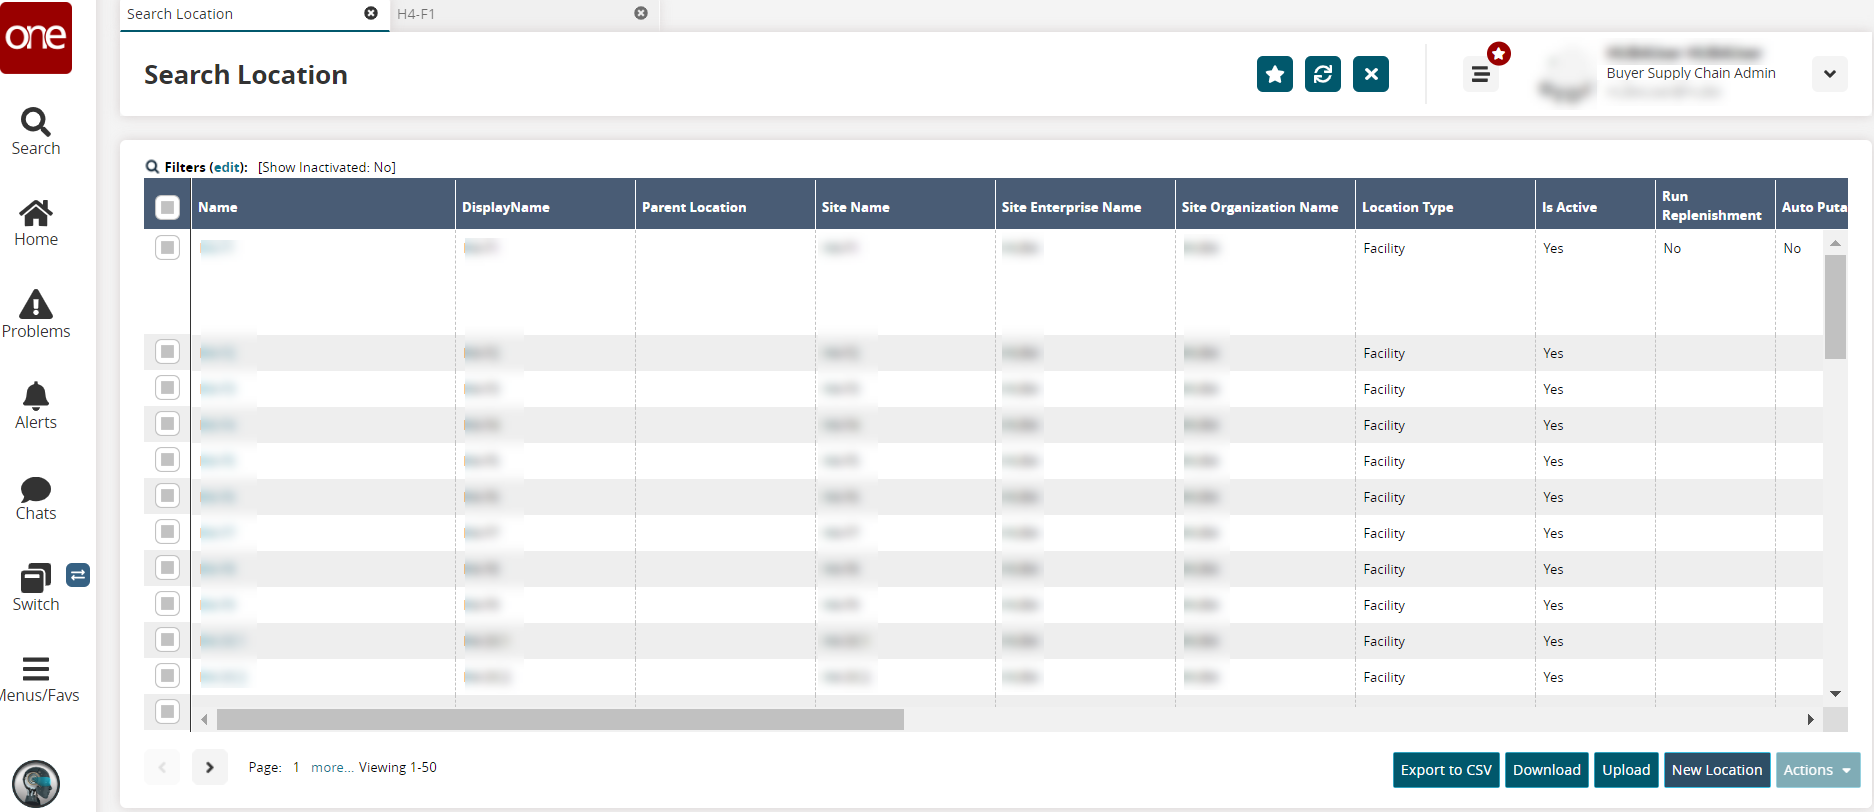
In the Name column, click a name link for a location.
The location details screen opens with a Tracking tab for events.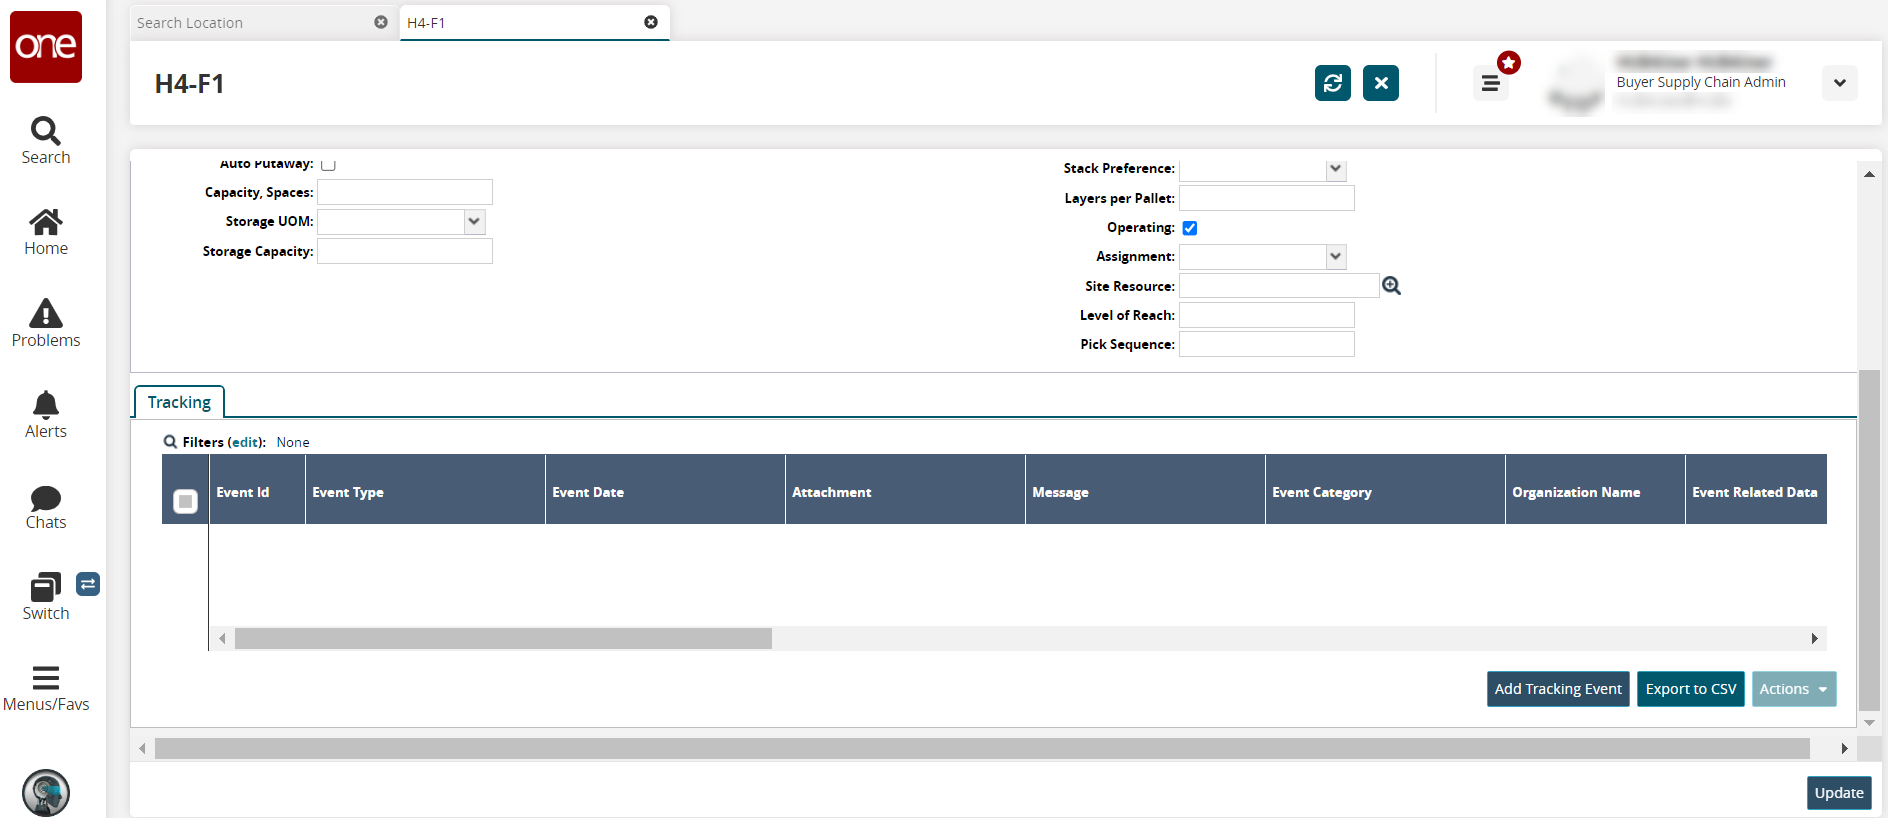
Click the Add Tracking Event button.
The Add Tracking Event popup displays.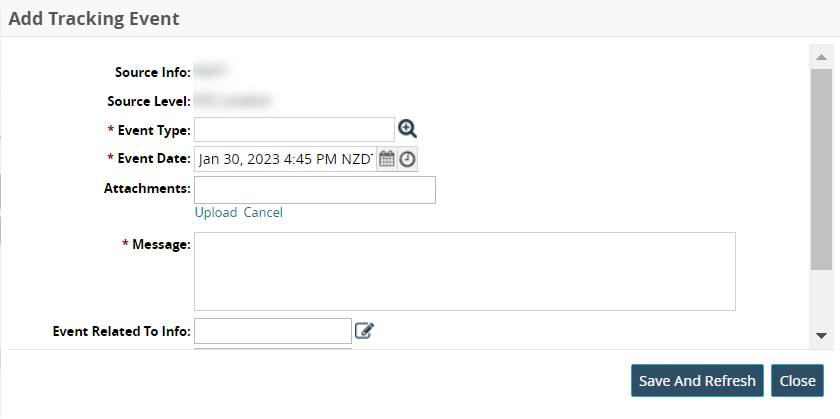
Complete the following fields described in the table below. Fields with an asterisk ( * ) are required.
Field
Description
Source Info
This field auto-populates with the name of the location.
Source Level
This field auto-populates.
* Event Type
Enter or use the picker tool to select an event type (Inside Temperature, Outside Temperature, Open Door, Locked Door, Door Open, Door Closed).
* Event Date
Click the calendar and clock icons to select the event date.
Attachments
Click the Upload link to upload files from your computer.
* Message
Enter a message that will display on the Tracking tab.
Event Related to Info
Click the edit icon (pencil) and add the information for Address, Longitude, and Latitude.
Event Attributes
Click the edit icon (pencil) and add the information for Temperature, UOM from the dropdown list, and Humidity(%).
Event Location
Enter the event location.
Click the Save and Refresh button.
The tracking event is added to the Tracking tab.In the Event Id column, click an event ID link to update the tracking event details.
The event details page displays.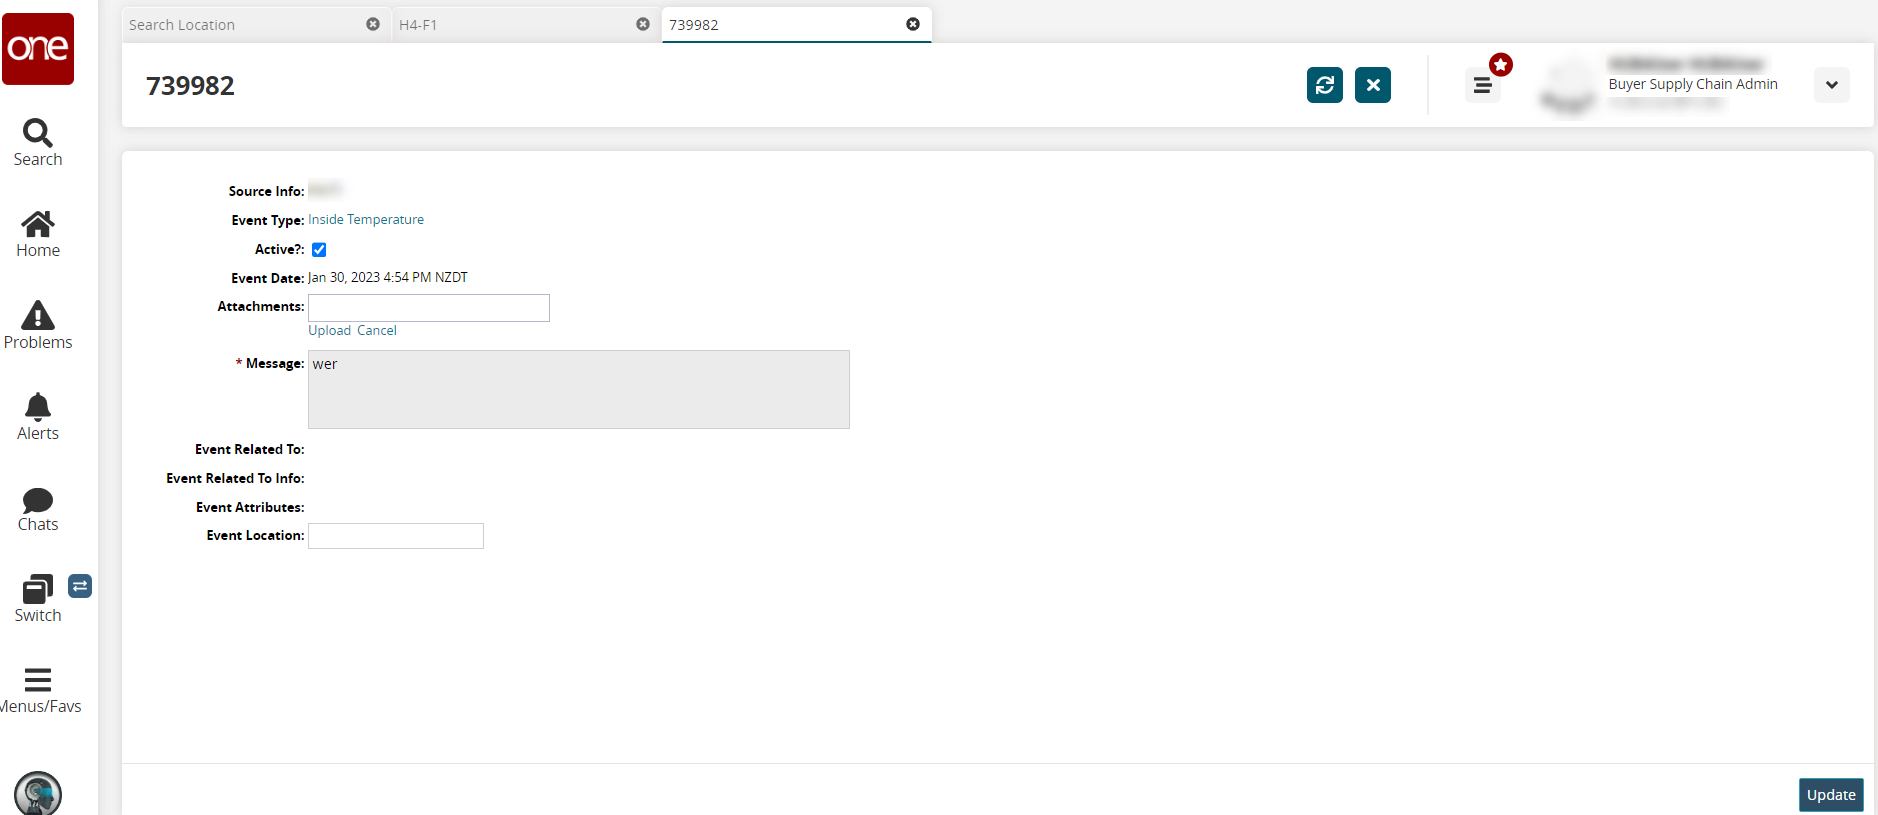
Make updates as necessary.
Click the Update button.
A green success message appears.To update attachments from the location details page, click the checkbox for an event.
Click the Actions button and select Upload Attachments.
The Update Attachments popup displays.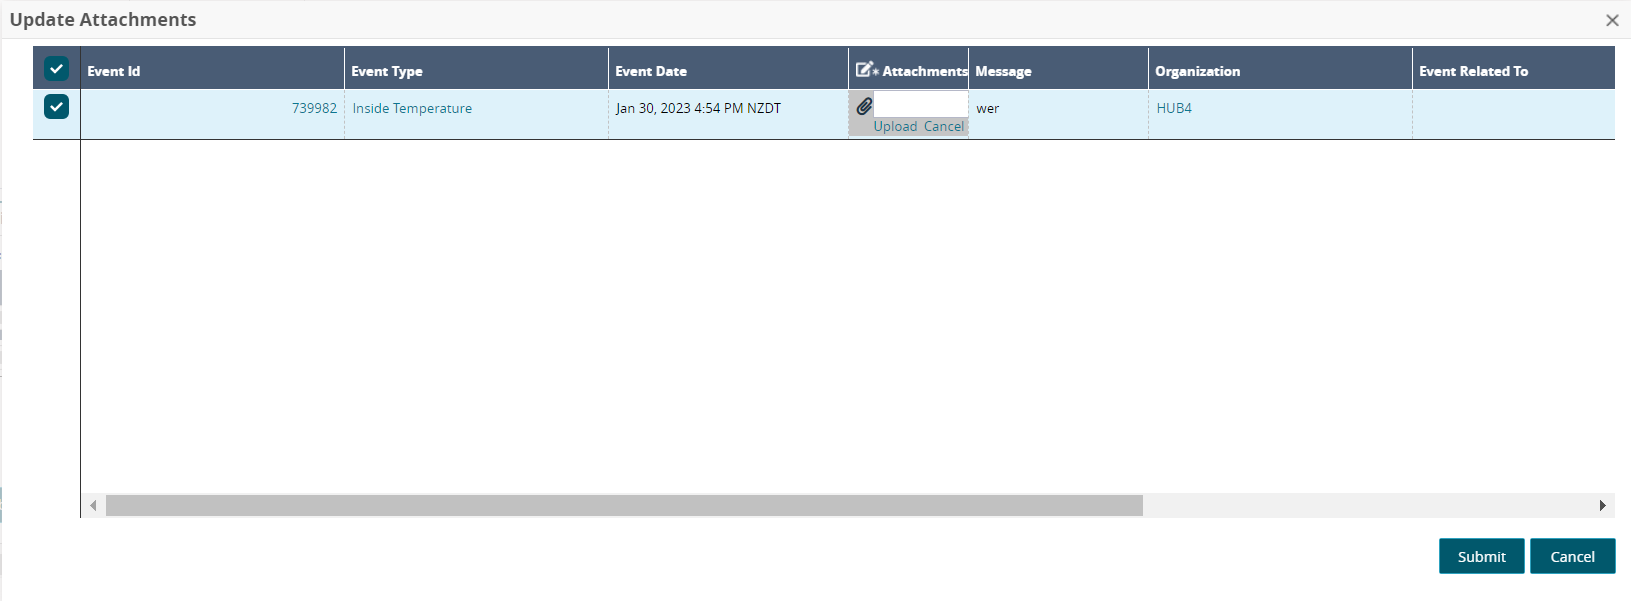
In the *Attachments column, click the Upload link and select a file from your computer.
Click the Submit button.
The screen refreshes, and a green success message appears.