Adding a Schedule to Pending Approval Schedules
Complete the following steps to add a schedule:
Log in to the ONE system.
Click Menus/Favs > Order Mgmt > Purchase Order > Search Pending Approval Schedules. In the NEO UI, users can click the Menus/Favs icon on the left sidebar and type in the name of the screen in the menu search bar. For more information, see "Using the Menu Search Bar" in the Online Help.
The Search Pending Approval Schedules screen displays.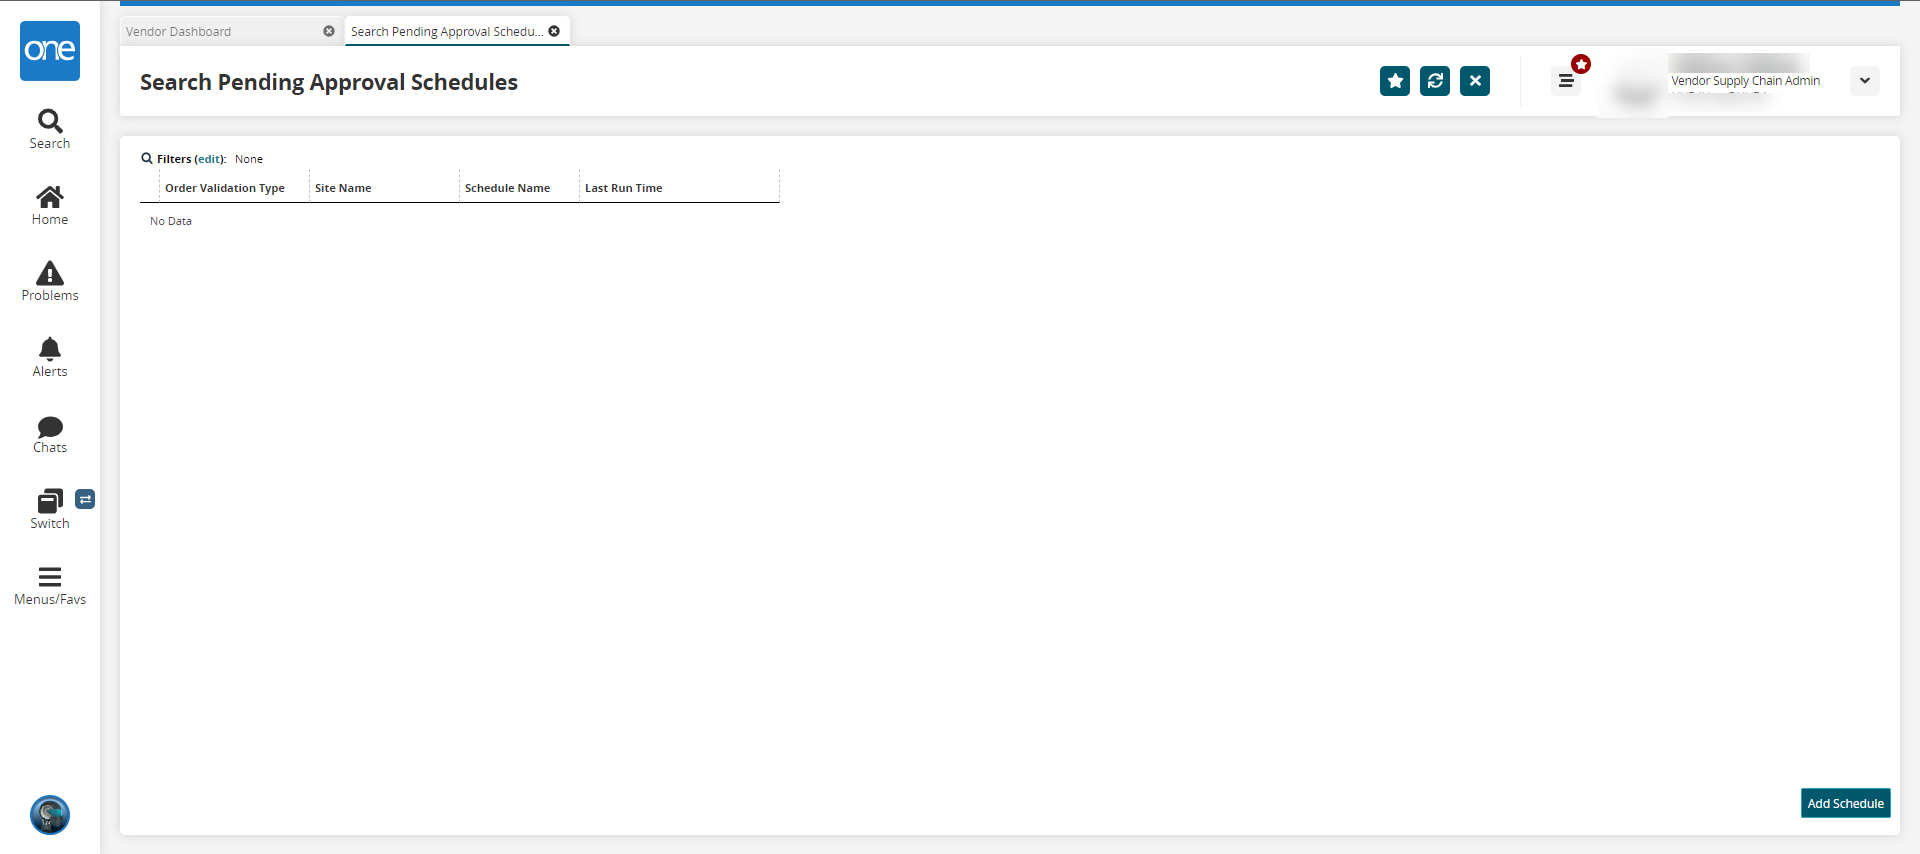
Click Add Schedule to add a new schedule.
The Add Order Approval Schedule screen opens.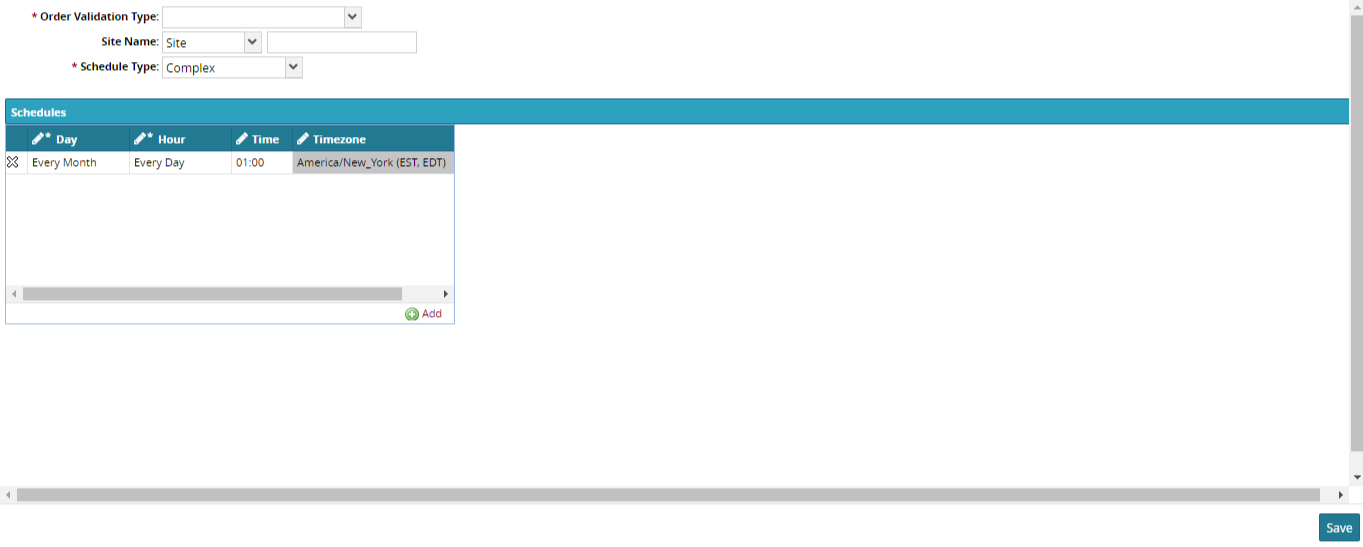
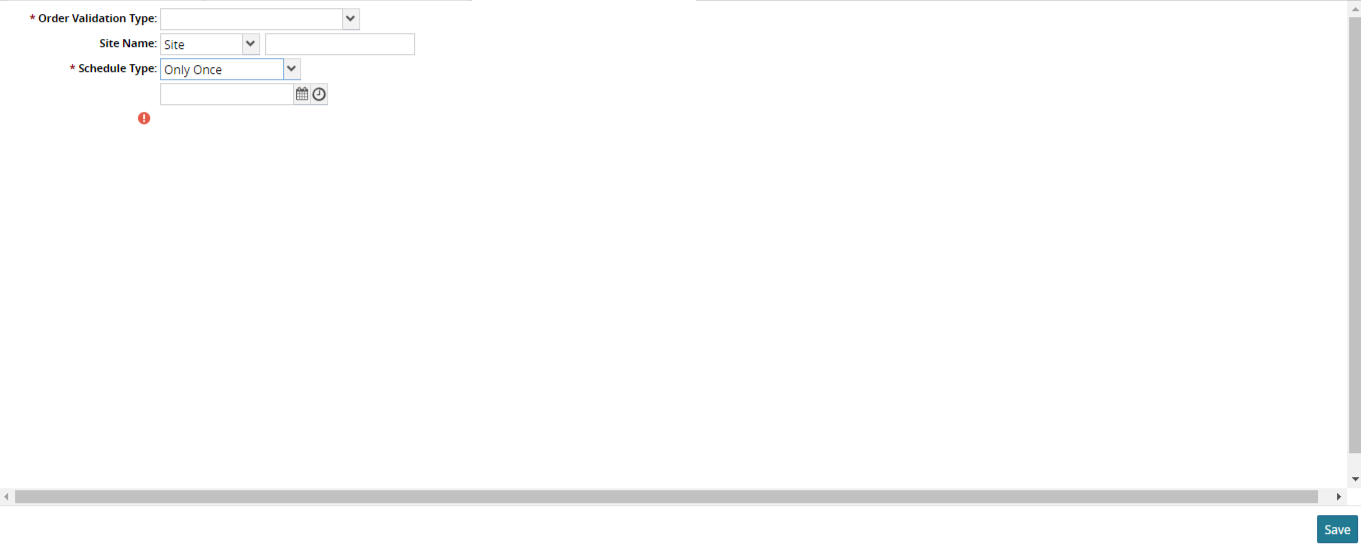
Select * Order Validation Type, Site Name, and * Schedule Type from the dropdown lists. Fields with an asterisk ( * ) are required.
Enter the Site Name in the site name field after selecting Site Name from dropdown lists.
If the selected Schedule Type is Only Once, a date field appears. Click the calendar and clock icons to select the date and time.
If the Schedule Type field selection is Repeating, enter the day, hour, and month in D, H, and M fields that appear after the schedule type is selected.
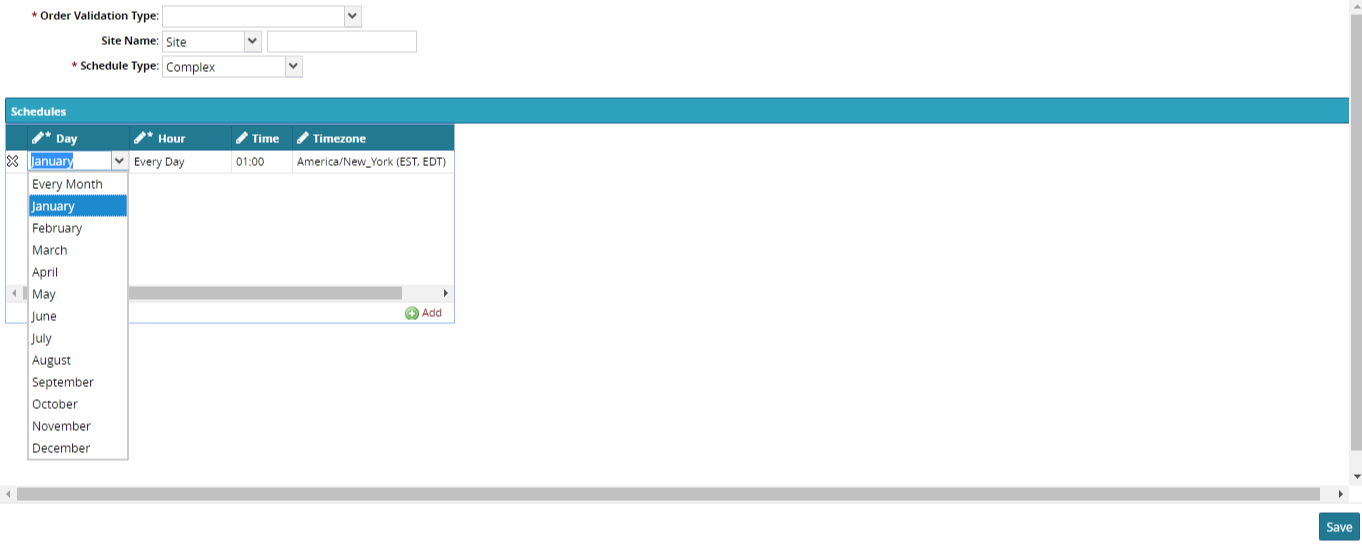
If the Schedule Type is Complex, click Add in the Schedules pane. The default Day, Hour, Time, and Timezone appear.
To edit the Day, Hour, Time, and Timezone, click the individual boxes and select from the dropdown lists.
Click Save.
The Schedule Type, Day, Hour, Time, and Timezone are editable.Edit the fields and click Save.