Bulk Updating Buffers from Templates
Replenishment Planner roles can associate buffers with buffer templates using template associations. When properly configured, any update made to the template can be propagated to all associated buffers. Users can update specific buffer fields by creating buffer templates with the required values and then associating the buffer templates to a set of filters. After applying the buffer template, the system updates all buffers matching the associated filters with the values set on the buffer template.
This process supports buffers, buffer lanes, site lanes, store buffers, and rebalance buffer lanes and consists of the following steps. Note that this workflow describes the process for buffer templates but functions the same for the other template types.
Create a new buffer template
Create a new template association
Update buffer template value
Apply the new values on the template association
Complete the following steps to create a new buffer template:
See the ".Creating Buffer Templates vNEO_3.7" section for more information.
Complete the following steps to create a new template association:
Click Menus/Favs > Configuration > Template Association > New Template Association.
The New Template Association screen appears.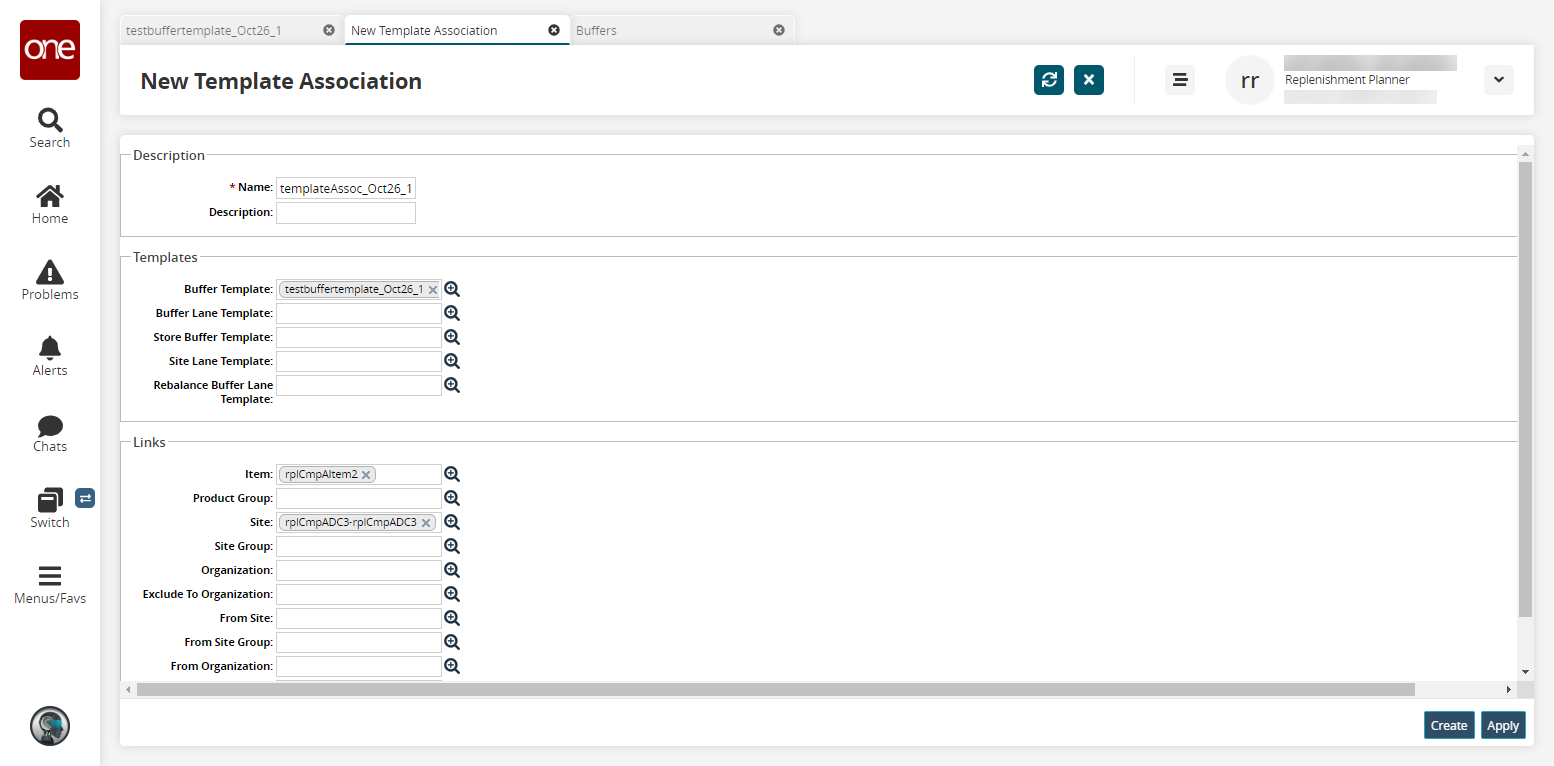
Enter a * Name and Description.
In the Buffer Template field, enter the buffer template name used in the previous section.
In the Item and Site fields, enter the desired item and site. For this example, we are using the "rplCmpAItem2" item and the "rplCmpADC3" site.
Click Create.
A success message appears.
Complete the following steps to update buffer template values and apply a template association:
Go back to the newly created buffer template and update some field values. For this example, we are updating Round Down Factor, Max Days Of Supply, and Max Stock Quantity.
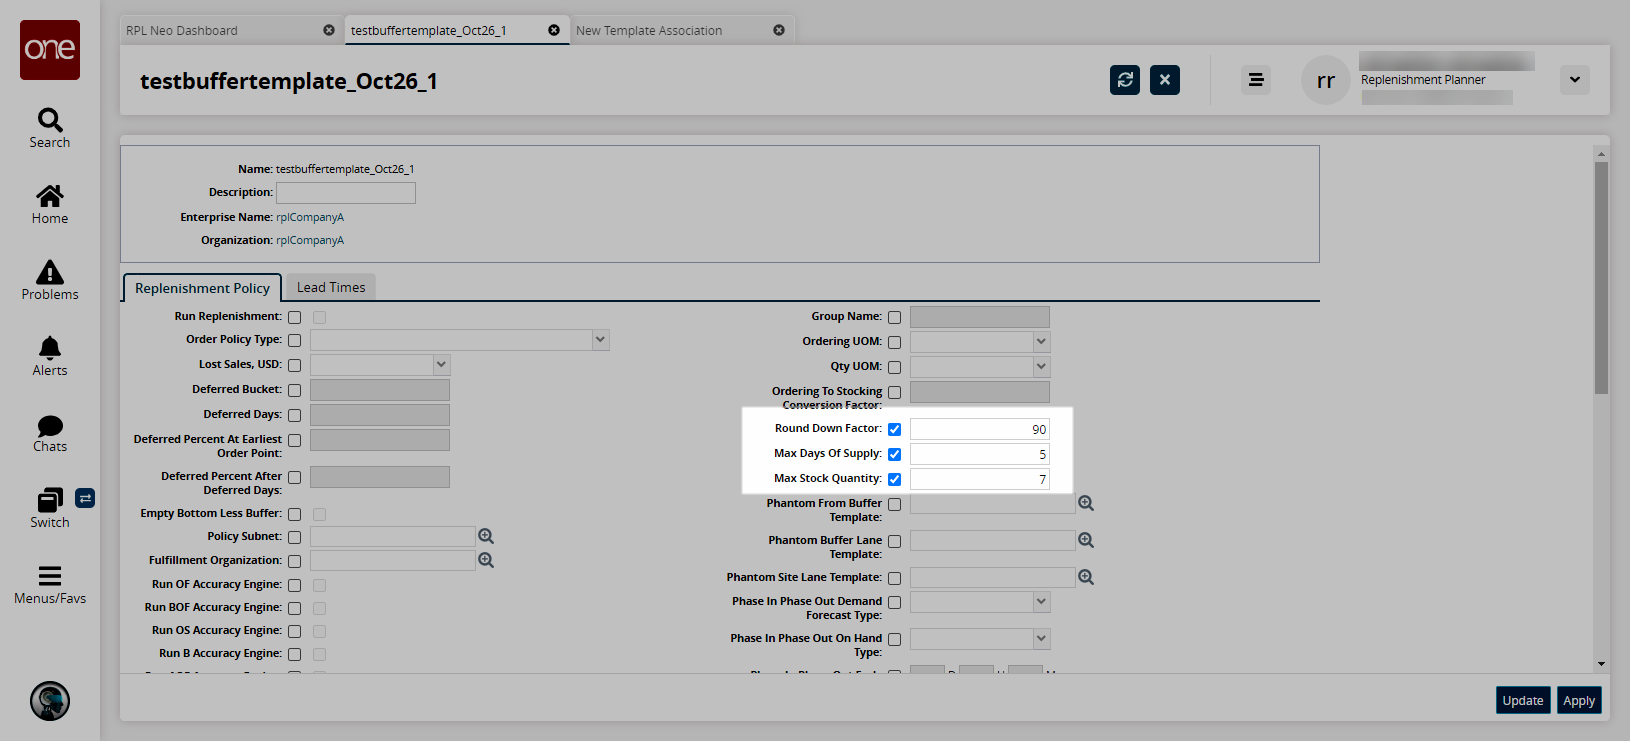
Click Update.
A success message appears.Click Menu/Favs > Configuration > Buffer > Buffers.
The Buffers report opens.Use the filters to only show buffers with your desired item (rplCmpAItem2) and site (rplCmpADC3).
The search results appear.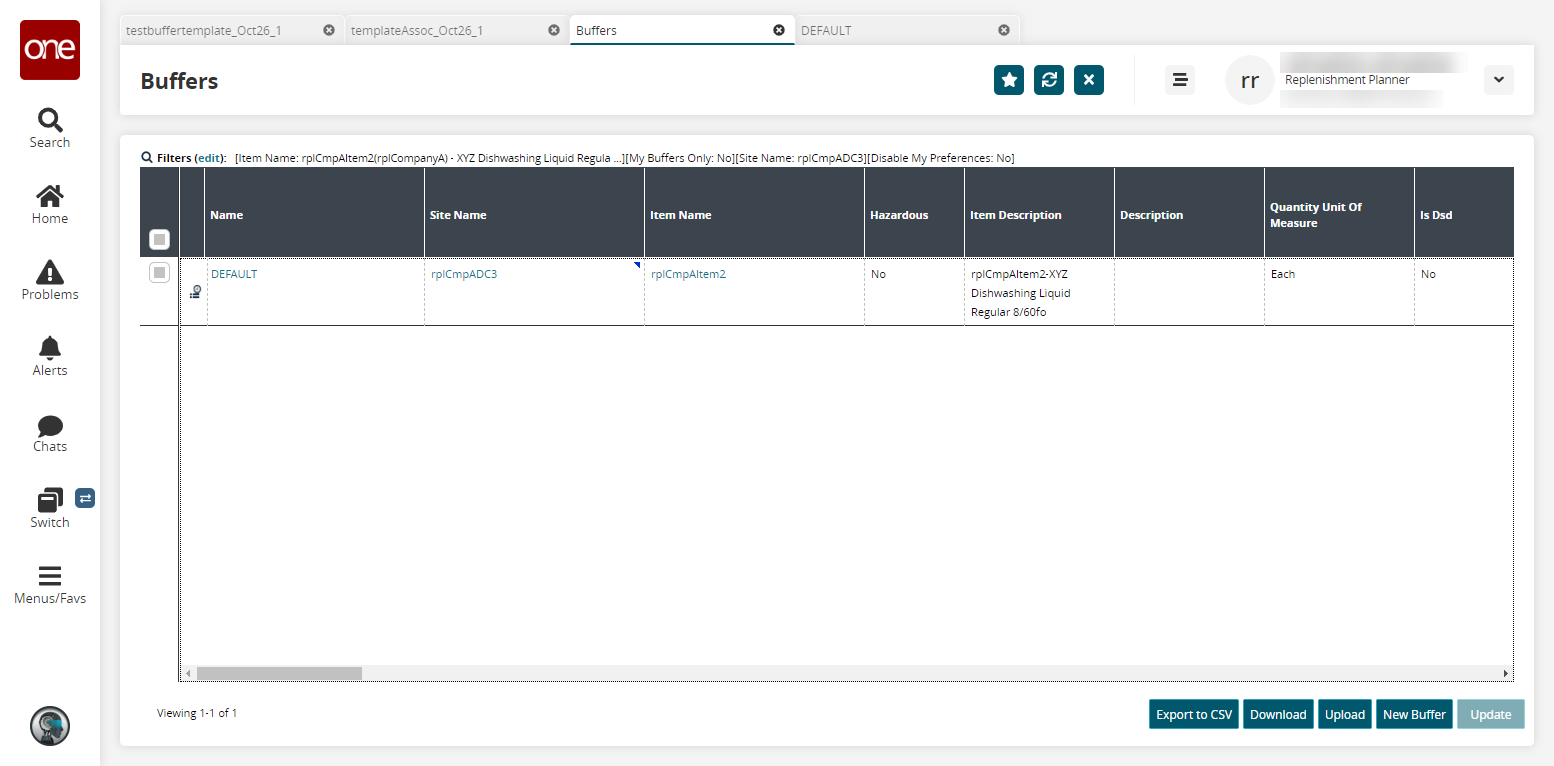
In the Name column, click a name link.
The buffer details screen appears.Scroll down to the Replenishment Policy tab and note the values of the fields that correspond to the fields we updated in the buffer template. They should not match yet.

Navigate back to your newly created template association and click Apply.
A popup appears asking for confirmation.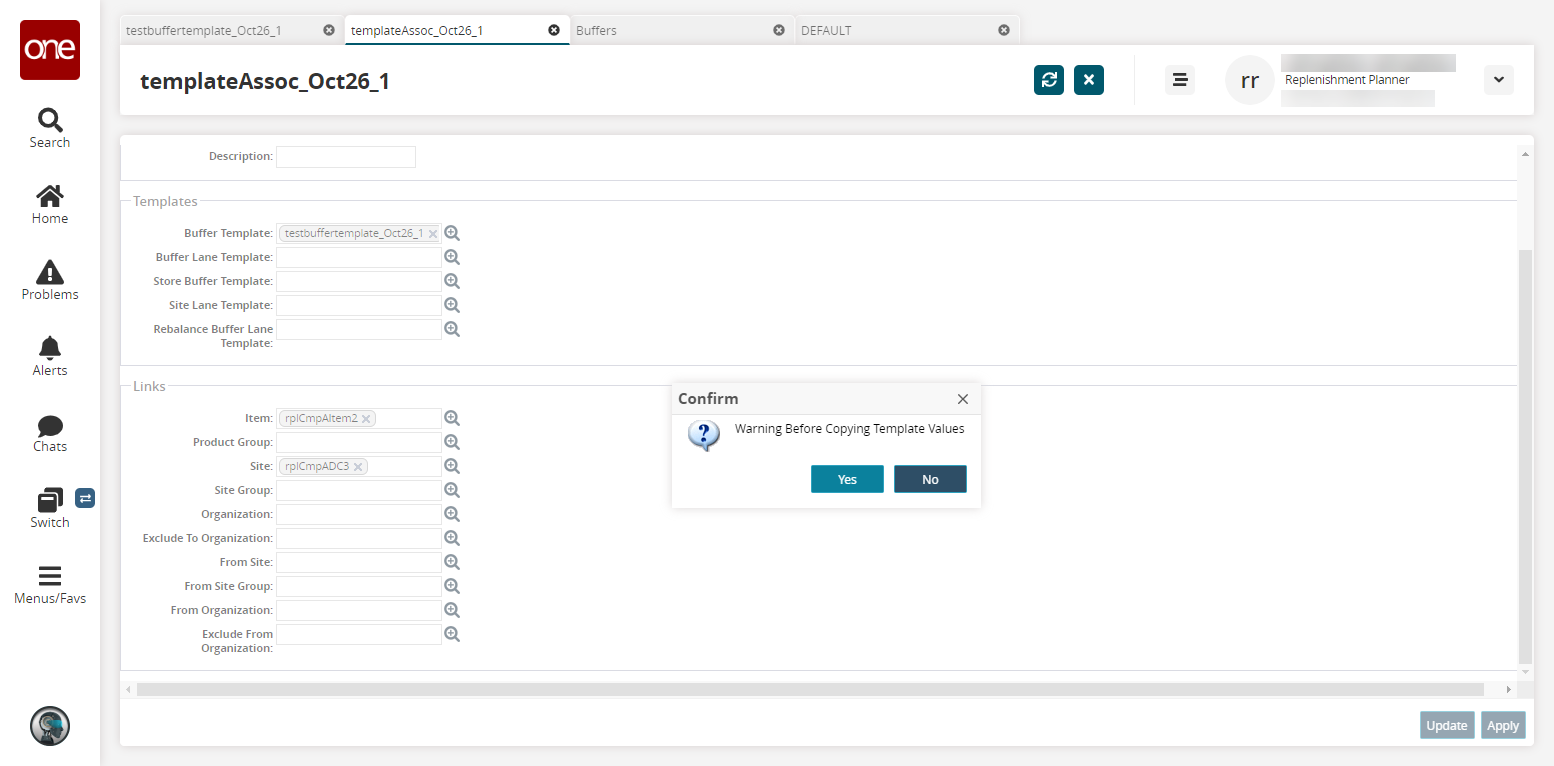
Click Yes.
A success message appears.Refresh your buffer details page and note the relevant fields are now updated with the buffer template values.
