Searching Rebalance Buffer Lanes
Complete the following steps to manage rebalance buffer lanes:
L og in to the ONE system.
Click Menus/Favs > Configuration > Rebalance Engine Configuration > Search Rebalance Buffer Lane.
In the NEO UI, users can click on the Menus/Favs icon on the left sidebar and type in the name of the screen in the menu search bar. For more information, see "Using the Menu Search Bar."
The Search Rebalance Buffer Lane screen opens.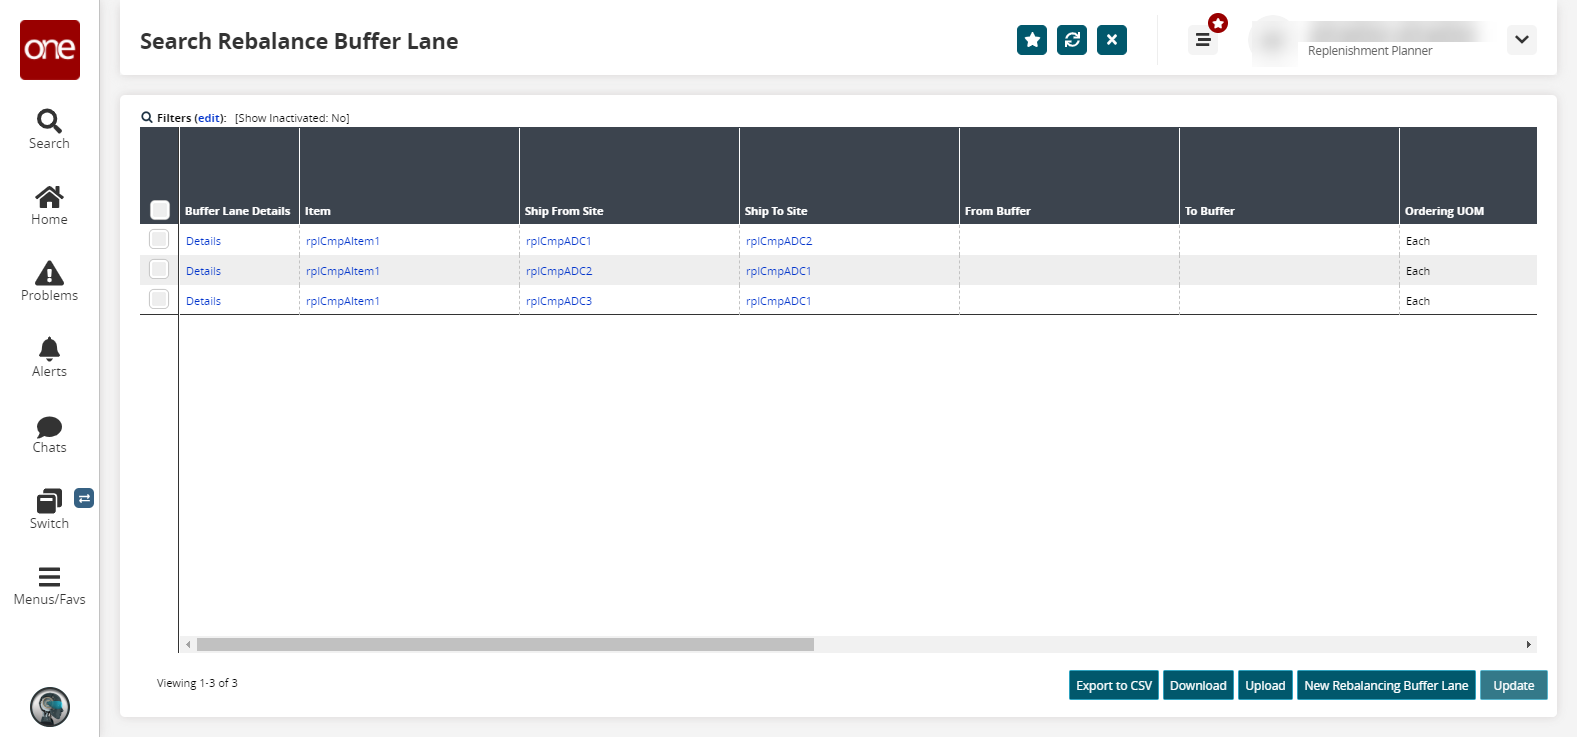
Click the Filters (edit) link to select different filters for the report.
The Filters menu appears.As desired, enter various filter fields and click the Search link.
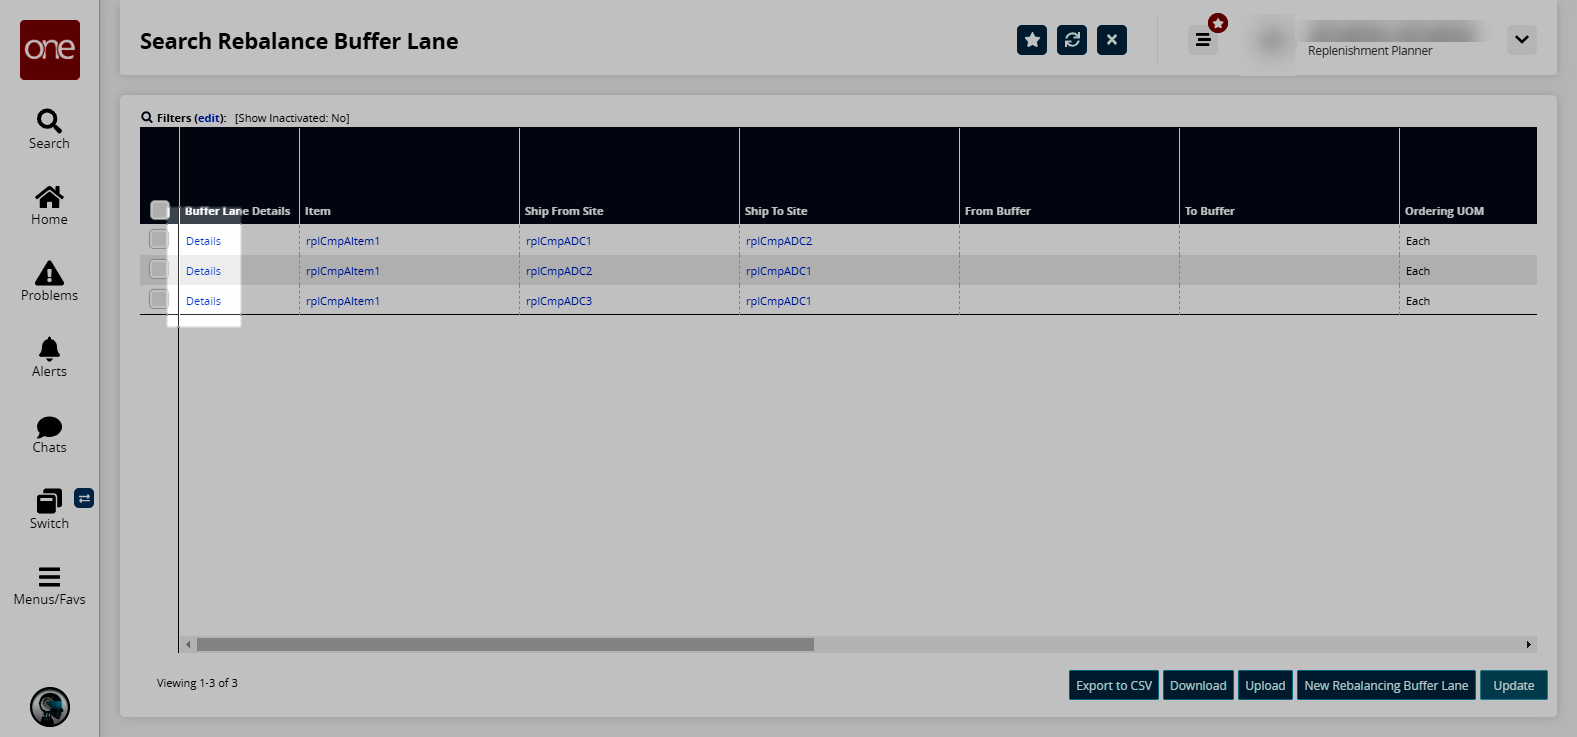
The Search Rebalance Buffer Lane screen refreshes.Click a Details link to view relevant rebalance buffer lane details.
Click the Export to CSV button to export the report to a CSV file.
Click the Download button to export the report to a CSV file. Clicking this button will produce a CSV file that can be modified and re-uploaded through the Upload button.
Click the Upload button to upload rebalance buffer lane data from a file.
The Select File to Upload popup window appears.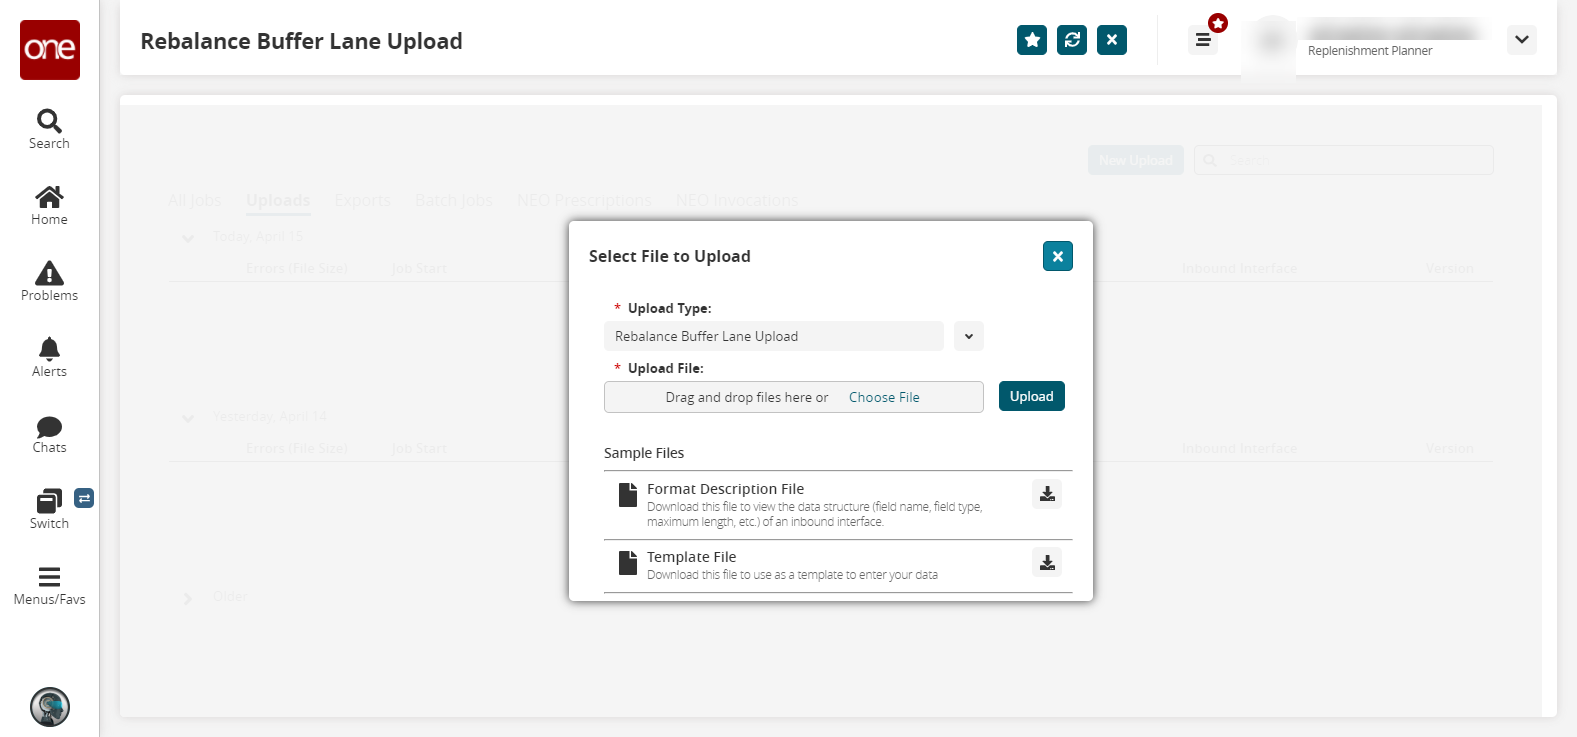
Click the Choose File link to select a file to upload from your computer.
A dialog box displays to select a file.Select the file and click the Open button.
The file name displays in the Upload File field.Click the Upload button.
Click the New Rebalancing Buffer Lane button to create a new rebalance buffer lane. See the ".Creating Rebalance Buffer Lanes vNEO_3.7" section in the Online Help for more information.