Capacity Constrained TLV
Users can view capacity-constrained data for a particular item/site resource combination.
Complete the following steps to use the Capacity Constrained TLV.
Log in to the ONE system.
Click on Menu/Favs > Production Planning > Engine > Capacity Constrained TLV.
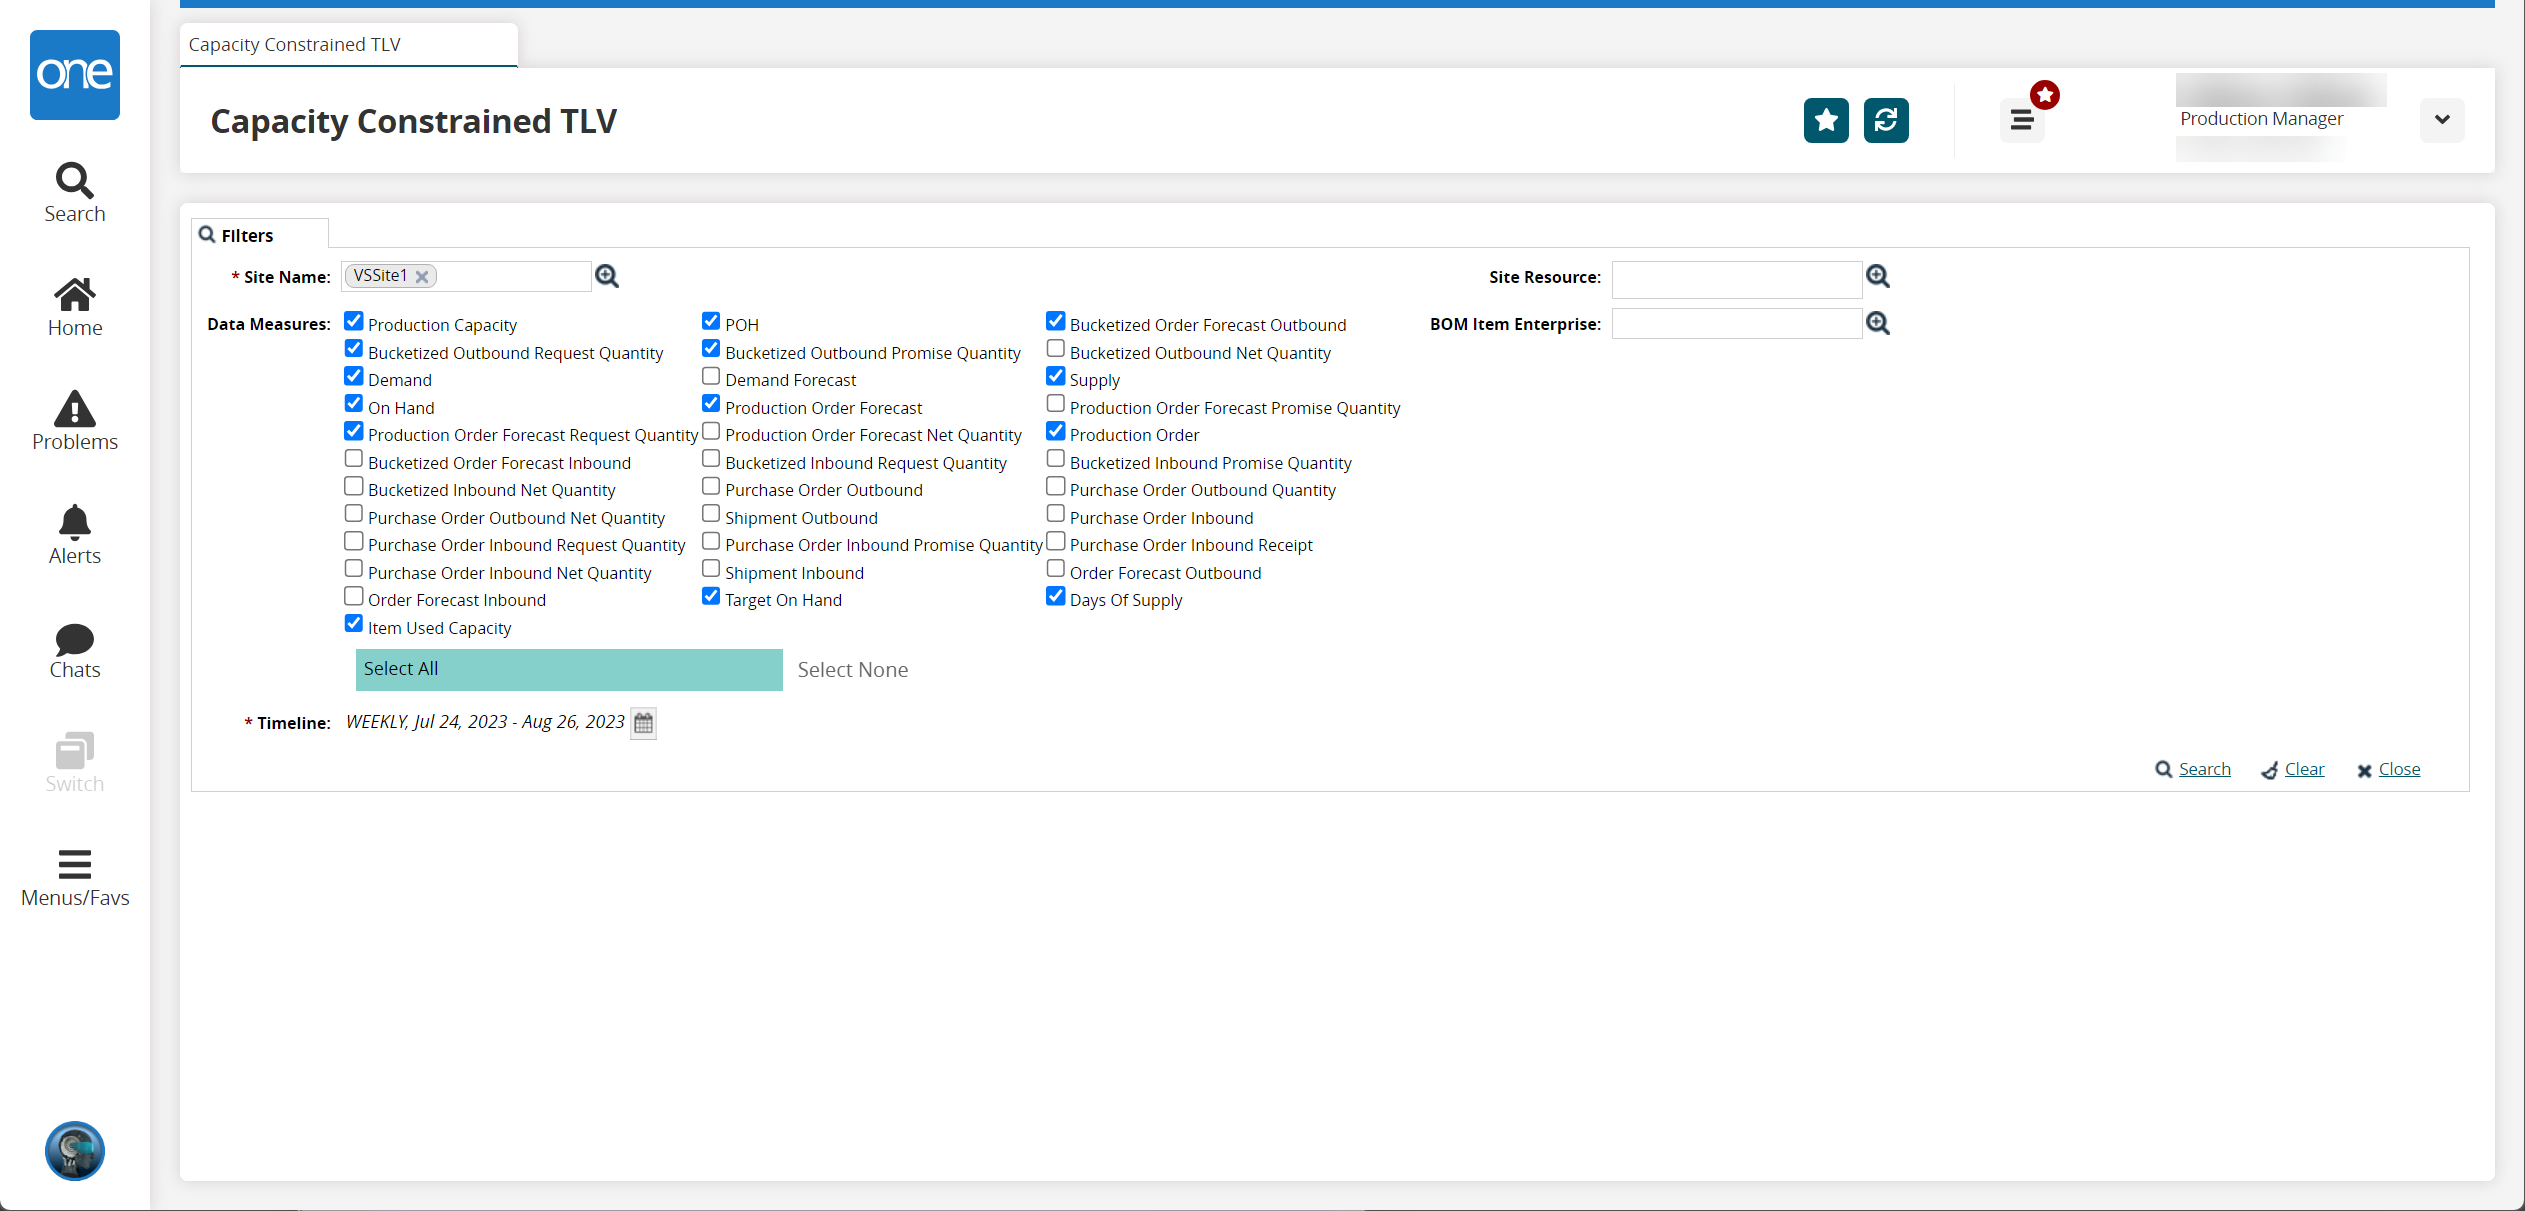
The Capacity Constrained TLV screen displays.
Complete the following fields. Fields with an asterisk ( * ) are required.
Field
Description
* Site
Use the picker tool to select the site name.
Site Resource
Use the picker tool to select the site resource.
Data Measures
Check the boxes for the particular data measures.
BOM Item Enterprise
Use the picker tool to select the BOM item enterprise.
* Timeline
Click on the calender icon, and a popup window displays.

Selected the timeline window display from the dropdown menu for the * Bucketization field.
Click on the calendar tools to set the begin and end dates for the timeline * Date Range fields.
Click on the Search link.
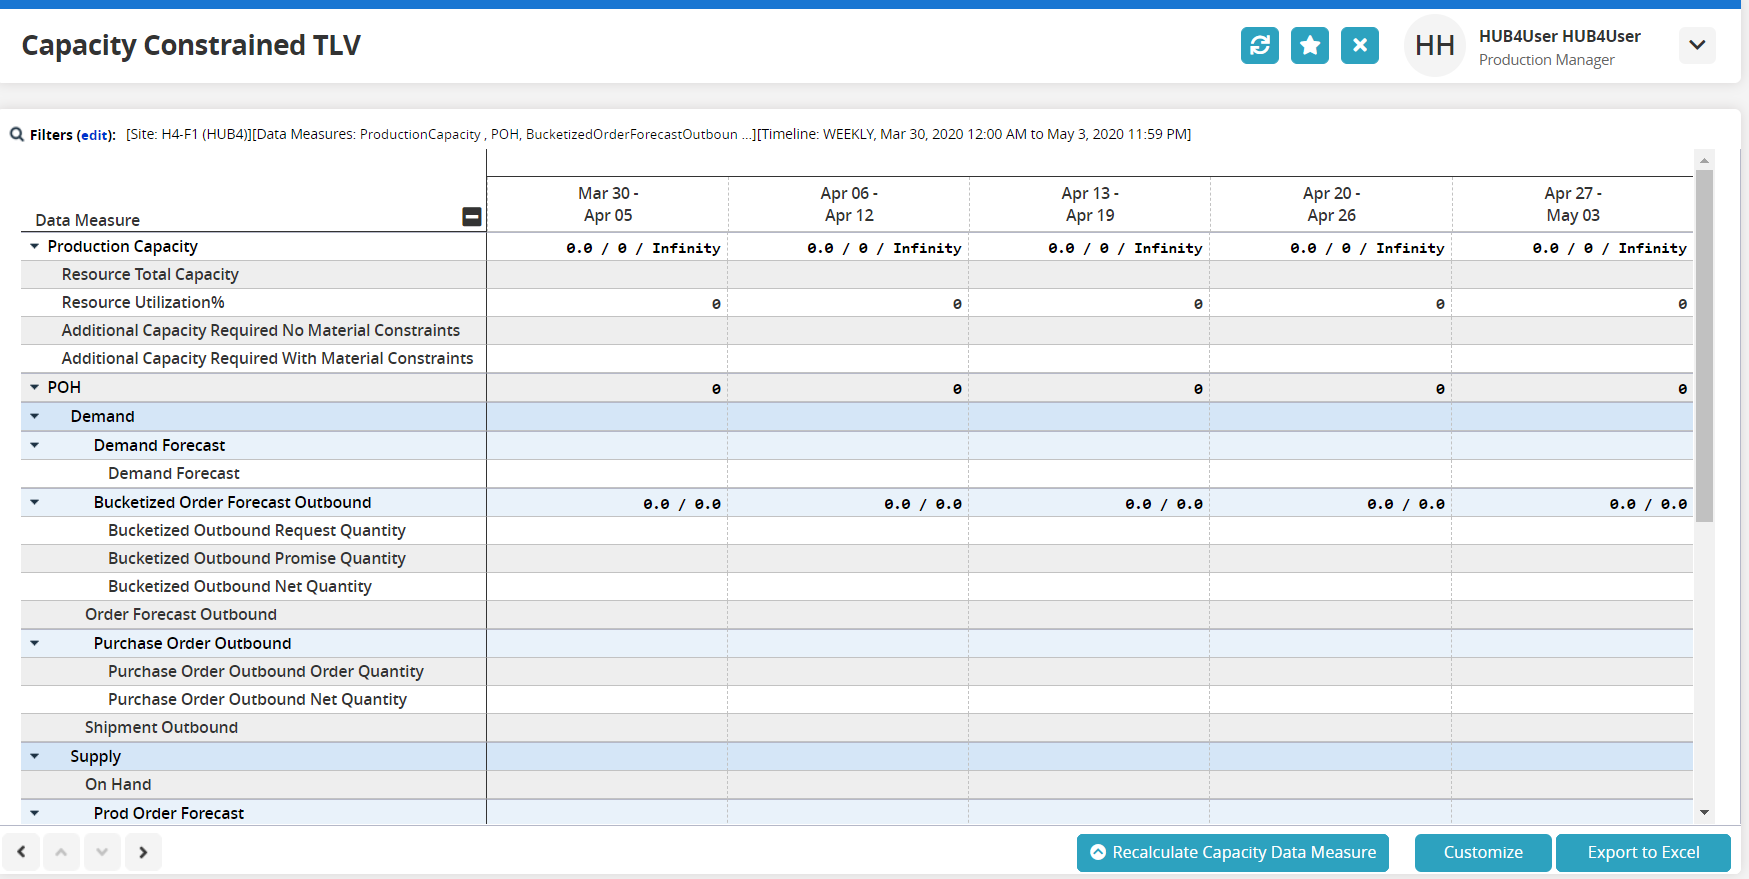
The data results display.
Click the left or right arrows at the bottom of the screen to adjust the timeline display.
Click on the Recalculate Capacity Data Measure button to recalculate.
Click the Customize button.
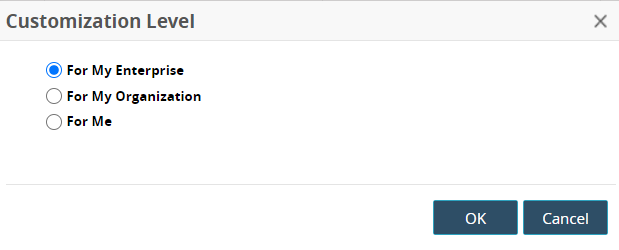
The Customization Level popup displays.
Select the appropriate level.
Click on the OK button.
The page refreshes with the new data results.Click on the Finish Customizing button.
Click on the Export to Excel button to export the data.