Configuring, Creating, and Confirming Soft Appointments
Soft appointments are non-confirmed appointments that can be used to help plan capacity at dock doors. They help define carrier capacity and reduce lead times. Soft appointments can be created when a shipment is in the Awaiting state.
Users have the ability to auto-confirm soft appointments to a specified carrier after their expiration time. This policy also allows site users to save a default carrier for the auto-confirm. The following parameters are set for the auto-confirm policy:
If the shipment is already in a Confirmed or later state, the system will auto-confirm the soft appointment to the current carrier on the shipment.
If the shipment is in an Awaiting or Tendered state and a default carrier is configured, the shipment and the soft appointment will be confirmed to the default carrier configured in the policy.
If the shipment is in an Awaiting or Tendered state and a default carrier is not configured, the soft appointment will expire.
Configuring Soft Appointments for a Site
Users must enable soft appointments in the scheduling policies for a site before they can create the soft appointments.
Complete the following steps to enable and configure soft appointments for a site:
Log on to the ONE system.
Click Menus/Favs > Scheduling > Scheduling Policies. In the NEO UI, users can click on the Menus/Favs icon on the left sidebar and type in the name of the screen in the menu search bar. For more information, see "Using the Menu Search Bar."
The Scheduling Policies tab displays with an Explorer pane on the left.Select a location from the left Explorer pane.
The Basic Policies tab displays any current policies.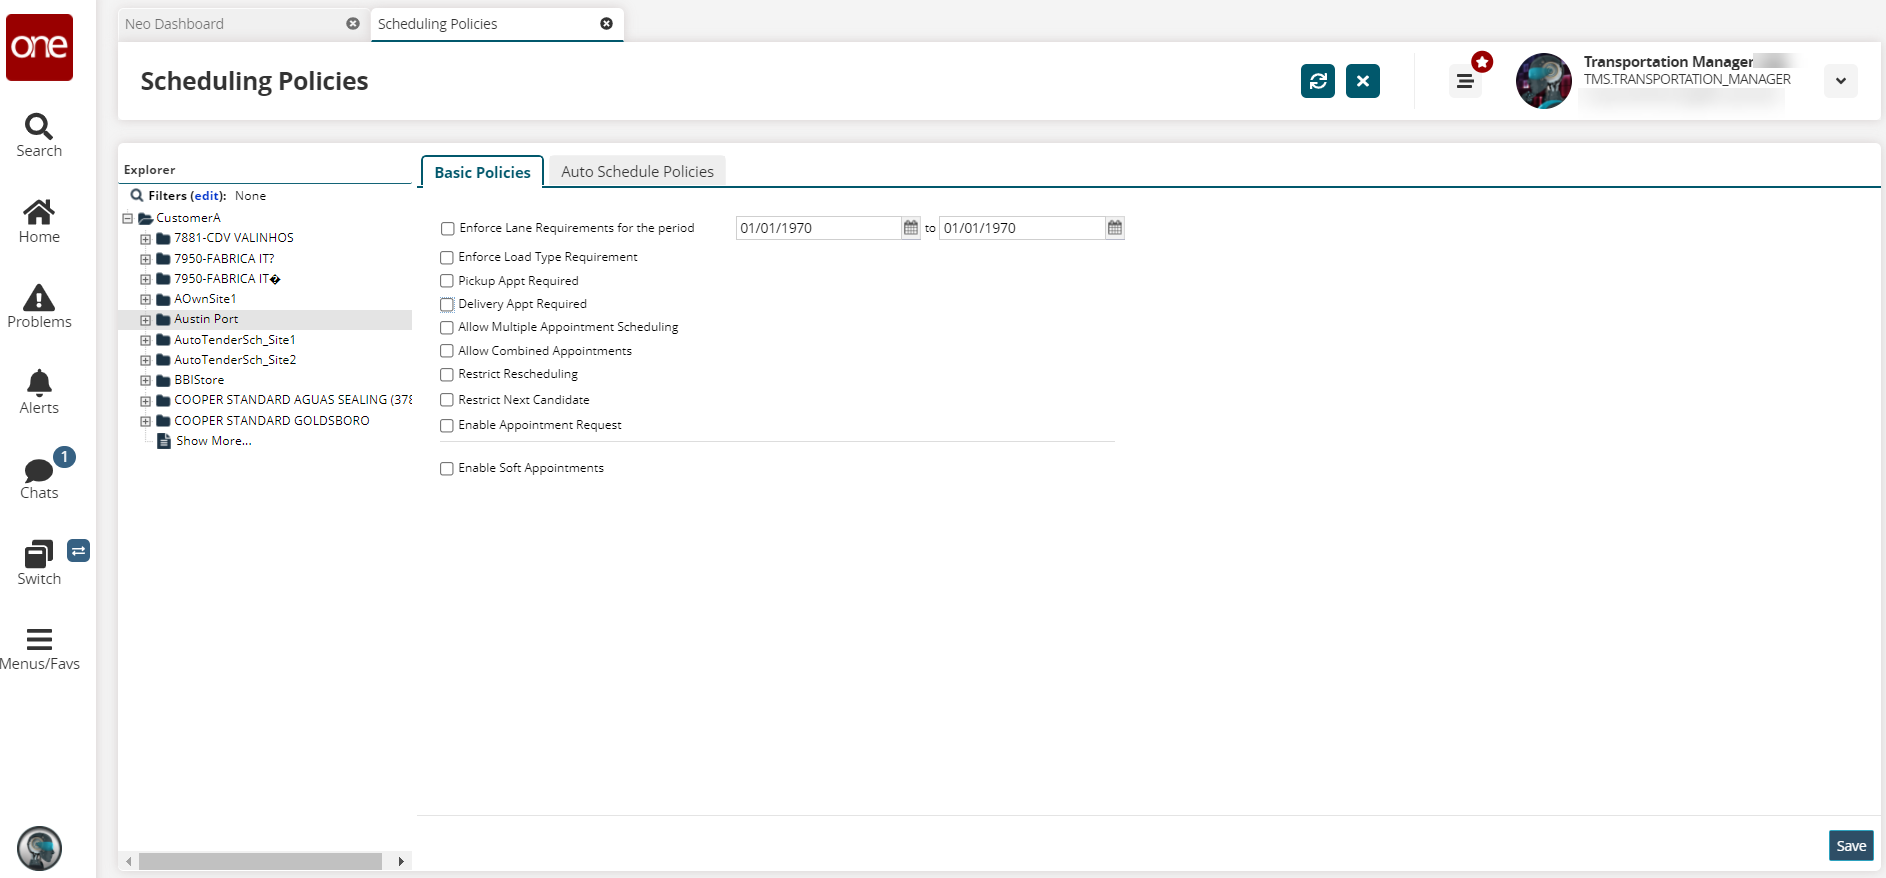
Check the box for Enable Soft Appointments.
Additional fields display.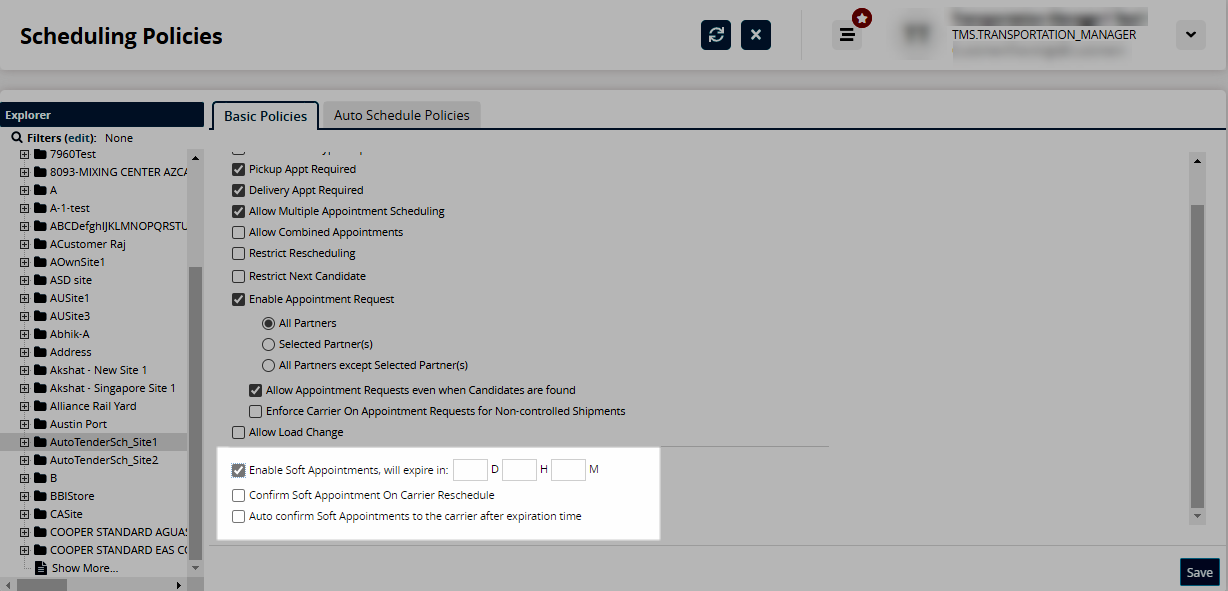
Enter the duration the soft appointment remains active before expiring in the days (D), hours (H), and minutes (M) fields.
Select the Confirm Soft Appointment On Carrier Reschedule checkbox to automatically confirm a soft appointment on rescheduling by the carrier.
Select the Auto confirm Soft Appointments to the carrier after expiration time checkbox to automatically confirm the soft appointment to the selected carrier after the soft appointment expires. For information on the remaining fields on this screen, see the "Scheduling Policies" section in the Online Help.
A new field displays.Use the picker tool to select a partner.
Click the Save button.
A success message displays. Soft appointments can now be created for this site.
Confirming a Soft Appointment
You can confirm a soft appointment from the appointment tab. For this example, we are viewing the View Live Delivery Appointment tab.
Complete the following steps to confirm a soft appointment:
Click Menus/Favs > Scheduling > Search Appointment. In the NEO UI, users can click on the Menus/Favs icon on the left sidebar and type in the name of the screen in the menu search bar. For more information, see "Using the Menu Search Bar."
The Search Appointment screen displays with the filter parameters displayed.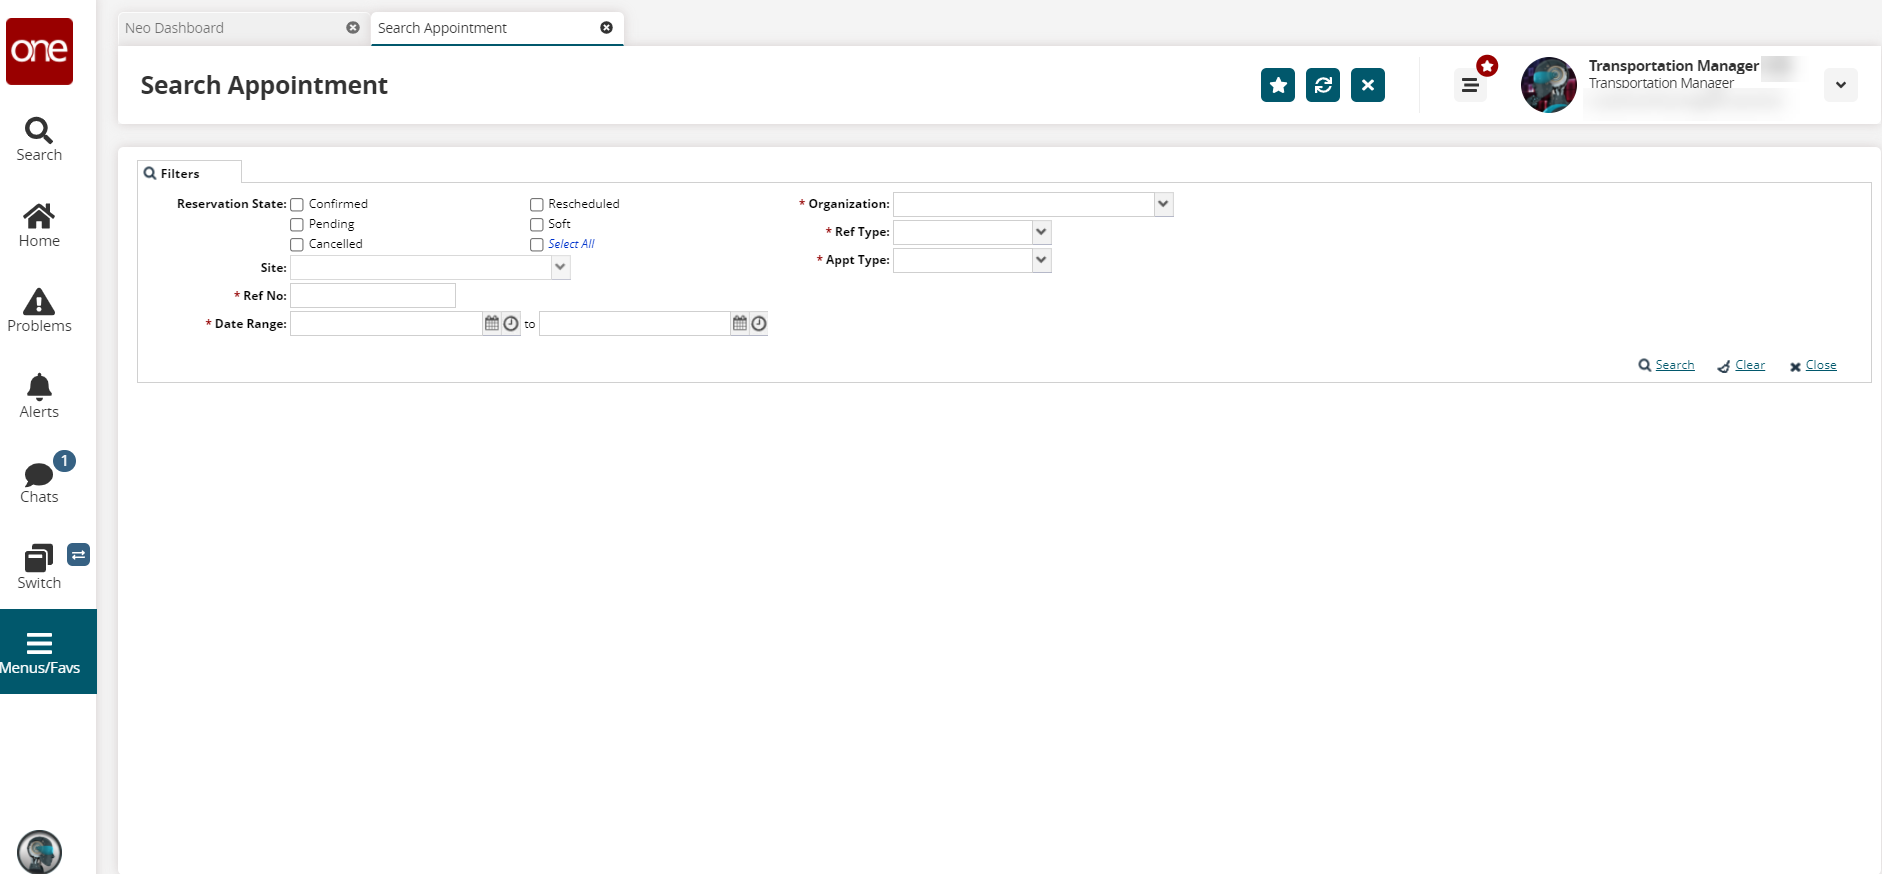
Enter the required filter parameters, as denoted by an asterisk, and select the Soft option for the Reservation State filter. See the "Searching Appointments" section in the Online Help for more information.
Click the Search link.
The appointments matching the search criteria display.Click the Delivery Confirmation No. link.
The View Live Delivery Appointment tab displays.Click the Confirm link.
A success message displays, and the appointment type changes to Confirmed.