Configuring Vendor Scorecards
Complete the following steps to add a new KPI to the performance scorecard:
L og in to the ONE system.
Click Menus/Favs > Reports > Vendor Performance > Performance Scorecard Config.
In the NEO UI, users can click on the Menus/Favs icon on the left sidebar and type in the name of the screen in the menu search bar. For more information, see "Using the Menu Search Bar."
The Performance Scorecard Config screen displays the Components tab by default.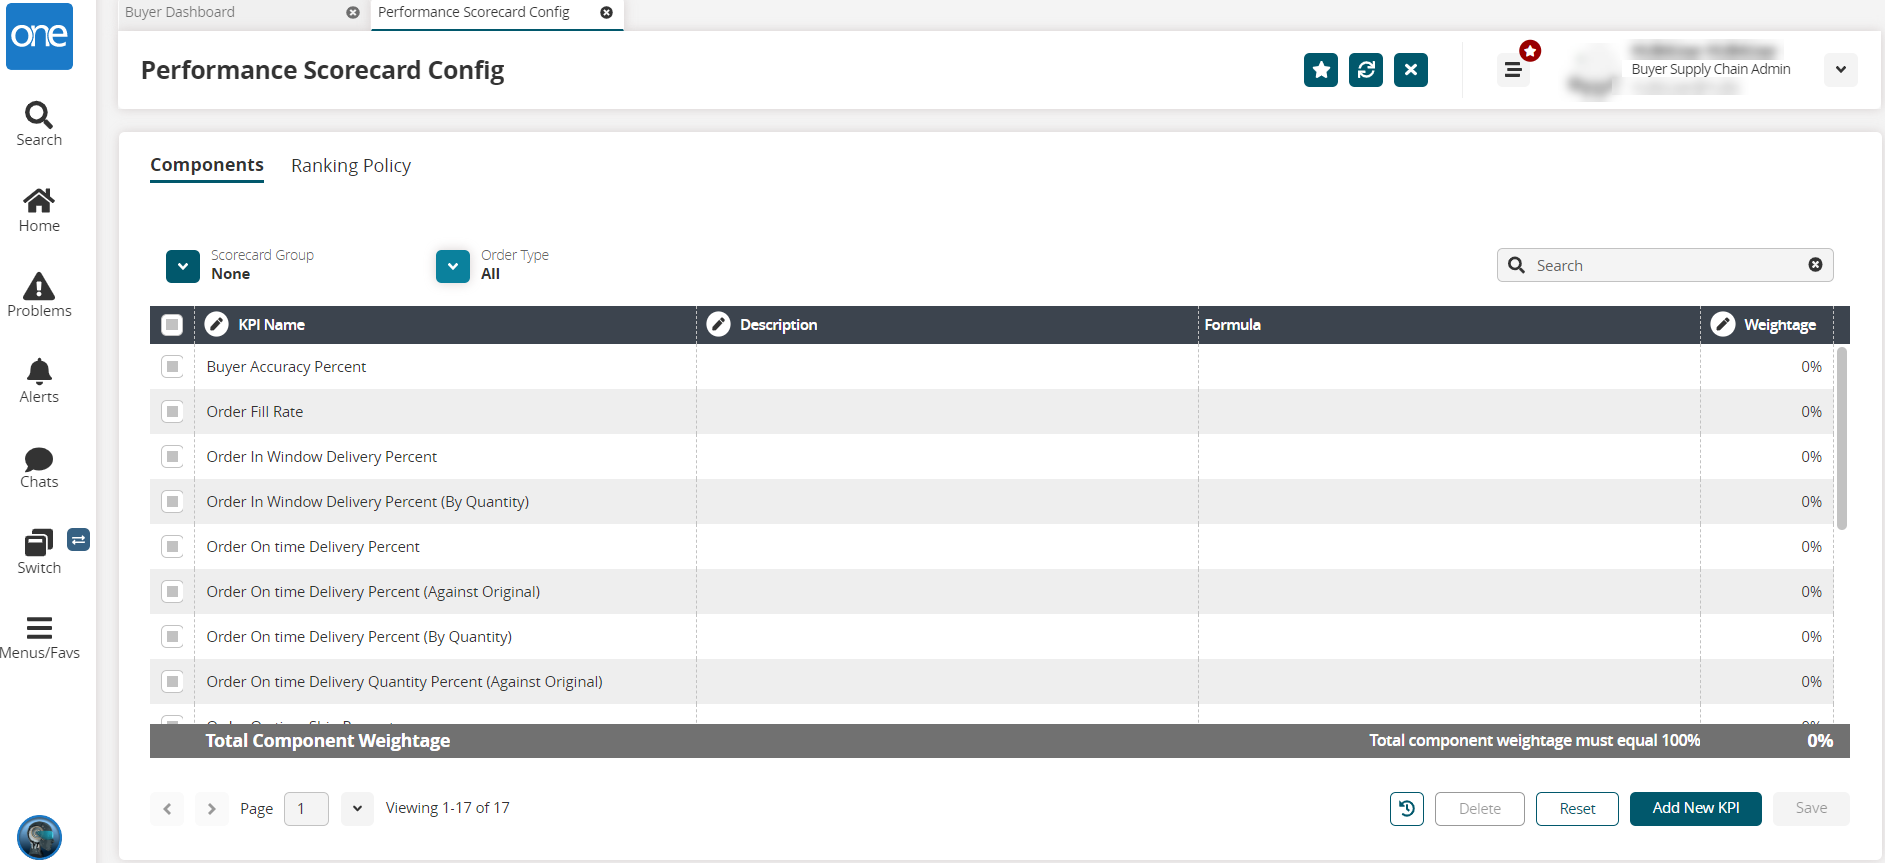
Click the Add New KPI button.
A new row is added to the table.Click the KPI Name cell.
A popup displays.Enter a name for the KPI and click the Apply button.
Click the Description cell.
A popup displays.Enter a description for the KPI and click the Apply button.
Click the pencil icon in the Formula cell.
The Edit Formula popup displays. Users can filter the fields for OMS or TMS values or enter field names in the search bar.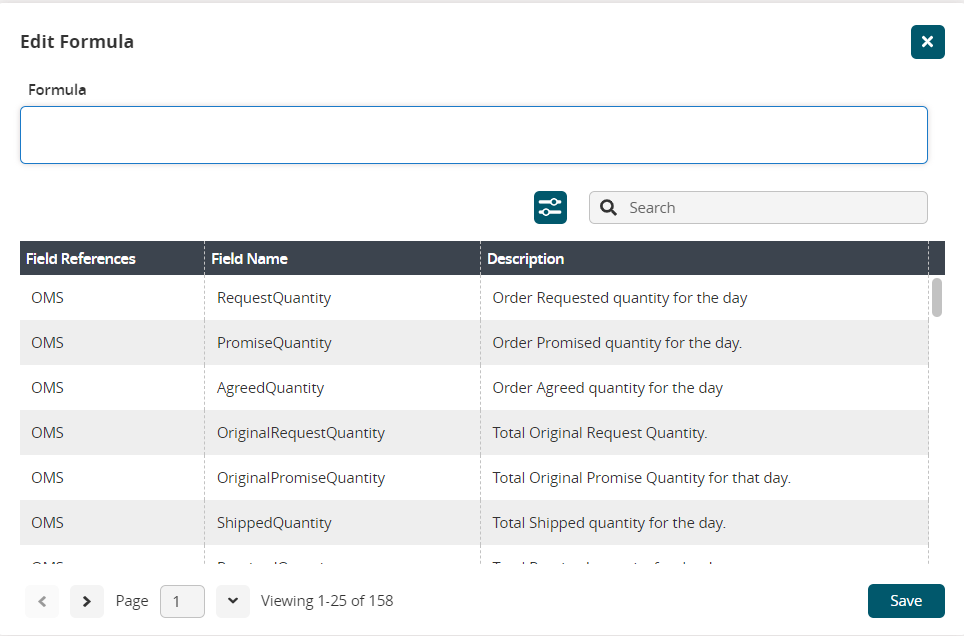
Click a field to add it to the Formula box.
Enter mathematical expressions and fields as required to complete the formula.
Click the Save button.
The KPI formula is added to the row.Click the Weightage cell.
A popup displays.Enter a number value for the percentage weight that this KPI will carry and click the Apply button.
The Total Component Weightage bar will change colors until all of the KPI weightage values equal 100%.Enter Weightage values for all KPIs until the total percentage is 100.
The Total Component Weightage bar turns green and the Save button is active.Click the Save button.
A green success bar displays.
Complete the following steps to create a new ranking policy from the Performance Scorecard Configuration screen:
From the Performance Scorecard Configuration page, click the Ranking Policy tab.
The Ranking Policy tab displays the current minimum and maximum settings as well as the colors assigned to each rank.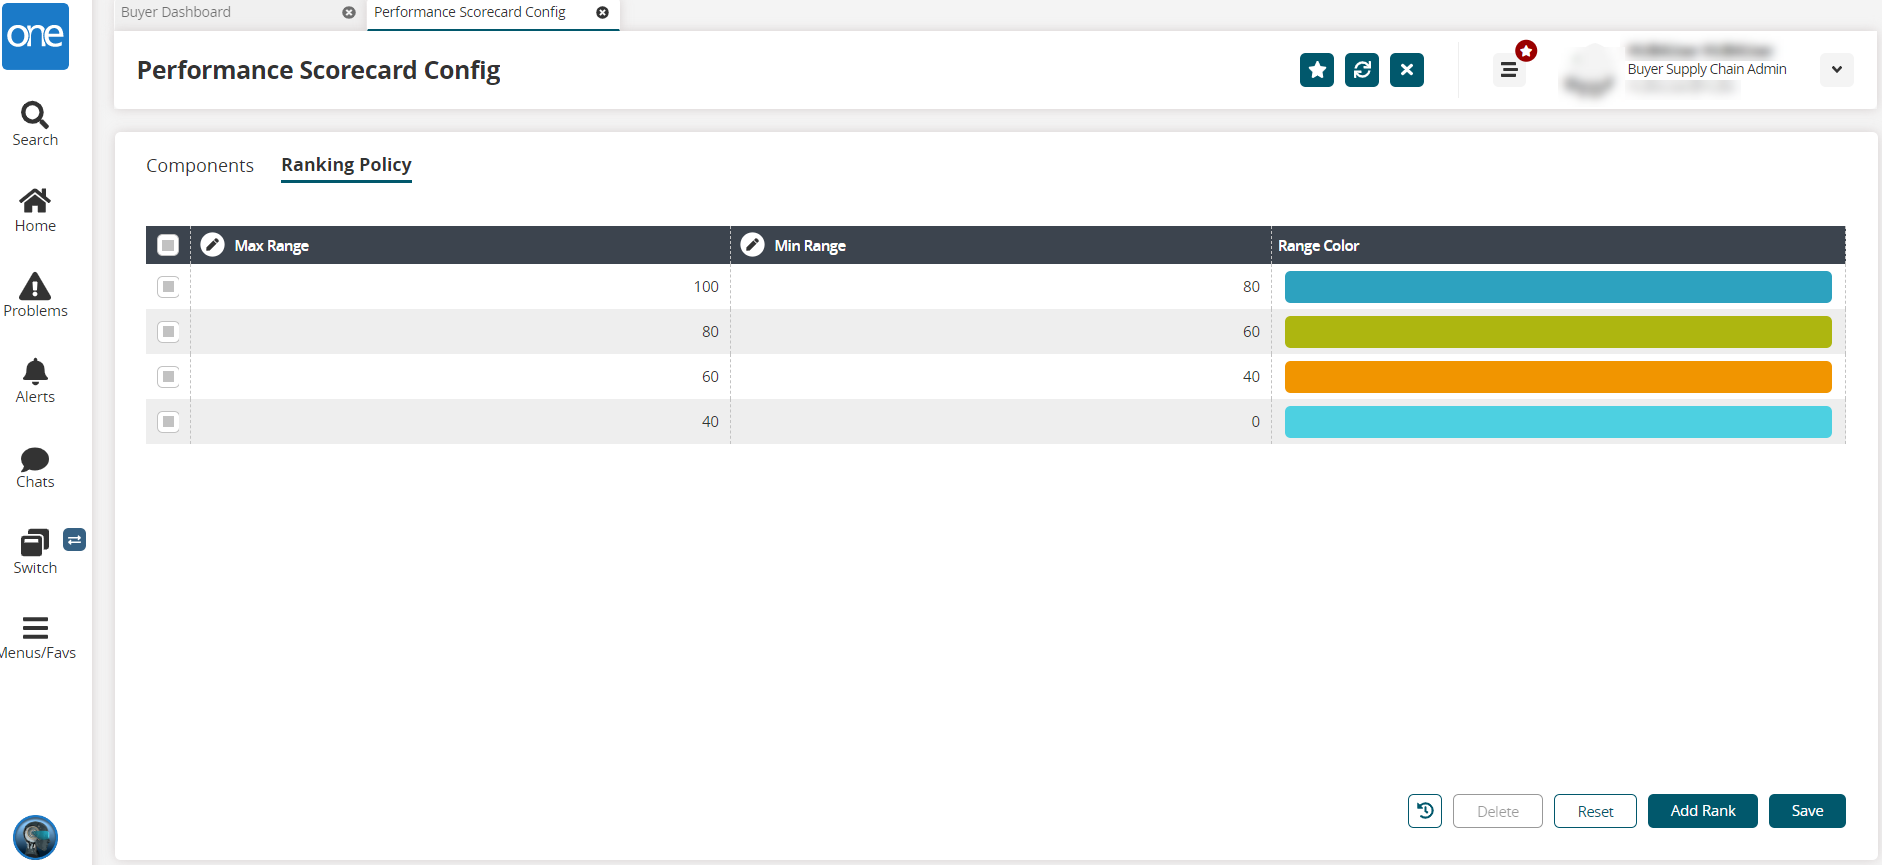
Click the Add Rank button.
A new row displays in the table.Click the Max Range cell.
A popup window displays.Enter a number value for the maximum value in the range allowed.
Click the Apply button.
Click the Min Range cell.
A popup window displays.Enter a number value for the minimum value in the range allowed. A zero (0) is allowed.
Click the Apply button.
To change the color of the rank, click the color.
The Color Library slide-out displays. The current color for the rank has a checkmark.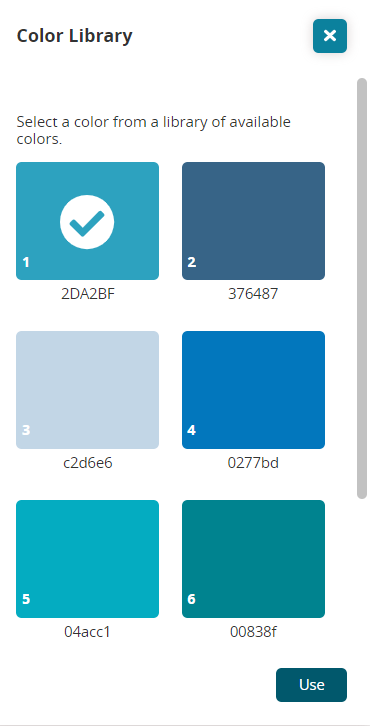
Click your preferred color.
Click the Use button.
The slide-out closes and the color updates.Click the Save button.
A green success message displays.
Complete the following steps to filter for specific groups and order types, reset values, delete rows, and view an audit history from either tab on the Performance Scorecard Config screen:
To filter for a specific KPI for a group, click the arrow next to the Scorecard Group field.
A popup displays.Select a group from the dropdown list and click the Confirm button.
The KPI formulas for that group display.To filter KPI formulas by order type, click the arrow next to the Order Type field.
A popup displays.Select an order type from the dropdown list and click the Confirm button.
The KPI formulas for that type display.To reset the table to the last saved settings, click the Reset button.
A confirmation popup asks if you want to reset the values of the table. Please note that the Reset button does not perform unless changes have been saved.Click the Yes button.
Click the Save button.
A green success message displays.To delete a ranking policy row, click the checkbox to select it.
The Delete becomes active.Click the Delete button.
A popup confirmation displays.Click the Yes button.
The row is deleted.Click the Save button to save changes.
A green success message displays.You cannot delete a default KPI. A warning message displays at the top of the screen if you select one.
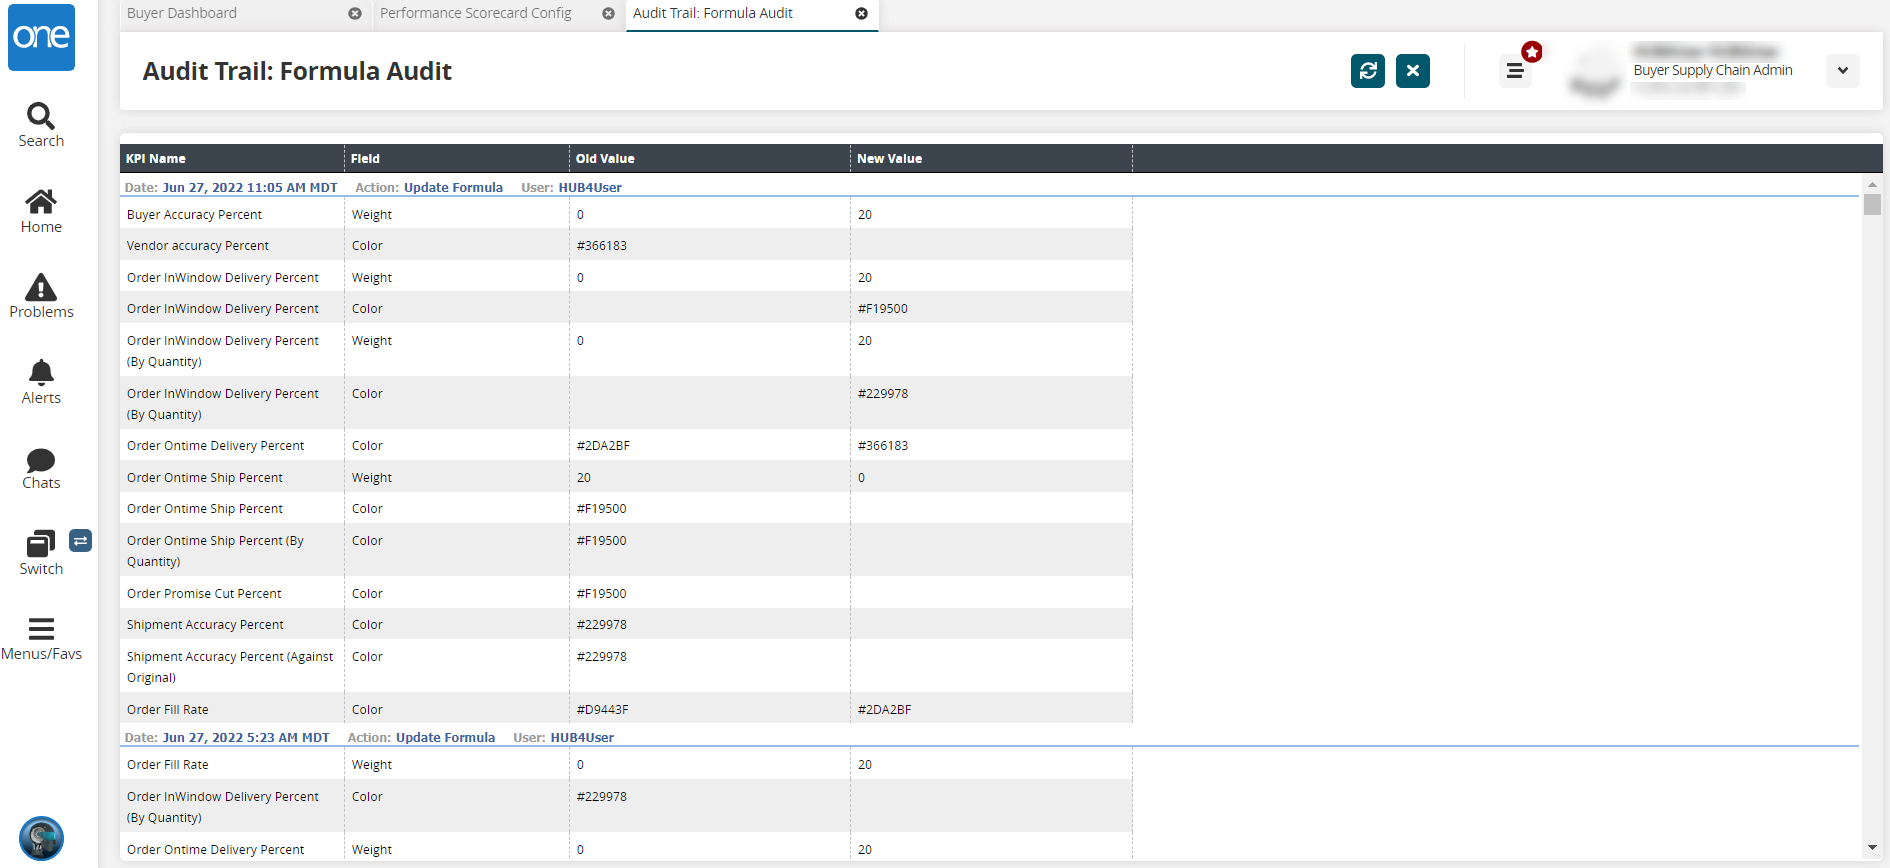
Click the Audit Trail button to open a new tab that shows an audit trail of all changes made to the Performance Scorecard Config screen.
