Configuring the Production Order Forecast Accuracy Engine via Integration
The Production Order Forecast Accuracy engine is used to calculate the accuracy of forecast data and compare the forecast data against actual production data. The data from the Production Order Forecast Accuracy engine is used in forecast accuracy calculations and is displayed in various reports and pivot tables. Users can configure the engine via integration.
Complete the following steps to configure and run the Production Order Forecast Accuracy Engine:
Log in to the ONE system as a Production Manager.
Click Menu/Favs > Production Order Forecast Accuracy > Production Order Forecast Accuracy Configuration Report.
In the NEO UI, users can click on the Menus/Favs icon on the left sidebar and type in the name of the screen in the menu search bar. For more information, see "Using the Menu Search Bar."
The Production Order Forecast Accuracy Configuration Report screen appears with the filter options displayed.
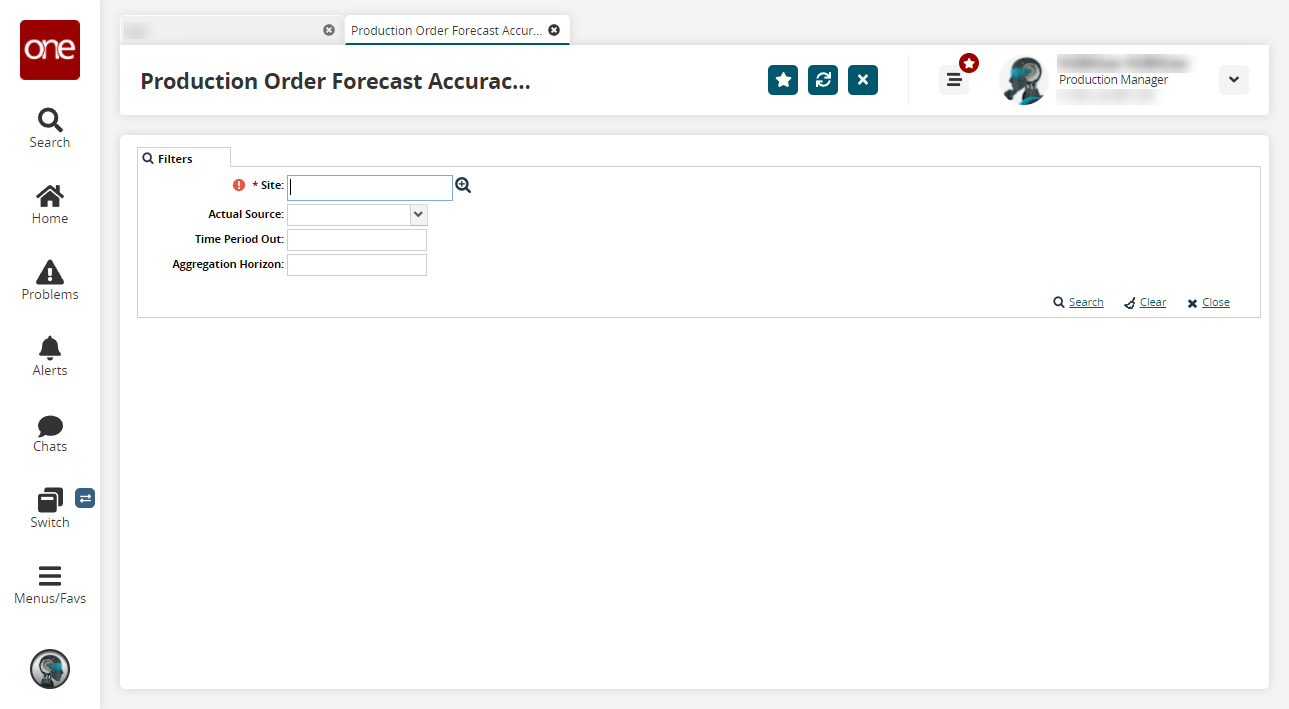
Enter a site in the * Site field or click the magnifying glass icon to browse and select a site. Fields with an asterisk ( * ) are required.
If you click the magnifying glass icon, a list of sites display.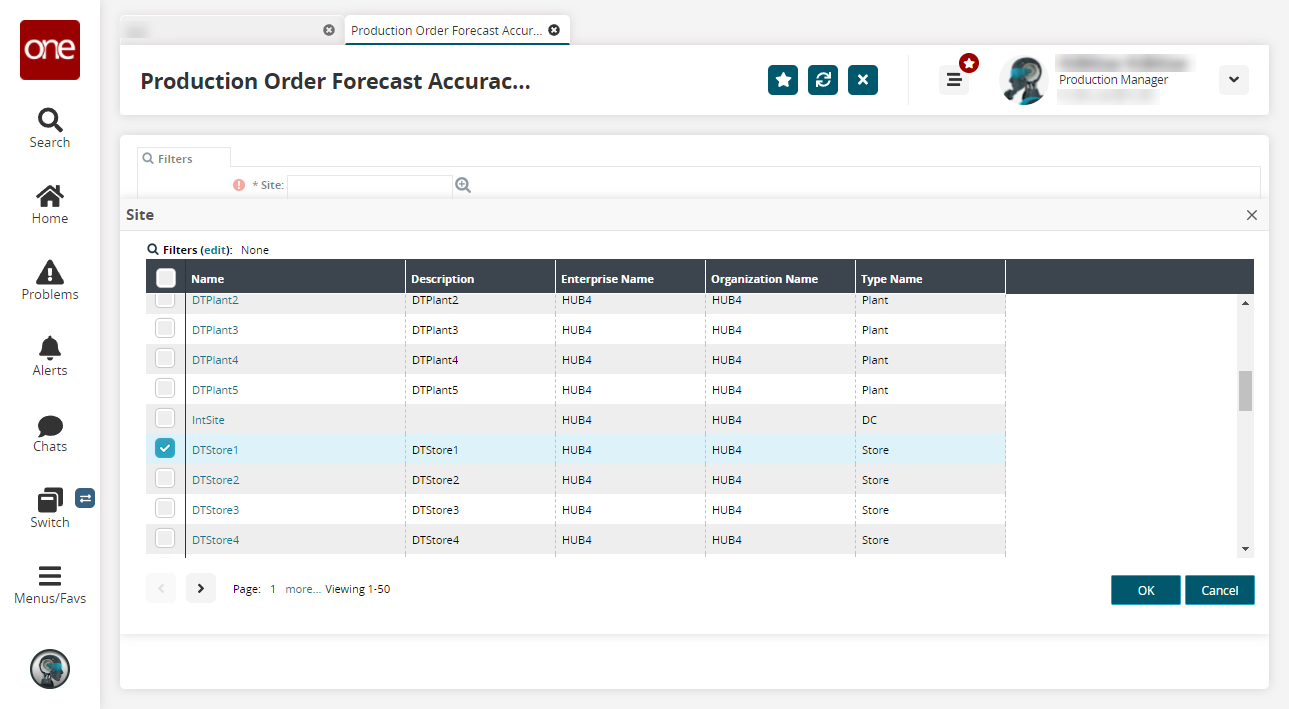
Select a site from the list, and click OK.
The site selected displays in the Site filter field.Fill in other filter fields as desired.
Click the Search link.
The report displays a list of matching configurations that belong to the site selected in the previous steps.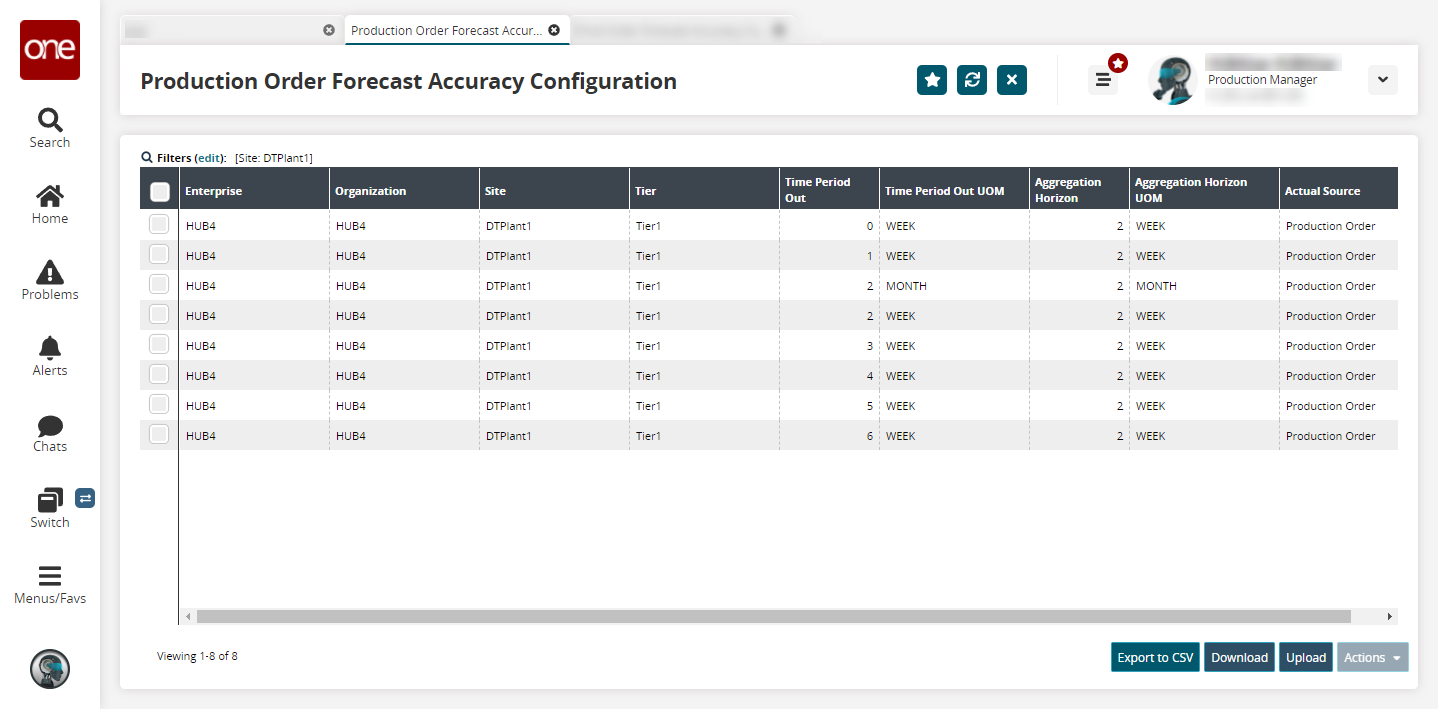
Click the Upload button.
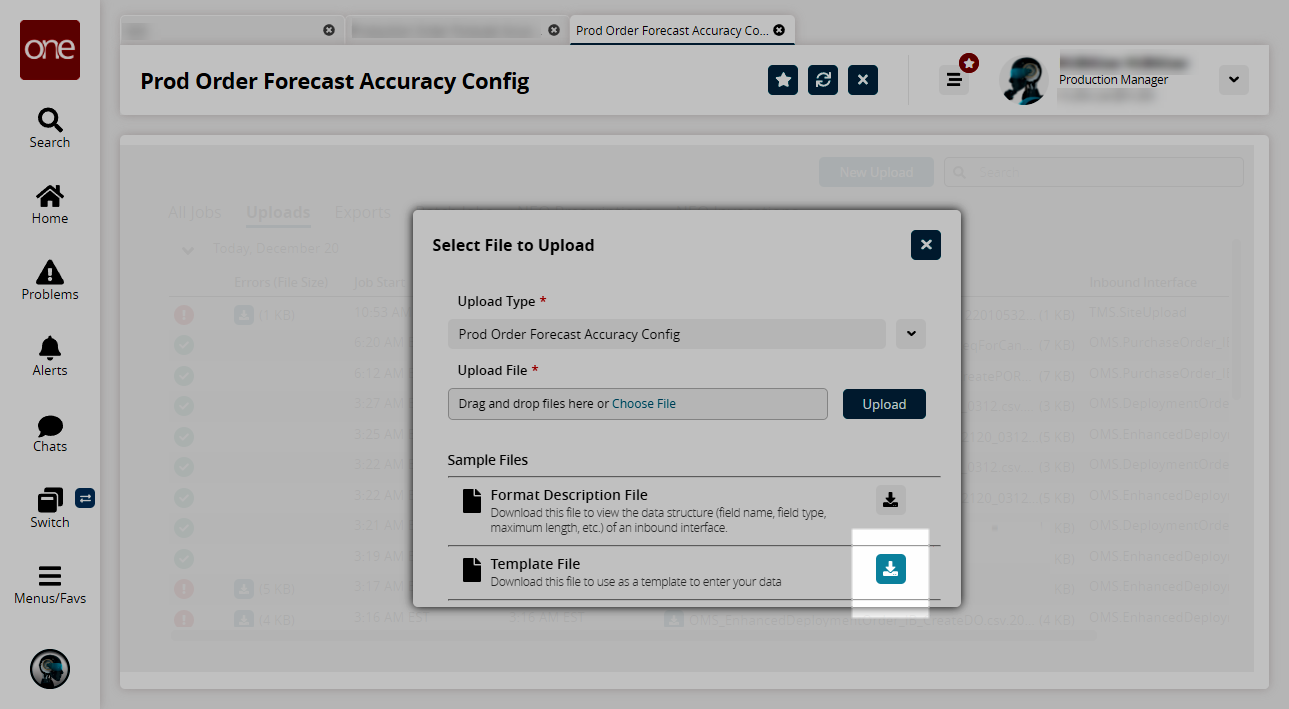
The Select File to Upload popup appears.Click the Template File download button. The file downloads to your default browser download location.
Edit the file using your CSV editor.
Fields with an asterisk ( * ) are required.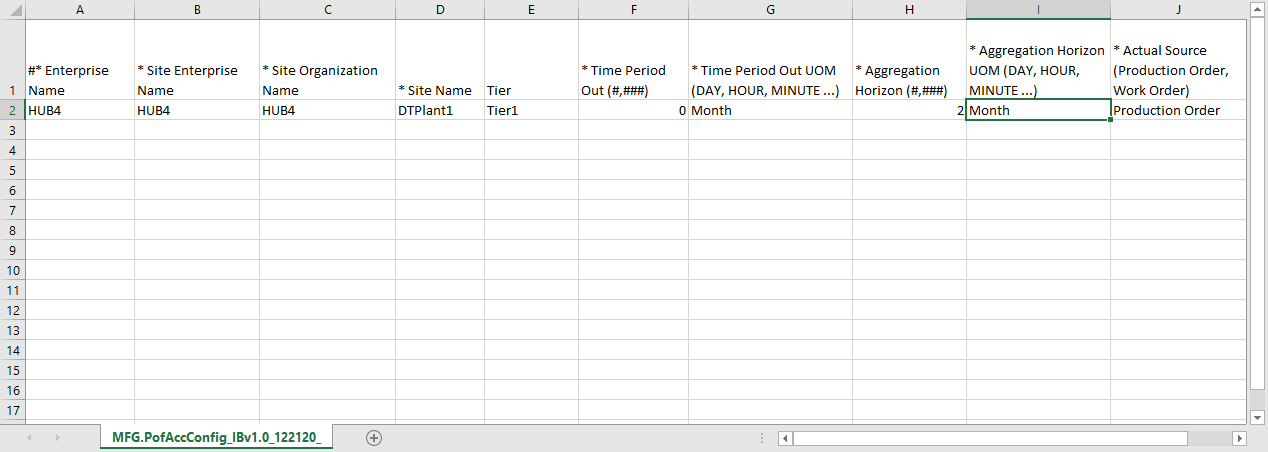
Save the file when finished editing.
Returning to the Select File to Upload popup, click the Choose File link and select your edited CSV file from your local machine.
Click the Upload button.
The system displays a status message.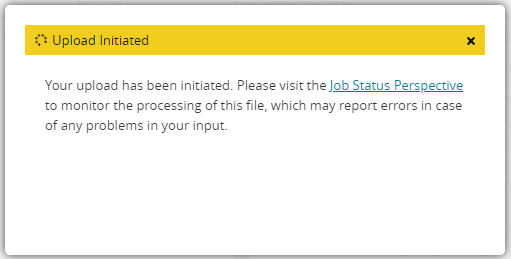
If the upload was successful, the following message is shown.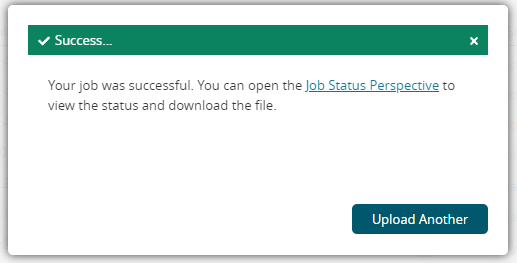
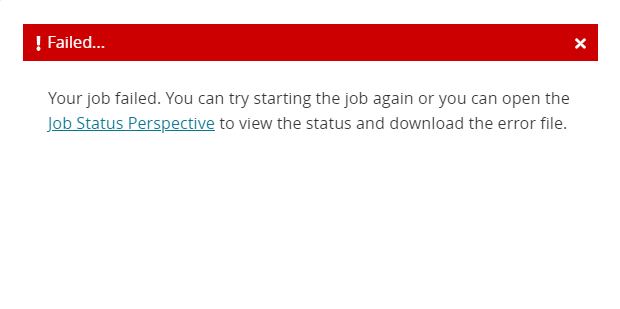
If the upload encounters an error, follow the instructions in the message to resolve any issues with your CSV file and repeat the upload process.
