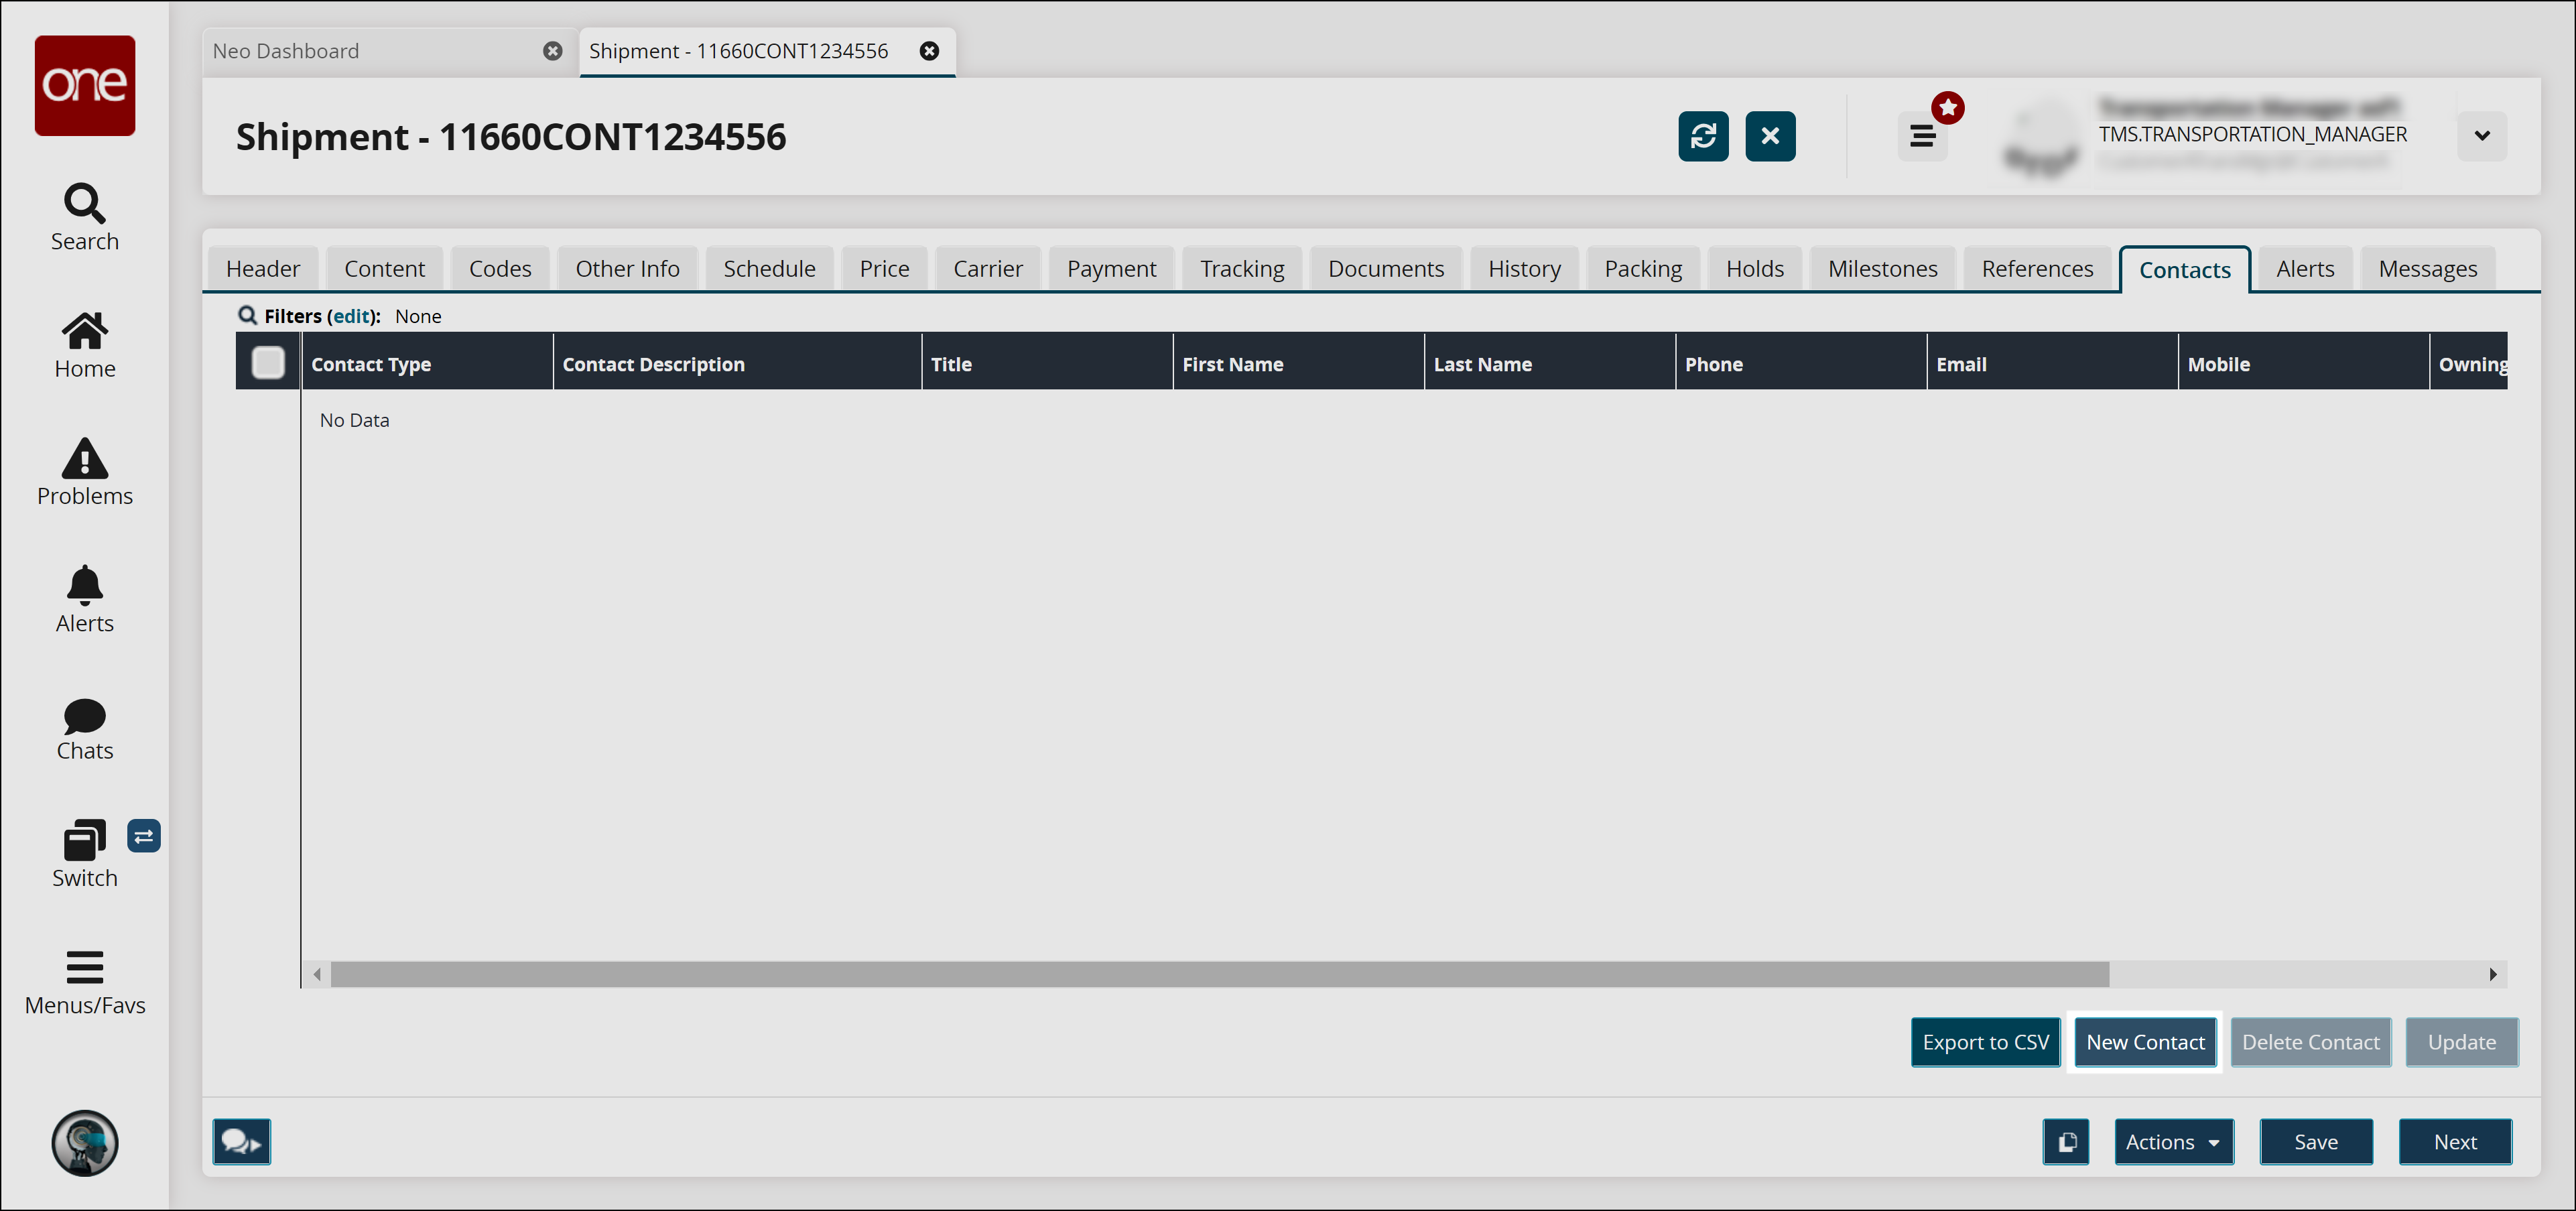
Contacts Tab
The Contacts tab appears when users create a shipment. This tab displays contacts related to the shipment. Users can add, update or delete contact information from this tab.
Complete the following steps to add a new contact to the shipment:
Click the New Contact button.
The New Contact screen appears.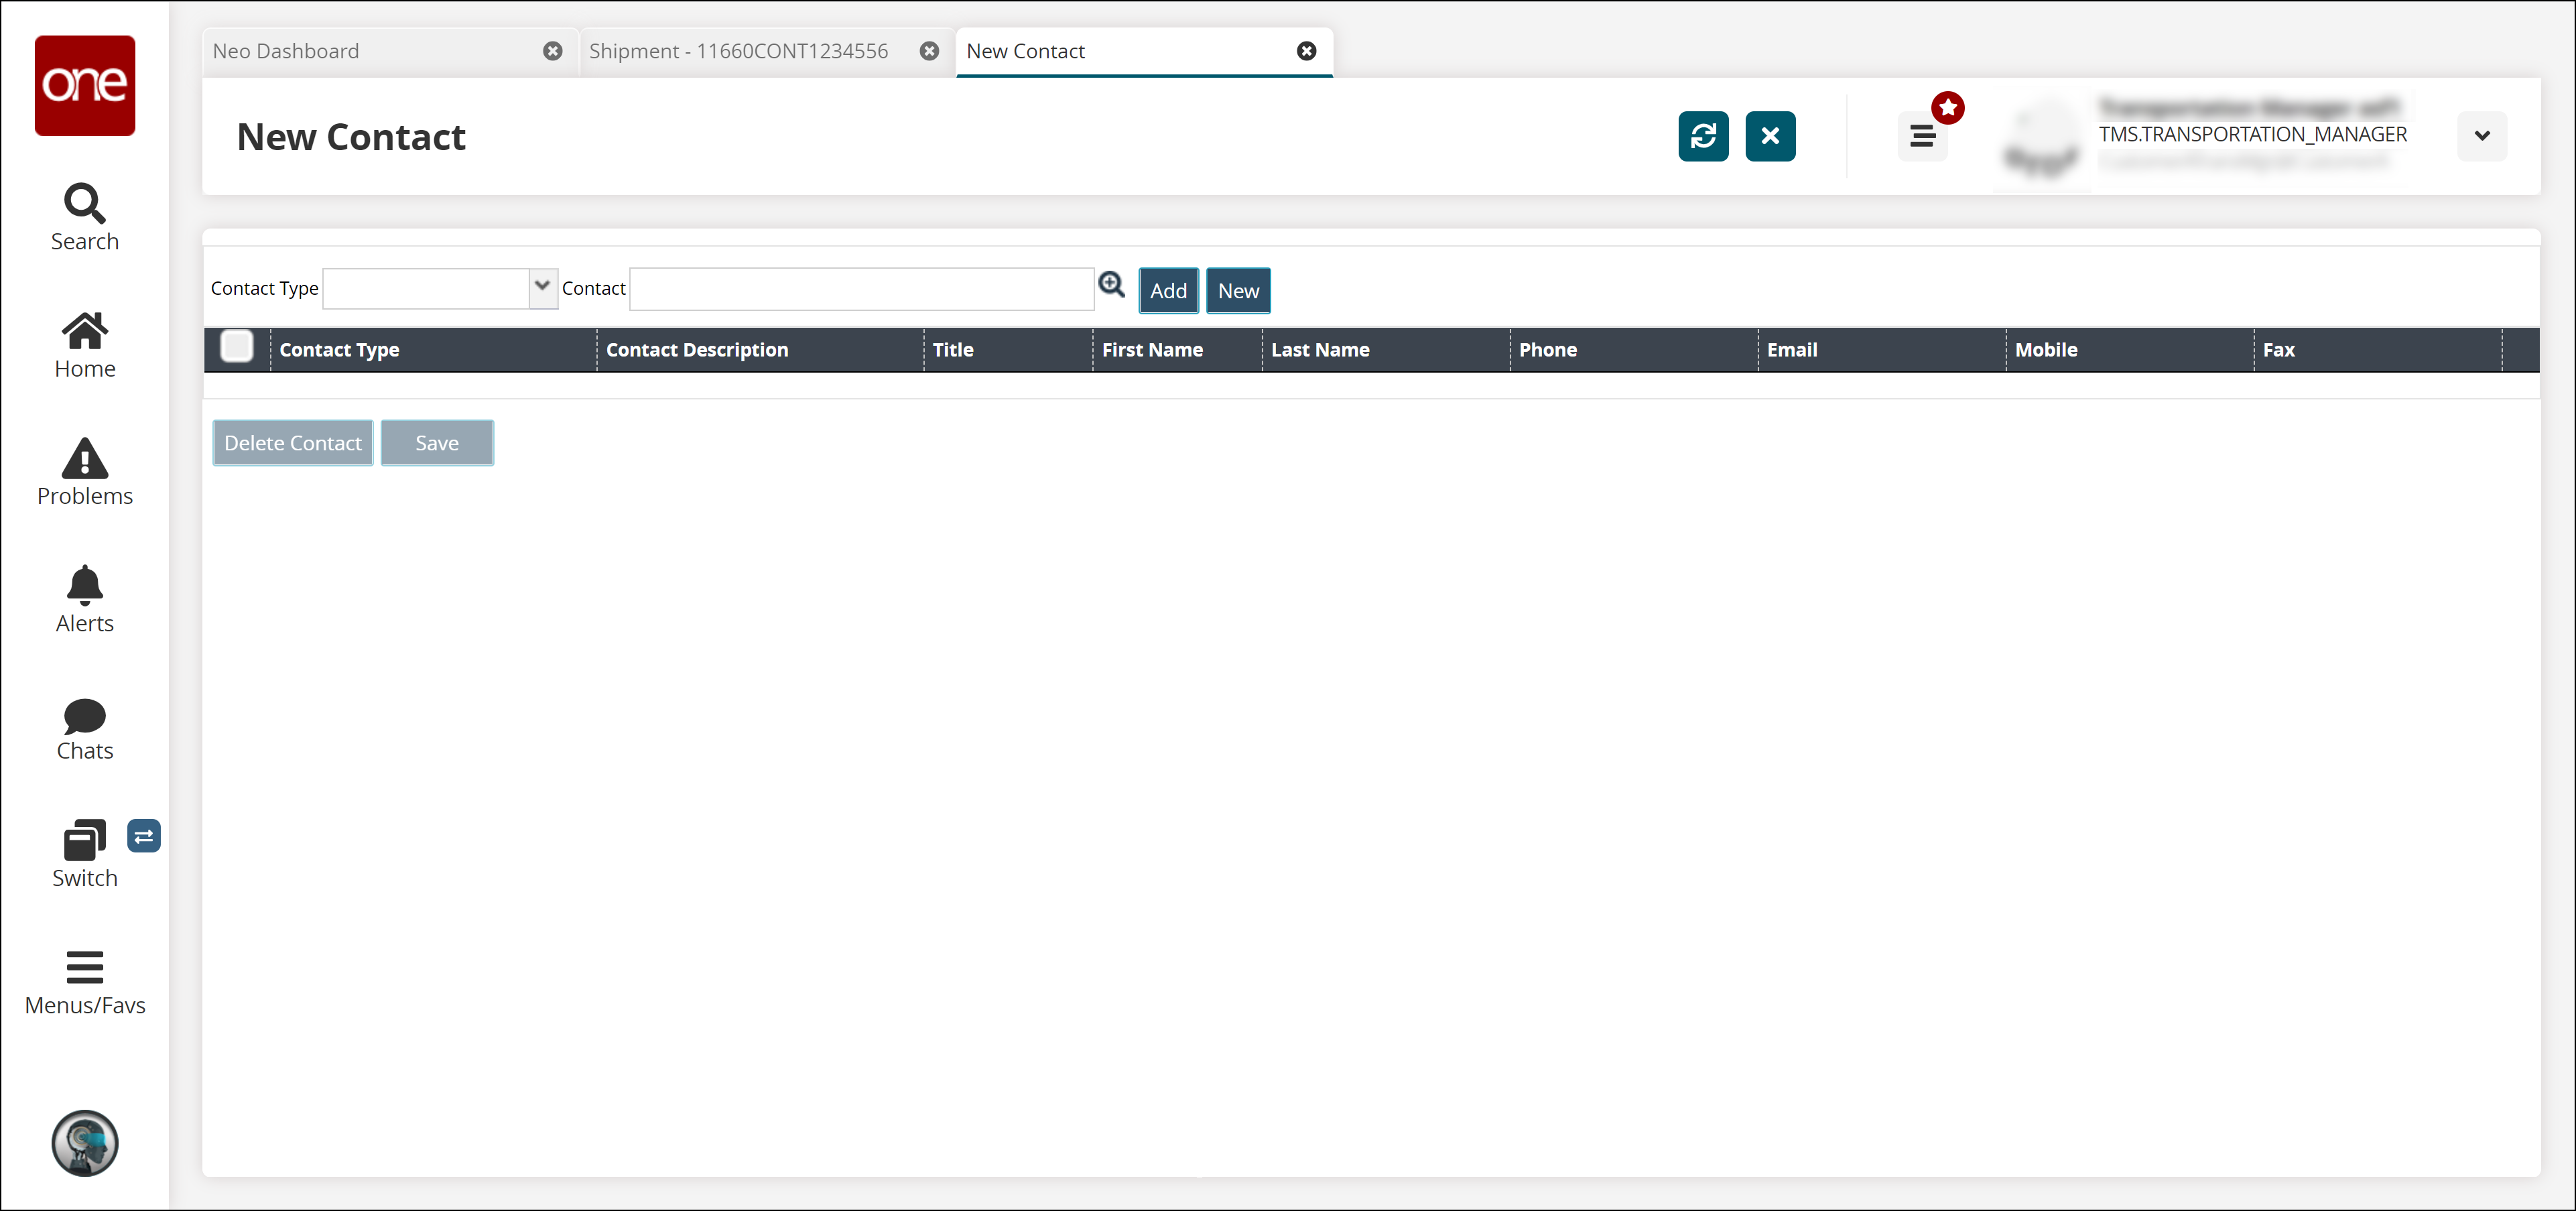
From the Contact Type drop-down list, select the desired contact type. The available options are Billing, Expedite, Primary, Receiving, and Shipping.
For the Contact field, select the desired value from the picker tool.
Click Add to add the contact.
Click New to create a new contact.
Click Save to save the changes.
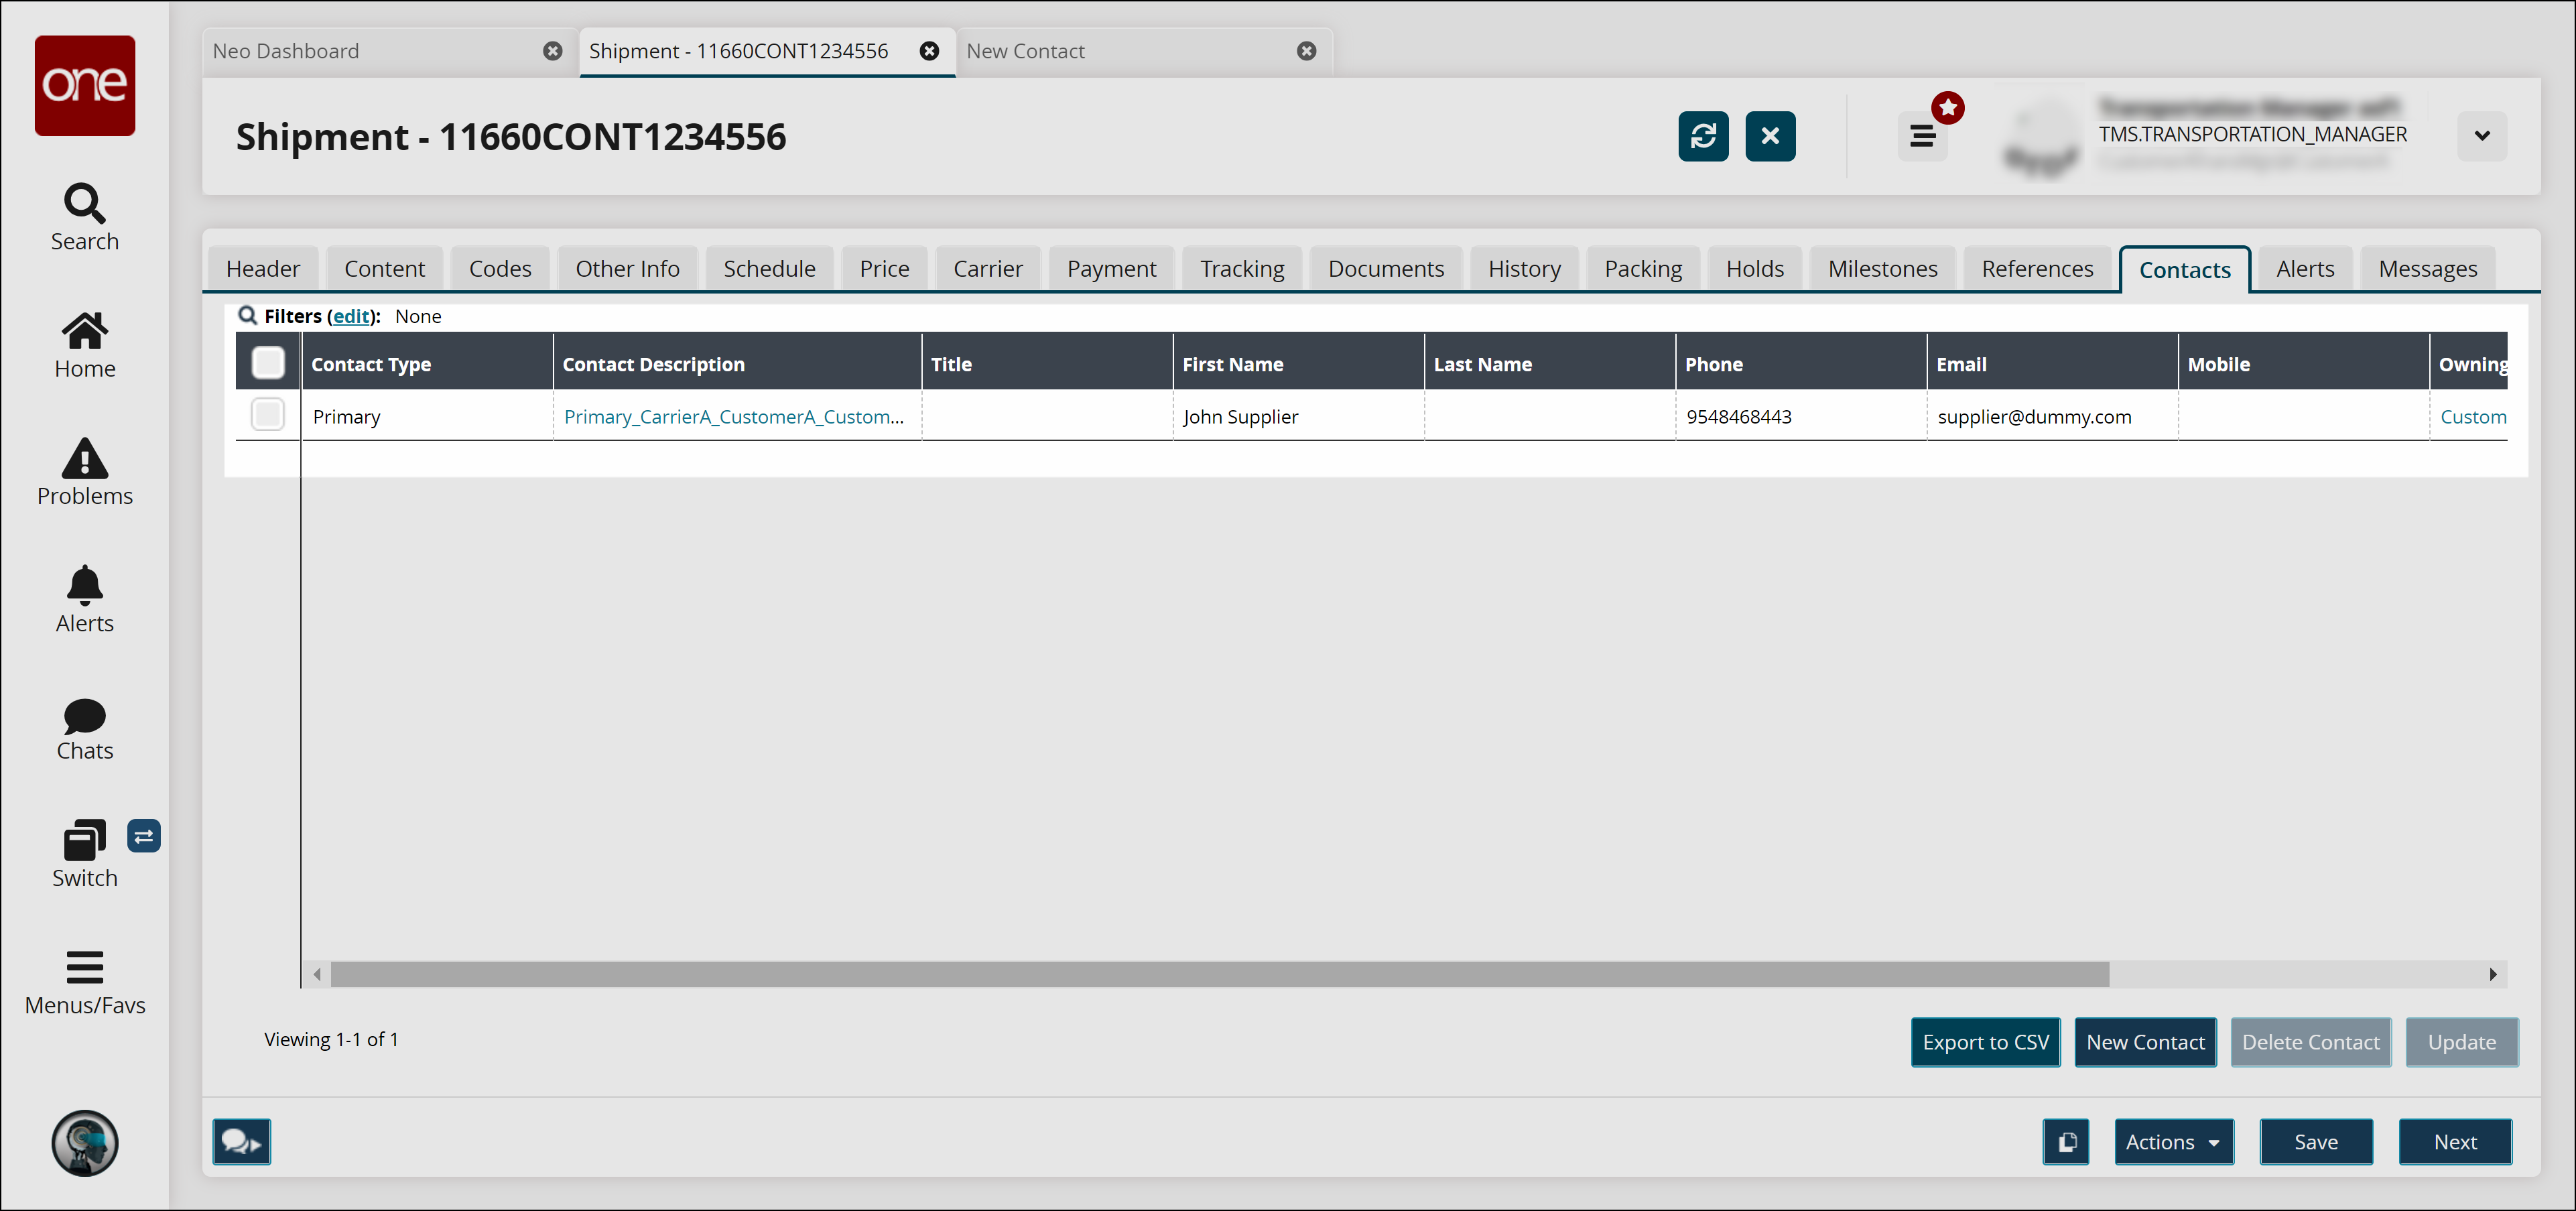
A success message appears.Navigate to the shipment details screen and click the Refresh icon (

) to see the newly added contacts in the table.
To delete a contact, select the desired record and click Delete Contact.
A success message appears.To update the contact, select the desired record and click Update.
Update the desired fields and click Submit.
A success message appears.Click Export to CSV to export the report in the CSV file format.
Click the Next button to view the Alerts tab.