Creating Buffer Lanes
You can create a buffer lane in the system.
Complete the following steps to create buffer lanes:
L og in to the ONE system.
Click Menus/Favs > Administration > Search Buffer Lane.
In the NEO UI, users can click on the Menus/Favs icon on the left sidebar and type in the name of the screen in the menu search bar. For more information, see "Using the Menu Search Bar."
The Search Buffer Lane screen displays.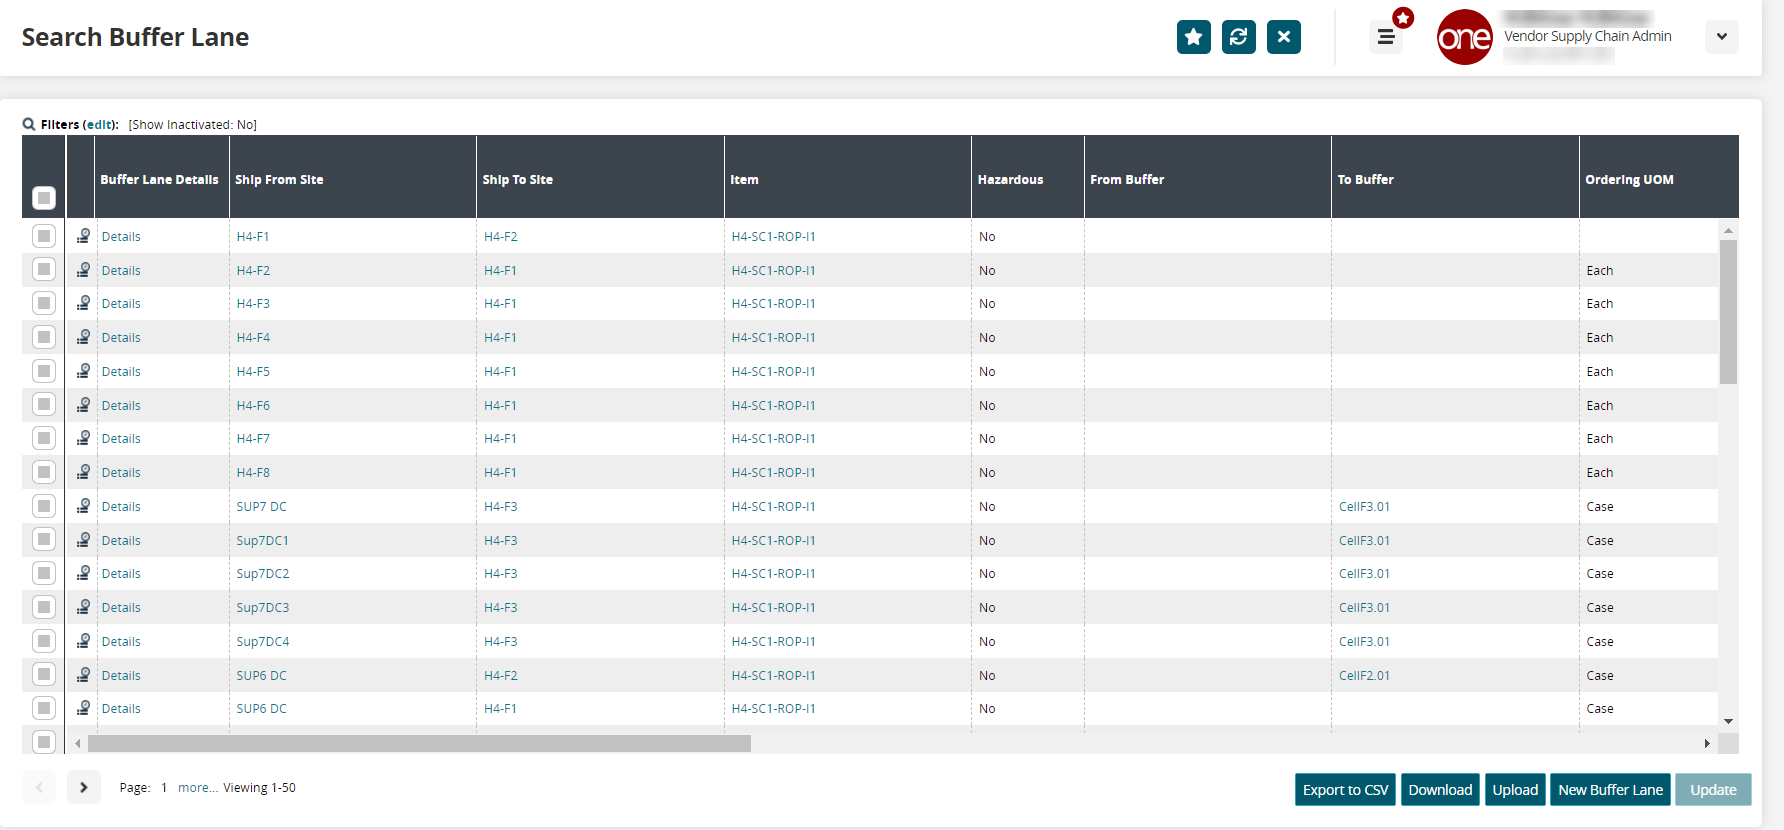
Click the New Buffer Lane button.
The New Buffer Lane screen appears.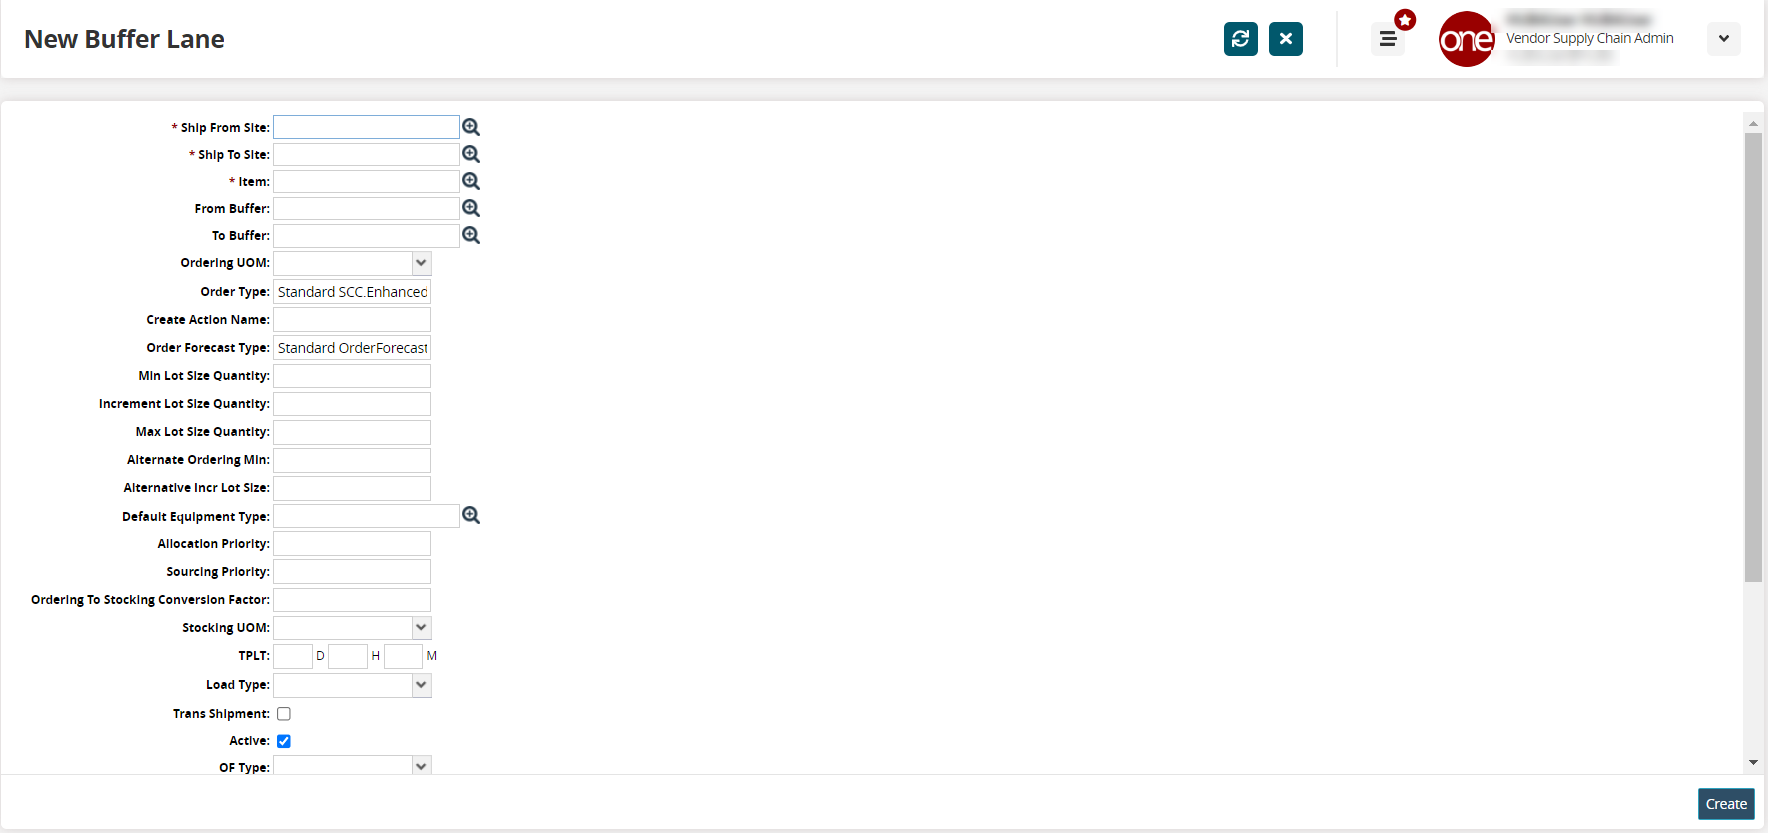
Enter values for fields described in the table below. Fields with an asterisk ( * ) are required.
Field
Description
* Ship From Site
Type in the origination site or use the picker tool to select one.
* Ship To Site
Type in the destination site or use the picker tool to select one.
* Item
Type in the item name or use the picker tool to select one.
From Buffer
Type in the origination buffer or use the picker tool to select one.
To Buffer
Type in the destination buffer or use the picker tool to select one.
Ordering UOM
Select the unit of measure (UOM) from the dropdown list.
Order Type
This field is auto-populated, but you can edit it to enter an order type.
Create Action Name
Enter a name for creating an action.
Order Forecast Type
This field is auto-populated, but you can edit it to enter an order forecast type.
Min Lot Size Quantity
Enter a numerical value for the minimum lot size quantity.
Note
A buffer lane validation is not considered during the forecast run if the Min Lot Size Quantity is not entered. Instead, the buffer will be considered.
Increment Lot Size Quantity
Enter a numerical value for the incremental log size quantity.
Max Lot Size Quantity
Enter a numerical value for the maximum lot size quantity.
Alternate Ordering Min
Enter a numerical value for the alternate order minimum.
Alternative Incr Lot Size
Enter a numerical value for the alternative incremental lot size.
Default Equipment Type
Type in the default equipment type for this buffer or use the picker tool to select one.
Allocation Priority
Enter a numerical value for the allocation priority.
Supplier Priority
Enter a numerical value for the supplier priority.
Ordering to Stocking Conversion Factor
Enter a numerical value for the conversion factor between ordering and stocking.
Stocking UOM
Select the stocking unit of measure (UOM) from the dropdown list.
TPLT
Enter Days, Hours, and Minutes for the Transportation Preparation Lead Time (TPLT).
Load Type
Select the load type from the dropdown list.
Trans Shipment
Check the box if this is a trans-shipment lane.
Active
Check the box if this is an active buffer lane.
OF Type
Select the order forecast (OF) type from the dropdown list.
Order UOM
Select the order unit of measure (UOM) from the dropdown list.
Buffer Lane Template
Type in the buffer lane template or use the picker tool to select one.
Policy Subnet
Type in the policy subnet or use the picker tool to select one.
Promo Lane
Check the box if this is a promotional lane.
Rounding Type
Select the rounding type from the dropdown list:
Normal: Default Value
Case_Layer: Specific to Client
Multiple: Define multiple lot sizes for a given item. If selected, you can enter up to four values of lot size. During the replenishment engine run, those values will be considered rather than the minimum, maximum, and incremental lot size values.
Note
A combination of lot sizes is not supported.
Default Equipment Settings
Type in the default equipment settings or use the picker tool to select one.
When finished, click the Create button.
A success message appears.