Creating Demand Forecast
Users can create demand forecasts manually in the ONE system.
Complete the following steps to create a demand forecast:
Log in to the ONE system.
Click Menus/Favs > Demand Planning > Create Demand Forecast.
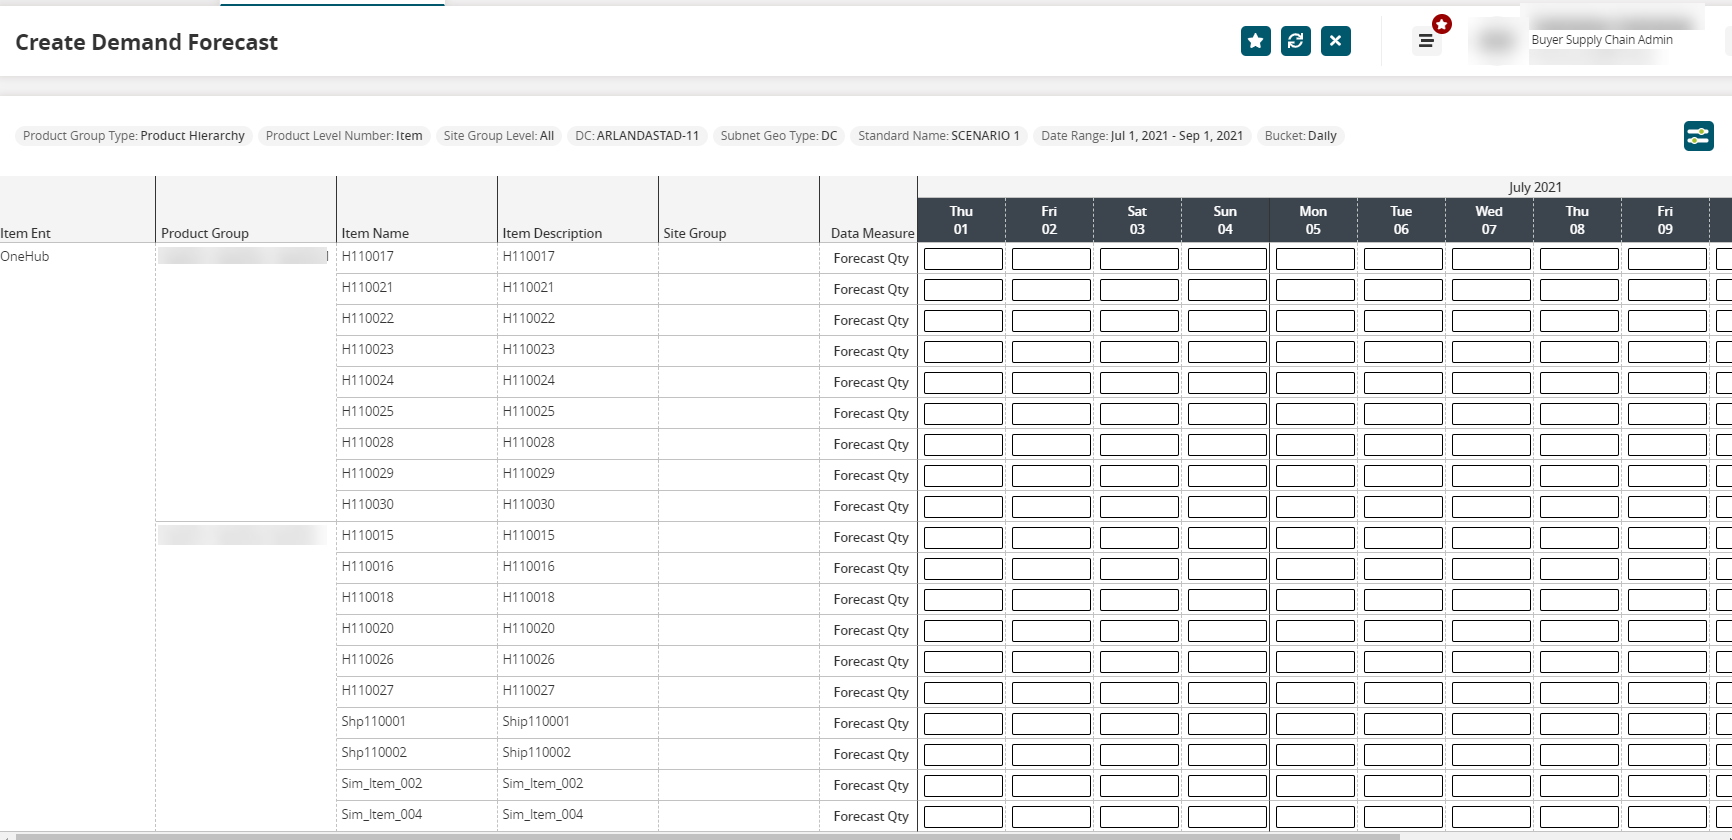
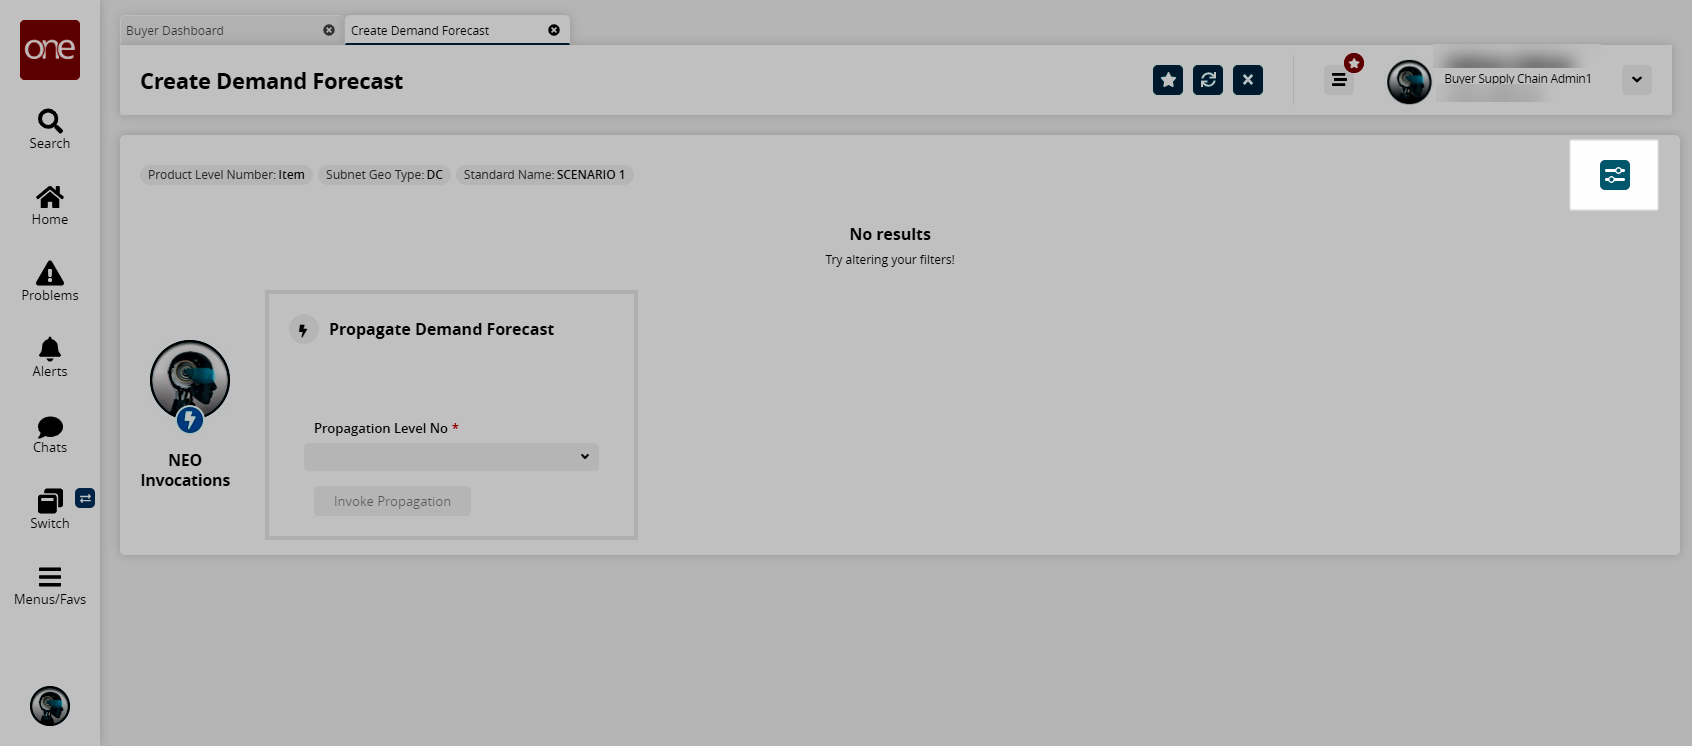
The Create Demand Forecast screen appears.
Click the filters icon to apply filters to the forecast.
The Filters Options popup window appears.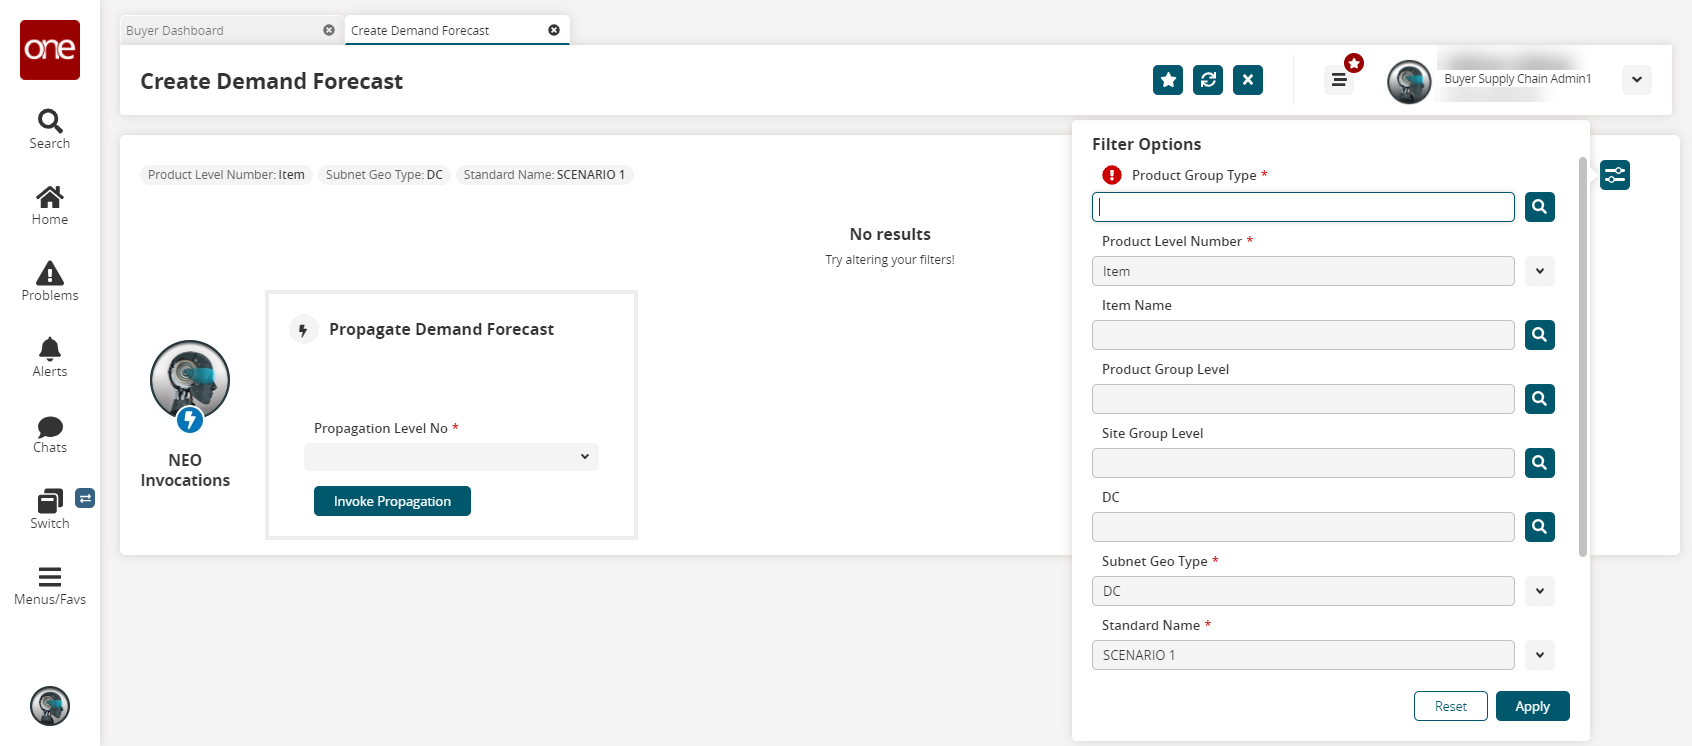
The following table describes the fields. Fields with an asterisk ( * ) are required.
Field
Description
* Product Group Type
Select the desired value from the list using the search icon.
* Product Level Number
Select the desired value from the drop-down list.
Item Name
Select the desired value using the search icon. Users can select multiple values.
Product Group Level
Select the desired value from the list using the search icon.
Site Group Level
Select the desired value from the list using the search icon.
DC
Select the desired value from the drop-down list.
* Subnet Geo Type
Select the desired value from the drop-down list. The available options are DC and Division.
* Standard Name
Select the desired value from the drop-down list.
Date Range
Enter the desired date range.
Bucket
Select the desired value from the drop-down list. The available options are Daily, Monthly, Weekly, FiscalWeek, and FiscalMonth .
Click Apply.
The Demand Forecast report appears.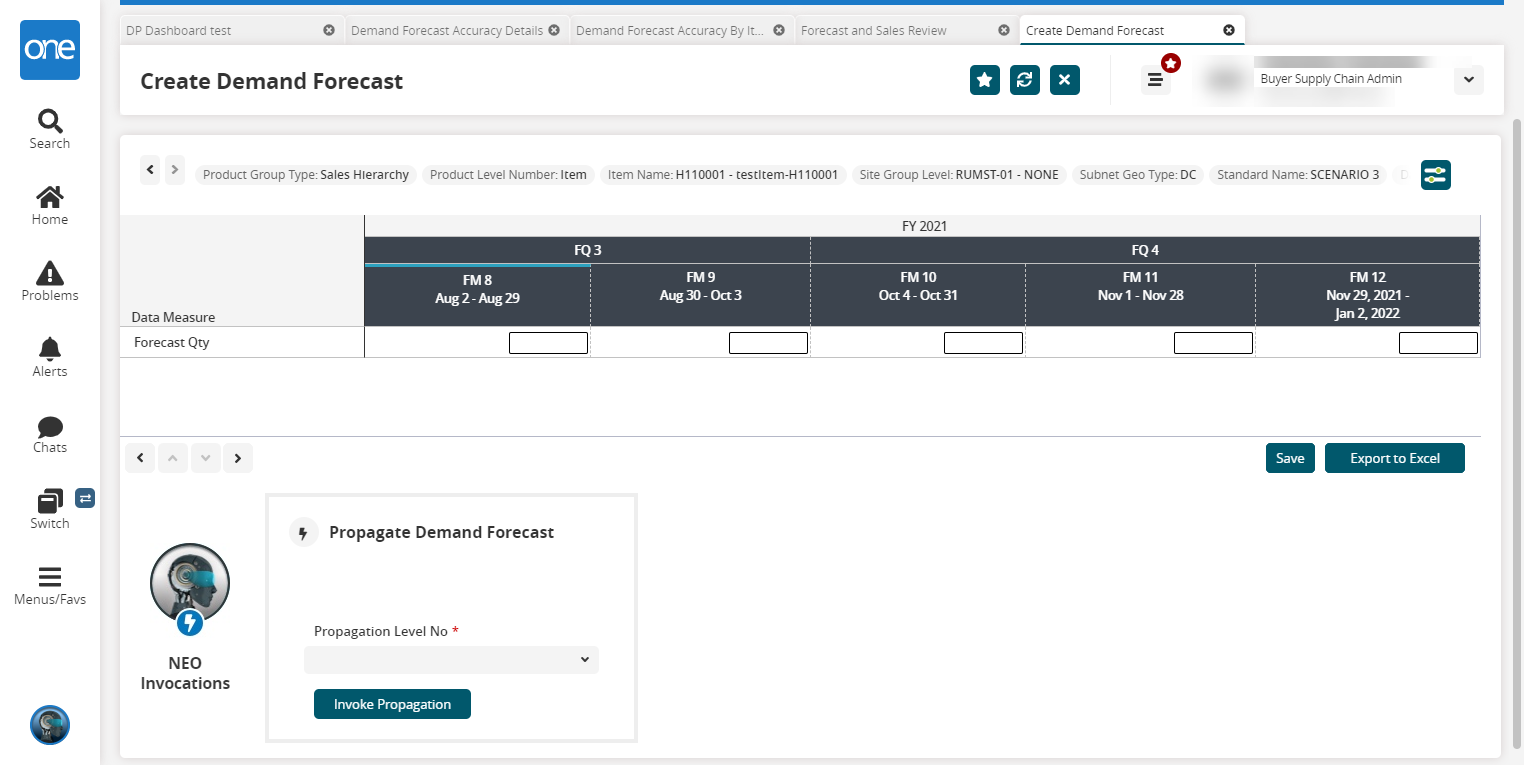
Input values and click Save.
Propagate Demand Forecast
The Neo Invocation approach helps users to achieve forecast propagation to higher and lower product levels.
In the Propagation Level No field, select the desired value from the dropdown list. The available options are Level1, Level2, Level3, Level4, Level5, and Item.
Click the Invoke Propagation button.
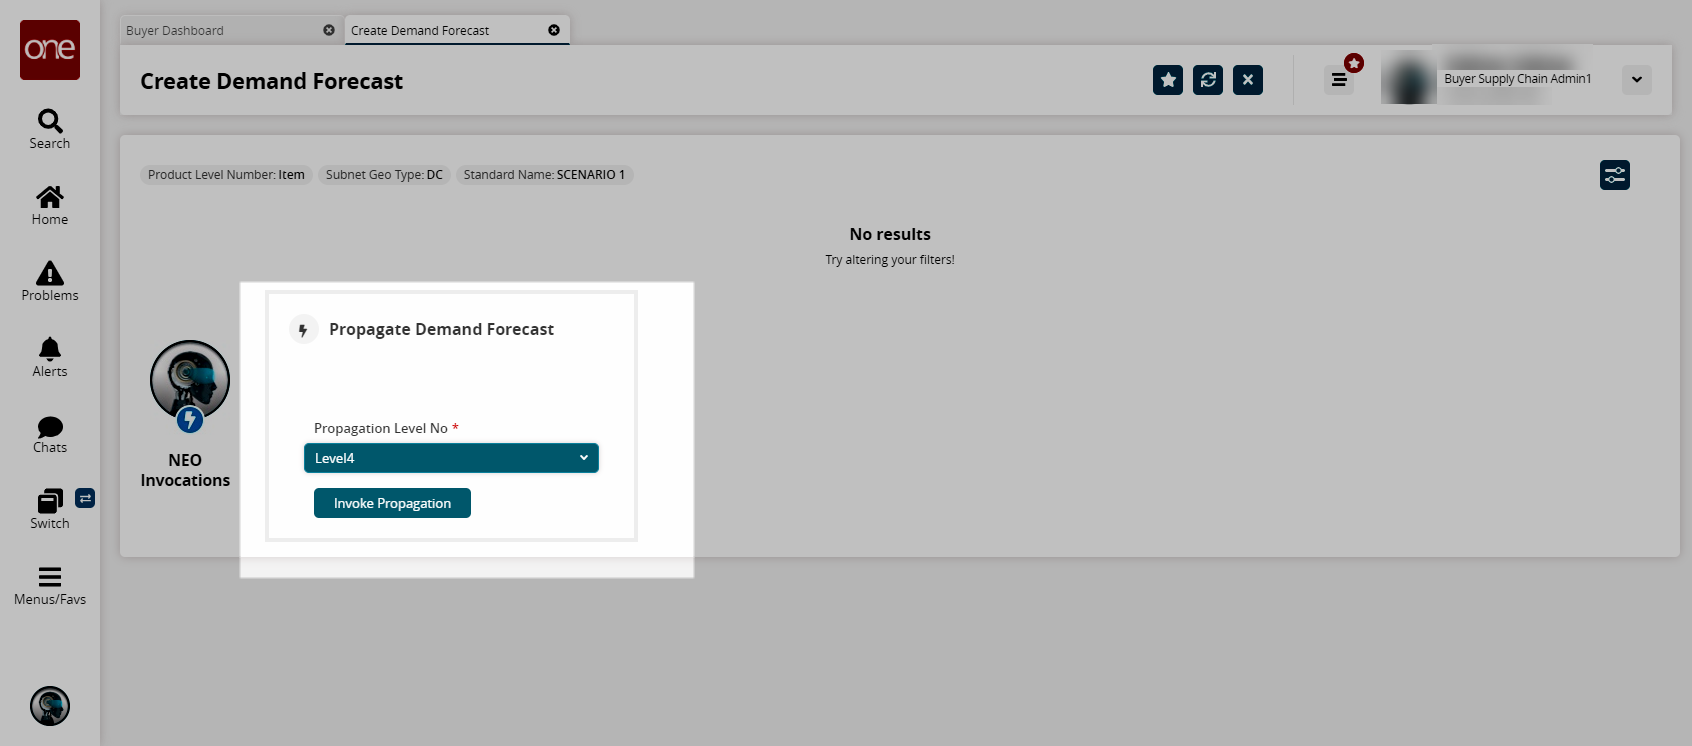
The forecast is propagated down (or up) to the specified level.