Creating Demand Management Rules
Complete the following steps to create demand management rules:
L og in to the ONE system.
Click Menus/Favs > Inventory Planning > Configuration > Demand Management Data > New Demand Mgmt Rule.
In the NEO UI, users can click on the Menus/Favs icon on the left sidebar and type in the name of the screen in the menu search bar. For more information, see "Using the Menu Search Bar."
The New Demand Mgmt Rule screen displays.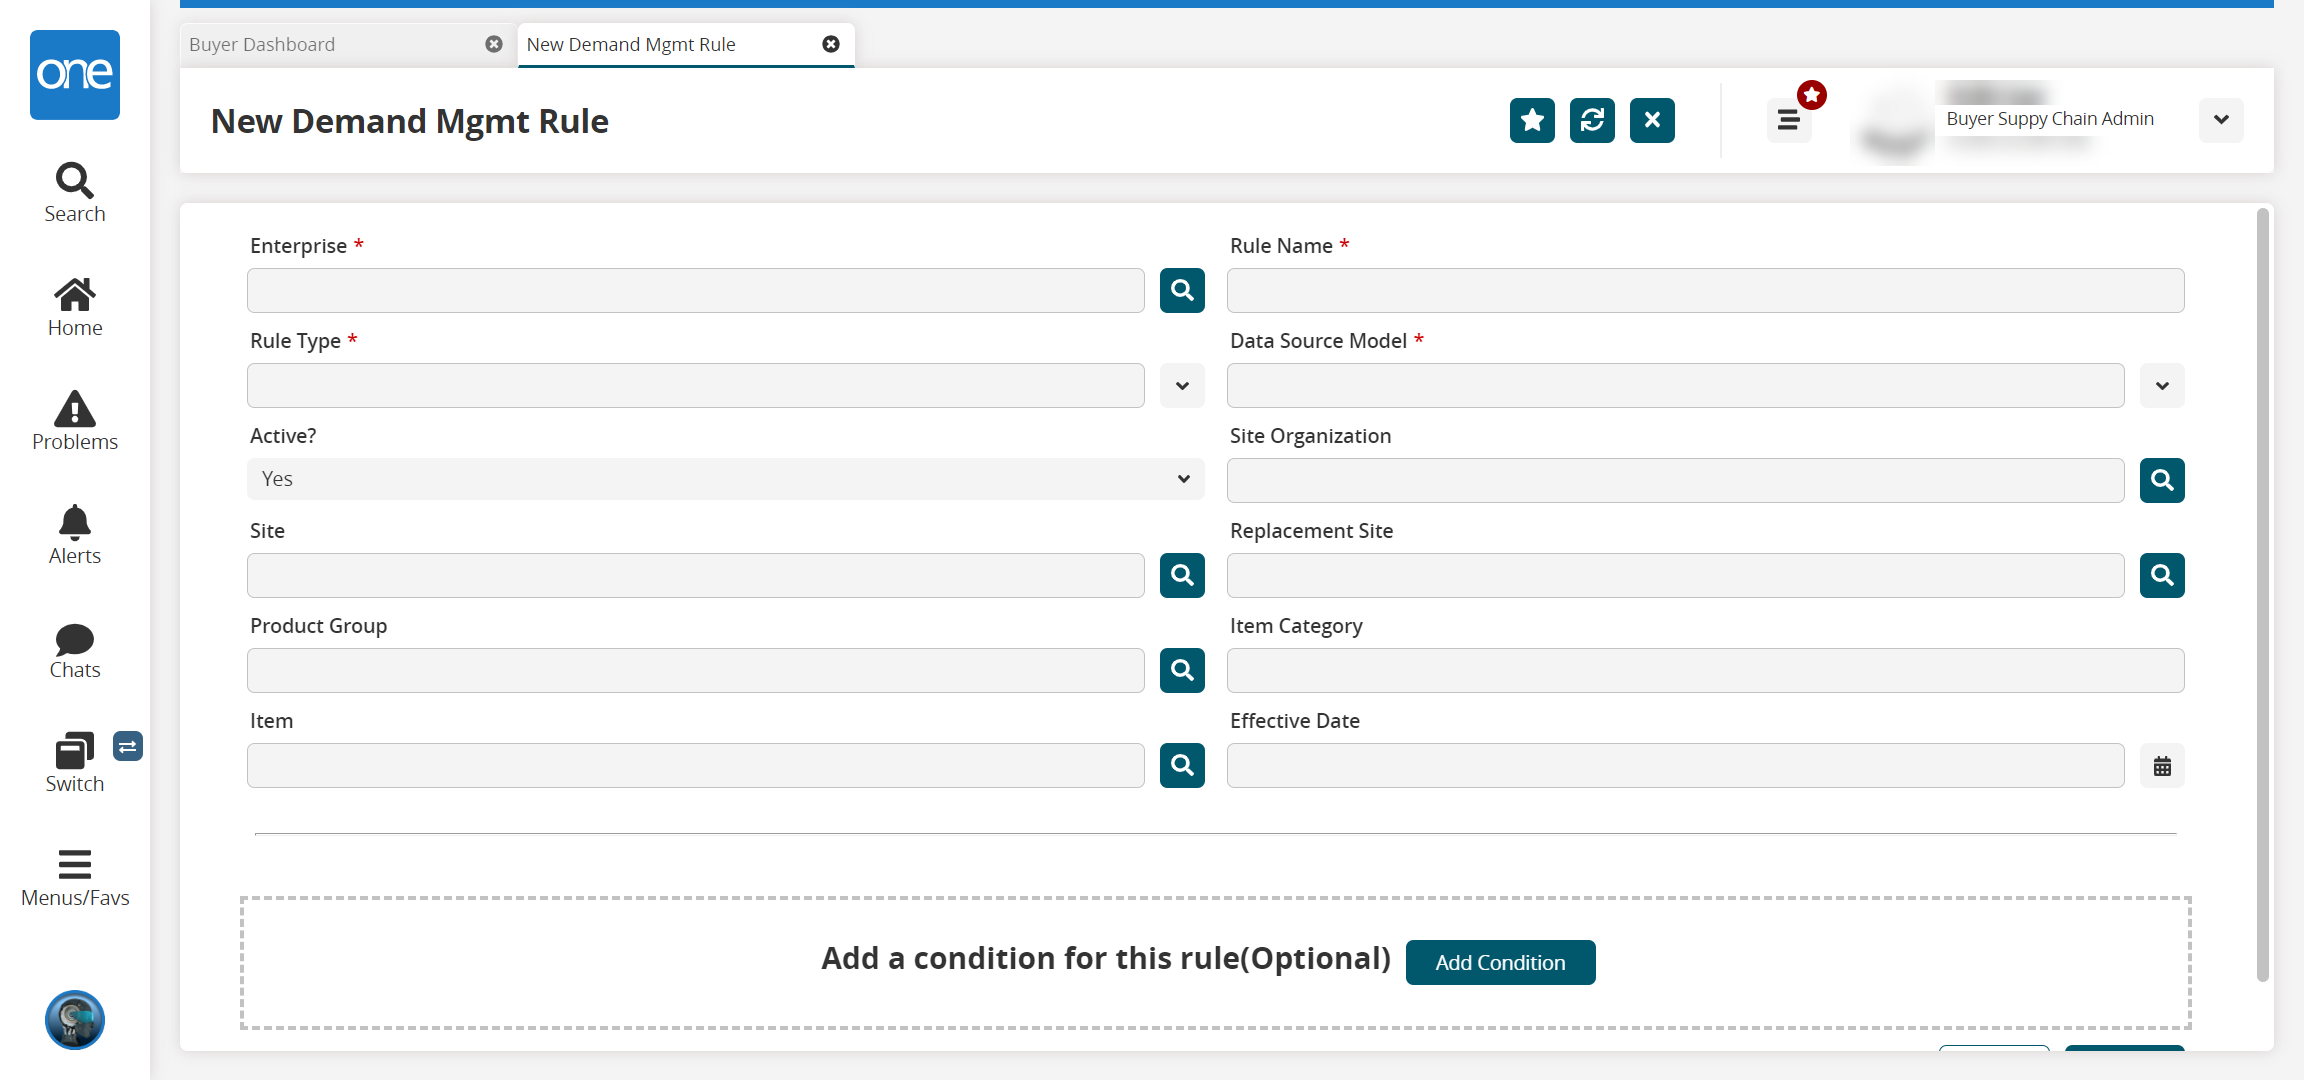
Enter values for fields described in the table below. Fields with an asterisk ( * ) are required.
Field
Description
Enterprise *
Click the picker tool to select the enterprise.
Rule Name *
Enter a name for the new demand management rule.
Rule Type *
Select a rule type from the dropdown list. The options are Demand Exclusion and Demand Propagation.
Data Source Model *
Select a data source model from the dropdown list.
Active?
Select yes or no from the dropdown list to indicate whether the rule should be activated.
Site
Click the picker tool to select a site.
Product Group
Click the picker tool to select a product group.
Item
Click the picker tool to select an item.
Site Organization
Click the picker tool to select a site organization.
Replacement Site
Click the picker tool to select a replacement site.
Item Category
Enter an item category.
Effective Date
Click the calendar icon to select a date on which the rule should become active.
If desired, click the Add Condition button to add a condition for the new rule.
A Condition 1 section appears.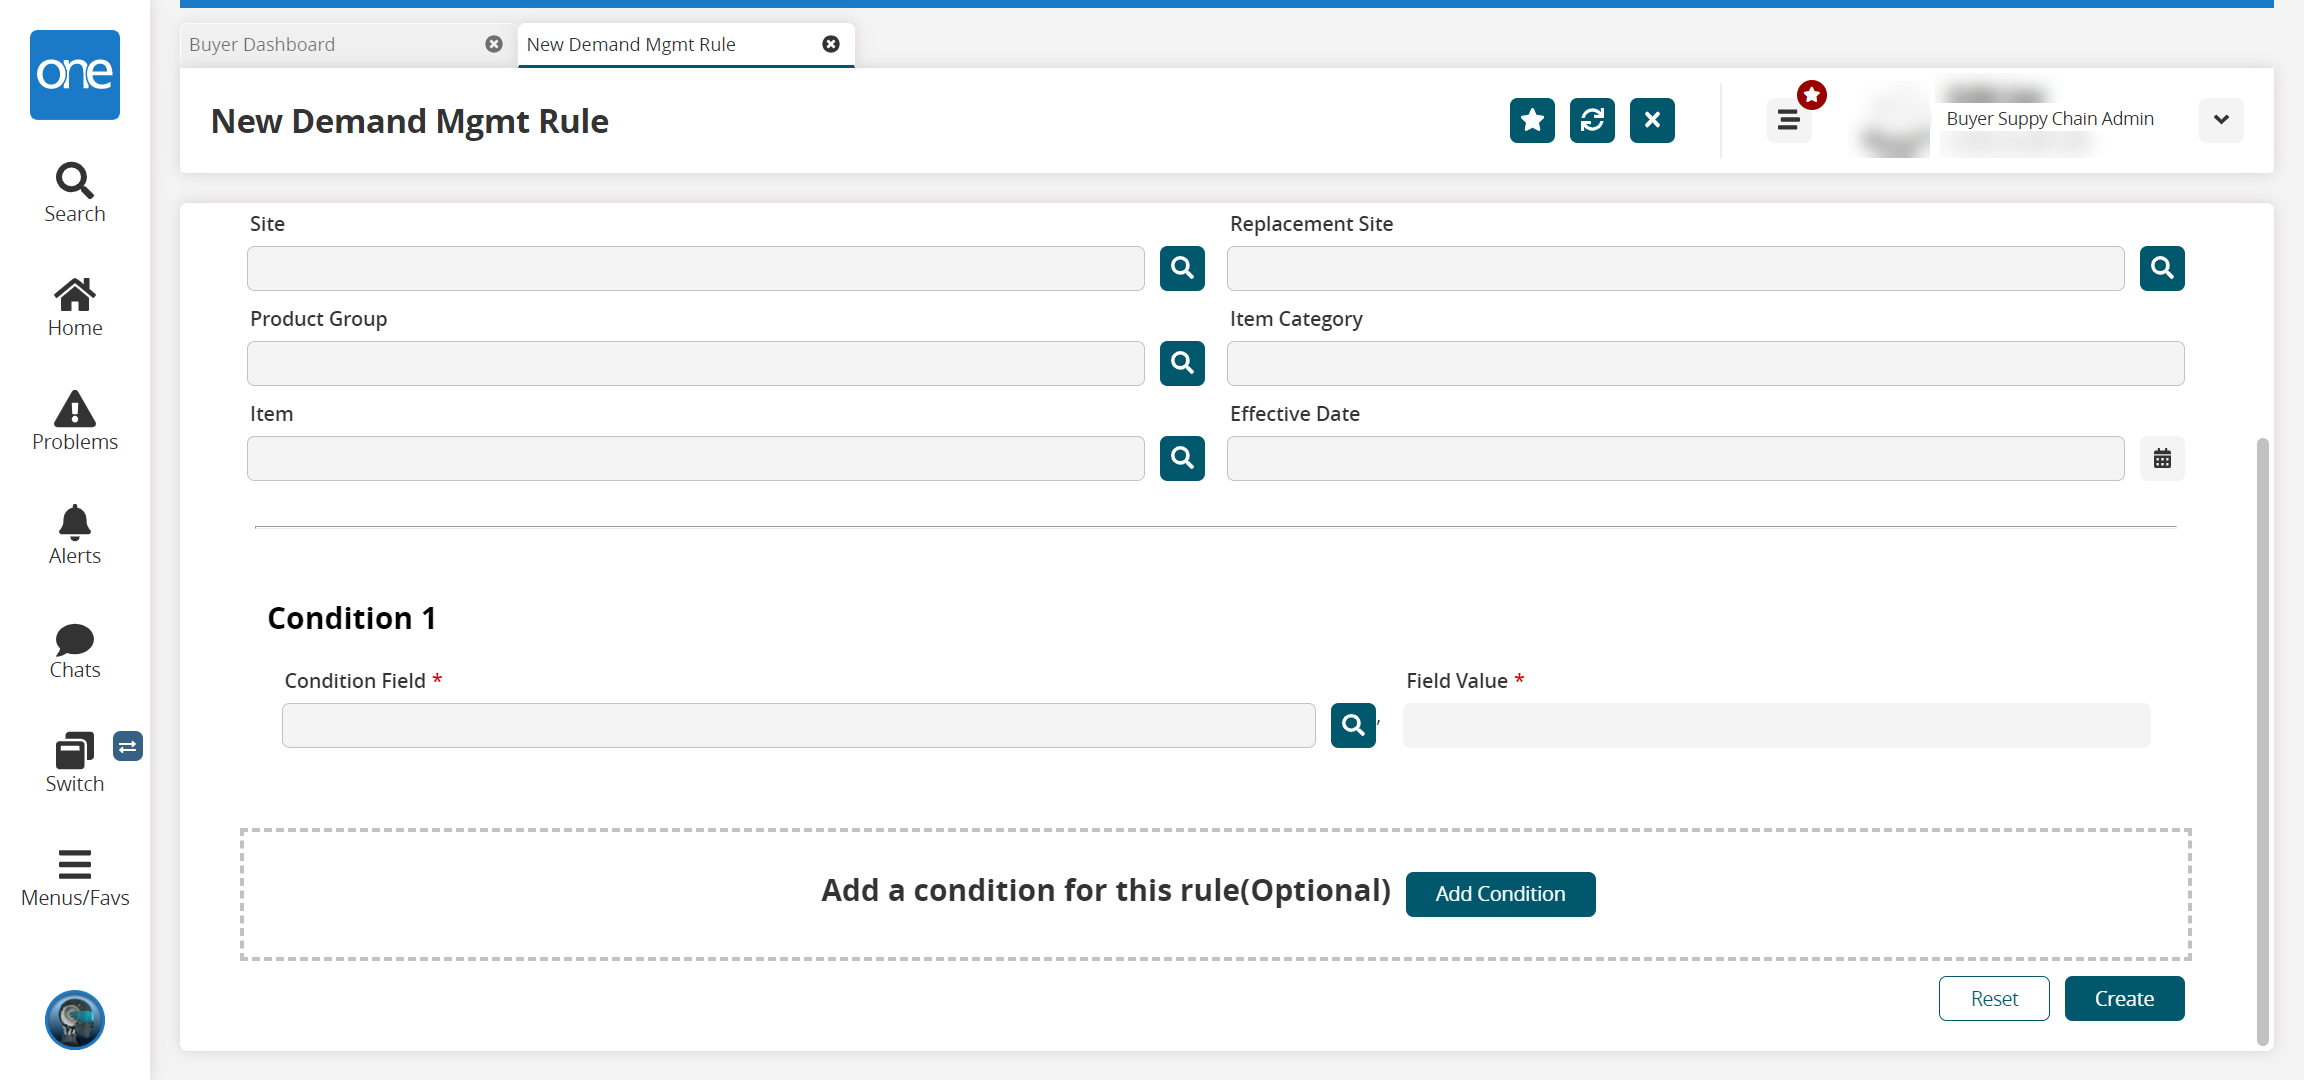
In the Condition Field * field, click the picker tool to select the applicable field for the condition being added to the new rule.
In the Field Value * field, enter the value for the selected condition field. This field's format changes depending on the condition field chosen. For example, if Delivery Date is chosen for the condition field, the Field Value field displays a calendar icon for the user to select the date.
Click the Add Condition button as needed to add additional conditions to the rule.
Once the conditions have been added, click the Create button.
A green success message appears, and the new rule is created.