Creating Integration Subscriptions from the Tools Menu
Users with the appropriate permissions can create integration subscriptions from the Integration Subscriptions found in the Tools submenu. From this screen, users can search, download, and create integration subscriptions.
Complete the following steps to work with integration subscriptions:
L og in to the ONE system.
Click Menus/Favs > Tools > Integration Subscriptions . In the NEO UI, users can click on the Menus/Favs icon on the left sidebar and type in the name of the screen in the menu search bar. For more information, see "Using the Menu Search Bar."
The Integration Subscriptions screen appears.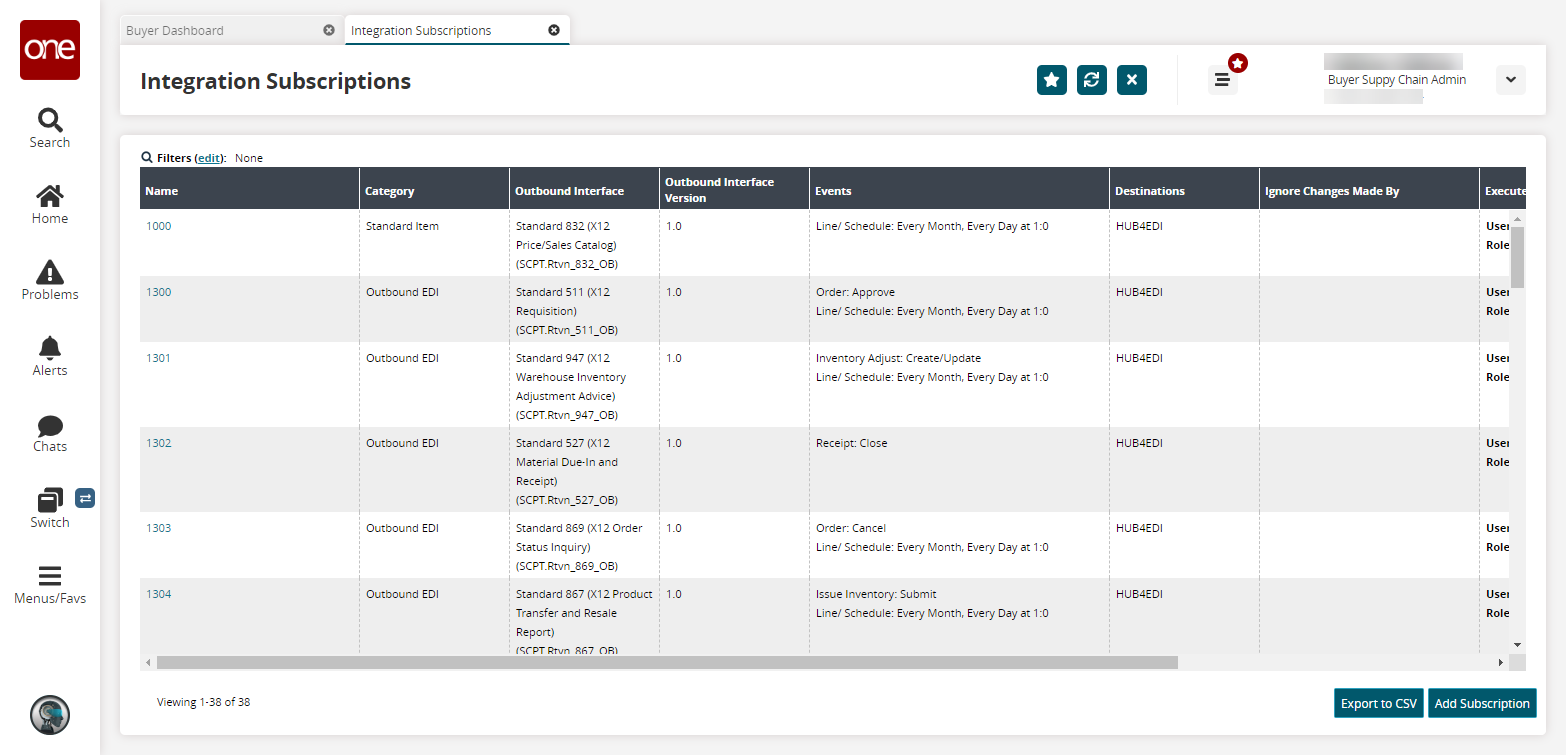
Click a link in the Name column to view integration subscription details.
Click the Export to CSV button to export the report to a CSV file.
Click the Add Subscription button to create a subscription.
The New Integration Subscription screen appears.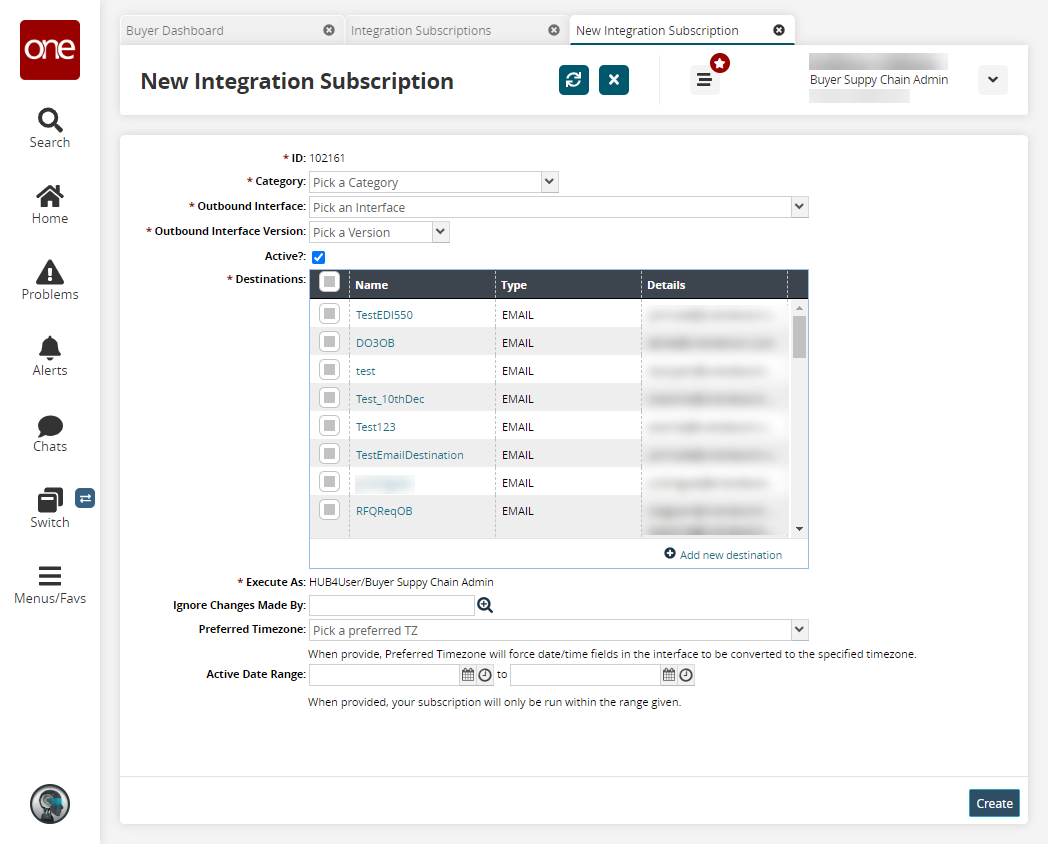
Fill out the following fields. Fields with an asterisk ( * ) are required.
Field
Description
* ID
The identification number is auto-populated.
* Category
Select a category from the dropdown menu.
* Outbound Interface
Select an outbound interface from the dropdown menu. The available outbound interfaces are determined by the selected category.
* Outbound Interface Version
This field is automatically populated after the outbound interface is selected.
Active?
Select this checkbox if the report subscription is active.
* Destinations
Select a destination or click the Add new destination link to add a new destination for the alert.
* Executed As
This field is automatically populated based on the enterprise and user.
Ignore Changes Made By
Enter a user if you want the alert to ignore changes made by a specific user.
Preferred Timezone
Select the preferred timezone from the dropdown menu.
Active Date Range
Select the active date range using the calendar and clock icons.
Click Create.
A success message appears.