Creating LPNs
Users can create new License Plate Numbers (LPNs) in the system.
LPNs can also be added to the To LPN column in CSV files used to upload Pick Lists or Receipts. The LPNs are automatically created when the CSV file is uploaded. Please see the "Uploading Files" section in Online Help for more information.
Complete the following steps to create LPNs:
L og in to the ONE system.
Click Menus/Favs > Warehouse Mgmt > LPNs. In the NEO UI, users can click on the Menus/Favs icon on the left sidebar and type in the name of the screen in the menu search bar. For more information, see "Using the Menu Search Bar."
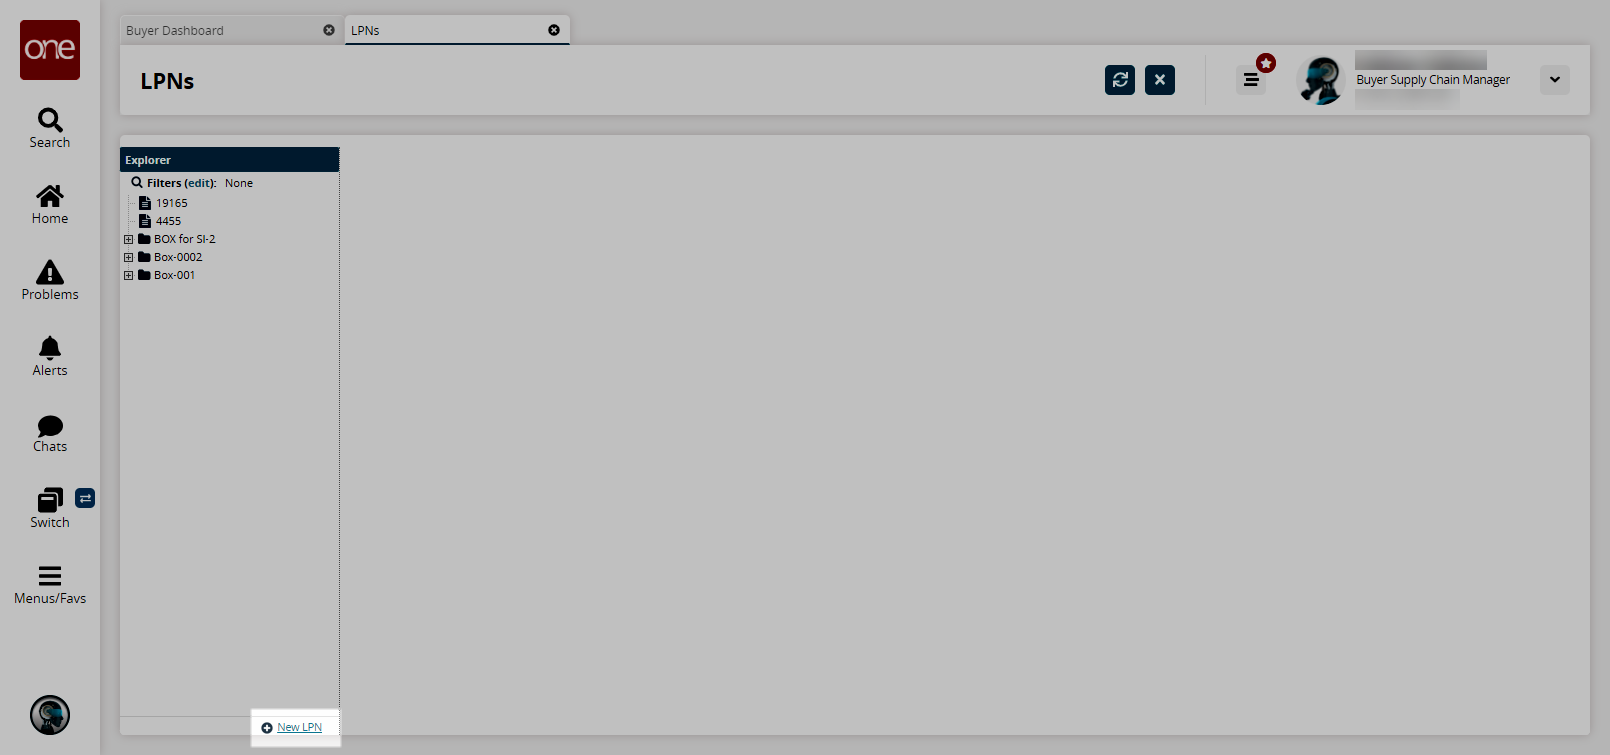
The LPNs screen appears.Click the New LPN link at the bottom of the Explorer pane.
The right pane updates.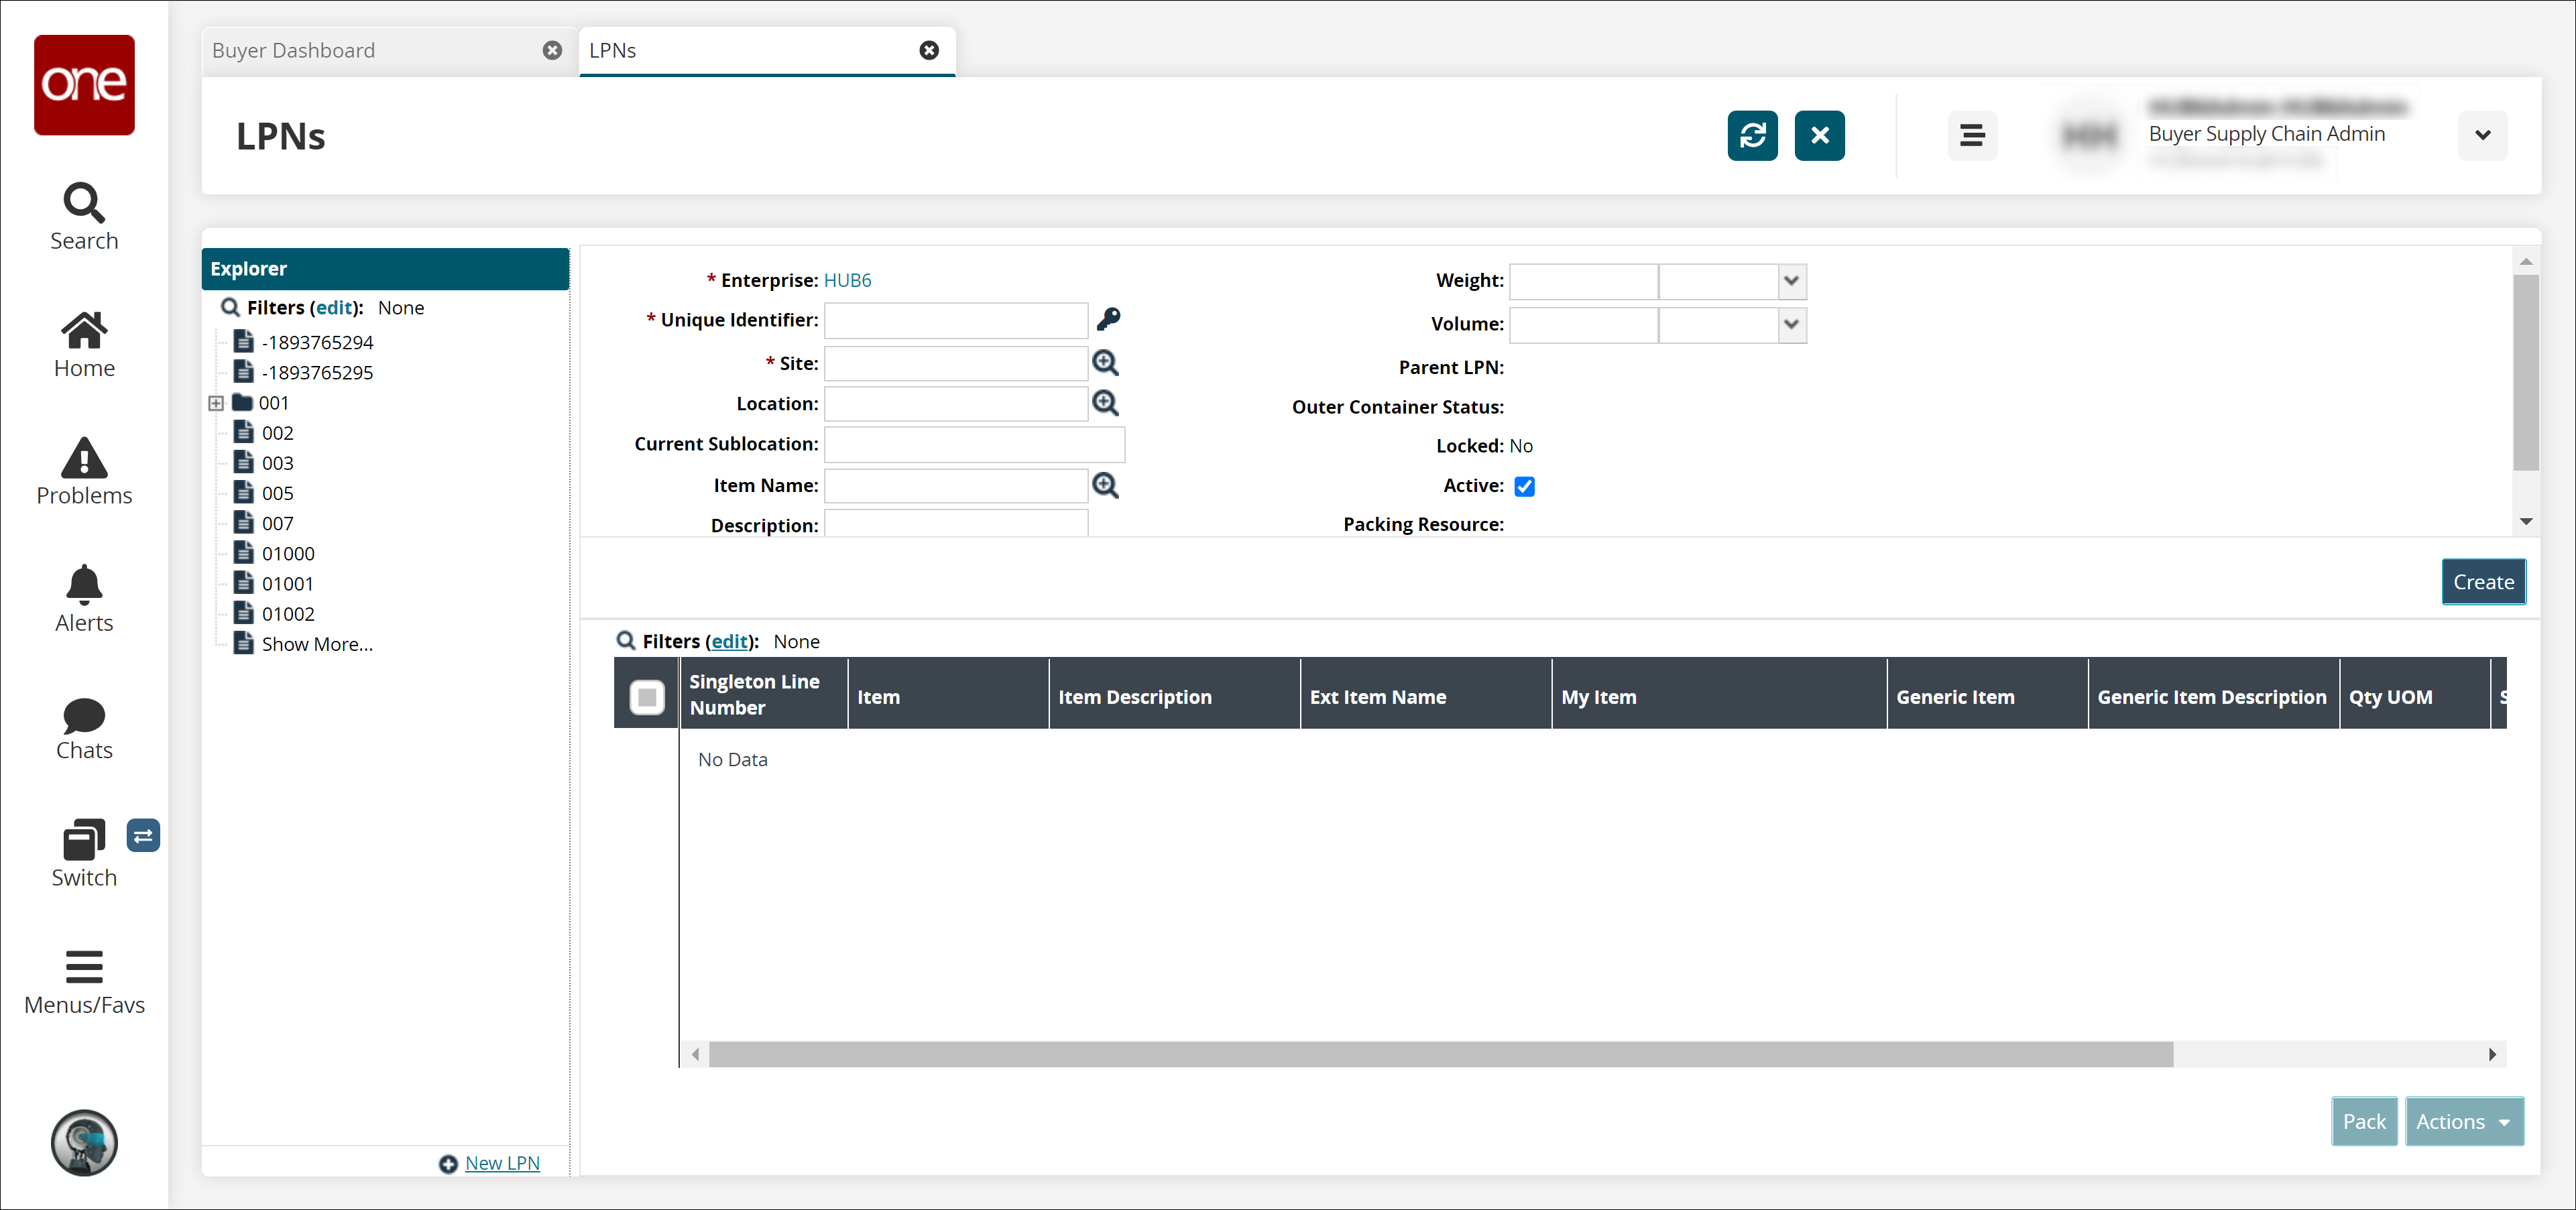
Fill out the following fields. Fields with an asterisk ( * ) are required.
Field
Description
* Enterprise
This field is auto-populated based on the user profile.
* Unique Identifier
Enter a unique number, or click the key icon to generate a unique number for the new License Plate Number.
* Site
Enter a site name or use the picker tool to select a site.
Location
Enter a location or use the picker tool to select a location.
Current Sublocation
Enter a sublocation.
Item Name
Enter an item name, or use the picker tool to select an item.
Description
Enter a description of the LPN.
L x W x H
Enter a length, width, and height, and select a unit of measure from the dropdown menu.
Weight
Enter a value for the weight, and select a unit of measure from the dropdown menu.
Volume
Enter a value for the volume, and select a unit of measure from the dropdown menu.
Parent LPN
This field is reserved for updates after the LPN has been created.
Outer Container Status
This field is reserved for updates after the LPN has been created.
Locked
This field is auto-populated.
Active
Select this checkbox if this LPN is active.
Packing Resource
This field is reserved for updates after the LPN has been created.
Click the Create button.
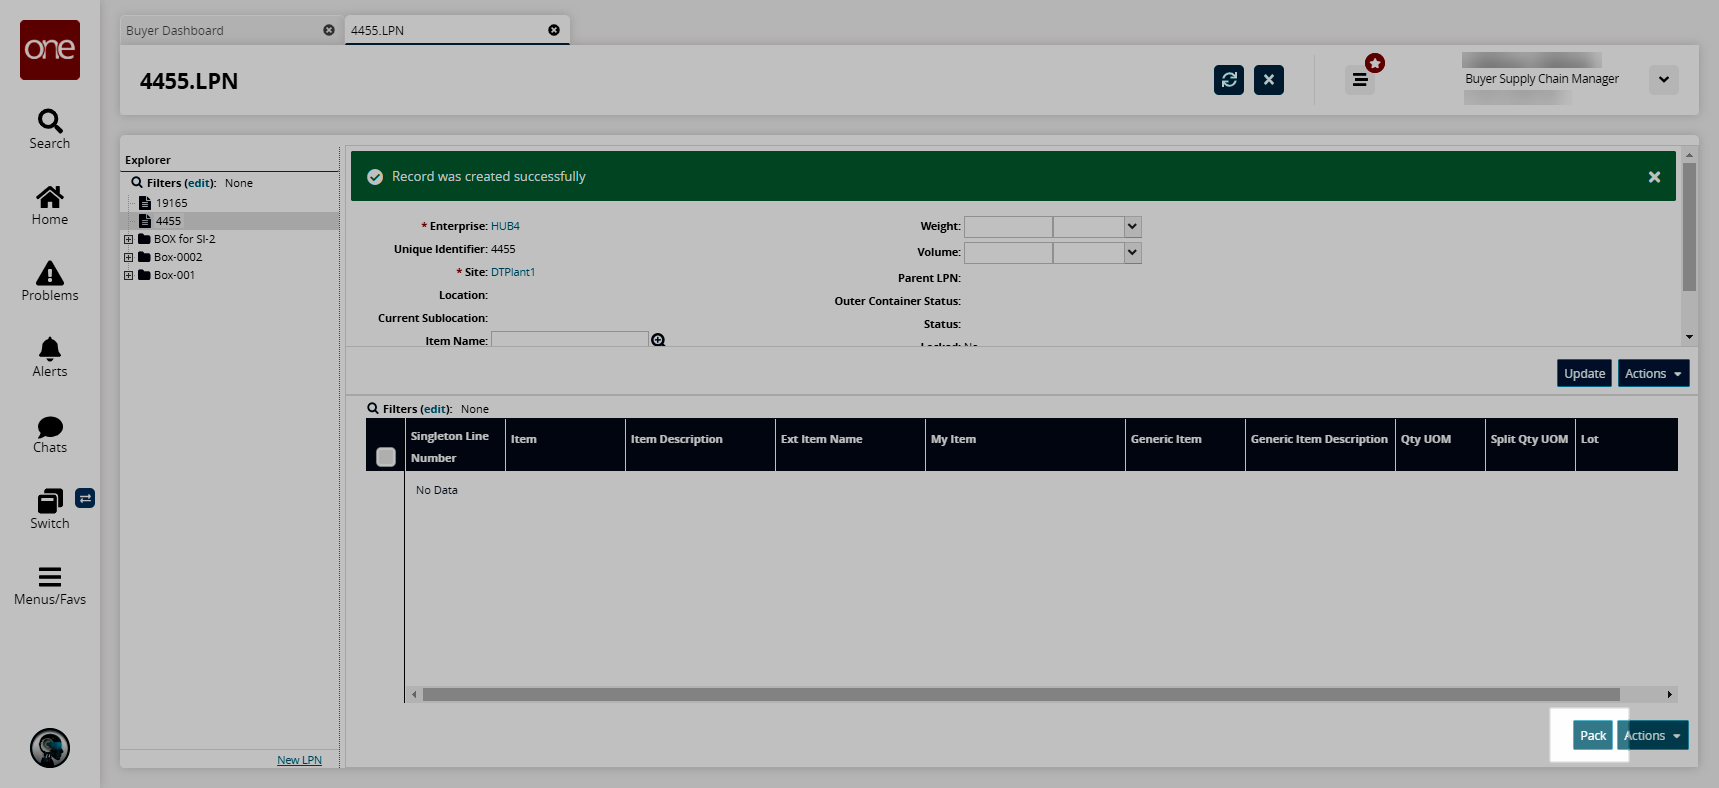
A success message appears. The newly created LPN appears in the Explorer pane on the left.Click the newly created LPN in the Explorer pane.
To add items as singletons to the LPN, click the Pack button at the bottom of the screen.
The Location Inventory popup appears.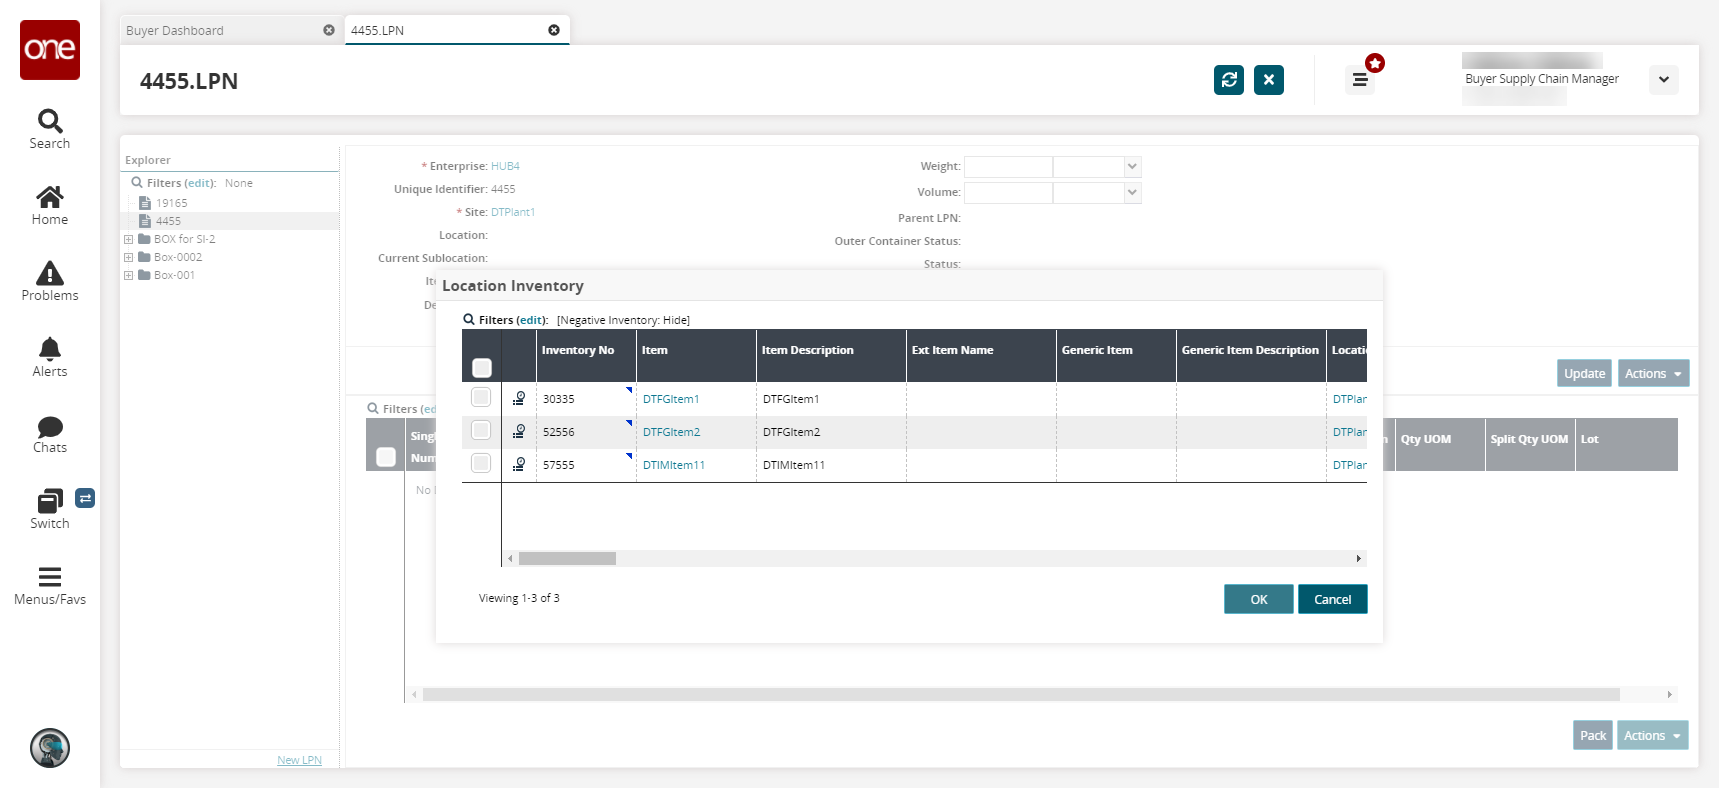
Click a checkbox to select an item line to add to the LPN.
Click the OK button.
A success message appears. The item line is displayed on the LPN page.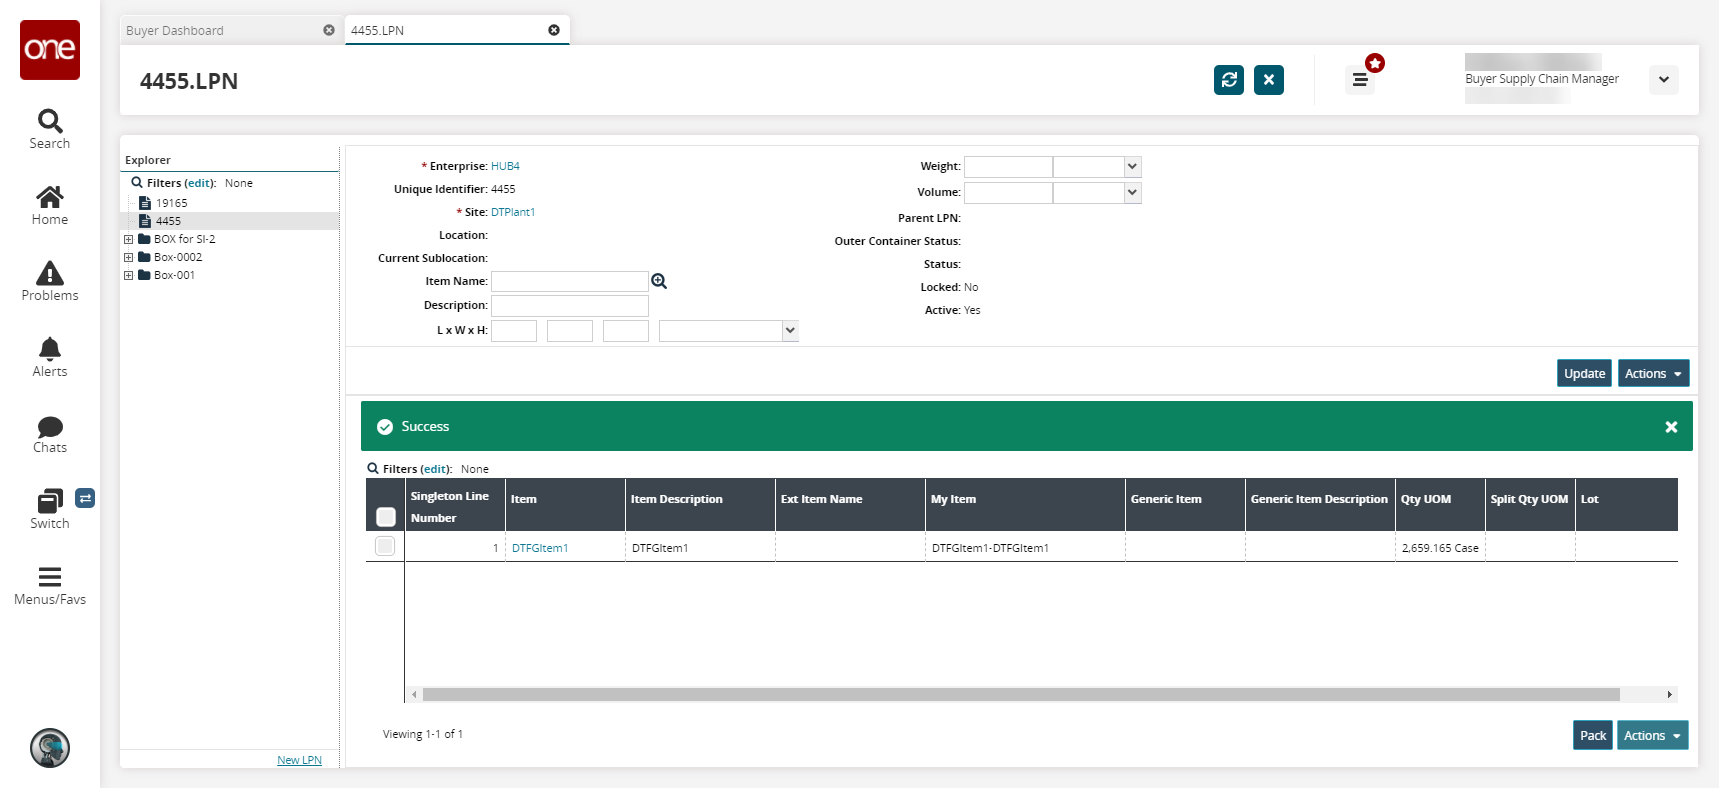
Click the Actions button, and select Unpack to unpack the singleton line item.
Click the Actions button in the header section for the LPN, and select any of the options from the dropdown menu to perform the actions listed in the below table.
Selected Action
Effect on LPN
Associate With Packing Resource
The Packing Resource field is enabled. Use the picker tool to select a packing resource, and click the Submit button.
Consolidate
A Consolidate LPN popup window appears.
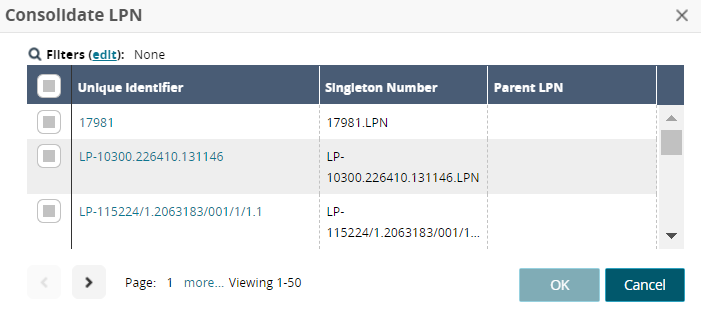
Select a Unique Identifier, and click the OK button.Deactivate
The action deactivates the LPN, and the Active status is labeled as No for the LPN.
Lock
A confirmation popup displays. Click the Yes button. The action locks the LPN, and the Locked status is labeled as Yes for the LPN.
Reactivate
The action reactivates the LPN, and the Active status is labeled as Yes for the LPN.
Recompute Properties
A Recompute Properties window popup appears.
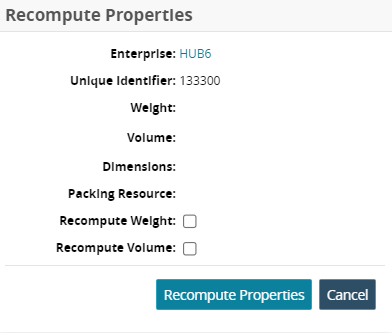
Click the Recompute Weight or Recompute Volume checkbox to recompute the properties.
Click the Recompute Properties button to apply the recomputed weight or volume to the LPN.
Split
A Split LPN popup window appears. Select a Unique Identifier, and click the OK button.
Stage LPN
The Outer Container Status is labeled as Staged for the LPN.
Transfer
The Location, Current Sublocation, Reason Code, and Comments fields are enabled in the LPN header.
Use the picker tool to select the Location and Reason Code.
Enter the Current Sublocation and Comments.
Unlock
A confirmation popup displays. Click the Yes button. The action unlocks the LPN, and the Locked status is labeled as No for the LPN.
Unstage LPN
The Outer Container Status is blank for the LPN.