Creating Lots
This section describes how to create lots in the Warehouse Management system.
Complete the following steps to add items:
Log in to the ONE system.
Click Menus/Favs > Warehouse Mgmt > Reports > Lots.
The Lots screen appears.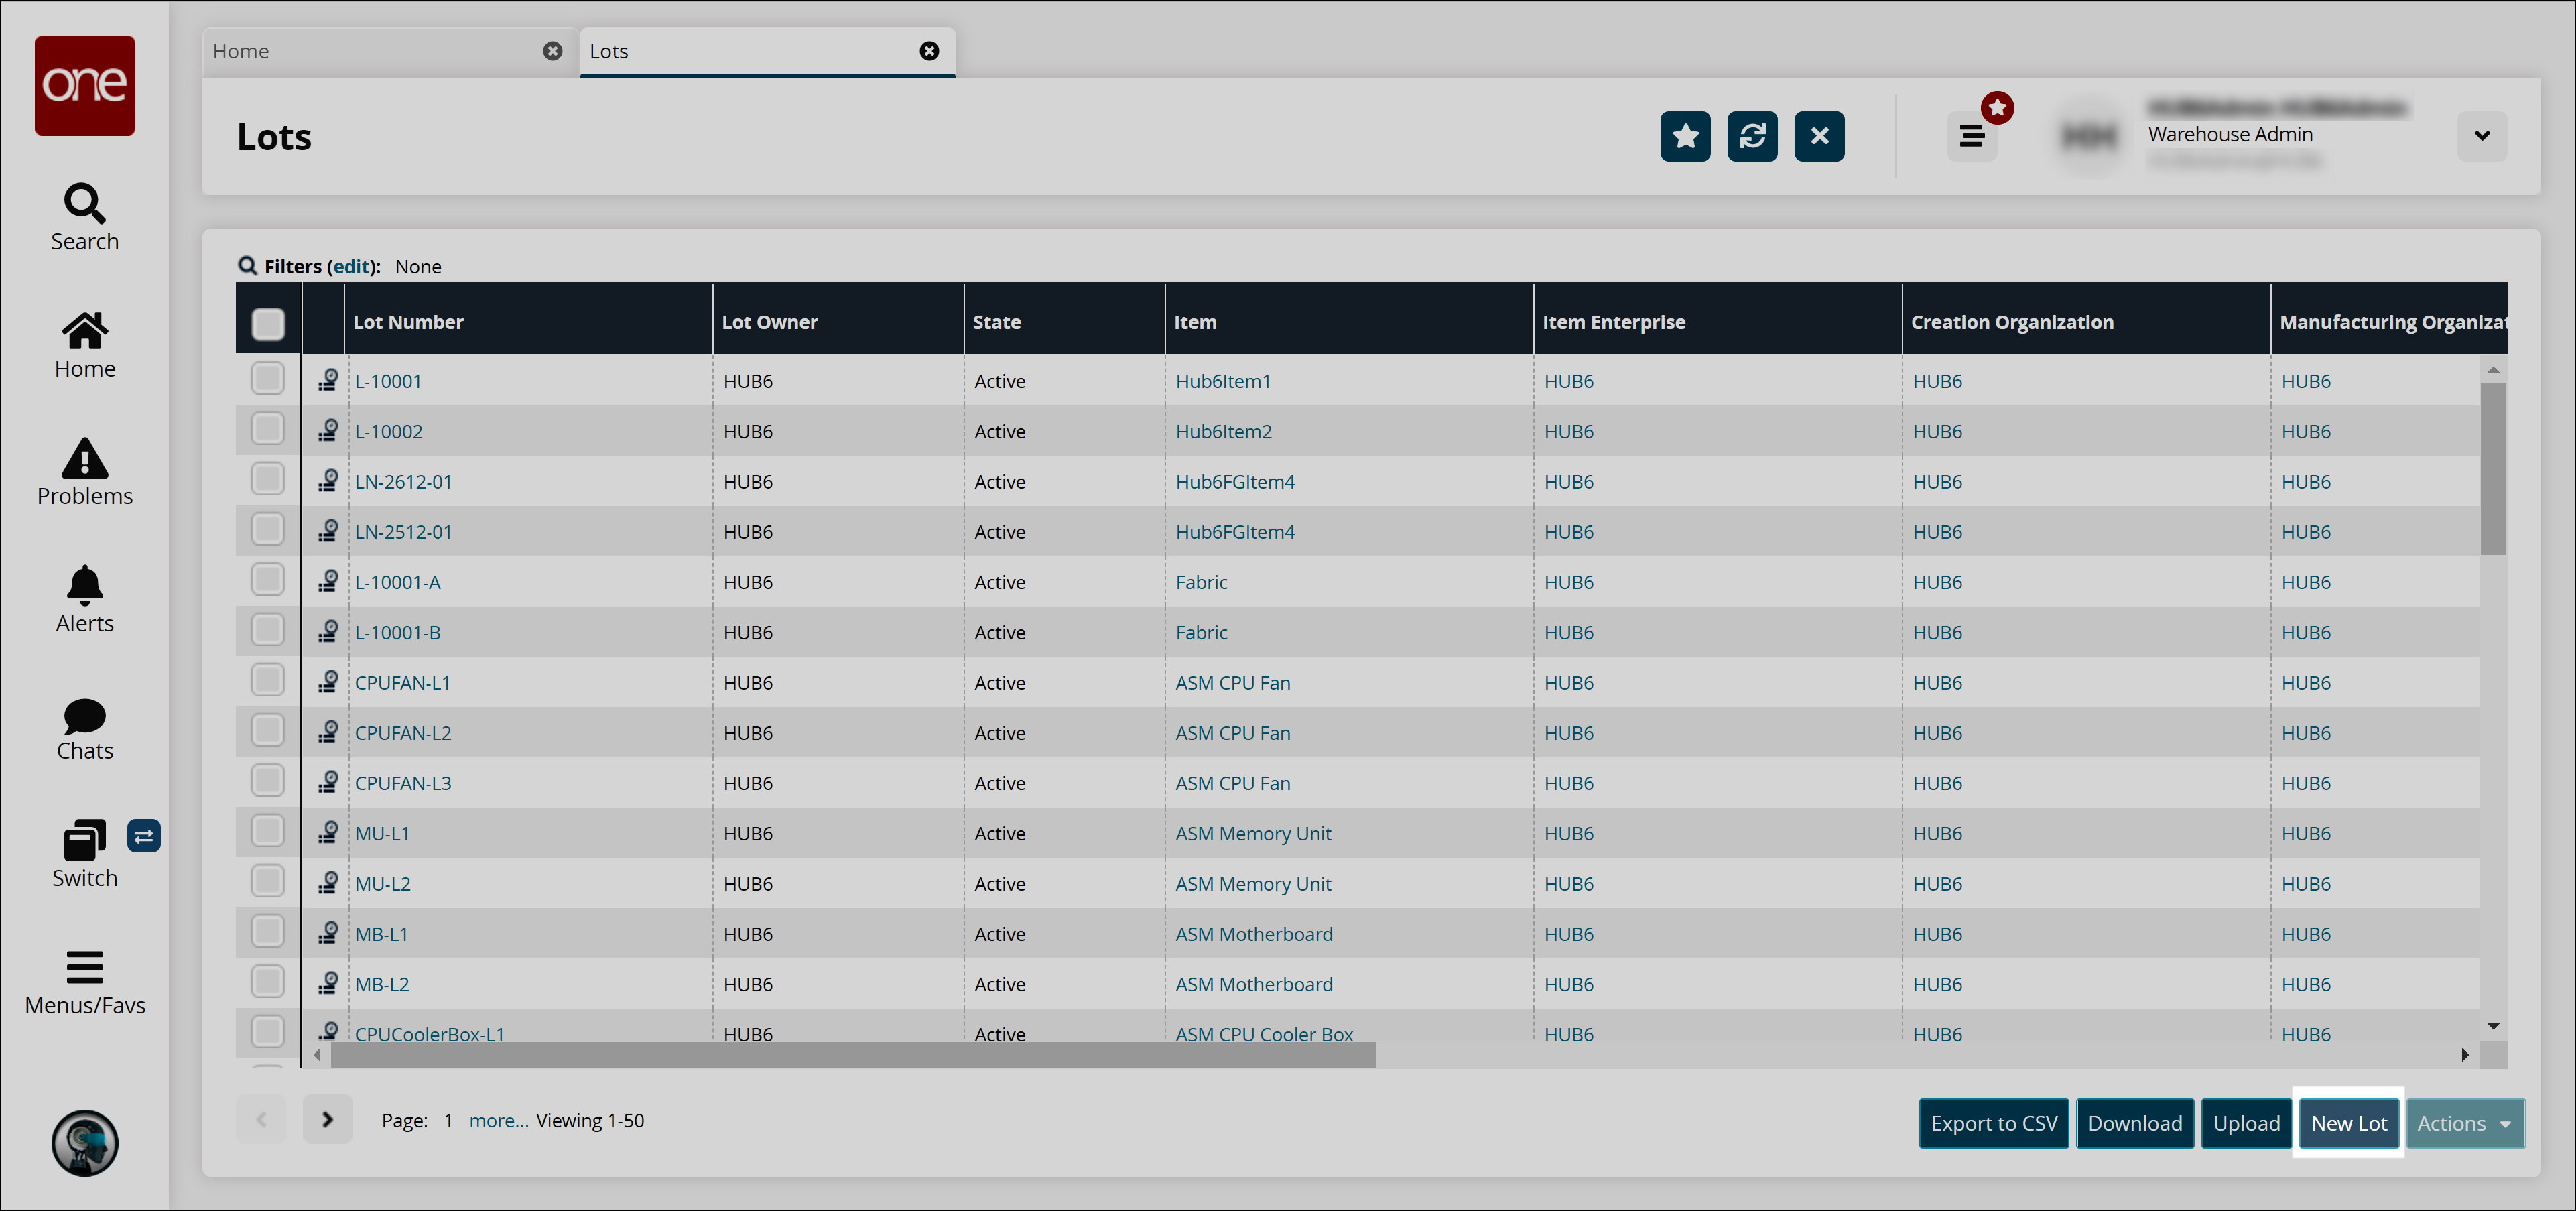
Click the New Lot button at the bottom of the screen.
The New Lot screen appears.
Fill out the following fields. Fields with an asterisk ( * ) are required.
Field
Description
* Lot Number
Enter a lot number.
* Lot Owner
Enter a lot owner.
* Item
Select an item using a picker tool.
Best Buy Date
Select a best buy date using the calendar icon.
Expiry Date
Select an expiry date using the calendar icon.
Batch No
Enter a batch number.
Batch Qty
Enter a batch quantity and select a unit of measure.
Manufacture Date
Select a manufacture date using the calendar icon.
Mfg Org
Select a manufacturing organization.
Click the Add link to add a line.
Enter or select values for the Items, Lot, and Quantity fields.
Click Create to create the lot.
A success message appears.