Creating Production Orders from the PO or DO Workflow
Vendor users can manually create production orders from the purchase order (PO) and deployment order (DO) workflows. The Enable Production Order Creation policy must be enabled first. Once enabled, the Create Production Order action is available for POs and DOs in the Open state on the PO and DO detail pages and on the Search POs and Search DOs reports. This action is only available when a PO or DO is in the Open state.
Please note the following clarifications regarding this feature:
The Enable Production Order Creation policy must be enabled on the selling organization (for POs) or the Ship From organization (for DOs), not for the owning or creation organization.
There are no restrictions on the number of production orders that can be created from a single PO or DO.
Production orders created in this way can still be canceled. The pre-existing Cancel Production Order is called internally when a user cancels an order, cancels an order line, or requests a schedule cancelation for the order.
This feature only supports standard POs and is not intended to be used with other types of POs, such as AVL POs, VMI POs, Spot POs, Release POs, VMI POs, and Blanket POs.
Complete the following steps to create a production order from a PO or DO:
L og in to the ONE system.
Enable the Enable Production Order Creation policy for the selling organization (POs) or the Ship From organization (DOs). See the "Searching Policies by Policy Name" and "Editing Policies" sections in Online Help for information on locating and editing the policy.
This workflow describes the process for POs, but the steps are the same for DOs.
Click Menus/Favs > Order Mgmt > Purchase Order > PO State Summary.
The PO State Summary screen appears.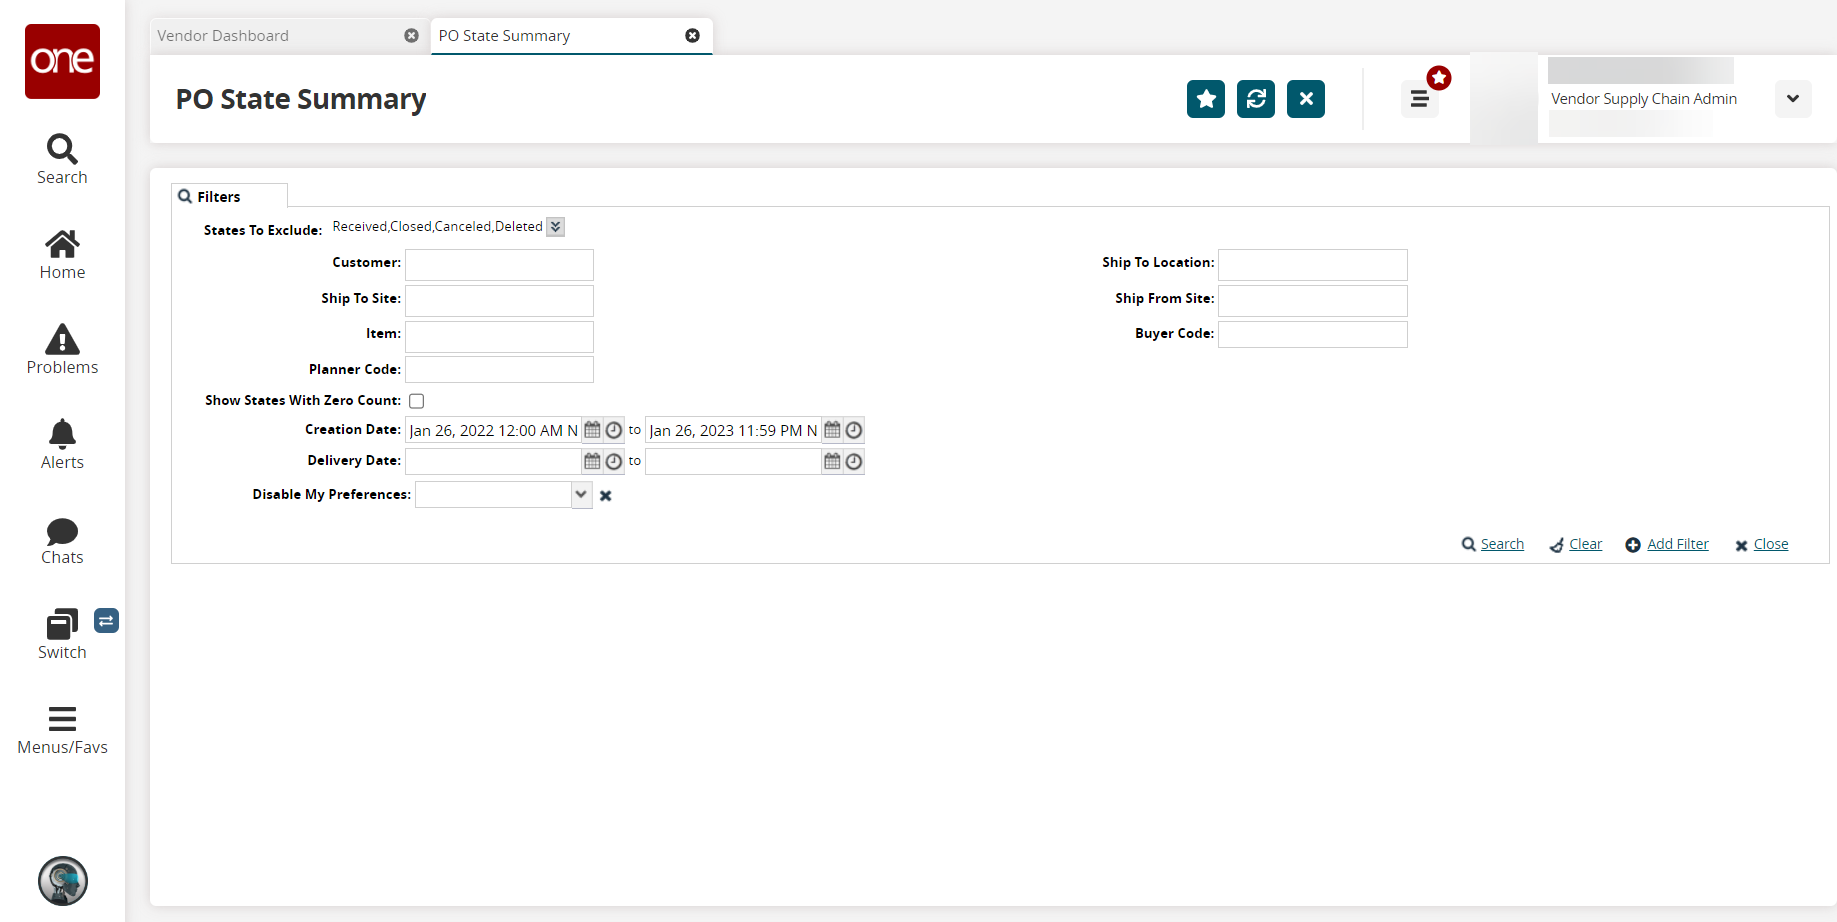
Fill out the following fields. Fields with an asterisk ( * ) are required.
Field
Description
States To Exclude
Click the dropdown icon to open the state checkboxes. Select the checkbox of the state you want to exclude. All states are selected by default.
Customer
Enter a customer name.
Ship To Site
Enter a ship-to site.
Item
Enter an item name.
Planner Code
Enter a planner code.
Show States With Zero Count
Select the checkbox to view purchase orders in states with a zero count.
Creation Date
Select the calendar and time icon to enter a time and period.
Delivery Date
Select the calendar and time icon to enter a time and period.
Disable My Preferences
Select the dropdown to enable or disable your preferences.
Ship To Location
Enter a ship-to location name.
Ship From Site
Enter a ship-from site.
Buyer Code
Enter a buyer code.
Input the desired filters and click Search. See the "Purchase Order State Summary Report" section in the Online Help for more information on this report.
The search results appear.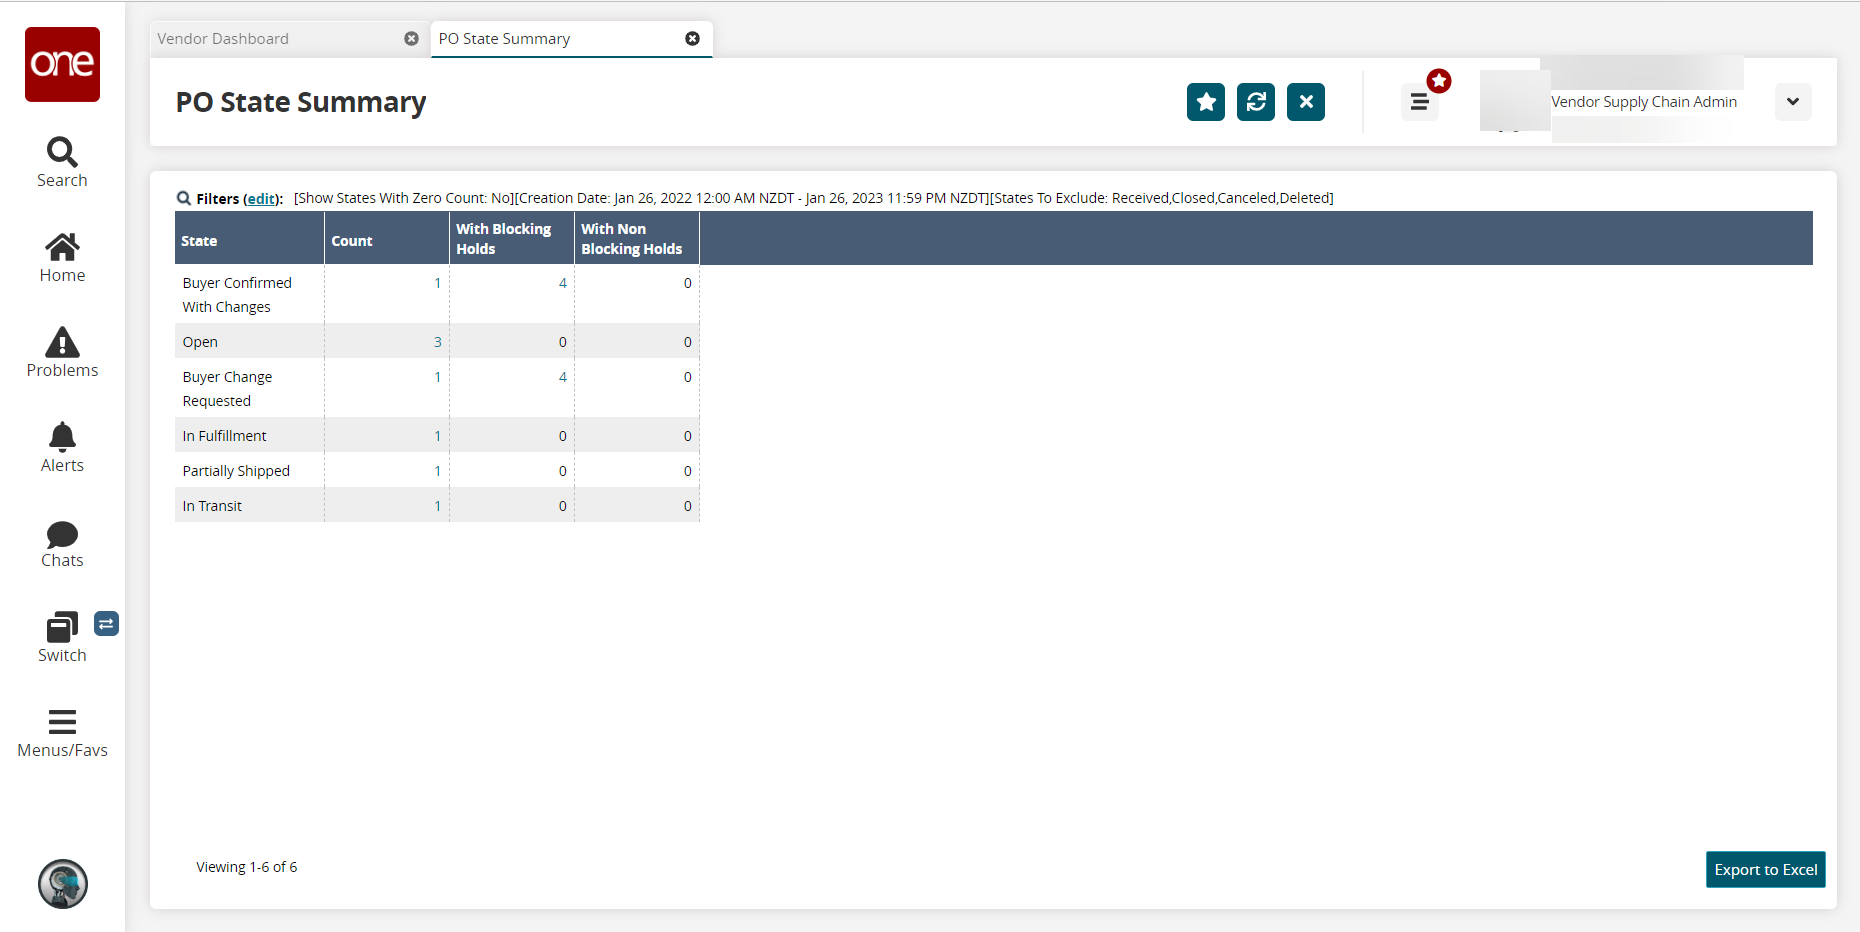
In the Count column, click the count link in the row for the Open state because users can only create production orders from POs and DOs in the Open state.
The Open state POs appear.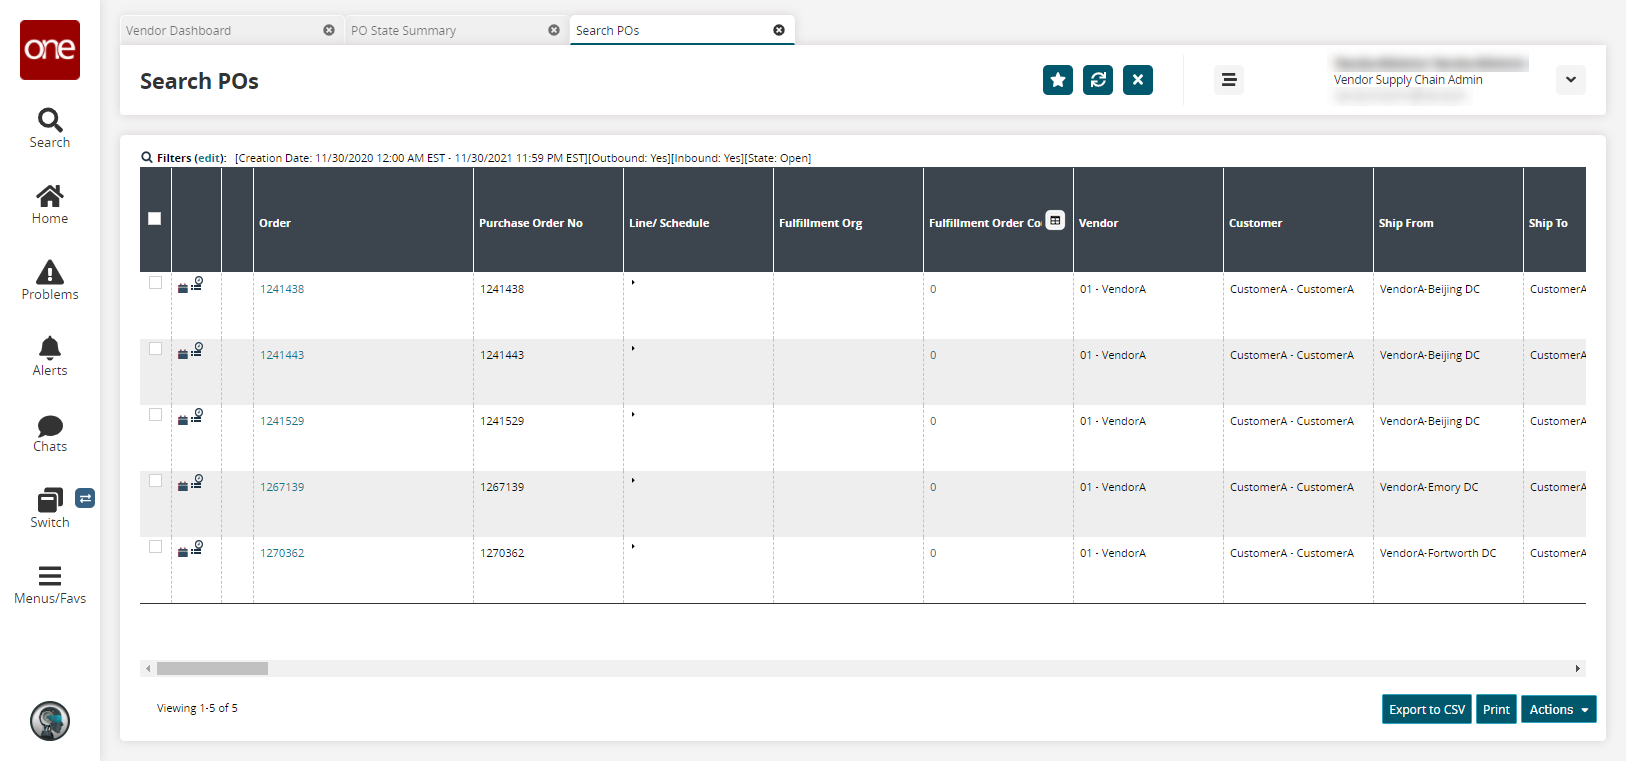
In the Order column, click an order number.
The PO details screen appears.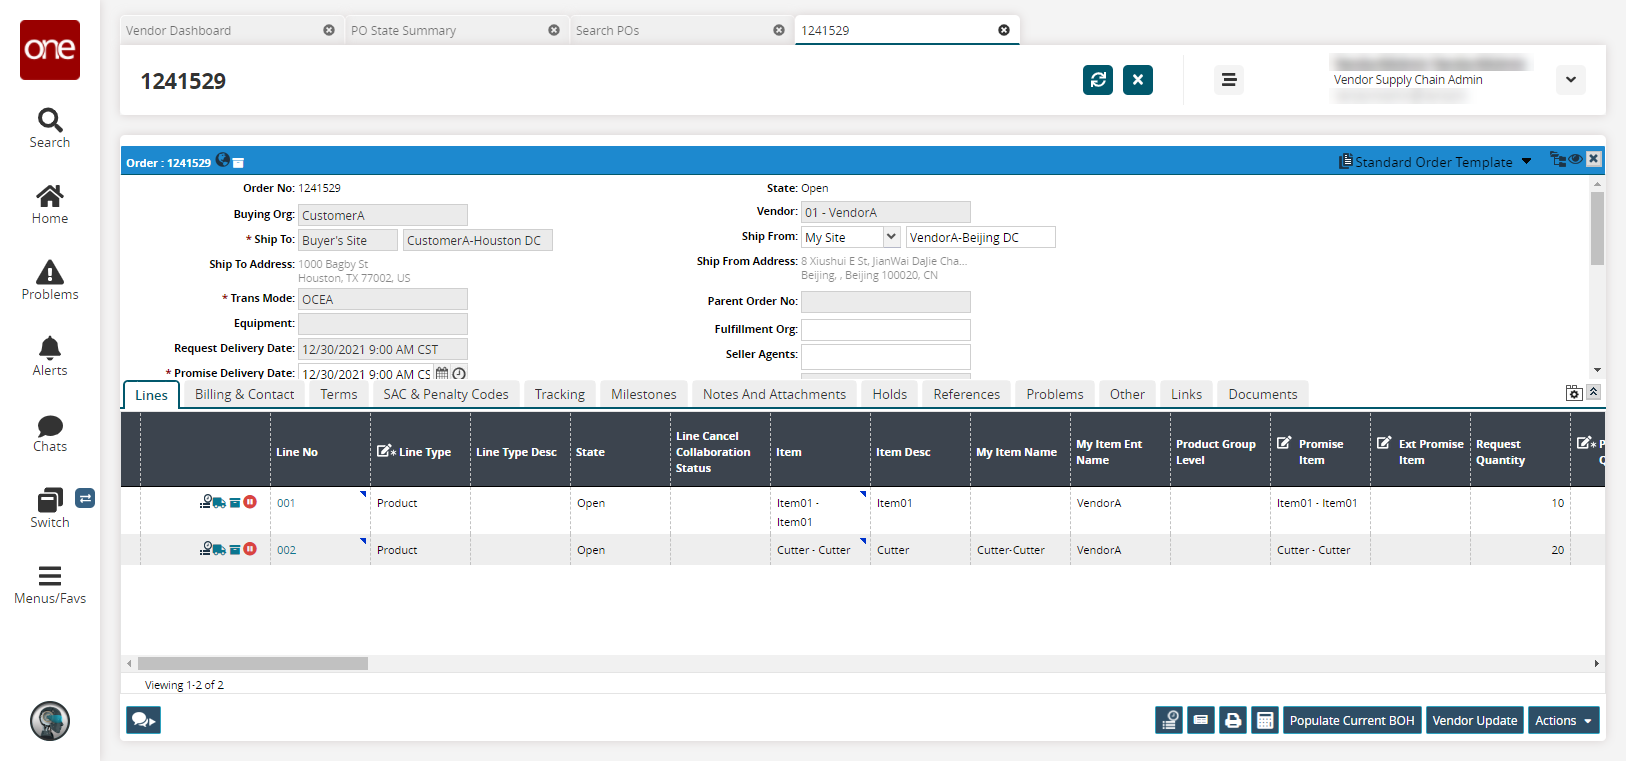
Click the Actions button and then click Create Production Order.
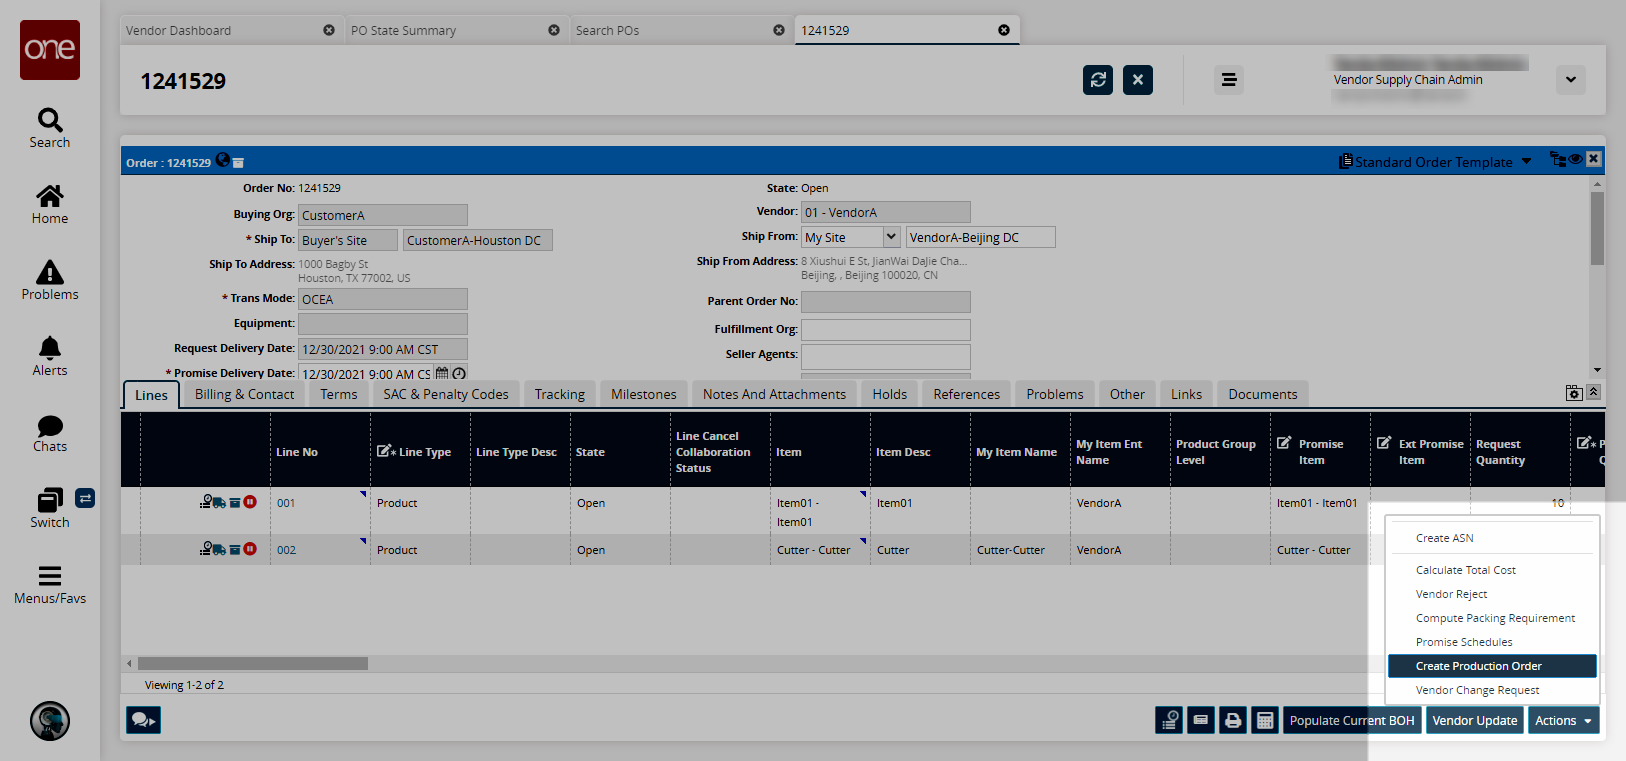
The Select Delivery Schedules popup appears.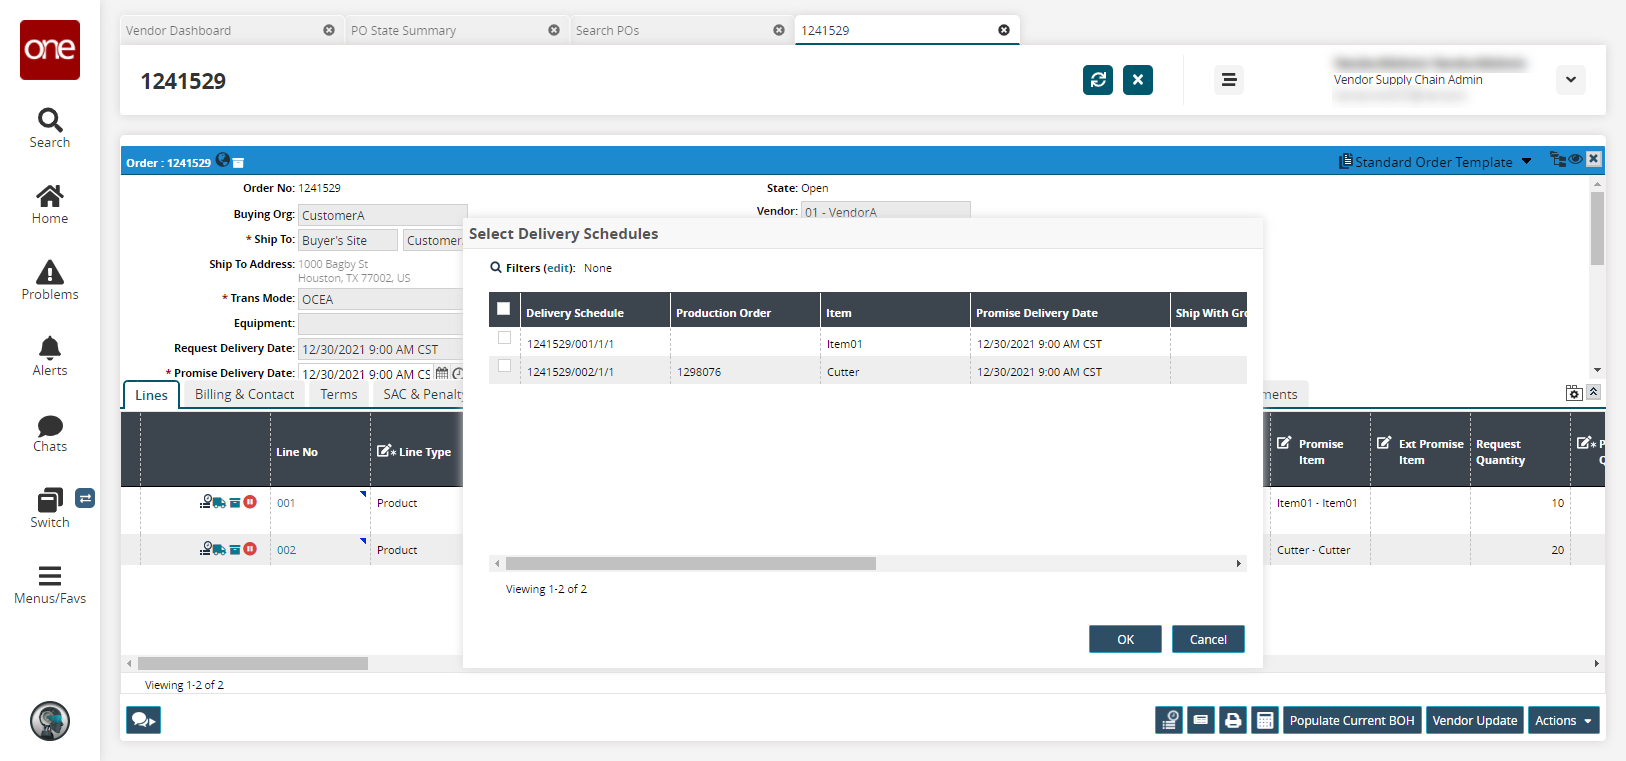
Select the desired delivery schedule and click OK.
A success message appears. A production order is created for the selected delivery schedule.