Creating Purchase Order Releases
Users can create purchase order releases which are purchase orders that are verified against an existing contract as opposed to a standard purchase order which is verified against an approved vendor list (AVL), or a spot purchase order which is validated against either AVL or Contract. The process for creating a purchase order release consists of these primary steps:
Create a Purchase Order Release
Add Lines to the Order
Add a Tracking Event
Notes and Attachments
Complete the following steps to create a purchase order release:
Log in to the ONE system.
Click Menus/Favs > Order Mgmt > New PO Release.
The New PO Release screen displays.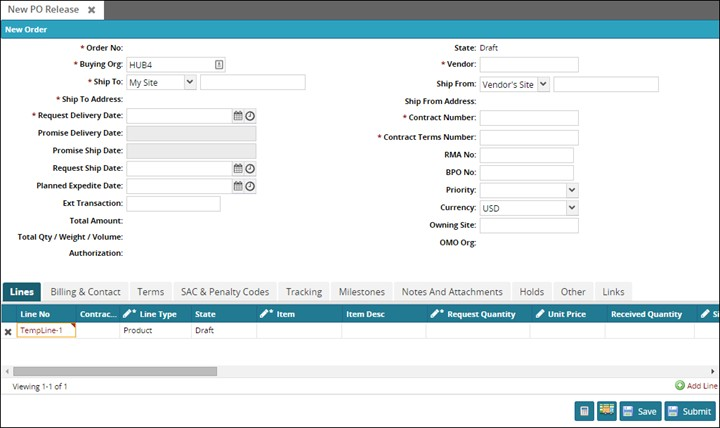
Tip
You can order generic items in place of specific items. For example, you might want ten 40" televisions but do not care about the manufacturer. You must select the Generic Item Order Template to order using generic items. For more information on generic items, see the "Generic Item Orders" section in the Online Help.
Note
You can add duplicate items to multiple lines on the same order if the Duplicate Items on Order feature is enabled. Contact One Network support to enable or disable this feature. If the Duplicate Items on Order feature is enabled, items are identified by both item name and line number throughout the system. This eliminates the possibility of any confusion resulting from having duplicate items with the same name in the same order.
The system initially populates the Buying Org field, but the field's value can be changed as needed.
Click inside the Ship To Site box and type characters to automatically match ship-to sites that appear in a list below the box. Click a ship-to site from the list.
The Ship To Address is populated based on the Ship To site.Using auto-complete entry and picker tools, select Trans Mode, (Optional) Ext Transaction, Vendor, (Optional) Ship From, Contract Terms Number, Contract Number, RMA No, (Optional) BPO No, and (Optional) Owning Site.
Note
The Vendor should be listed on the contract.
Select the Request Delivery Date and the Request Ship Date.
Using the drop-own menu for each field, select an option for Priority and Currency.
Add Lines to the Order
To add an item to the order:
If a line does not already exist on the order screen, or you need more than one line, click Add Line.
The new line appears. Fields marked with a pencil are editable. Fields in the new line which are marked with an asterisk (*) are required fields.
Note
You can add duplicate items to multiple lines on the same order if the Duplicate Items on Order feature is enabled. Contact One Network support to enable or disable this feature. If the Duplicate Items on Order feature is enabled, items are identified by both item name and line number throughout the system. This eliminates the possibility of any confusion which may result from having duplicate items with the same name on the same order.
Using auto-complete entry and picker tools, select an Item.
The Item Description, Quantity UOM, and Unit Price are automatically populated based on the selected item.Enter a Request Quantity.
The Line Amount is calculated when the request quantity is entered.Click Save.
Add a Tracking Event
Select the Tracking tab.
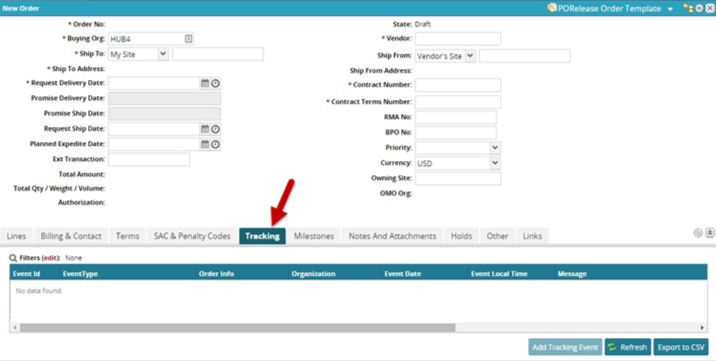
Click Add Tracking Event.
The Add Tracking Event window appears.Select an Event Type using the magnifying glass picker icon.
Select a Reason Code using the magnifying glass picker icon.
Enter an Event Date.
Enter an event Message.
Click Save and Refresh.
The new event appears in the Tracking view.
Notes and Attachments
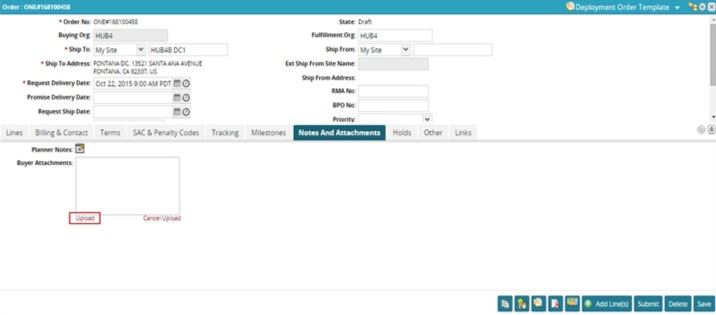
From the Notes and Attachments tab, you can add Planner Notes and Buyer Attachments.
Select the Notes and Attachments tab.
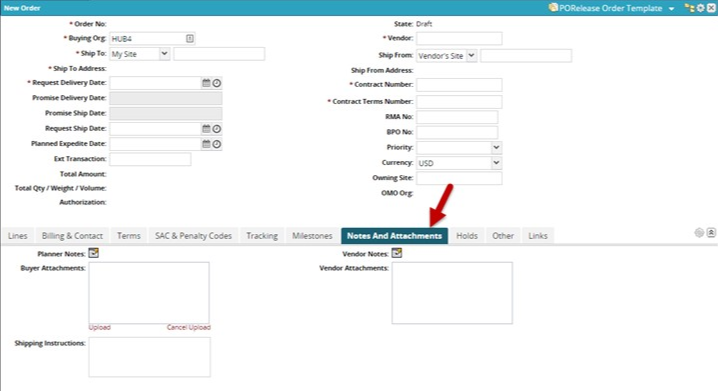
 Click the Planner Notes icon to add planner notes.
The Planner Notes window appears.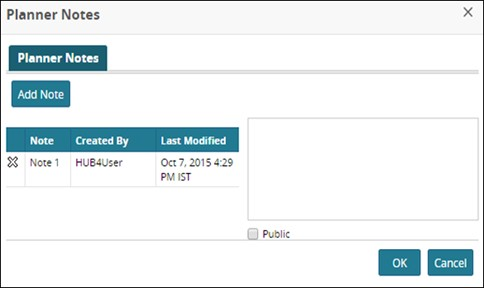
Enter a note in the text box located on the right side of the Planner Notes window.
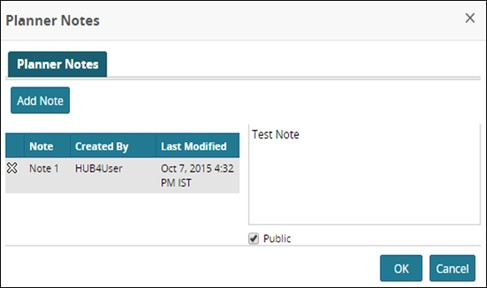
If the note is a publicly available note, meaning the vendor can also see the note, select the Public check box.
If the note should be included when a PDF of the order is generated, select the Print check box.
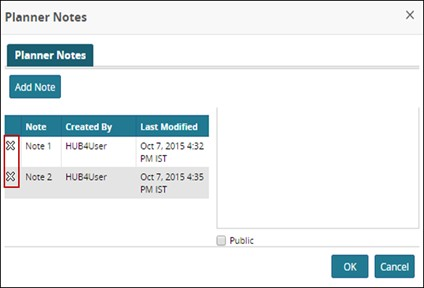
Click Add Note.
The new note appears in the left side of the Planner Notes window.
You can delete notes by clicking the X button to the left of the note.
To add Buyer attachments, click the Upload link at the bottom left corner of the Buyer Attachments window.
The Open window appears.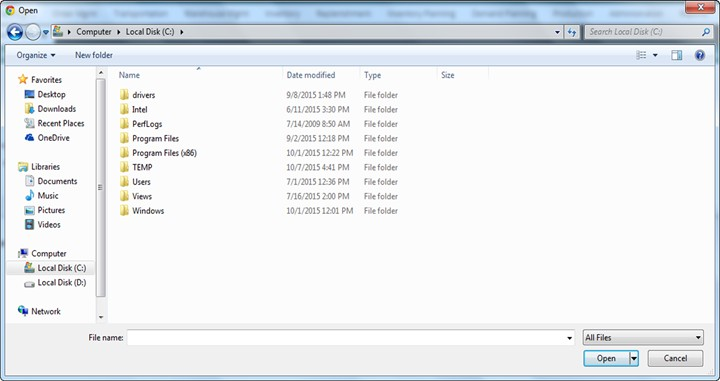
Locate the attachment to upload, and click Open.
The attachment appears in the Buyer Attachments window.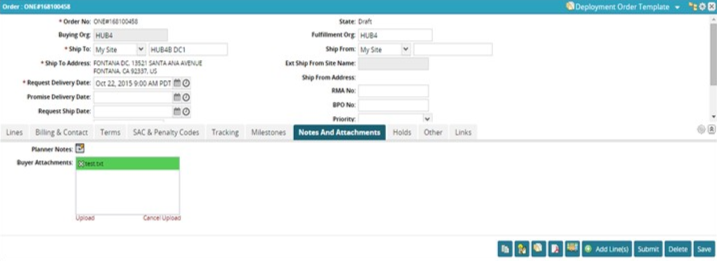
Click Save to save the changes to the order.
A success message appears.